Taking Extra Time For This Step Almost Guarantees A Better Steak
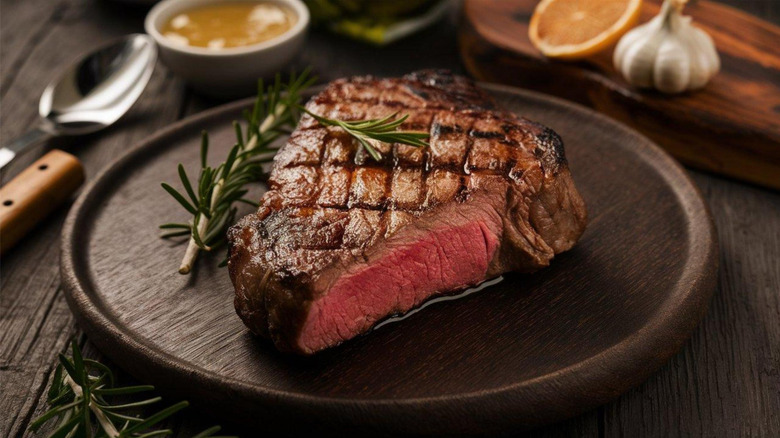
That gorgeously crisp sizzle you hear as meat hits the pan is how you know you're on the right track to cooking up the perfect steak. Every detail matters when you want to make this happen, and it starts with drying your steak during the preparation process. Simple as this may sound, it's the key difference between the golden crust you've been dreaming about and a soggy exterior that only spells out disappointment.
Drying the steak here simply means removing as much excess moisture as possible from its exterior. It's tempting to believe that the more moisture a steak carries, the juicier it will be; however, that's not the case with the outside of a steak. This has to do with the Maillard reaction, a chemical reaction that happens between amino acids and reducing sugars when prompted by high temperature. It results in the browned crust we adore so much in steak, along with its smoky, sweet flavor complexity.
When water appears in this process, it will evaporate first as the meat comes into contact with the heat, and consequently, keeping the surface temperature at 212 degrees Fahrenheit — its maximum boiling point. Meanwhile, the Maillard reaction cannot efficiently happen until the heat reaches 280 degrees Fahrenheit. In other words, with a wet surface, you will likely be steaming the meat rather than searing it, or at the very least, significantly slow down the browning process. In either case, you might end up with gray, stale meat that puts a damper on all of your favorite steak recipes.
Different ways to dry your steak
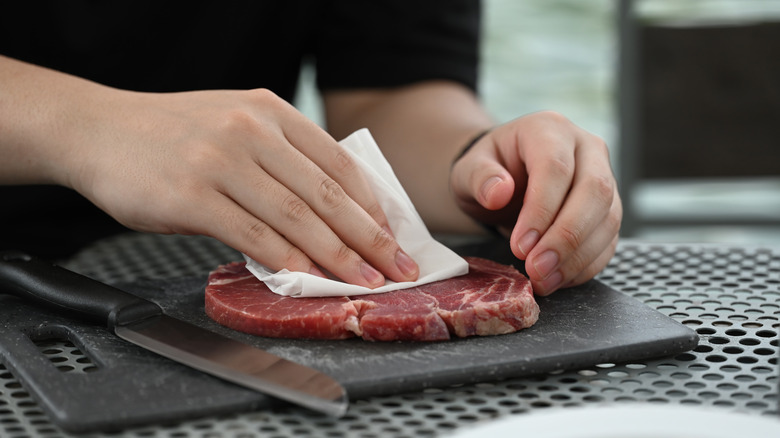
Drying steak is as easy as it gets. Simply dabbing it with paper towels will do the trick. Some restaurant chefs also prefer to follow up by hanging them on a wire rack, particularly in the fridge. Exposing the steak to open air at room temperature is inadvisable as it might lead to bacterial growth and other foodborne illnesses. Once the steak has entered the fridge, consider leaving it near areas with sufficient airflow, like the fan, for example. Don't forget to leave a sheet pan or plate underneath the wire rack to catch meat drippings and avoid cross-contamination with other foods.
This method can be further extended into dry-brining, which requires the extra step of sprinkling salt all over the meat cut and refrigerating it for 1 to 3 days. Here, the salt is more than just a seasoning. Its main role is to draw out moisture from the meat's surface, and then, as it dissolves into that small amount of excess liquid, you get a brine that reabsorbs into the meat's interior. This fascinating process will give your steak precisely the coveted combination of crispy crust and juicy interior.
However, make sure you use kosher instead of table salt to avoid overwhelming the palate. Start with about ½ a teaspoon of salt per pound of meat, although this can flexibly change depending on how thick the meat cut is. You can also mix it with other spices and herbs, coarsely grind everything together, and have an even more intricately flavored steak.