10 Moka Pot Mistakes To Avoid At All Costs

The moka pot was first introduced in Italy in the 1930s and made robust, strong coffee resembling espresso. It was one of the first inventions to bring the luxury of café-quality coffee into the everyday home.
But coffee is an art form, and like any art form, it requires patience, knowledge, and craft to prepare well. Something as complex as coffee's flavor profile is easy to mess up, especially when using a moka pot, which relies on a high-heat, high-steam percolation system. Of course, there are steps you need to take during the brewing process, as well as maintaining and caring for your moka pot.
It can certainly sound like a lot of work. Admittedly, a moka pot requires a bit more attention and knowledge than other coffee makers, but once you take the time to learn about this coffee maker and find your groove, it will provide you with a perfectly creamy, balanced, and intense brew. Here are some of the most common mistakes to avoid with a moka pot.
Buying a moka pot with a plastic handle
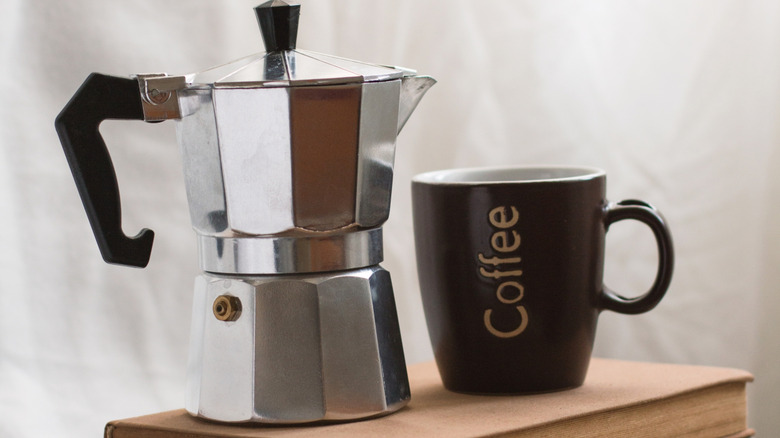
Your moka pot is an investment, so you'll want to make sure to choose the appliance that will last the longest and best suit your needs. The three most common types of moka pot handles are plastic, wood, and metal. Plastic is arguably the worst of these options, as it is the only one of the three that commonly melts. It tends to be a popular choice simply for its affordability.
Wood is relatively heat-resistant and will not melt, but it poses other issues. A wood handle requires maintenance, as it can become brittle and crack. You can stave this off by brushing it with mineral oil – which is admittedly a time-consuming solution. If you're a coffee fanatic willing to put in the work for that kind of upkeep, the aesthetics of a wood handle might be worth it for you, but it is likely not suitable for the everyday person who just wants a cup of joe.
A metal handle is more durable than plastic or wood. It's made of stainless steel, doesn't melt over time, dry out, or develop cracks. The only downside is that the metal handle retains heat a little too well and can present safety challenges if the user isn't careful. While many of these handles are designed with other materials to reduce heat and enhance grip, it is still advisable to use an oven mitt or dish towel when pouring.
Brewing in the wrong size moka pot
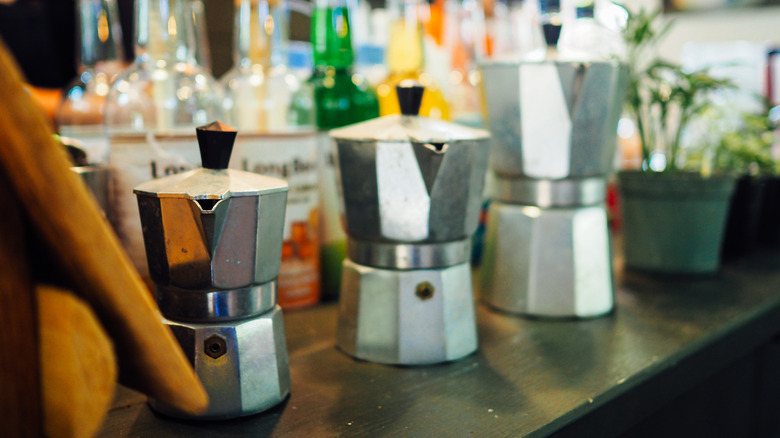
Unlike a French press or drip coffee system, the moka pot is designed to make a slightly smaller but stronger cup of coffee. It's not quite an espresso, but it is more concentrated. So, it's easy to use the wrong size pot. If you brew the normal serving you'd use for two people in a single-serve moka pot, chances are the coffee will come out bitter. Using a three-serving pot to make a single serving will likewise result in a bad brew. It's essential to understand how much each pot makes and compare this to your needs so you can create the perfect cup of coffee.
The 1-cup moka pot will create 2 fluid ounces of coffee, which is on the smaller end of a single serving, while the 3-cup moka pot makes 6.5 fluid ounces. If you are brewing for two people (or simply using enough coffee grounds to brew a second serving), the 6-cup is a great option, as it makes 10 fluid ounces. The moka pot even goes up to 9-cup or 12-cup options if you're looking to brew for a group.
Using cold water
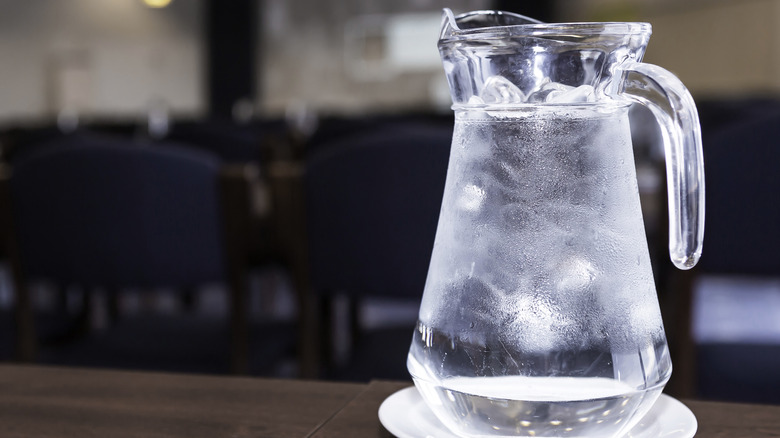
Sometimes people who dislike the bitterness of coffee will use cold water to brew it. While using cold water in a moka pot will likely result in a less acidic taste, it will lessen the intensity that the moka pot is designed to create. A stronger brew may be intimidating, and it may unintentionally invite a bitter profile, but there are plenty of ways to avoid the latter and get the best of both worlds. Packing the grounds correctly, applying the right amount of heat, and removing the coffee from the stove at the right time will curb the acidic taste and not require you to use cold water. That way, you can still have a full-bodied cup of coffee without a bitter or burnt taste.
You'll want to preheat your water to around 158 F, then brew your coffee at around 200 F. By doing so, you'll ensure that the oils and flavors from the coffee grounds are properly released. Just be sure to use an oven mitt when handling your moka pot and hot water to prevent burns.
Adding too much or too little water
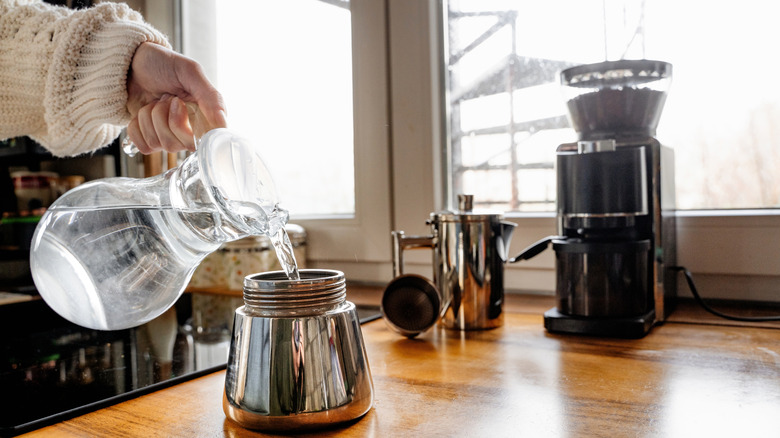
Adding an incorrect amount of water can make your brew too strong or too weak. Luckily, the moka pot is a bit more user-friendly than the average coffee maker because it has a built-in measuring system. If you unscrew the bottom chamber and peer inside, you should see two small screws on either side of the cup. These safety valves function as markers for how much water you should add.
Be sure to fill the cup up to the bottom edge of the safety valve. Filling it to the top edge of the safety valve will result in the water taking too long to boil. If this happens, the water will over-extract from the coffee grounds and the taste will be unbalanced. On the flip side, if you add too little water and do not quite reach the bottom edge of the safety valve, the water will boil too quickly.
Using the wrong grind of coffee
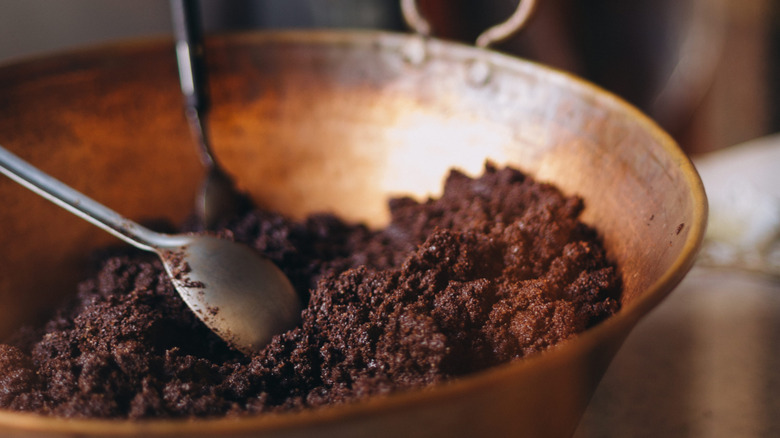
Grind size is a detail easily overlooked by at-home baristas. As with any coffee maker, the size of the grounds you use in a moka pot can and will impact the flavor of the coffee you end up with. With other coffee appliances, you can change your grind size based on your personal preference. However, for the moka pot, you'll want to stick to coffee that is just under a medium grind and avoid using grounds that are too fine or too coarse.
Coarse grinds work well in a French press, for example, because there is low pressure and only moderately high heat. A moka pot brews more similarly to an espresso machine, utilizing high heat and high pressure. In this instance, a coarser grind will allow water to pass through the coffee too easily, and the resulting brew will be under-extracted. Using a grind that is too fine will result in the opposite issue: over-extraction. Additionally, the finely ground particles will get into the coffee filter and clog it, making it harder to clean.
While it takes a bit of extra work, it's recommended that you buy the right size grounds or invest in an at-home grinder to achieve this balance. Alternatively, if you buy your beans from a café or roaster, they can grind them based on how you plan to use them.
Pressing the coffee grounds in too tightly, too loosely, or not evenly
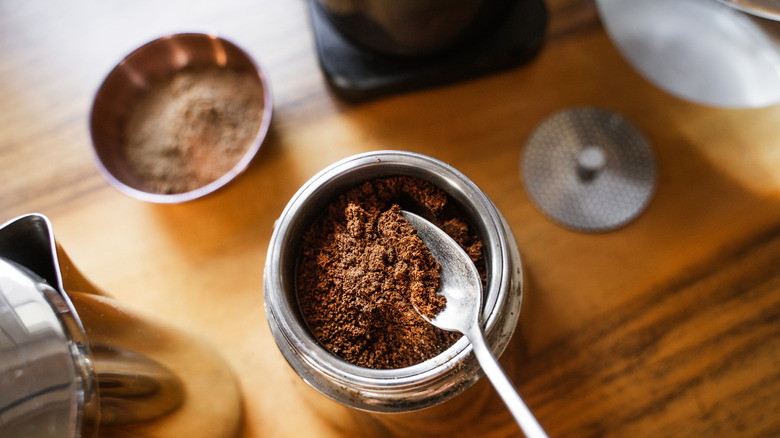
Whether or not to tamp the coffee grounds in a moka pot has long been debated. Tamping creates more pressure and is often done for espresso because it can help create a strong, creamy brew. Though with a moka pot, it can be hazardous to pack the grounds too tightly and create more pressure than the moka pot can handle. Not tamping at all will create less pressure, which will steer you clear of bitterness, but it may result in the brew not tasting full-bodied and occasionally being more watery. It's important to find a balance that works for you, while also not neglecting safety.
If you choose not to pack the coffee grounds, make sure you fill up the circular filter basket entirely and scrape the top off with a butter knife so that the grounds are perfectly flat. If you choose to tamp, don't tamp too hard, or it can cause over-extraction and can also be hazardous if the moka pot has too much pressure and pops open mid-brew. You'll want to add a bit of light pressure using the back of a spoon; a little goes a long way here. Even slightly tamping coffee gronds will work wonders in creating a creamier brew, but don't overdo it and risk an undesirable taste, or even worse, a kitchen hazard!
Brewing over high heat
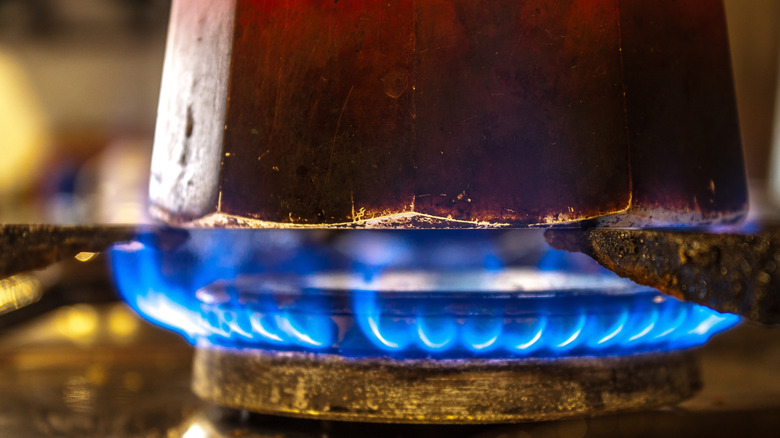
Because the moka pot brews coffee over the stove, it can be difficult to control the exact temperature of the flame and the water. This is one of the reasons you'll want to preheat the water. The water will start to brew through the grounds before reaching the ideal temperature of 200 F, meaning that first bit of coffee will always lack intensity to some extent. Using hot water instead of cold water will simply offset this and minimize the effect. Preheating the water in the chamber will also warm the pot, making it easier for the pot to reach a boiling point.
You'll have to set your stove to medium heat to create the right balance. High heat may result in the coffee tasting burnt, while low heat will take a long time and will not adequately extract all the flavors. It's also important that the heat is evenly distributed. The pot should be placed in the middle of the flame. Another great tip is to run the pot under cold water once you have brewed your coffee, as the coffee will continue to brew in the pot. By running the chamber under cold water after taking it off the stove, you'll put an end to the brewing process, saving your cup from that final bit of burnt coffee.
Not taking the coffee off the stove once it begins to gurgle
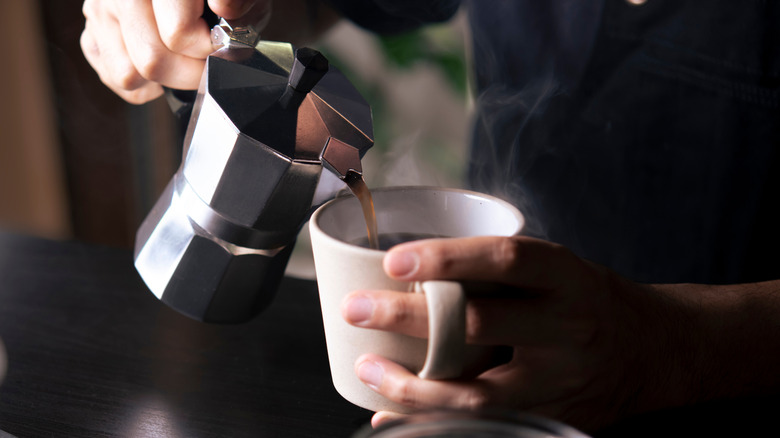
Brewing the coffee for too long is yet another mistake that will lead to over-extraction and bitterness. With the moka pot, it isn't always obvious exactly when the perfect time to stop brewing is. Unlike other methods of coffee making, this one requires that you manually end the brewing.
The best way to gauge this is by listening to the sounds the moka pot is making. The gurgling sound means all of the water has brewed through the coffee in the filter basket, meaning that the liquid is simply cooking on the stove. To avoid burning the coffee, this is the best time to remove the pot from the flames. It should be served immediately to avoid any further cooking, as the aluminum pot retains heat and will continue to heat the liquid if it remains inside the pot.
Washing the moka pot incorrectly

Now that you've made a tasty cup of coffee, you'll want to take care of your moka pot by washing it properly after every use to ensure that the same flavor can be replicated time and time again. It's easy to overlook this step, but if you allow your pot to deteriorate, the coffee it produces will taste significantly different, and the pot itself will have to be replaced. The two most common mistakes here are using soap and scrubbing too hard.
It goes against a collective better judgment to wash dishes with only water. But in this case, it really is better for the appliance. Unlike other dishes, the moka pot will retain the scent and taste of dish soap. This will, in turn, alter the flavor of the coffee. So even though it may sound odd, it's important to hand-wash your pot only with water! To ensure that the dish is thoroughly cleaned and that coffee oils and residue aren't left behind, be sure to use warm water and dismantle all components of the pot so you can reach all the crevices.
While hand-washing, be sure not to scrub the surfaces too hard. A bristle brush, for example, would be too harsh on the pot. Excessive pressure will scratch the aluminum, shortening the life of your moka pot. But most importantly, it will lead to tiny pieces of metal coming off the pot and into your coffee, which may even go unnoticed.
Storing the moka pot while it still wet or not completely dry

Don't reassemble your moka pot right after washing it. It needs to be completely dry before being stored. If it is not entirely dry, the aluminum will start to deteriorate due to oxidation. It may also become discolored. This will have negative effects on both the flavor of the coffee and the overall lifespan of your coffee maker.
Dry each component with a non-coarse material, like a dishcloth. Make sure to get into each of the crevices, including and especially around those safety valve screws, where it might be easier for tiny bits of water to get trapped. As an extra precaution, you can even leave the moka pot out after manually drying so that it can air-dry. Once you're sure that the pot is entirely dry, screw the pieces back together and store it in its normal place. Your next cup of homemade coffee awaits!