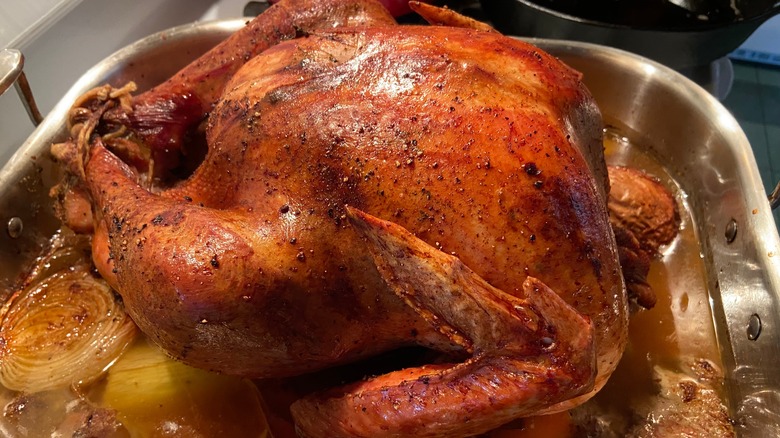
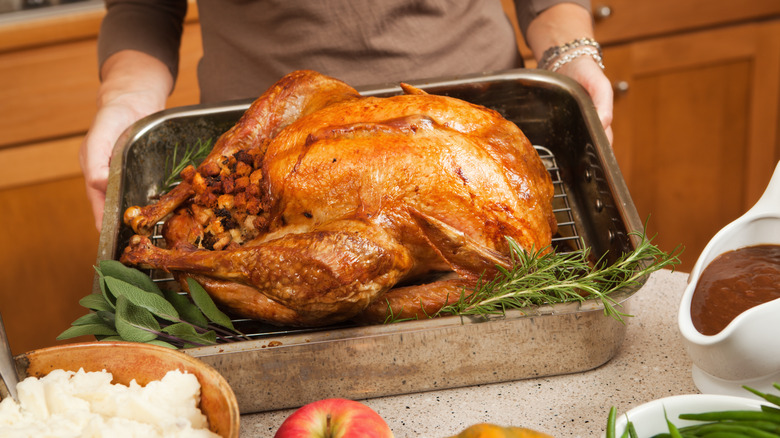
15 Tips For Cooking A Perfect Turkey
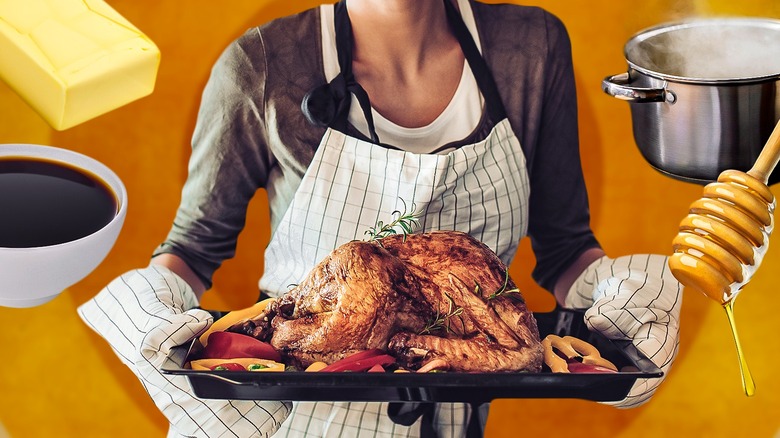
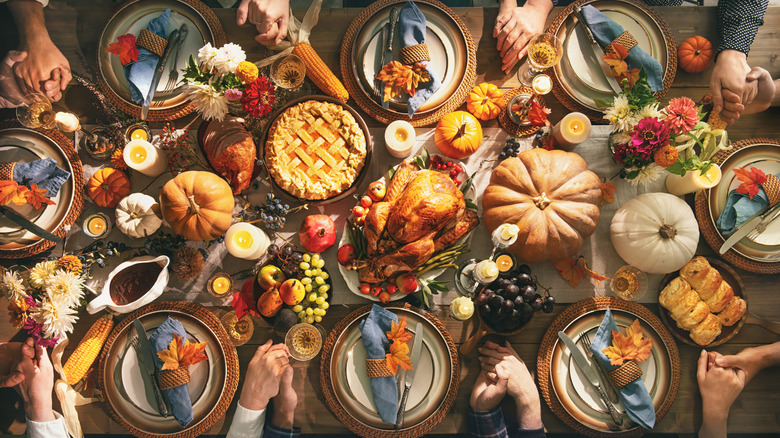
From the excitement of football games to the charm of falling leaves and the allure of pumpkin pie, Thanksgiving is a celebration rich in beloved traditions. The centerpiece of this beloved occasion is the much-anticipated Thanksgiving feast, with the turkey reigning supreme as the star of the spread. Each family cherishes its own special way of crafting this culinary centerpiece, often passed down through generations. Indeed, everyone's dad has his secret for the perfect turkey, a testament to the diverse and cherished methods of preparation, cooking, and presentation.
We have immense respect for these family traditions and the unique ways in which each turkey is brought to the table. Even still, we're excited to share some of our favorite turkey tips. These suggestions are not just for the novices embarking on their first turkey endeavor but also for seasoned cooks looking to add a new twist to their 20th turkey preparation. Our aim is to enhance your turkey experience, bringing even more joy and flavor to your family's Thanksgiving celebration. Whether you're trying a new brining technique, experimenting with different cooking methods, or ensuring the perfect finish, we hope these tips will be a valuable addition to your Thanksgiving repertoire.
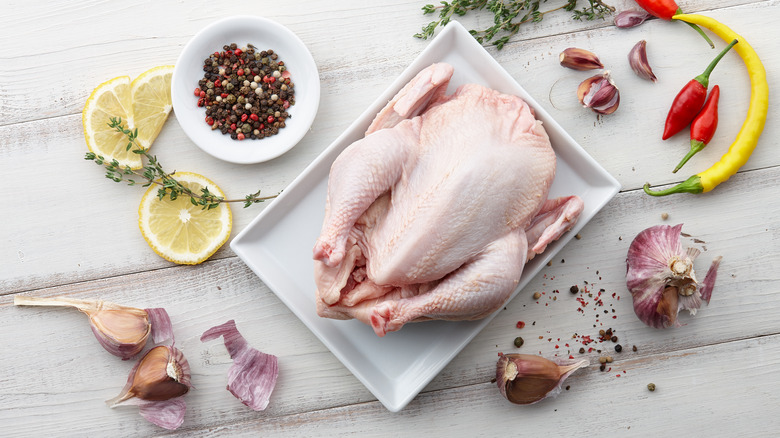
Prepare by choosing the right turkey size
If you're hosting Thanksgiving, one of the first things you'll want to consider is the size of the turkey your party requires. Start by considering the size of your gathering; then, you'll do a bit of multiplication. Allocate approximately one and a half pounds of turkey per person. Though it may seem like a lot of food, those birds come packed with bones and cartilage, so that measurement considers all of that extra weight in addition to the meat.
If you're generally concerned about the bird size you've chosen, rest easy knowing it's always good to get too much rather than not enough. After all, Thanksgiving leftovers are some of the best parts of the whole meal, and you can utilize what's left in meals the following days. We're always a big fan of saving the bones and extra meat for a hearty, dumpling-loaded batch of turkey soup.
Pay attention to your timeline
In preparation for the big meal, you can do plenty even a month in advance, and as the weeks tick away, you can begin prepping and planning with a Thanksgiving timeline. Of course, you'll need to start off by making that grocery list and shopping for all of your ingredients. If you have guests willing to help by bringing a dish to share, that should be arranged before the week of Thanksgiving, too. However, the real magic starts the week of Thanksgiving.
Chase away those Monday blues by ensuring you have enough serving vessels and have everything ready to go. This means checking that shopping list over a few times. When making a meal, it's a terrible realization to discover you're missing an ingredient, so do yourself a favor and check again. On Tuesday, get ahead by doing some of the chopping work; this will save you time on Thanksgiving Day. Wednesday is crucial for turkey preparations, specifically for brining the bird. On the morning of Thanksgiving, it's time to start cooking the turkey. Throughout the entire cooking process, maintaining an organized kitchen is key. Keeping your counters clutter-free will significantly smooth out the cooking process.
Plan for refrigerator thawing time
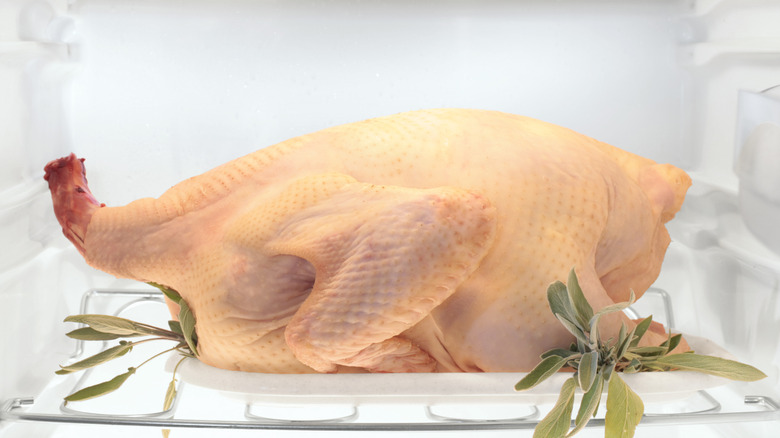
A significant portion of your planning process should also include thawing your turkey if you're purchasing a frozen bird. Thawing can be a slow process, requiring foresight and planning, so be sure to consider this well in advance.
Like choosing the size of your bird, simply math will help determine how many days you need to give that turkey to be ready for your preparations. To thaw in the fridge, which is considered one of the safest ways to do it, plan for a day of thawing for every four pounds of turkey. This will mean your fridge space is consumed by the bird for several days leading up to the big meal, so that's another critical aspect to consider. If you have an additional refrigerator, this is an ideal situation to utilize it, allowing your primary fridge to remain free for other items while the turkey thaws.
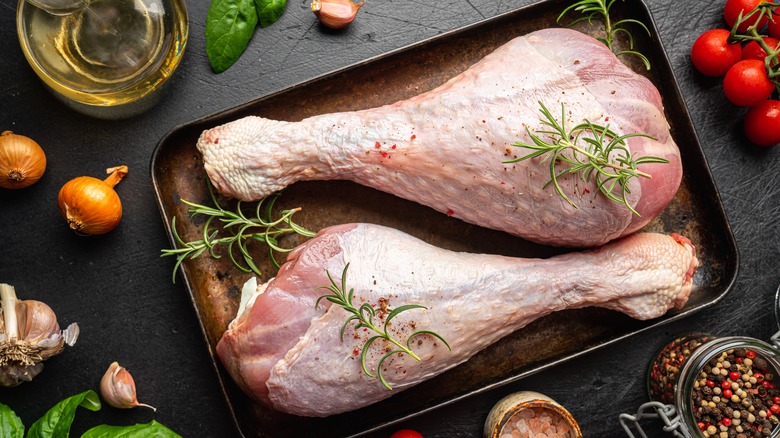
Dry brining is a game changer
When you think of brining a turkey, you might typically envision a wet, liquid-based process. However, dry brining offers a fantastic alternative, particularly effective for preparing your turkey before it heads to the smoker.
The cornerstone of this method is a simple salt application. Apply it directly onto the turkey's skin. Over time, the salt draws moisture out of the meat. This moisture sitting on top of the bird goes right back into the turkey, removing the necessity for any additional water for your brine. This technique results in a turkey that's incredibly moist and rich in flavor. While salt alone works wonders, feel free to experiment by incorporating a few extra herbs into your brine for added flavor. Whether you stick to classic salt or get inventive, the outcome promises to be delightful. We love this one because it's a solid technique that doesn't really involve a difficult step or significant process to learn.
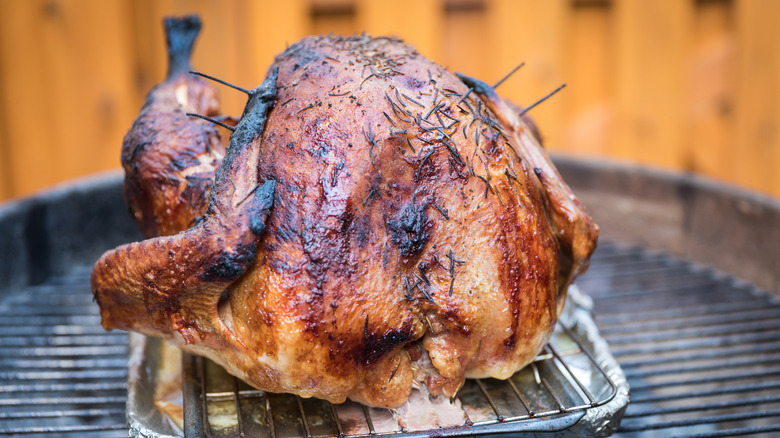
Slowly smoke your turkey for a real treat
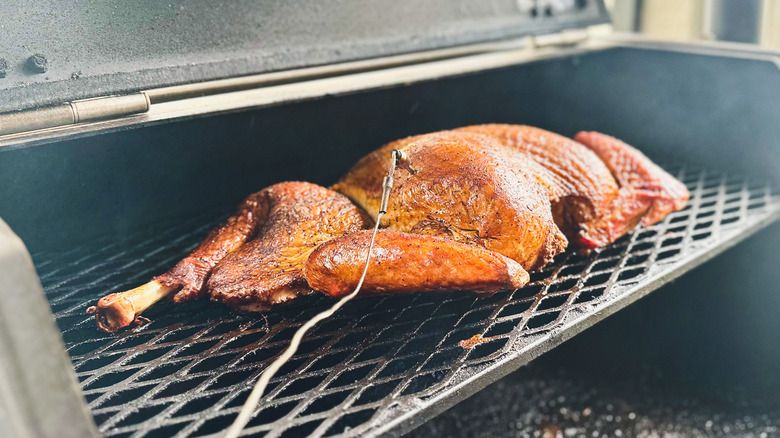
We are real lovers of a whole smoked turkey, but the only trouble is that the smoking process can take quite a substantial amount of time cooking at around 250 F. For a rather average-sized turkey, somewhere around 12 pounds, it may mean that you have a cooking time somewhere around four and a half or maybe even five hours. You want the thighs to measure in at 165 F, and the breast should be 150 F; this difference can make cooking a whole bird difficult. We recommend getting a great instant thermometer to check the bird's temperature fast.
Bigger birds, on the other hand, will obviously take longer, and if you choose to stuff your turkey or do other things in the preparation process, you may be looking at an even longer time in the smoker. Of course, unless you really need the look of a finished turkey at the end of it, there are ways to shorten this wait time in the smoker significantly.
Learn to spatchcock for a moist bird
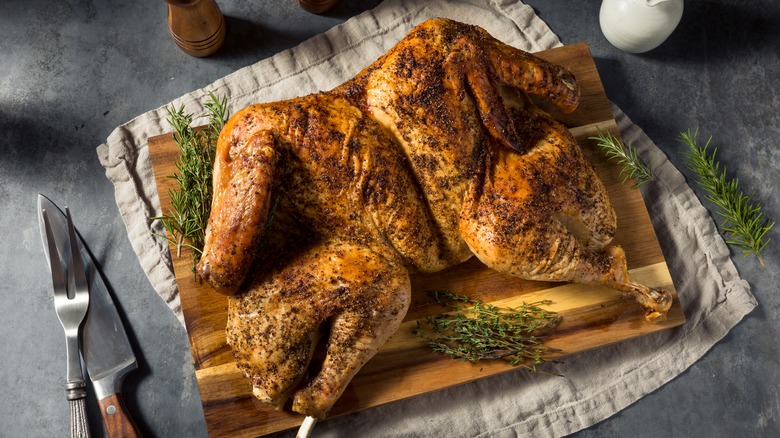
When you imagine putting your turkey in the oven or smoker, you may envision the classic bulbous turkey. But if the time necessary to smoke a whole feels excessive, spatchcocking is a wonderful alternative. By spatchcocking your turkey, you can achieve more uniform cooking and save space in your oven or even smoker. This technique, with a funny name, involves simply removing the turkey's backbone.
For this one, you'll cut down both sides of the spine. Then, you'll use your upper body weight to push down with both hands until the chest bone cracks. While the process might initially make you feel a little squeamish, it's actually more straightforward than it sounds. In fact, some grocery stores offer pre-spatchcocked turkeys for convenience. Preparing your turkey in this manner ensures even cooking, resulting in a moist and flavorful bird. Plus, spatchcocking is versatile and can be effectively combined with any brining method you choose, enhancing the overall cooking experience and the deliciousness of your final dish. Even if you aren't cooking a turkey later in the year, spatchcocking poultry is a technique you can use to create space in your oven and prepare a better meal.
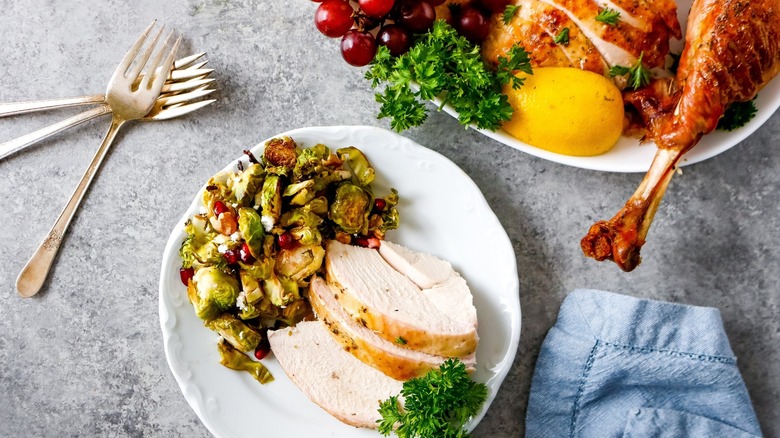
Flip that bird over for an evenly cooked turkey
Opting for a whole turkey presentation doesn't mean sacrificing even cooking across your main course. By simply roasting that turkey upside down, you can achieve more uniform cooking without the need for spatchcocking. This method positions the breast meat away from direct heat at the bottom of the pan, allowing it to baste in the rich, flavorful fat drippings as the bird cooks. While the upside-down turkey may not initially present the classic, picture-perfect look, you can always flip it right-side up before carving it up.
This small adjustment ensures your turkey is evenly cooked and visually appealing for that ideal carving moment. This technique is a straightforward yet effective way to enhance the cooking process while maintaining the traditional whole turkey appearance. Not to mention, it's a wonderful conversation starter that will surely get your guests talking and eager to try out your unique cooking method.
Consider cooking your turkey in parts
If you're concerned about achieving the perfect cooking temperature for each part of the turkey, and neither spatchcocking nor roasting the bird upside down appeals to you, Brooke Williamson's smoked turkey tip of cooking the turkey in separated pieces could be an excellent solution. This method involves cooking the legs, breasts, and wings separated from each other. By doing so, you can remove each piece from the smoker as soon as it's perfectly cooked rather than waiting for the entire bird to be done.
The advantage of this approach is that different parts of the turkey require varying cooking times due to their distinct textures and sizes, and cooking them separately ensures that each piece is cooked to its ideal doneness, avoiding overcooked or undercooked sections. You have the option to either buy the turkey pre-cut into pieces or to break down a whole turkey yourself.
Particularly for smoking a turkey, this technique can be a game-changer. It allows for precise control over the cooking process so that every part of the turkey is succulent and perfectly cooked. This method simplifies the cooking process, which is especially helpful when smoking since it often takes quite a long time.
Lather that turkey with oil or butter before grilling it
When grilling your turkey for Thanksgiving, an essential step is to oil the bird down before it hits the grill. Though we recommend oil or butter, other types of fats can also be used. The choice of coating should align with the flavor profile you desire as well as your personal preferences, as the effectiveness of these options is largely similar. You may also want to consider any brines or other preparations the bird has already undergone.
The goal here is to create a glossy surface on the turkey that not only enhances its appearance but also prevents it from sticking to the grill grates. Sticking could lead to the turkey losing some of its skin, resulting in a less appealing presentation. By taking this extra step, you can ensure a smoother grilling experience and a beautifully cooked turkey for your Thanksgiving feast.
Sweeten your turkey with honey
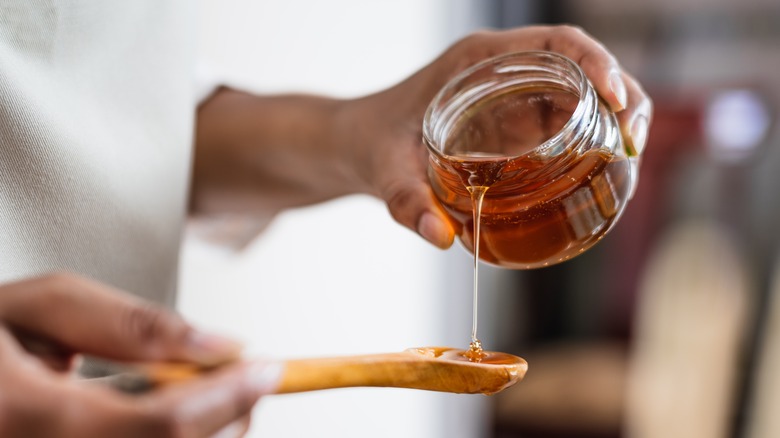
It's a sad misconception that flavoring your turkey is mostly finished once it enters the oven. There's still more you can do. In reality, adding a glaze partway through the roasting process can significantly enhance the flavor by adding a subtle sweetness to the finished roast turkey. After your turkey has been roasting for about two hours, consider applying a glaze made from a blend of honey, corn syrup, seasonings, and melted butter.
This addition contributes to a juicier turkey, brings a delightful sweetness, and creates a glossy finish on the bird. The subtle sweetness from the glaze complements traditional Thanksgiving sides like sweet potato casserole, creating a harmonious blend of flavors on your holiday table. This glazing technique is a simple yet effective way to elevate your turkey from simply savory to a nuanced blend of sweet and savory notes, making your Thanksgiving meal even sweeter.
Molasses isn't just for cookies
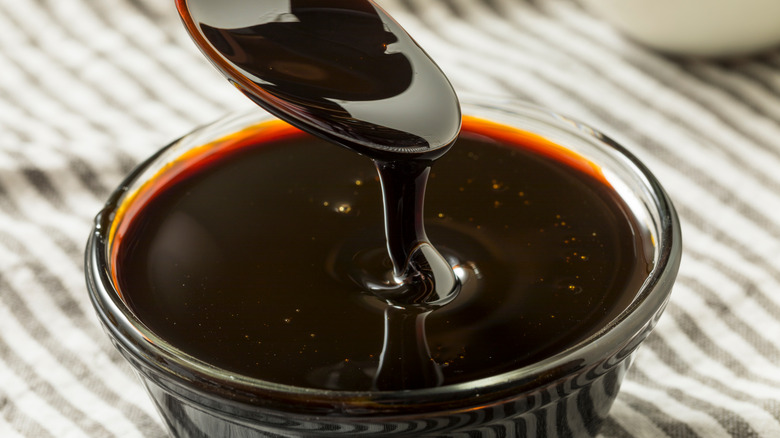
Molasses, commonly known for its role in baking soft cookies or thickening sauces, can also be a unique and flavorful ingredient in your turkey glaze. Its rich sweetness, akin to honey, can add a distinctive depth of flavor to your Thanksgiving turkey. Plus, its dark color can help make the overall golden color of your turkey that much more appealing and picturesque.
However, due to its thicker consistency, applying a molasses glaze requires a bit more care to achieve an even coating. Taking the time to brush it gently and thoroughly over the turkey will ensure that every part of the bird benefits from its robust, sweet flavor. This approach enhances the taste and contributes to a beautifully glazed, appetizing appearance. Incorporating molasses into your turkey glaze is a delicious and sweet way to introduce and combine new flavors to your traditional holiday feast.
Introduce soy sauce for umami flavor
If dry brining doesn't align with your preferences and you're leaning towards a wet brine, there's ample room for creativity. For instance, Christina Chaey suggests using Kikkoman soy sauce as a key brine component for the perfect Thanksgiving turkey. The inherent saltiness of soy sauce plays a crucial role in the brining process, infusing the turkey with moisture and flavor.
Soy sauce brings a distinctive umami quality to the mix, which can be particularly effective when used in a glaze. With a combination of soy sauce, butter, herbs, and spices and some more sweetness from maple syrup, it is a delicious way to add even more flavor to your turkey. For a particularly striking glaze, you could also combine molasses and soy sauce for a perfectly balanced sweet and salty flavor profile, enhancing the overall taste of your turkey and its crispy skin.
Let that turkey rest before carving
After your turkey finishes its long cooking process, and you've been smelling its juiciness all morning, just about the last thing you want to do is have to wait longer. However, allowing the turkey to rest after cooking is crucial for preserving its juiciness and flavor. If carved too soon, the tasty juices will be lost on your cutting board instead of staying within the meat, resulting in a dryer and less flavorful turkey.
No matter how you cook your bird, we recommend waiting at least 30 minutes before carving. For larger birds, extending this resting period to 45 minutes or more is beneficial. This resting period allows the juices time to hang out within the meat to ensure a moist and flavorful bite.
If you're concerned about the turkey cooling down too much during this time, a simple solution is to loosely tent it with aluminum foil after it has rested for about 20 minutes. This technique helps retain some heat without further cooking the turkey, ensuring it remains warm and ready to serve.
Frying a turkey requires proper equipment
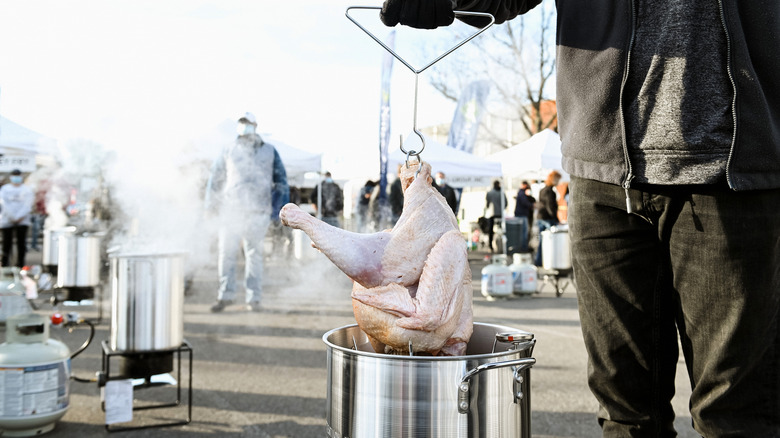
We love turkey in all forms, but a deep-fried turkey is extra special. However, if you're going this route with your turkey, it's important to be aware of the significant risks involved. Truly, the biggest mistake you can make is not being prepared enough and underestimating the potential dangers involved. To prevent catastrophic outcomes and instead present your family with a delectable, safely prepared bird, investing in the proper equipment is crucial.
A well-constructed turkey fryer set-up with a strong metal pot is essential to submerge the entire turkey in oil without any overflow. Personal protective gear is also vital, including gloves, goggles, and long sleeves to shield yourself from oil splatters. A poultry lifter is necessary for safely inserting and removing the turkey from the hot oil. Additionally, a reliable deep-fry thermometer is crucial to monitor your oil's temperature accurately. Lastly, and most importantly, always have a fire extinguisher nearby in emergencies or uncontrolled situations.
Boiling water is the secret to crisp skin
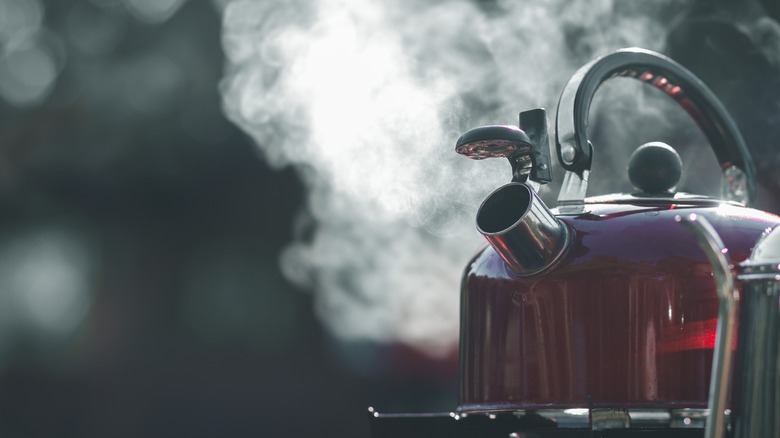
Before cooking your turkey, there's a simple yet effective step you can take to help achieve crispy, perfect skin. The bonus is that all this requires is boiling water, so it's time to get that kettle going.
Once your turkey has thawed, undergone brining, and is nearly ready for cooking, take a moment to separate the skin from the meat gently. This can be done by gently pushing the skin with your fingers. Then, slowly pour boiling hot water all over the turkey in a pan positioned steadily over your sink. The goal is to see the skin become slightly see-through and begin to shrink. After seeing these changes, it's essential to dry off the turkey thoroughly. Removing moisture from the skin is key to getting that desired crispiness during cooking. Once the turkey is dry, it's ready to be cooked using your preferred method.