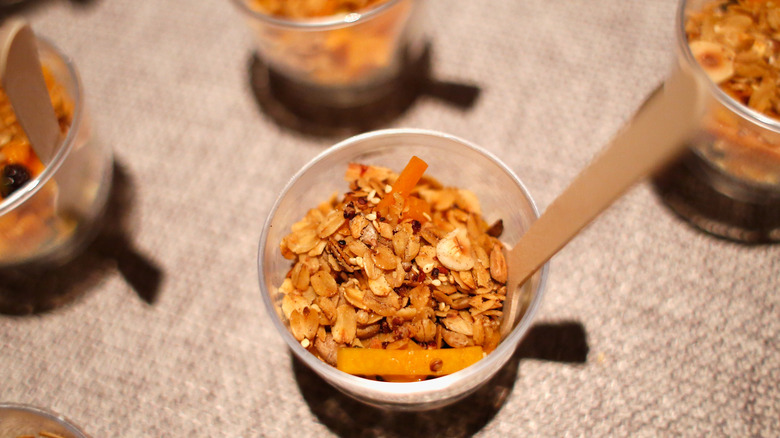
17 Tips For Making The Absolute Best Granola
If you have gone to the grocery store, you've probably experienced the sticker shock of looking at a bag of granola. The combination of nuts, seeds, and fruits can cost you upwards of $5 — to even $10 a bag — which might make you think twice about adding it to your morning bowl of Greek yogurt or eating it as a quick snack at your desk. But luckily, the ingredients to make granola are relatively cheap, you may venture to try to customize your own recipe at home.
Anyone (including us) who has ever made granola knows that it's not as easy as it looks. We've burnt more batches of this topping than we can count and have forced ourselves to eat a batch that frankly just tasted like stale oats haphazardly mixed with trail mix. To prevent that tragedy from happening to other granola-loving home cooks, we've curated a list of some of our best tips for making it at home.
If you're making a small-batch, cook it on your stovetop
The majority of granola recipes will have you turning on your oven and grabbing a sheet pan, but that's not the case for all of them. Small-batch granola is best made on the stove because it will be ready in a third of the time that it would take you to bake it — which is ideal for when you just need a little crunchy topping for your yogurt or smoothie bowl.
For this easy cooking method, start with a pre-seasoned cast iron pan. Toast your nuts and seeds in the pan for a few minutes until aromatic before adding in your fat, sweeteners, and oat base. Give the mixture a quick toss, and be on the lookout for any signs of burning. Once the granola is golden-brown, you can pull it from the heat and toss in your dried fruits and any melty toppings, like chocolate chips or marshmallows.
Store it in an airtight container for maximum shelf-life
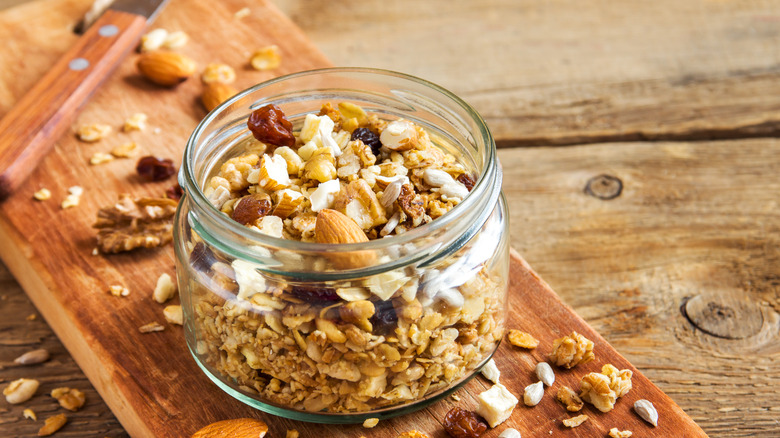
One of the biggest mistakes that people make with homemade granola is not knowing how to store it correctly. You can leave store-bought granola in the same flimsy plastic bag it came in without worrying that it will go stale on you. But the same cannot be said about homemade granola — which tends to be a bit more selective about how it's kept.
The best way to store homemade granola is to let it cool completely before adding it to an air-tight container. Cooling it will ensure that there is no condensation in the container — that would otherwise cause it to stale or your nuts to go rancid. Then, put it in a cool, dry, room-temperature spot until you're ready to use it. This method will give you fresh granola for about four weeks max. For even longer storage, freeze the granola in small portions and enjoy it within three months.
Boost the healthy fat content with tahini
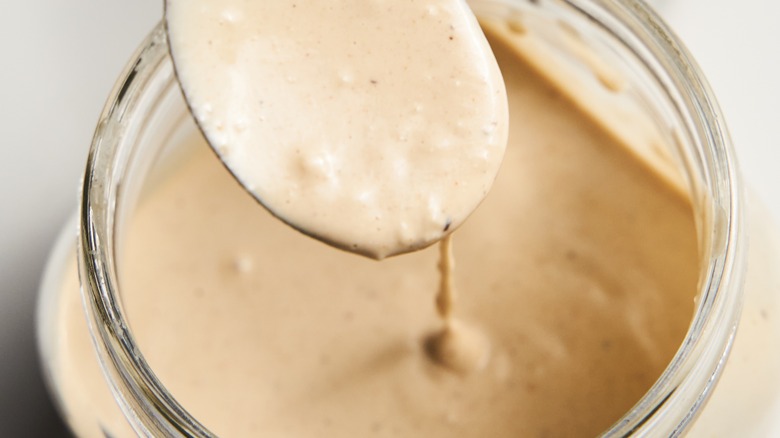
Tahini is a wonderful condiment that should be as ubiquitous in your home kitchen as ketchup. This sesame paste can be used to enhance a salad dressing, keep your cookies plush, or as a featured component in hummus or babaganoush. You can also add tahini to homemade granola for a mild, nutty undertone that plays well with other fruits, nuts, and seeds. While peanut butter takes its role as granola's star of the show very seriously, tahini just waits in the wings. Its flavor is earthy and subtle without being too distracting.
Just because tahini is full of healthy fats doesn't mean that you should use it as the only fat source in your granola. Mix your choice of sweetener with olive oil, tahini, and vanilla before adding it to your grains and dry spices for maximum flavor and texture. Our favorite pairings for this Middle Eastern condiment include pumpkin seeds, dried coconut, and chia.
Add fruity flavor with leftover pulp
We always look for ways to make the most of our kitchen leftovers. Leftover fruit pulp will give your granola a burst of flavor and reduce the amount of scraps going into your trash bin. Although some fruit pieces and dried coconut may help amp up the flavor of your granola, the pulp will add a more organic flavor to it. Moreover, there are several different fruits that work well for this granola hack, including apple and pear pulp combined with cinnamon, brown sugar syrup, and cloves. You can also go tropical with mango, orange, and coconut pulp.
Add the fruit pulp to a bowl with honey, lemon juice, cinnamon, and vanilla extract. You'll need a cup of pulp for every three cups of oats. Once the ingredients are folded together, bake the entire mixture for 10 to 15 minutes at 350 F until crisp.
Mix in crushed ice cream cones for added texture
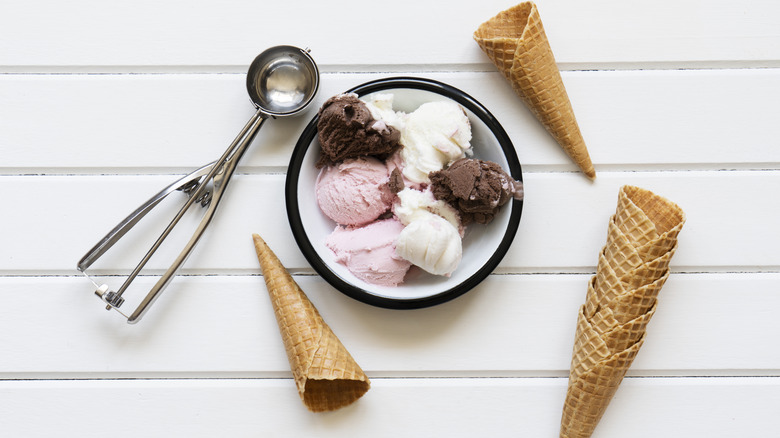
Have you ever opened a box of ice cream cones only to find many, many broken shards in the bottom of the box? It's time to put these cones to good use in your next batch of granola.
Crushed ice cream cones will add a new twist to your classic granola recipe and give you a satisfying crunch with every bite. Waffle and sugar cones work best for this recipe because they have a strong brown sugar flavor and crunchy texture — and they can hold up better to the weight of oats, nuts, and seeds than a flaky, cheap cake cone. You'll also want to break up the cones coarsely rather than pulverizing them in a food processor or blender to get the most textural benefit out of this hack. You can add the ice cream cones to the mixture before you slide it into the oven or stick to only mixing them in once your mixture has adequately cooled depending on how crunchy you want your recipe to be.
Don't neglect stirring your granola
If there's one tip we've heard time and time again with making homemade granola, it's about the importance of stirring the mixture while it bakes. And it seems like we may not be the only ones. It's the granola tip Guy Fieri learned from his mom and one that the food personality still follows when he makes his recipe.
Neglecting to stir your granola as it's baking will likely cause it to burn on the bottom. Not only does a quick turn with a spatula help distribute heat throughout the granola, but it's also a critical step in ensuring that all of your components are covered with a protective layer of oil, which further maximizes crunchiness and avoids burning. However, you'll get more granola clusters if you stop stirring halfway through the cooking process since this last interval is the time when the pieces cling together and set. A couple of shuffles in the first leg of the baking process will suffice.
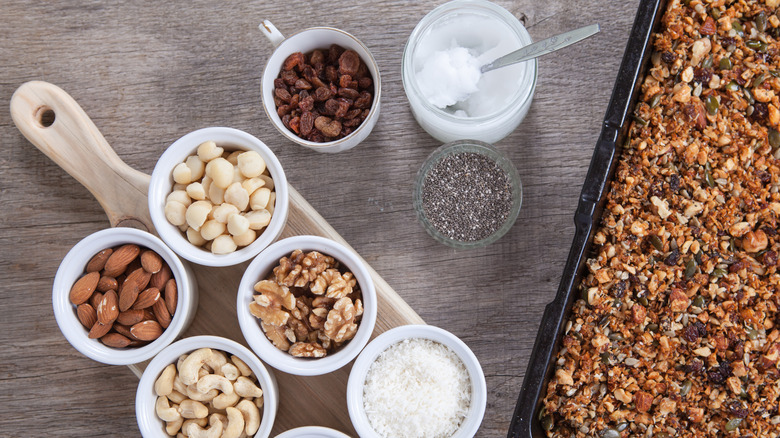
Be methodical about when you add ingredients to your granola

Like baking anything, it's not just the amount and type of ingredient you add — it's also the timing of adding the mix-ins that really matters. In general, you'll want to add all of your crunchy additions, like nuts and seeds, before baking. If the ingredient has a protective coating, such as on the outside of pecans, pumpkin seeds, and flax, they are usually safe to add early on in the cooking process.
Sweet ingredients, like chocolate chips or a final drizzle of honey, that could benefit from a little time in the oven should be added towards the end. Dried fruit should be exclusively added after the granola has cooled. It needs to be added post-bake because it burns easily and will leave you with a leathery, hard morsel that is anything but fruit-forward. Figuring out the timing of these ingredients is key to ensuring that your granola doesn't get too dark and your mix-ins get the perfect texture.
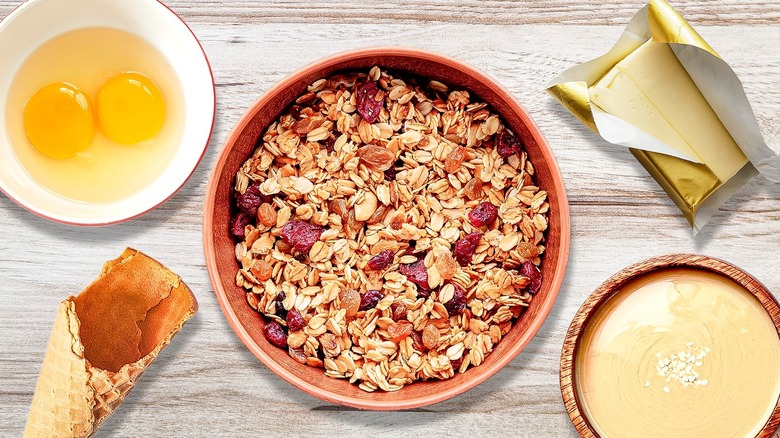
Add butter to bind your granola together
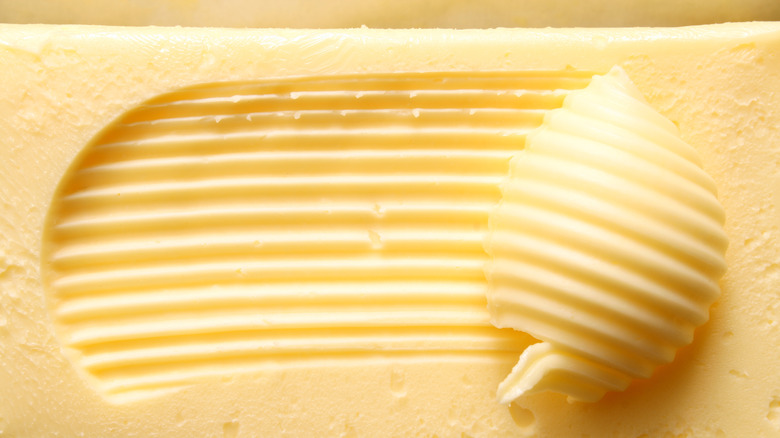
We reckon you probably haven't seen many granola recipes calling for butter, either salted or unsalted, as a main ingredient. But, the tasty reason you should add butter to your granola will make you reconsider how you think of this dairy product.
The makeup of the butter encourages the oats to toast evenly, rendering both the perfect color and a warm caramel flavor. Plus, the fat will also help crisp up the nuts and other ingredients, while working with the sugar to bind together your granola into bite-sized clusters.
Recipes that call for butter do require a bit more caution than the recipes that don't. The key to working with butter in your granola recipe is to always cook the mixture low and slow. If you crank up the heat to make a quick batch, you risk smoking the butter and causing each morsel to come out with a burnt, rubbery taste.
Swap out your oats for matzo pieces
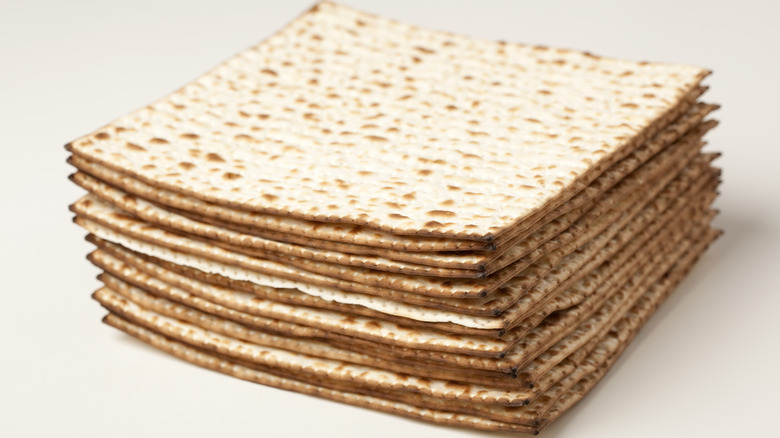
Oats are a catch-all base ingredient for granola, but they don't have to be the only one used in your recipe. Matzo granola is the unexpected recipe variation you didn't know you needed — and it's especially great when grocery stores run deals on the bread during Passover.
Start by breaking the unleavened, crispy bread into small pieces and toss it in a bowl with your nuts and seeds. The matzo will have to be baked with the seeds and nuts at 350 F for 10 to 15 minutes to get a preliminary toastiness. Then, it can be combined with sweeteners (like brown sugar and honey), flavorings, and neutral fats and baked at a lower temperature. This oven shift will prevent burning and allow your sticky additions to do their magic. After the mixture has crisped up in the oven, it can be combined with dried fruits and served just like regular granola would.
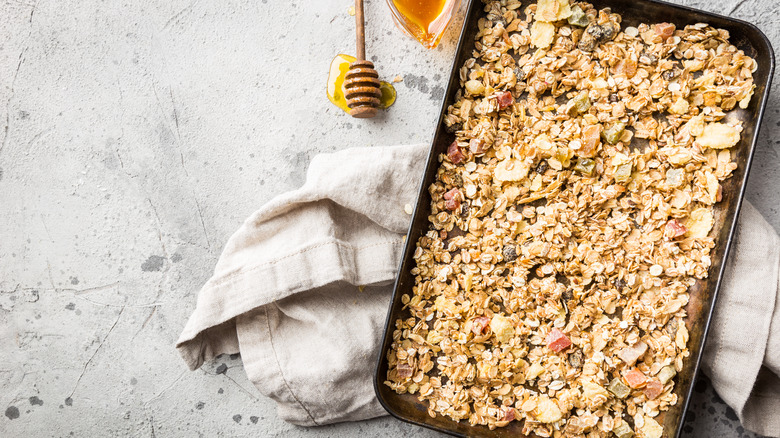
Don't be afraid to press your granola
If you make homemade granola and notice that clusters are few and far between, you may not be pressing down on the mixture hard enough. A hard press is the key to perfectly formed granola and ensuring the texture is sublime. You'll want to keep the granola pieces close during baking rather than spreading them out sparsely on a baking tray. Reducing the surface area in the pan will encourage the sweeteners to permeate the layers of granola and force the pieces to stick together. To further encourage this process, use the back of a spatula and give the pieces a firm press before sliding the pan into the oven.
Then, wait until your oats have been in the oven for a short while before tossing them around. Although moving the ingredients is critical to prevent burning, you need to give the clusters long enough to form together before breaking apart.
Avoid using quick oats
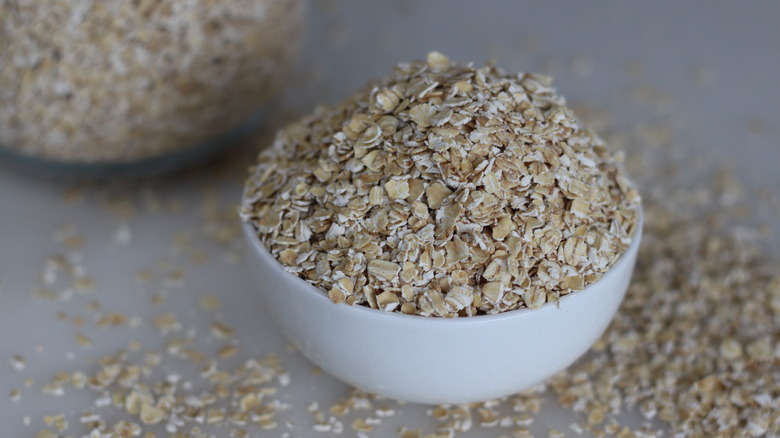
You need to stop using quick oats for granola. This variety is powdery and soft, which makes it easy to whip up for a quick bowl of oatmeal in the morning. But, the delicate structure of these oats, as well as their small shape, doesn't make them an ideal fit for a granola. In addition, you should also avoid steel-cut oats for granola because they are chewy and elasticky rather than soft and pliable.
That leaves the best option for homemade granola to the whole rolled oat. The texture is thicker, chewier, and more mealy than instant oats, which makes for easy crisping in the oven. In addition, most granola recipes are designed for whole rolled oats anyway, so substituting instant oats instead would mean that the oats would cook much faster and potentially burn if you neglected to alter the cooking time and temperature appropriately. Long story short, there's no replacement for whole rolled oats when it comes to your batch of granola.
Use the perfect ratio of sweeteners to fat
Although granola has long been touted as a health food, it contains its fair share of fat and sweeteners. While you might try to cut back (or remove entirely) these ingredients to make a healthier recipe, we can assure you that your efforts will always be in vain. The granola will come out flavorful, burnt, and dry. Which then begs the question: What's the point of making it?
You need to get the ratio of sweeteners and fats right for perfectly coated granola. For most recipes, this is a mix of equal parts fat, like coconut, vegetable, or olive oil, and sweeteners like honey, maple syrup, and brown rice syrup. If you absolutely need to curb the fat or the sweeteners, you should proportionally reduce the same amount of the other to ensure that your recipe stays balanced and tasty. Regardless, the fat and the sweeteners are essential for a great granola, so should be included in every batch you make.
Add egg whites for maximum crunch

Nope, we're not making meringues. But whipped egg whites will give you ultra-crispy granola and should be a must-have for your recipe. Plus, adding egg whites will give your recipe a boost of protein and may even replace the need to add copious amounts of extra fats to the recipe to get the perfectly crunchy texture.
You'll need two whipped egg whites for every three cups of rolled oats. You can just froth the oats until they are loose and tall, not to the point where stiff peaks form (like you would need for meringues). Add a scant amount of sweeteners and oil to the egg whites and toss with the rest of your ingredients on a sheet pan. Then, bake the mixture at 400 F for a half-hour, flipping occasionally. This ingredient hack can also be used for getting perfectly crisp granola bars.
Avoid overcooking your granola
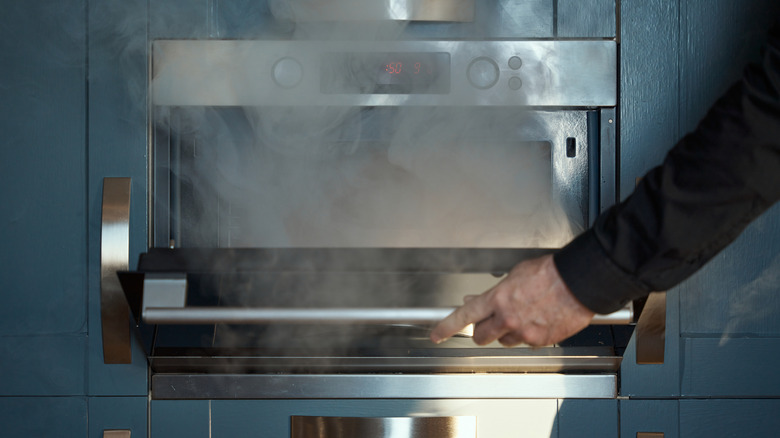
Granola is one food that will burn if you even go so far as to look at it the wrong way. After all, what would you expect from a blend of temperamental nuts, oils, and sugar? When baking granola, you should always cook it low and slow. You shouldn't need to crank your oven more than 300 F to 350 F; raising the temperature will just cause unequal cooking and render some parts of your granola salvageable while others are useless.
To encourage even cooking, you should also line your pan with parchment paper. This coating will make it easy to lift and pour your granola into a container and reduce the amount of work you have to do in cleaning up afterward. Once the pan is lined, spread the granola evenly to ensure each side is equally as toasty and cooked through. These secrets will hack your granola and ensure that you won't have to clean burnt wads of cashews off your baking sheet.
Try making granola in your air fryer
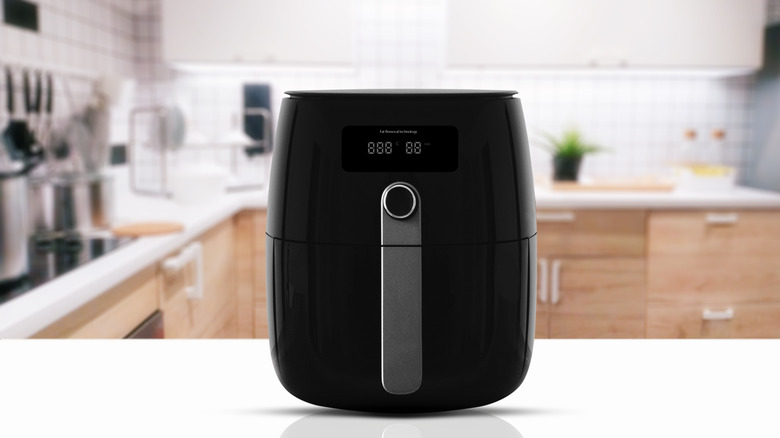
There isn't much that air fryers can't do. You should make granola in the air fryer because it makes for a mess-free option that won't require you to heat up your entire kitchen when you turn on the oven. And it's great for small batches of granola where an entire sheet pan would feel like overkill.
Start by combining your granola ingredients in a bowl and preheat your appliance to 350 F. It's critical to line your basket with parchment paper to make moving the granola easy and to prevent gunking up your machine. Once you pop your granola in the air fryer, you'll only have to wait between 10 and 15 minutes until your recipe is ready to eat. Be sure to stir (or shake the mixture) after about five minutes to prevent burning and allow the air to circulate through all the crevasses of the clusters.
Don't just make sweet granola
While you may think of granola as the sole companion to yogurt and smoothie bowls, there are so many more flavor possibilities on the savory side of things. Our recipe for savory granola bars utilizes dried rosemary, salt, dried oregano, and cracked black pepper to give these bars a step up. Although this recipe makes for crispy logs, you can also use the spice blend to flavor your homemade granola recipe.
Spices aren't the only ingredient to help take your granola on a savory trip. Use dried pomegranate seeds for a pop of color and mild fruity flavor, and pair it with tons of nuts and seeds (like pumpkin, flax, and chia) for both fiber and texture. Although the sweeteners are a necessary ingredient to help keep your granola clumpy, you can use honey for a milder, more organic taste that pairs well with the spices.
Add brown rice syrup to keep your granola bars together
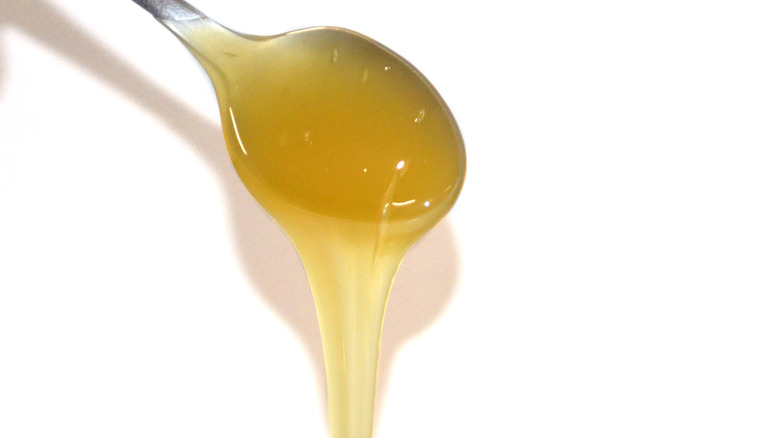
You've probably heard of the conventional sweeteners for granola bars — especially if you've read the back of a Quaker Chewy Bar package. The one ingredient you need for better texture in granola bars, which is also found in commercial products, is brown rice syrup. Although the name implies that this spread would be sickeningly sweet, it has a relatively mild flavor with some nuttiness that will help your bars keep their shape without shifting the flavor balance too far in one direction. Moreover, its subdued sweetness, compared to honey and maple syrup, will allow you to experiment more with savory flavors and herbs.
There are many uses for this sticky ingredient outside of just making granola. You can use it for a batch of strawberry chia oatmeal bars, as a drizzle on your short stack of pancakes, or as a thickener in salad dressing.