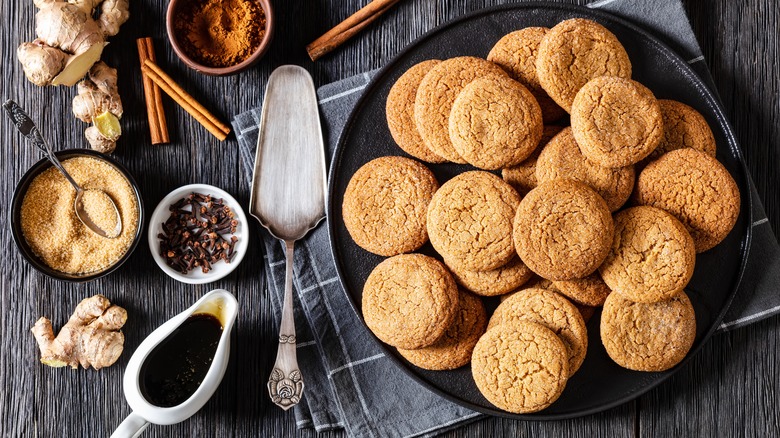
16 Tips And Tricks For Baking Cookies, According To A Cookie Expert
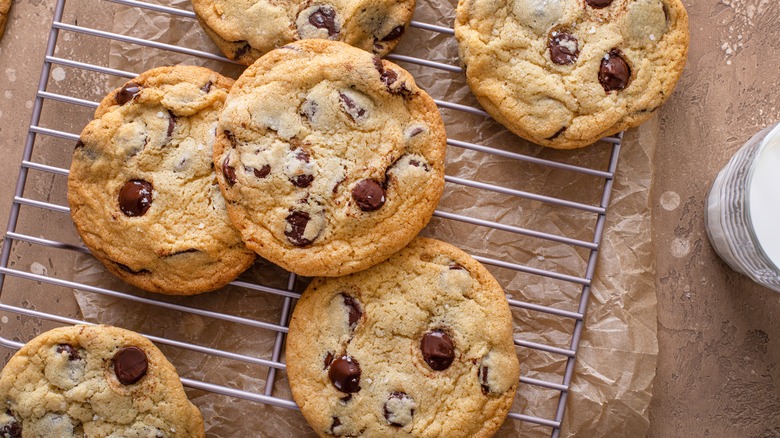
Isn't it funny how a good, aromatic cookie can bring us back to our childhood? It evokes memories of rubbing together dough-covered fingers while listening to a stand mixer lazily spinning and peeking through the oven door as the little balls of dough almost magically flattened and turned golden. Although we admit to doing very similar things as adult bakers, there is seemingly more stress involved. There is a lot of double-checking to see if you read "teaspoon" or "tablespoon," asking yourself if your dough looks "right," and deciding if "just two more minutes" is too much.
Well, we're here to help make your cookie-baking experience a little less stressful and help you feel more confident in tackling your favorite snickerdoodle or shortbread recipe. We've enlisted Samantha Zola, founder of Zola Bakes and rainbow cookie mastermind, to give you tips and tricks for baking a delicious batch of homemade cookies.
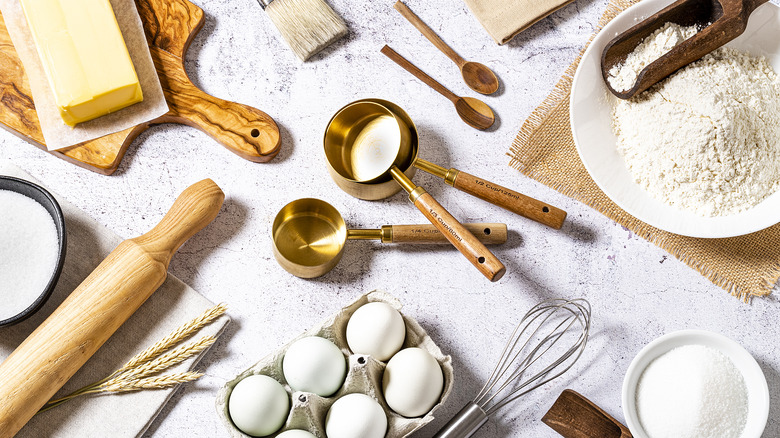
Use a scale to measure your cookie ingredients

If there is one tool that every baker should have in their kitchen, regardless of their proficiency, it's a kitchen scale. Pastry chef Samantha Zola says, "Accurate measurements are crucial for consistent results." So even though it might feel like overkill to meticulously measure your flour, sugar, and butter to the gram, you'll be rewarded with cookies just as your recipe intended.
Measuring cups, which are the go-to for many home bakers, don't measure as accurately as a kitchen scale. You should bake with a scale instead because 300 grams of flour is 300 grams of flour, no matter if it is sifted or packed together. Shoving your measuring cup into the flour container will just pack the particles into the cup, which may yield more or less flour than your recipe intended. Moreover, aim for a recipe that has the weight measurements listed on it, rather than cups, so that you can more easily replicate it in your home kitchen.
Make sure your ingredients are at room temperature
Baking cookies is just as much about preparing your ingredients as baking them. Samantha Zola recommends keeping them at room temperature before mixing. "Room-temperature ingredients blend more evenly," she explains, "resulting in a smoother dough texture and better incorporation of flavors."
This is especially true of eggs and butter. If you find yourself forgetting to pull the latter out of the fridge while strapped for time, you can easily soften the butter by cutting it up into cubes. This maximizes the airflow between the pieces, thus bringing them up to temperature more quickly. You can get eggs to room temperature by putting them in a warm water bath or running them under lukewarm water.
While waiting for the ingredients to come to room temperature, you can do other kitchen tasks like preheating the oven and measuring your dry ingredients.
Swap out the regular butter for brown butter
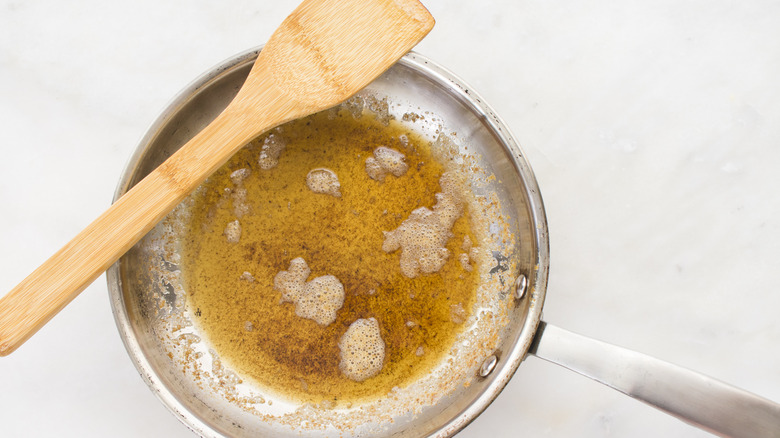
Cookies are flavorful on their own, but if you want to give your cookies a more toffee-like, nutty flavor, consider swapping out your regular butter for brown butter. It's the secret ingredient in our brown butter chocolate chip cookies recipe — and it's easier to make and add to your dough than you'd think.
Brown butter gets its unique flavor from toasted and caramelized milk solids. You won't have to add anything special to your butter, although you can upgrade the flavor by adding milk powder — which is essentially concentrated milk solids — to melted butter and cooking. You'll want to start by melting the butter in a lightly-colored skillet; a lighter pan will make it easier to determine when the butter is done. Once it starts to toast and emit that heavenly aroma, pull it off the stove.
You should never pour the hot, brown butter directly into the cookie dough because it can alter its texture. Instead, let it cool on the counter while you measure out the rest of your ingredients. Then, pour the butter mixture into the sugar. It's important to allow the brown butter dough to rest in the fridge for a little while so that the flavors can meld together and create an unforgettable cookie dough.
Cream your butter and sugar together for soft cookies
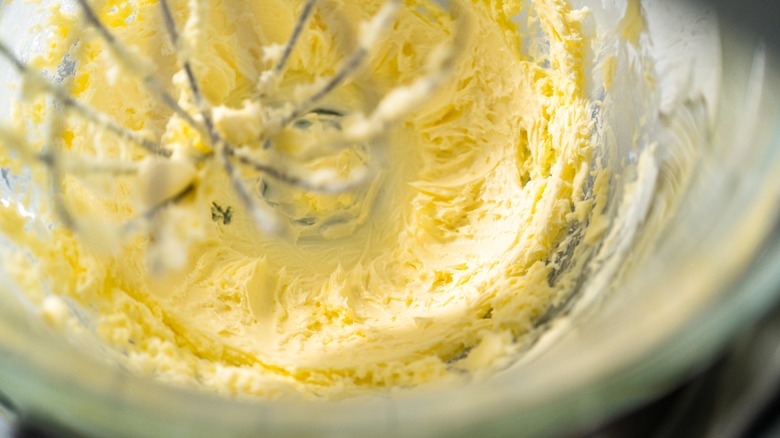
If you are a baking newbie, you might be a little confused about "creaming" butter in a recipe. Isn't butter creamy enough already? Creaming is when butter and sugar are combined into a blended, uniform, fluffy mixture in which the sugar is evenly distributed.
Samantha Zola notes that creaming is critical to creating a cookie dough that's "light and airy," which in turn is translated into the texture of the baked cookie. She advises to cream before adding the other ingredients, like flour, leavening agents, and salt, to the dough. The easiest method to cream butter when baking is to first soften your butter before whipping it in a stand mixer with your sugar. Not only will cold butter not hold air, which is the purpose of creaming it in the first place because air produces a light and fluffy result, but it will also force your mixer to work twice as hard.
Some bakers opt for the reverse-creaming method instead, which involves starting with your dry ingredients and then creaming in the butter and other liquids (like eggs and vanilla extract). It's important to note that this process produces crispier and flatter cookies, which are ideal for decorating but may not be suited to every recipe.
Add oats for a chewier cookie
Oatmeal raisin cookies sometimes get a bad rap. But it's the raisins that are the problem — not the oatmeal. In fact, oats can make for a chewier cookie and are an ingredient you should consider adding to your recipe, even if there isn't any dried fruit involved.
Think of the texture of a bowl of warm oatmeal. It's soft and mushy, and these grains can reach the same consistency inside of your cookies. You'll want to stick to the whole, old-fashioned oats for this hack rather than the small, quick-cook ones. This is because the latter are smaller in size and more readily absorb liquid, which can result in a moister, cake-like cookie. On the other hand, the whole oats will slowly absorb the moisture from your butter, eggs, and extracts and hold it in the cookie instead to create a chewy treat. You can also maximize the chewiness of your cookies by giving your oats a pre-soak before stirring them into your recipe.
Double-chill your cookies
Your best friend while making cookies isn't your stand mixer or your jar of vanilla extract: It's your fridge. Letting your cookie dough rest twice — after the dough has been brought together and after it's shaped — is critical. The chilly conditions will help solidify any butter that has started to melt, while the dry air will pull moisture from your cookies, thus increasing the concentration of sugar. This process, called ripening, will result in a cookie that's less likely to spread and has a significantly better flavor. A half-hour in the fridge is the bare minimum, but some recipes will even suggest that you fridge it overnight to help enhance the cookie's flavors.
Granted, there are some types of cookie dough that you shouldn't refrigerate, like lace cookies and shortbread. If the cookie is meant to come out of the oven thin and crispy, then you can skip the chilling step. Otherwise, give your dough a double-chill to maximize the flavor and prevent your butter from spreading.
Swap out the chocolate chips for a high-quality baking bar
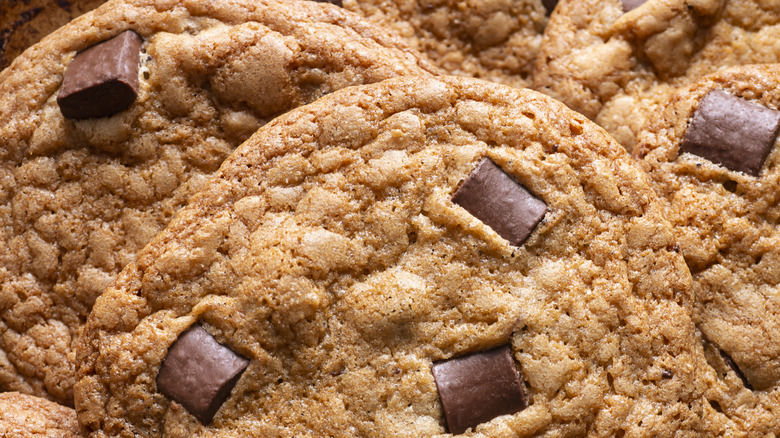
Chocolate chip cookies are a classic recipe. And a tip to elevate it is to replace the semi-sweet morsels with a high-quality bar of baking chocolate.
Bar chocolate is so much better than chips for homemade cookies, regardless of whether you're making a version of the classic Toll House cookies or just trying to give your cowboy cookies a bit more pizzazz. Bar chocolate tends to contain a higher concentration of cocoa butter, which means that it will more readily melt into your cookies and give you the chocolate pull that your eyes (and tastebuds) are craving. Moreover, chocolate chips often contain stabilizers that force them to keep their shape. So, you may end up with unmelted chunks of chocolate inside your otherwise soft cookie.
Grab your favorite baking bar from the grocery store and roughly chop it into pieces. Use a bar of chocolate that you would enjoy eating for baking — just like how you should use a decent-tasting wine for cooking. Moreover, we recommend a coarse chop so that every bite of the cookie has a variable amount of chocolate in it.
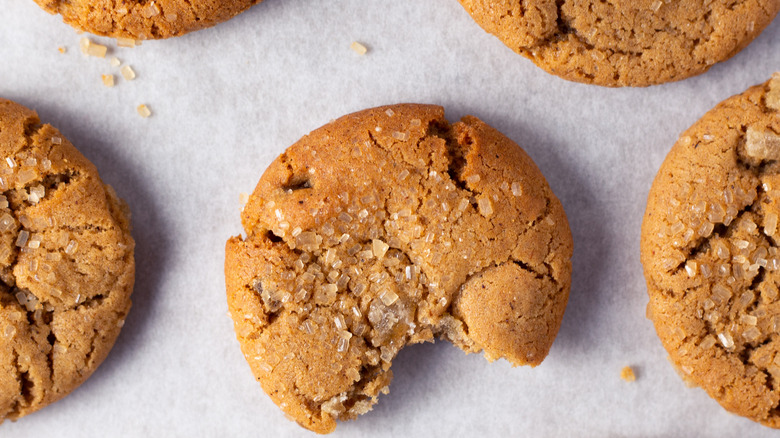
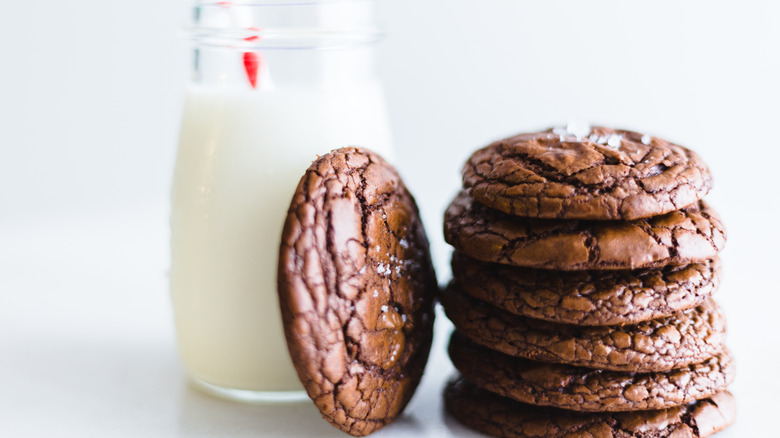
Play with salty and umami flavors to balance your cookies
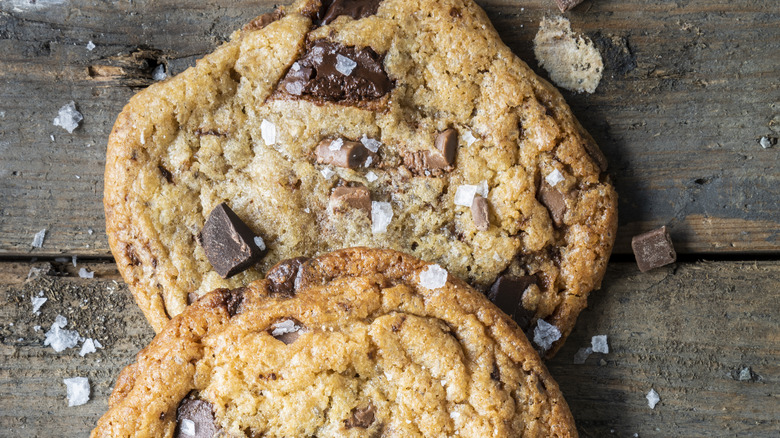
Cookies are supposed to be sweet. And while there's nothing wrong with that, the cloying undertones can overwhelm your tastebuds and prevent you from reaching for another cookie. To make a batch of cookies with a balanced flavor that you can eat more of, turn to something salty. Adding salt to both your cookie dough and the top of your cookies will actually make your homemade cookies taste sweeter because it will draw your tastebuds toward the sweet reprieve of the cookie.
Flaked sea salt, albeit beautiful on top of a freshly baked cookie, isn't the only way to integrate saltiness into your recipe. You can also add a scoop of miso paste for an umami-salty flavor; it's especially delicious when paired with brown butter. Or, consider rolling your cookies in crushed potato chips to give them both a salty flavor and a satisfying crunch.
Avoid overmixing your cookie dough
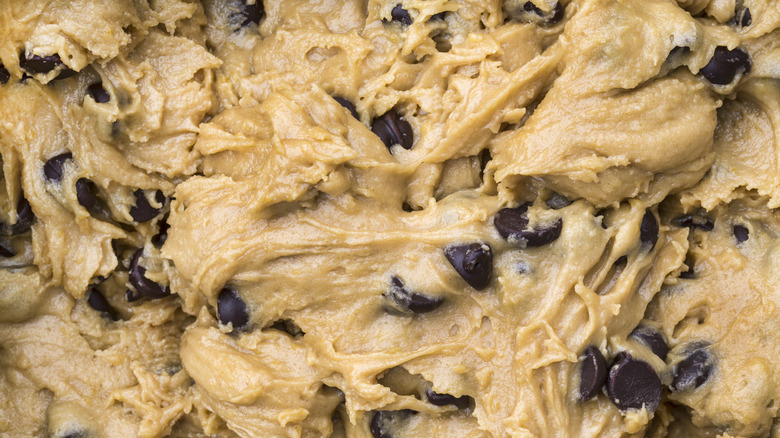
The ideal cookie has a soft bite that easily breaks apart when you bite into it. But if you make the tragic mistake of overmixing your cookie dough, you may end up with chocolate chip cookies that resemble chocolate chip bread.
Samantha Zola warns that "overmixing can lead to tough and dense cookies." Instead, she suggests only mixing the dough until the ingredients are just combined and explains that the gluten in the flour can cause issues with the structure of the cookie if it's overworked.
You can tell if your cookie dough is overmixed if you pull them out of the oven and notice they have all gone flat. This is a sign that you beat too much air out of the cookies when mixing them. You'll also notice that overworked dough tends to fight back when you try to stir it rather than moving and mixing easily. If you reach this juncture, let your dough rest so that the gluten can slack, or add wet ingredients like milk, water, or melted butter if the dough seems dry too — and remember to go easy next time.
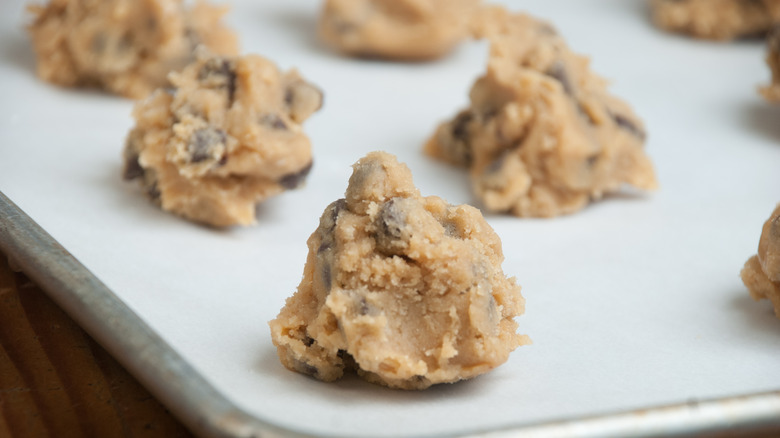
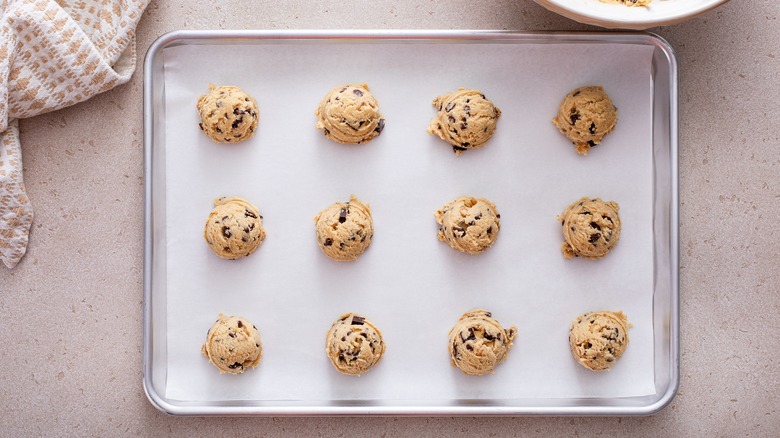
Use a cookie scoop to avoid mishandling your dough

Even if you're not planning on sharing a photo of your freshly baked cookies with your Instagram followers, you still should strive to have uniform, round cookies. Mangling the dough with your hands and approximating each ball will not only warm up the butter but, in turn, promote unwanted spreading, but it's also unlikely that you'll get every one of them to the same exact size. Instead of eyeballing your scoops, grab a cookie scoop instead.
A cookie scoop is a must-have for any baker because you can easily swipe it into the bowl and press out your desired amount of dough into the sheet pan. While you could take it a step further and measure each ball on a kitchen scale, you can generally assume that the two-tablespoon scoop will be about the same for every ball, plus or minus a piece of chocolate.
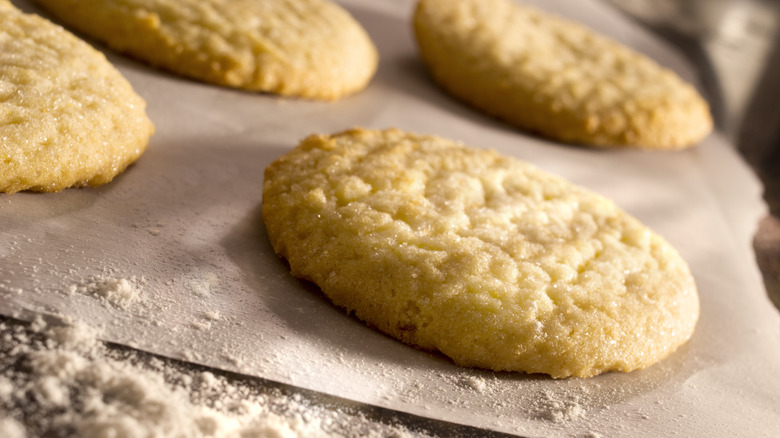
For more cake-like cookies, bake them in a ring mold
Cakey cookies have a time and a place, although we've already sworn our allegiance to the thin and crispy Speculoos. But how do you slow the spread of these cookies on your baking sheet to get the desirable texture? Luckily, Nancy Silverton, founder of La Brea Bakery, has a solution.
Silverton's hack for softer chocolate chip cookies is to bake them in ring molds. She notes that the texture of these cookies is "blondie-esque" in that they are super tall and spongy rather than thin and crisp. In Silverton's exclusive interview about cookies with Tasting Table, she shared that she was first inspired to try this tip after seeing French bakers making cookies this way. The ring molds encourage the cookies to grow upwards rather than outwards, thus increasing the concentration of the soft interior. Silverton also tries to underbake her cookies slightly to preserve this soft texture.
This hack can be used for an array of soft cookies, from chocolate chips to snickerdoodles. You don't have to alter the baking process or time — just pop them inside a mold and bake.
Set a timer to avoid overbaking your cookies
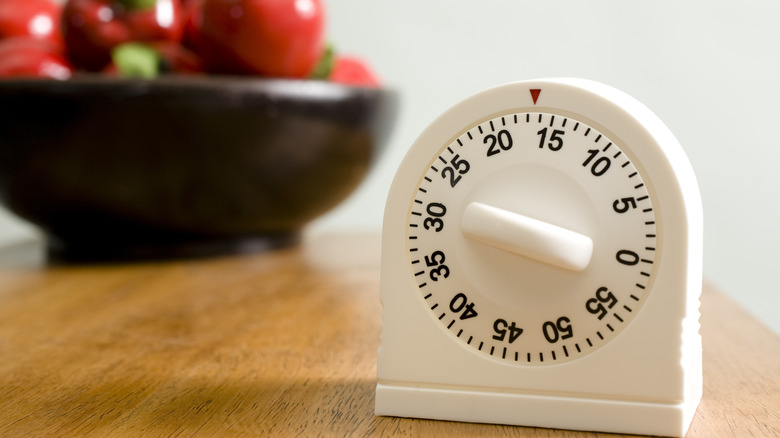
"I love burnt cookies!" — said no one, ever. It can really put a damper on your day to see your cookies coming out of the oven looking like hockey pucks. Samantha Zola says setting a timer as soon as the cookies hit your oven can help prevent overbaking. "[The] cookies are done when the edges are lightly golden brown, and the centers are set, but still soft," Zola advises. You can also tell your cookies are done baking if you give them a gentle poke with your finger and no imprint remains.
Keep in mind that there are a myriad of factors that can alter the baking time of your cookies. If you're making your cookies on a baking sheet with rimmed edges, you'll need to adjust your baking time if the recipe calls for cookie sheets, which do not have lifted edges. Baking sheets with rimmed edges block airflow so you'll have to keep your cookies in the oven longer than required. So, while your timer can give you an accurate idea of when to pull your cookies, it's best to keep a watchful eye on them.
Aim for underbaked cookies rather than overbaked cookies
Overbaked cookies are still good to eat, but they lack the satisfying pull or soft texture of a good cookie. That's why Samantha Zola recommends pulling the cookies from the oven when slightly underdone in the center.
Zola notes that you can leverage your hot baking sheet to help finish your cookies' cooking time. She shares that pulling the cookies from the oven prematurely and leaving them on the baking sheet will result in "perfectly chewy cookies."
But, if you choose to pull your cookies out just as they reach their peak doneness, then you'll want to pull them off the hot sheet as soon as possible to prevent the carryover cooking from ruining their texture. Try to transfer these cookies to a wire cooking rack, which will allow the air to circulate underneath and between the cookies to effectively cool them off.
Double pan your cookies to prevent burning the bottoms
Perhaps the most challenging part of baking cookies is trying to get the tops of the cookies to bake at the same rate as the bottom. If you look away from your oven for even a moment too long, you'll risk the bottoms burning while the tops come out raw. Luckily, there's a trick to preventing this. You can help shield the bottom of your cookies from the heat by using two baking sheets at once instead of one.
Since there is more metal for the oven to warm, the bottoms of your cookies won't burn as fast. However, this hack is like a Catch-22 because you may have to bump up the cooking time to ensure your cookies bake through entirely. But, it does ensure a more even bake — which is the essential purpose of this cookie hack.
Another alternative is to use a thicker cookie sheet or baking pan. A thicker pan absorbs heat more slowly, thus reducing the risk of burning.
Bang the pan on the counter for the perfect crinkle
Self-taught baker Sarah Kieffer is nothing short of a cookie genius. And it's her we have to thank for the pan-banging technique that yields perfectly crinkled cookies. Kieffer's instructions are to repeatedly remove the cookies from the oven and smack the sheet on a hard surface — like the stove or countertop — as the cookies are baking. Kieffer notes that this process should be done every couple of minutes. So while you may not be able to stay away from your kitchen for too long, the cookies that this technique yields are nothing short of amazing — and totally worth it.
The best thing about these cookies is that the middle barely sets while the outside gets deliciously crisp and crunchy. They make for a delicious bite, and you'll want to share them with all of your Instagram followers.
Use a coffee mug to ensure that all of your cookies are the same shape
Have you ever made perfectly round balls of cookie dough, only to have them come out of the oven looking like amoebas? Although the cookies are still pretty darn tasty, decorating them can be a pain because they're not all equally round.
For perfectly round cookies every time, grab a coffee mug from your cabinet. You'll want to bake your cookies first and then pull them out of the oven. While they're still molten, turn the mug upside down and cup the cookie with it. With the cookie still under, gently move the cup in circular motions to round out the cookie using the edges inside the mug. If you don't want to sacrifice your favorite mug to this molten mess, you can also substitute it with a ramekin, jar, or glass.