The Reverse-Creaming Method, Explained
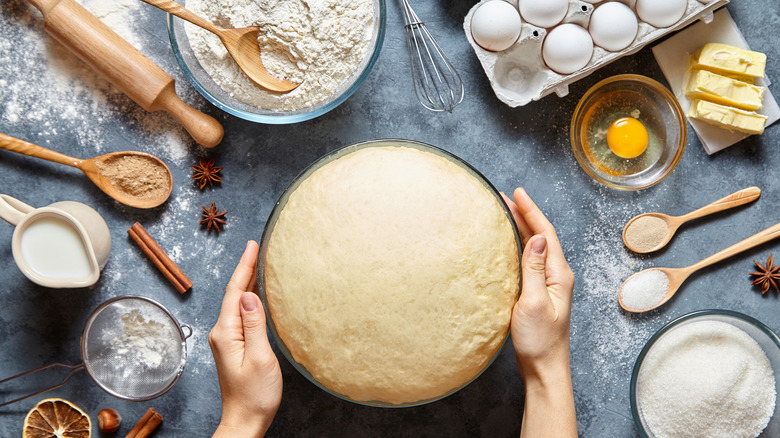
Making a perfectly light and fluffy cake can be a challenge for home and professional bakers alike, and issues usually stem from the creaming method. Nellie's Free Range says if you don't get the traditional creaming of butter and sugar just right, there's nothing to do but start over. Beating your sugar and butter for too long will give you a flat, grainy cake, and over-creaming yields a dense dessert. What if the real problem is creaming the butter and sugar together in the first place? Epicurious explores the reverse-creaming method put forth by Rose Levy Beranbaum, who suggests creaming backward may be better.
It's tough to go against every lesson you've learned about creaming butter and sugar, but if you're going to put your trust in a baker, make it three-time James Beard Award recipient Rose Levy Beranbaum (per Real Baking with Rose). After all, she literally wrote the bibles on all things baking with one of her many best-sellers, "The Cake Bible," inducted into the International Association of Culinary Professionals Culinary Classics. Although she first shared her reverse-creaming method via Cook's Illustrated in 1982, it wasn't until she published "The Cake Bible" that the masses took notice of the fail-proof technique.
The reverse-creaming method puts butter and flour first
Rose Levy Beranbaum told Epicurious that she first discovered the reverse-creaming technique in cookbooks designed for production bakers using high-volume recipes utilizing large quantities of ingredients that don't translate well into the home baker's kitchen. A self-proclaimed rule-breaker, Beranbaum began experimenting with the method to see if she could make it work on her own terms.
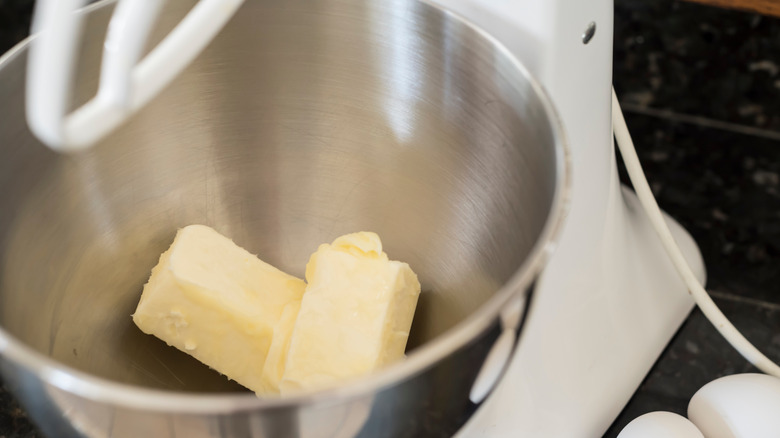
Instead of using gobs of shortening as many commercial kitchens do, Beranbaum worked to find the best way to substitute butter into her take on the backward cake technique. She found that softening butter between 65 to 75 degrees Fahrenheit was ideal. If you can't take the temp on your stick of butter, allow it to come to room temperature in a cool area where it just softens instead of melting into a butter puddle. If you're in a hurry, the Food Network suggests a few methods like cutting cold butter into small chunks, rolling it out, or using indirect heat to soften it quickly.
Start the reverse-creaming method by disregarding your former baking knowledge and blend all dry ingredients in your mixer first. As Beranbaum wrote in "The Cake Bible": "Creaming still takes place but in a different way: All the dry ingredients are first combined with the butter and a minimum amount of liquid, which coats the flour before adding the remaining liquid ingredients" in three stages (via Baking Outside the Box).
Why the reverse-creaming method works
Baking is a science full of perfect temperatures, precise measurements, and chemical reactions that can make or break your baked goods. Rose Levy Beranbaum, who earned two degrees in food science, understands the important specifics and delicate minutia of baking (per Epicurious). When introducing the reverse-creaming method in her culinary bestseller "The Cake Bible," Beranbaum wrote, "The method I have chosen for my butter cakes is faster, easier, and virtually eliminates any possibility of toughening the cake by overbeating" (via Baking Outside the Box).
King Arthur Baking agrees with Beranbaum that creaming in reverse creates a more tender cake because the flour is coated in fat from the get-go. Covering the dry ingredients with butter limits gluten development and makes a moist crumb. If you've ever had a bite of cake with the texture of dense bread, it's likely due to the gluten proteins in the flour being overworked.
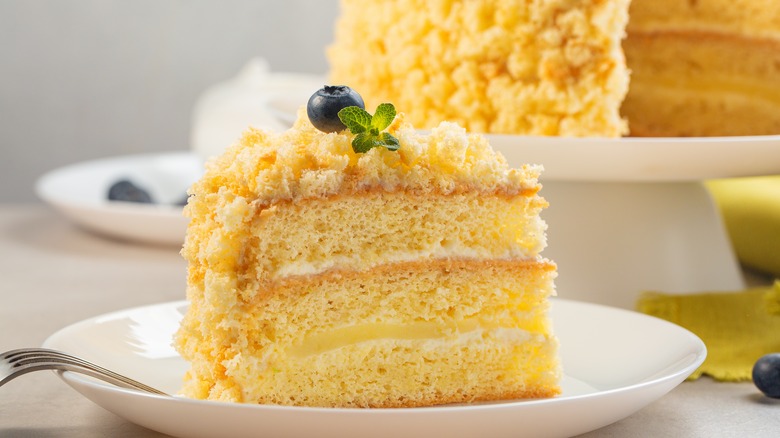
Traditional creaming methods incorporate lots of air into cake batter. which can result in a domed, dry cake. The reverse-creaming method puts your cake batter in the Goldilocks zone of air bubbles, creating a cake that's not too heavy or fluffy. The staff at Martha Stewart recommends the technique for bakers who want a flatter, icing-ready cake that has a sturdier crumb structure but is still delicate. It's also a great method for bakers who struggle with broken batter from traditional creaming methods. Since the flour and butter go first, the wet ingredients are more easily incorporated and create a velvety batter that can go from mixer to oven in about 10 minutes.