11 Best Ways To Soften Butter
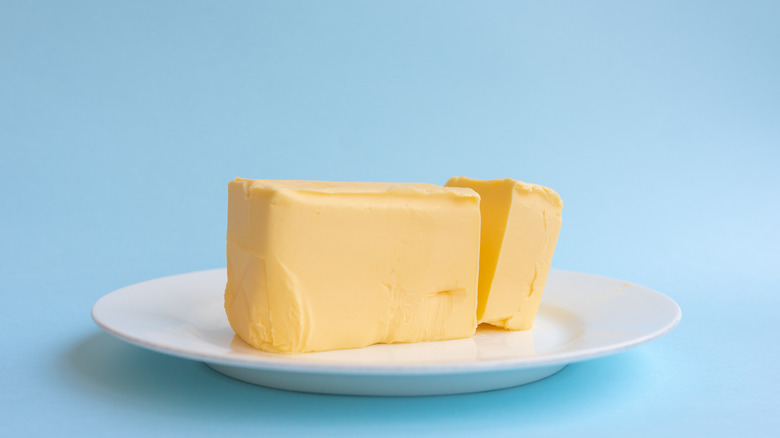
Where would the baking world be without butter? It's the centerpiece of most baked goods, making them just about as rich, dense, salty, and creamy as they can get. It's the reason cookies melt into flat disks, why frosting melts in your mouth, and why brownies are so incredibly dense. Yes, we could live without butter and use substitutions like coconut oil, but there's just something about that salty, rich flavor that we can't get enough of. Many recipes will call for softened butter to better help distribute the butter throughout the dough or mix. Instead of halting your recipe or tossing in a solid block of butter, which we don't recommend, consider following some butter hacks, and learning the best ways to soften butter.
Home bakers know that chucking that slippery solid block in a stovetop pan is no way to soften butter. Instead, you'll melt the outside into a liquid and the center will remain solid. Melted butter should not be used in a recipe that calls for softened butter, as it will have a very different outcome. If you're going to make a million dirty dishes and cover your kitchen with flour while baking, it's best not to skip any steps and just do it the right way from the get-go. Here are the butter-softening hacks you need to try next time you get the baking bug.
1. Create a steam room
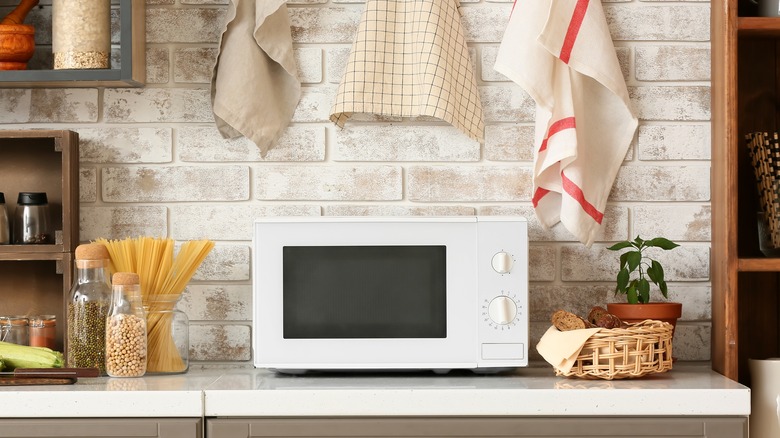
While it's incredibly tempting to unwrap that stick of butter, pop it on a plate, and toss it in the microwave for a designated amount of time to soften it, resist the urge. Unless you're using the perfect settings, your butter will come out an unevenly melted mess. You will have both melted and solid parts, and mixing them won't offer a useful solution. However, there are several ways you can use the microwave to soften butter, and the most successful one is to make it into a steam room.
Instead of just placing a stick in the microwave to soften butter fast, use a microwave-safe cup or bowl and fill it with water. Microwave it for at least two minutes, or until it boils and steams. You want your microwave to turn into a mini spa-like steam room, and once it's reached that point, you are safe to quickly remove the dish or cup of boiling water using oven mitts or heat-protected gloves. Quickly place your stick of butter in the steamy microwave, close the door, and let it sit for about 10 minutes. If you choose to chop up your butter first, this process will be more effective, or move along faster. A stick will take longer and may not soften as evenly. Use a warm but not hot plate to put the butter on for even better results. This way, it will be receiving indirect heat from all angles.
2. Cube it first
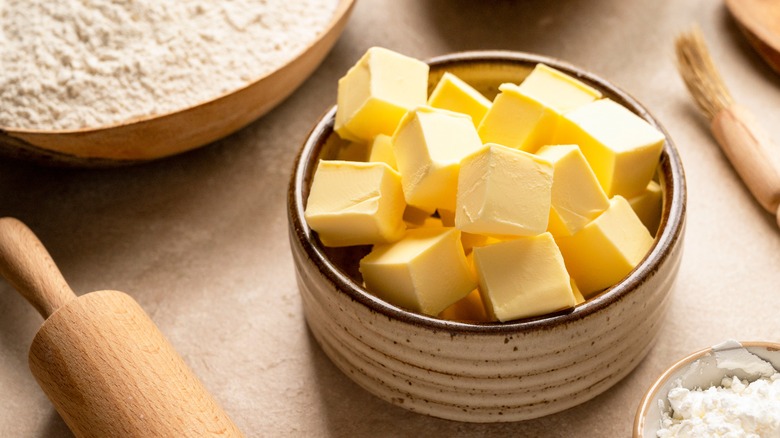
If you haven't thought ahead and need softened butter for your recipe, there's no need to sit and wait for an eternity. Time and time again, bakers will tell you that the best way to soften butter, and one of the easiest ways to soften butter more quickly is to cut it up. This is because by chopping a stick of butter into small pieces, you're creating more surface area. Room temperature air should be enough to soften butter, which will remain solid but won't melt. It just takes quite a bit of time to permeate into the center of the stick. If most of your butter is made up of surface area or is a short distance from the air of the room around it, it will soften at a faster rate.
Now, if you're looking for an exact science when it comes to softening butter you may be disappointed. No method will give you a specific amount of time until your butter is workable. The variable of the room temperature, the humidity, and how solid your butter is to start with can cause different outcomes. If you've been baking all day in the summer heat, your cubed butter could soften in 15 minutes. If it's the dead of winter and your wood stove is working hard to keep up with heating the house, it will take longer. However, the result of softening butter by cubing it can be incredibly effective, so it's worth a try.
3. Give it a pinch

While many routes to softened butter involve sitting and waiting, this one is a little more hands-on, and dare we say, more fun. Place your butter in a plastic baggie and squeeze all of the air out and seal it shut. Use the warmth of your fingers to mash and pinch the butter. This will not only help to warm it up without fully heating it, but you will reach even the depths of the butter stick using this method. Even for adults, this can be a little stress reliever similar to squeezing a stress ball or popping bubble insulation. Take a quick break from standing on your feet in the kitchen all day and mash your butter around by hand.
If you have children, this is an especially good technique to use, as long as they don't get curious and try to open up the baggie. Hand the bagged butter off to an age-appropriate child and let them work their magic. Not only will the activity distract them and you'll have nicely softened butter, but it will help to give them a sense of pride for being able to help out with the baking. When it's all softened and ready to use, simply slice the bag open or turn it inside out and scrape every last bit of the butter into your bowl. If you don't mind getting your hands dirty, pinch the inside-out bag between two straight fingers and drag them from top to bottom.
4. Use the rolling pin method
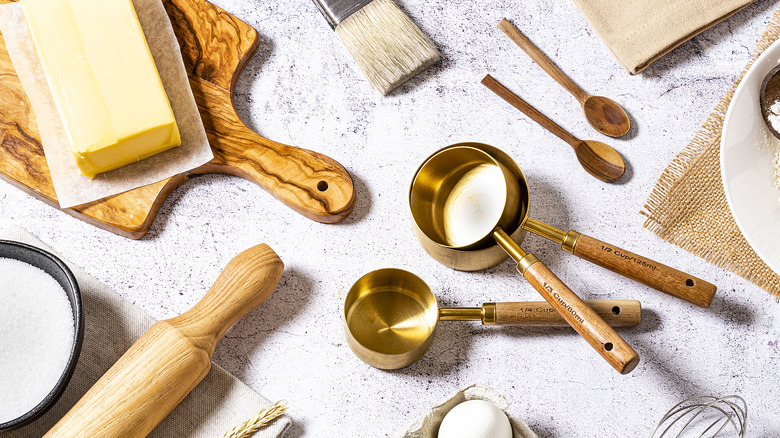
If you're not the type to plan ahead or to sit around and wait for butter to soften on its own, then the rolling pin method for quickly softening butter may be for you. The whole process takes about 15 minutes and it's somewhere between set-and-forget and hands-on. When gathering materials to use, there are a few variations so it's likely you already have everything you need. The most important tool is a rolling pin or you can use a full bottle of red wine as a substitute. You'll also need a large countertop surface and either a large plastic baggie or two pieces of parchment paper or waxed paper.
Place the cool stick of butter in the baggie and pinch it only partially shut so some of the air can escape. Alternatively, place the butter between two pieces of wax paper. Either method will work for preventing an oily mess on your hands and rolling pin. Next, take your rolling pin and start to work the butter. Your goal is to roll it into a ¼-inch thick slab. Once it reaches the correct thickness, you can leave it for several minutes while you work on your other whisking, mixing, and measuring tasks. Come back after five minutes or so and flip it over, giving both sides a chance to interact with the temperatures of the counter and air. After the full 10 minutes, your butter should be softened to perfection and ready to use.
5. Let time take its toll
For those of you who have been itching all week to get going on your new baking recipe, then you may have very well reviewed your recipe beforehand and known in advance that you will be using softened butter. If this is the case, then you can certainly use our favorite set-and-forget method by leaving butter out on your countertop overnight. If you're planning on diving into your cooking endeavors in the afternoon or evening, you can certainly remove the butter from the refrigerator the morning of.
However, there's a reason that we typically keep butter and other dairy products in the refrigerator. As much as possible, we want to avoid the growth of bacteria, even if you plan on baking it into a delicious, piping-hot recipe later on. In order to avoid this issue, stick to using the only type of butter you should leave out at room temperature – pasteurized, salted butter. The salt helps to ward off unwanted bacteria, according to the Food and Drug Administration. However, not even salted butter should be left out for more than several days at a time, as butter is intended to be stored in refrigeration.
All in all, leaving your salted and pasteurized butter out on the counter overnight is perfectly safe. Only leave out the amount you're going to use at a time to ensure it all gets used up the next day and doesn't continue its inhabitance on the kitchen counter.
6. Try the glass hack

If you enjoy little kitchen hacks that are fun to perform, then you may enjoy the hot glass hack, also known as the hot jar trick to soften butter quickly. This method is trendy online, which has people wondering if you really can soften butter under a hot glass. But the results are in, and the answer is yes! It's a great way to soften your butter without having to get your hands dirty and is a great party trick to tell to your baker friends. Start by finding a tall, wide glass, that's larger and taller than your stick of butter. Be sure that it is heat resistant, and can withstand boiling water without cracking. Mason jars or Pyrex glass measuring cups tend to work well but feel free to use drinking glasses or grab a clean tomato sauce jar.
Fill the glass with boiling water, and let it sit for about five minutes. At this point, it will be very hot, so it's important to use some protective gloves or oven mitts when handling it. From here on out, work quickly so that the glass doesn't lose too much of its heat. Stand a stick of unwrapped butter on a plate vertically, and empty the glass of water. Place the glass over the stick of butter, trapping it, and let it sit for about 15 minutes. The heat will evenly surround the butter, helping it to soften from all sides.
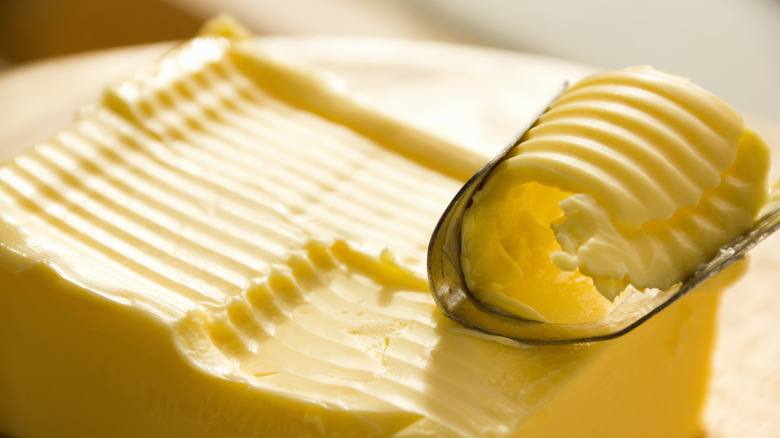
7. Grate the butter
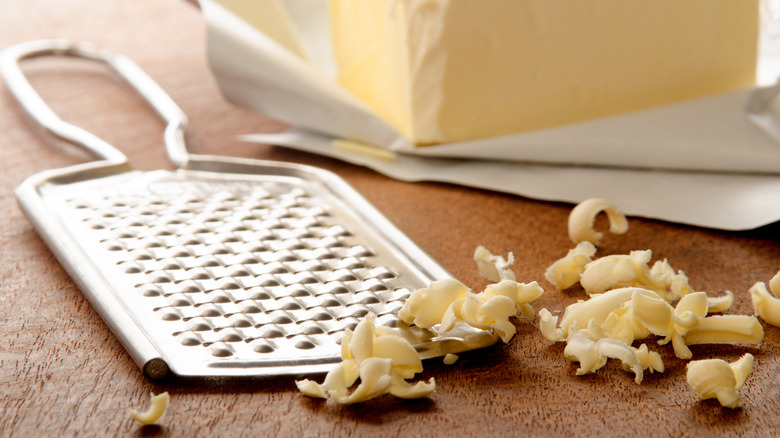
If you're working with particularly stiff butter, especially if it's been frozen, then the task of softening it may seem like it could take hours or even days to accomplish. Don't fear, there is a method that works particularly well but can be a little messy. This can be done with frozen or stiff butter, but doesn't work well for butter that is already on its way to softening. The goal is to create as much surface area as possible so that the heat from the room can affect it as efficiently as possible. In order to do that, consider grating your butter with a cheese grater.
This method is similar to cubing it but yields faster results, which is why it's recommended for frozen butter. In addition, it is quite a bit less messy if you're working with a solid block of frozen butter that's less likely to crumble and melt in your hands. In order to avoid slippery fingers that could, in fact, result in a gashed knuckle, keep the waxed paper on the outside of the butter. Peel away the part you plan to grate and hold onto the papered portion. Continue to peel the paper away as you move down the stick, and take your time when you get close to the end. Use the grate size you would for cheddar cheese for tacos. This will result in consistent shreds, that should take around 10 minutes or so to soften.
8. Let it take a warm bath
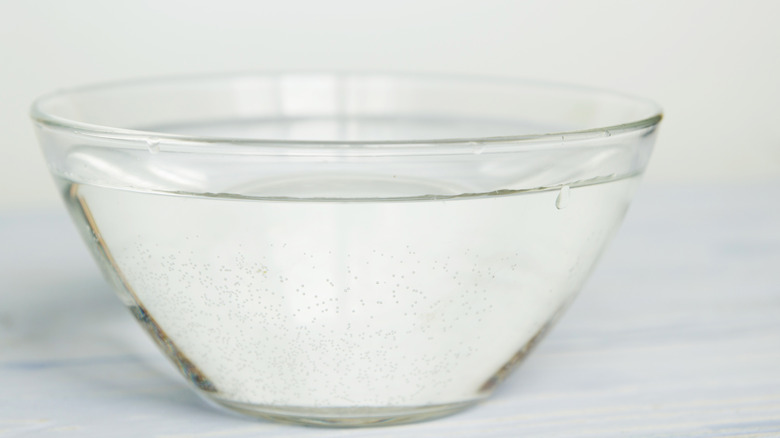
Time to take the plunge! If you plan to soften your butter using a warm bath, then it's essential that you use a plastic baggie that you trust not to leak ... no dollar store copy-cat brands. Take your stick of butter, and cut it into cubes. Place the cubes in a water-proof plastic baggie and squeeze all of the excess air out of it. Grab a large bowl, and fill it with warm water. Think of this like the temperature of a baby's milk or bath water. It should not be hot to the touch, but should instead feel warm and comforting, and be just slightly hotter than room temperature. If the water is too hot, you'll end up with melted butter which could throw off your whole recipe.
Let the baggie of butter sit in the bowl for 10 minutes or so. If it's floating on the surface, then be sure to flip it around after five minutes to ensure that each side has come in contact with the warm water. You can test to see how soft the butter is by pinching the chunks between your forefinger and thumb. If it dissolves into a slurry, it may have sat for too long, and if it's still stiff in the middle, it could potentially use a few more minutes in the bath. As with any method, it's important to keep an eye on your butter to ensure it doesn't melt or over-soften.
9. Cream the butter slowly

Reading about the easiest method to cream butter when baking won't help you out here, because any baker will tell you that you should never cream cold butter. In fact, most of the time when we are softening butter, it's because we plan on creaming it in the mixer later on, which results in fluffy, airy, whipped, and creamy fat. However, if your goal is to simply soften butter, and not to produce creamed butter, then it's safe to go ahead and toss it into the mixer. Cut it up into chunks, so your solid block doesn't attach itself to the paddle and become a dangerous hazard that you'll have to duck and hide from. You don't need a block of butter flinging across your kitchen at full speed.
Start the mixer on a slow setting until it begins to break up. As it mashes and mushes into smaller bits, you can crank the speed a little more. Eventually, you'll find that the butter becomes a denser version of creamed butter. This method introduces room-temperature air into all of its nooks and crannies, all at once. Before the butter has fully softened, remove it from the mixer using a rubber spatula, and let it sit for an additional period of time, five or so minutes, to allow it to finish softening. Although this method does produce more dishes, if you're planning on using your mixer later on in the recipe anyway, then no harm is done.
10. Whack it with a kitchen tool

Have a little frustration that you need to get out of your system? Did your car break down this week? Have you had to tell your kids to put away their toys 300 times today? Are you seeming to drop just about everything you pick up? Then the whacking method may just be for you. It's the loudest way to soften butter, and is perhaps the most fun of all, as well.
Start by gathering a rather tough plastic baggie, perhaps a freezer baggie or reusable one, and a mallet. A wooden or rubber mallet will do, as long as it won't damage your countertops. Place the butter inside the plastic baggie, and squeeze all of the excess air out of it. You can even leave a small sliver of the top open to allow air to escape. If you have any excess air in the bag, you risk it popping, which could explode softened butter all over your kitchen. Next, take your mallet and get whacking. Start softly whacking the butter thin and then go to town. After you've had your fun, let it sit for an additional 10 minutes to fully finish softening. We can assure you, this will be the most fun and productive game of whack-a-mole you've ever engaged in, and by the end, you'll have a beautiful bag full of softened butter to bake with. Just be sure to keep those fingers out of the way!
11. Toss it in the microwave
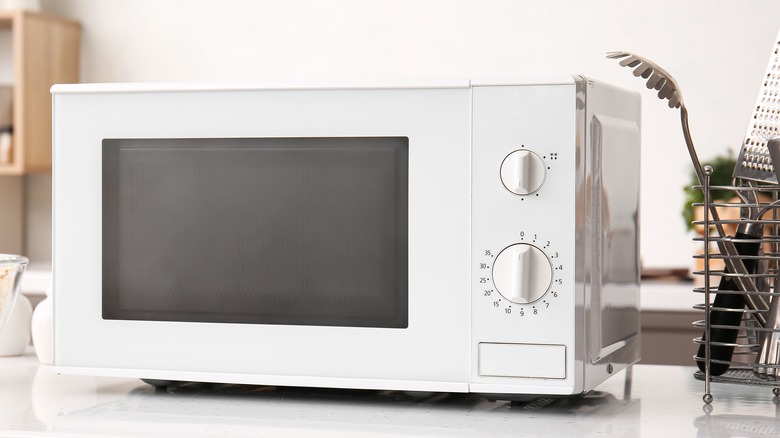
Although it's typically not recommended to soften butter in the microwave, desperate times call for desperate measures. The reason that folks usually avoid using the microwave for softening butter is that, on a high setting, your butter is likely to melt. Once butter is melted, it's difficult to revive and tends to take on a whole new consistency. Instead of tossing your butter in for 30 seconds and praying for a miracle, it's time to use some of those fancy settings on your microwave. While many of us haven't ventured beyond the 'reheating leftovers' and 'potato' settings, there's actually quite a bit you can do with that handy dandy machine.
Place your butter on a microwave-safe plate that doesn't tend to retain much heat. Then, set your microwave to power level three, which translates to thirty percent. If you don't know what microwave power levels actually mean, you're not alone. Just think of it like the temperature of your oven or stovetop. A lower temperature will help to evenly cook food from the inside out, while a high temperature hits the surfaces of the food harder. Your 'reheat' microwave setting does this for you, but you can always plug it in manually yourself. Start by letting your butter heat for 20 seconds, and then from there check it in five-second increments until it's reached your desired softness. Do not walk away from this one, or you may find yourself with a plate of runny, melted butter.