17 Butter Hacks You Need To Know
Let's give a round of applause for one of the most important culinary inventions of all time: butter. This dairy product has significantly impacted the history of cooking and baking and is a staple ingredient in the butter drawer of most American homes. But how much do you actually know about butter?
Butter is a fat made by churning milk. It has a comparatively low smoke point at 350 degrees Fahrenheit and will melt at 98.6 degrees Fahrenheit. Its physical qualities, including a hydration percentage hovering between 16 to 18%, and its unctuous and slightly sweet flavor, make butter an important ingredient across many cuisines and recipes.
And while there are many different types of butter, all varieties have different culinary applications that set them apart from one another. Here are some of the tips and tricks you need to know when working with butter for baking, cooking, and everything in between.
1. Use a box grater to quickly and evenly distribute butter

Cold butter is one of the most important ingredients in a traditional Southern biscuit recipe, pastry, pie crust, or batch of scones. Since the butter is kept cold when added to the recipe, it will produce steam when placed into a hot oven. The steam is what causes the characteristic puff on these baked goods — and is what makes them so delicious.
Working with cold butter is difficult because it's hard to cut and distribute evenly. To improve the distribution of the butter in your baked goods and keep it chilled, you should use your box grater. The tiny butter pieces can be quickly coated with flour with minimal manipulation required, which will maximize the puff in your oven. In addition, you can grate your butter and leave it on the counter if you're using it in a recipe that asks for softened butter. Since grating the butter into tiny pieces maximizes the surface area exposed to air, it will soften quicker than if you just left it whole on the counter.
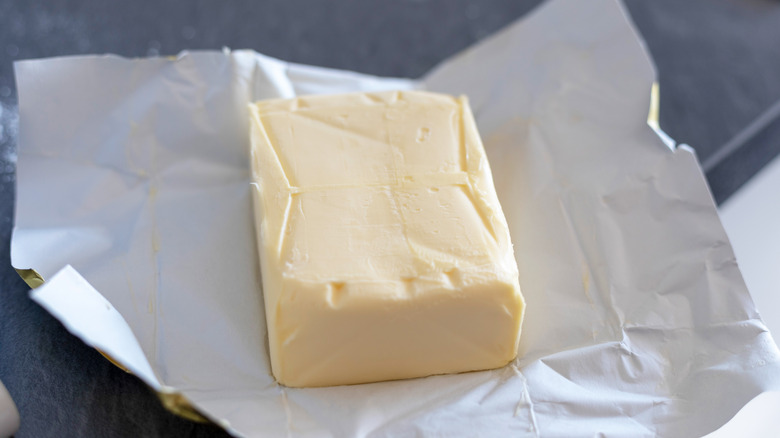
2. Soften butter quickly by rolling it out with a rolling pin
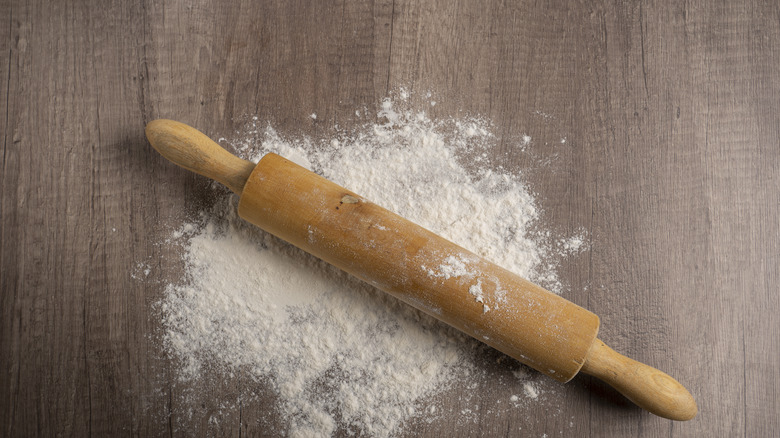
Softening the butter is critical for many recipes, including buttercreams and cookies. This is because softened butter is easier to cream with sugar and is, overall, much easier to handle than a rock-hard stick of cold butter. Ideally, recipes will recommend that bakers leave the butter on the counter for about half an hour before baking to ensure the stick is soft enough to work with. The reality, though, is that not all of us have that kind of time. You shouldn't turn to your microwave to soften butter because it produces either melted or inconsistently softened butter.
If you need to soften butter in a pinch, you can put the stick of butter between two sheets of wax paper and roll it out with a rolling pin. Once the butter is between ¼-inch and ⅛-inch thick (which is before it gets too soft to peel), you can remove it from the paper and use it as normal.
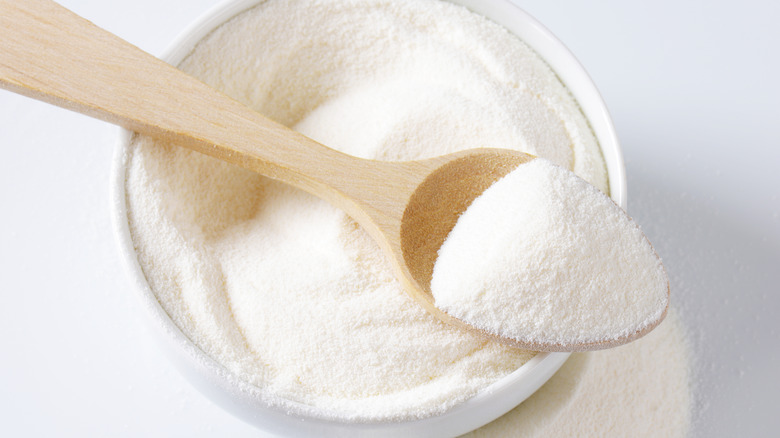
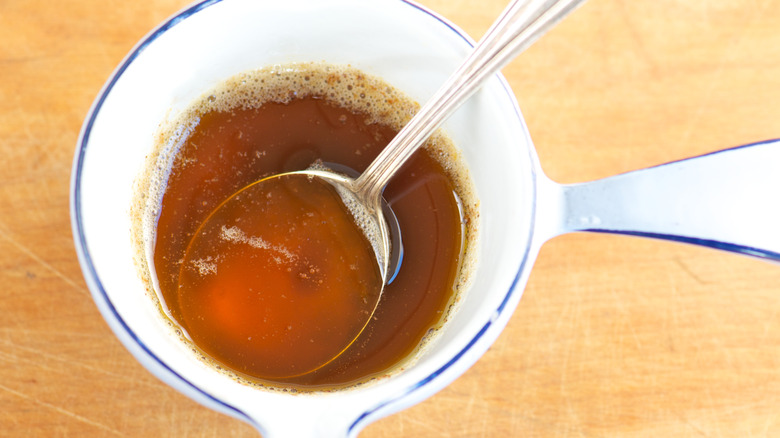
3. Use powdered milk to improve the flavor of browned butter
Browned butter must be an ingredient in every chef's tool kit — both for sweet and savory applications. The browning process caramelizes the milk solids in the butter via the Maillard reaction, which imparts a nutty, toasty aroma to the butter. Some of the best uses for brown butter include adding it to your pancake or waffle batter, baking the best cookies imaginable, and dipping hot lobster into it.
The best ingredient that will elevate the flavor of your brown butter is powdered milk. It's a shelf-stable dairy product that is comprised of just milk solids. When you add a spoonful of powdered milk to your brown butter, you'll increase the concentration of milk solids and develop a more complex, toastier flavor.
It's important not to get too much of a good thing when you're making your amplified brown butter since the powdered milk tends to clump up in the pan. For the ideal consistency, cap your powdered milk at 2 tablespoons per stick of butter.
4. Use French salted butter to improve the flavor of your sauces
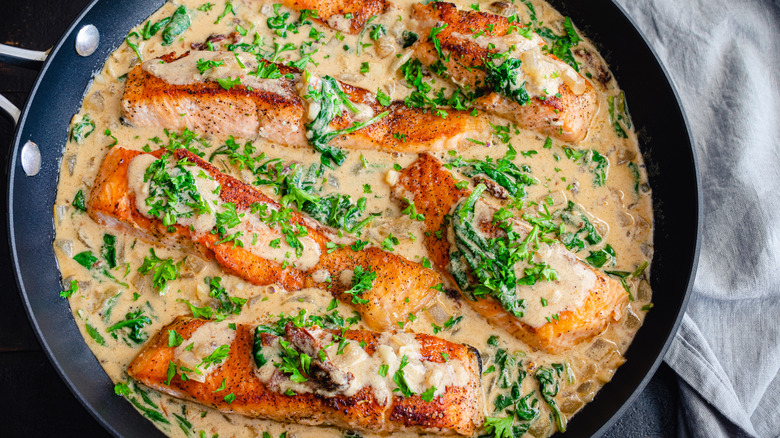
Just like home chefs, celebrity chefs have their favorite ingredients to use for cooking. The secret ingredient Geoffrey Zakarian uses in his sauces is not any ol' type of butter — he prefers using French salted butter. Unlike salted butter in the United States, French salted butter has a legal minimum of 82% fat. However, many French butter companies exceed this requirement, such as artisan Le Beurre Bordier, at 84%.
While the slight difference in fat content may seem trivial, it results in a more pronounced buttery flavor that will make all the more difference atop your lobster ravioli or in a decadent cream sauce. In addition to a higher fat content, French butter is cultured — meaning that it is fermented before it is churned. This step develops a slightly fuller flavor that adds an element of brightness to an otherwise heavy dish.
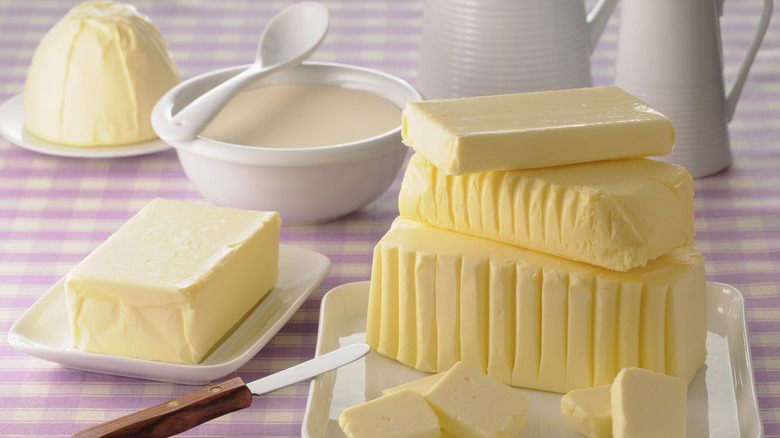
5. Use a peeler to spread cold butter
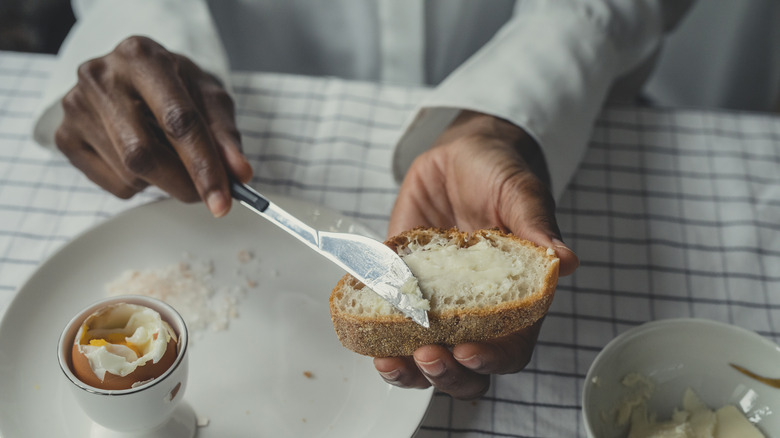
Any breakfast enthusiast knows the agony of spreading cold butter on warm (but obviously not warm enough) toast. The motion of spreading the cold butter chunk leaves behind a litter of crumbs and, worse — an inconsistent spread. The solution to getting the perfect cold butter spread on your bread can be found in your kitchen gadget drawer.
A vegetable peeler is a kitchen tool that will change the way you spread cold butter. Instead of struggling with your knife, try scraping your butter with a Y-shaped vegetable peeler lengthwise. Instead of ending up with pats of butter, you'll find that these ribbons are much easier to place on top of your toast daintily. You also won't have to contend with contaminating the remainder of the butter stick with the crumbs from the bread. This hack can also be applied to buttering proteins and vegetables; it means you won't end up sinking your teeth into a pat of butter when you bite your corn on the cob.
6. Sous vide your steak in butter
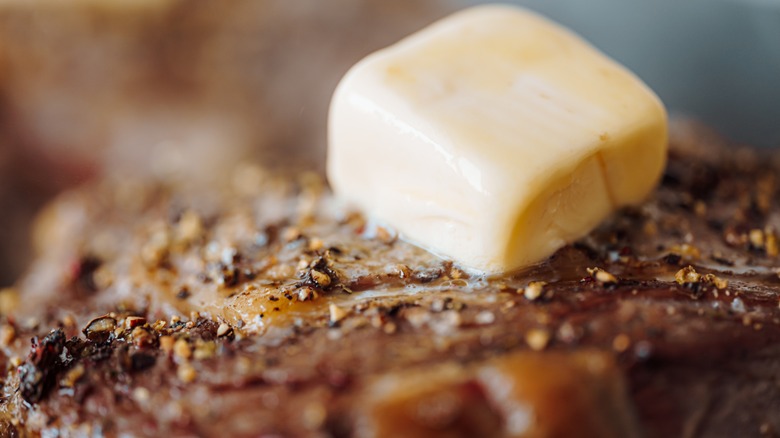
Steak and butter have always been an inseparable pair. But the best way to combine the two is to slowly cook steak in a butter bath. Rather than searing your steak before topping it with a pat of butter, you will want to submerge it in delicious melted butter. The butter should be kept at a low temperature (around 122 degrees Fahrenheit) to prevent it from burning. Allow your steak to braise for at least 40 minutes or until the meat reaches an internal temperature of 120 degrees Fahrenheit. Then, sear your steak for about a minute on each side to develop the perfect crust and lock in all of that moisture.
You can also rest your steaks in a puddle of clarified butter to allow the steak to absorb the fatty flavors and make it even juicier. Regardless of your chosen method, we assure you it's worth the calories.
7. Use your microwave to clarify butter easily
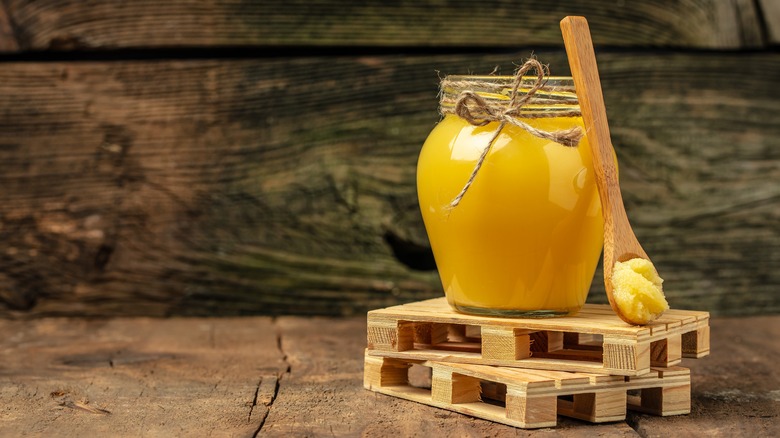
Although it is often wrongly called "brown butter," clarified butter is made by removing the milk solids and water, thus leaving behind only the cooking fat. Clarified butter, of which ghee is a type, is widely used around the world because it retains its buttery flavor and has a higher smoke point than other butter varieties. You'll often see it as a dip for lobster, spread on naan, or as the base for a Hollandaise sauce.
While you can purchase clarified butter from the store, Ina Garten has a simple method for clarifying butter at home. Rather than meticulously boiling, skimming, and straining the butter at her stove, Garten turns to an easier option: her microwave. The Barefoot Contessa places the butter in a microwave-safe cup and melts it for 30 seconds. Then she pours off the fat from the top of the cup and leaves behind the milk solids.
8. Keep butter on the counter for a few days for easy spreading
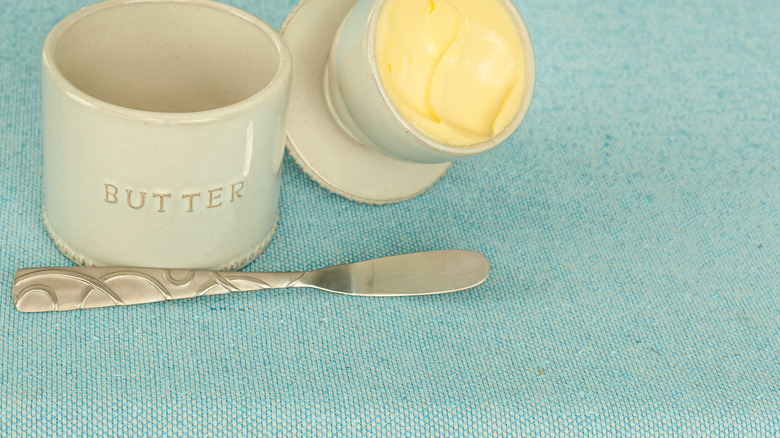
There is a ton of misinformation floating around as to what foods you actually have to refrigerate. You can store butter on the counter for up to two days, so long as it is pasteurized (which most American butter varieties are). Since butter contains a high fat content and very little water, it is not hospitable to foodborne illnesses.
Leaving butter out for over two days doesn't necessarily increase the risk of foodborne illness, but it does increase the likelihood that it will go rancid. To prevent rancid butter, store your butter in an airtight environment away from the light and smells of your kitchen. If you use a French butter dish, which effectively submerges the butter in a water casing, you can extend the out-of-fridge shelf life for closer to a month.
9. Melt your butter in a measuring cup
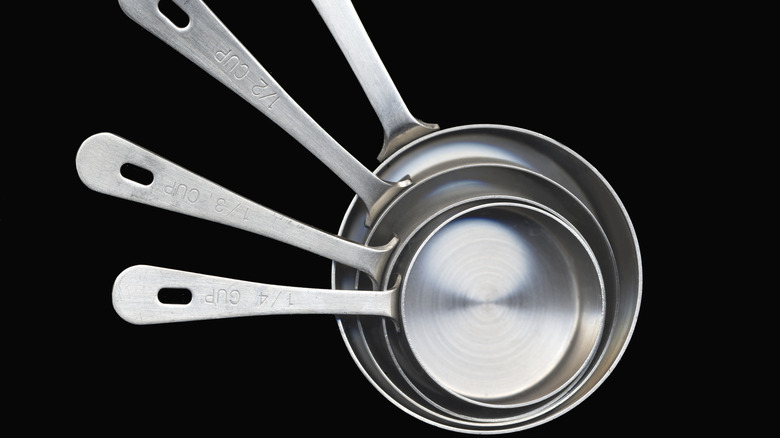
Who likes doing dishes, anyway? If you want to feed two birds with one scone, you can melt your butter in its measuring cup instead of having to measure and transfer it to a separate bowl. Alton Brown's butter melting tip helps cut down on dishes and works best for small amounts of butter.
Brown starts by adding his butter to a metal measuring cup and places it on the stovetop. It is important to be careful with what kind of material your measuring cup is since you could quickly end up with a melty plastic mess. He uses this trick for melting butter for cookies or searing meat but suggests that cooks are better off with a different method for more than a few pats of butter.
10. Microwave your butter in intervals to prevent explosions

Microwaves are the superhero of kitchen appliances. Although you can't use a microwave to nuke everything in your kitchen (sorry, day-old French fries), you can use it as a quick way to melt butter for your recipes — with caution. Incorrectly warming your butter in the microwave can cause it to splatter all over the walls of your microwave and leave you with quite a mess.
To prevent butter from exploding in the microwave, always cook it at intervals. This will slow the reaction of the fats and water separating, which causes the dreaded pops. Start by microwaving the butter for about 30 seconds at 40% power. If you notice there are unmelted pieces remaining, stir the butter with a utensil or spatula before reheating.
11. Combine your butter with oil to prevent it from burning
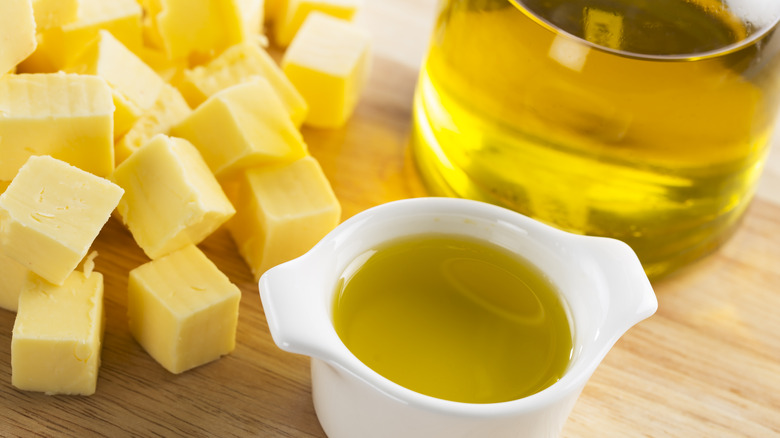
The unparalleled taste of butter is vital for many recipes. But its comparatively low smoke point can make butter challenging to cook with. One of the solutions to both getting a buttery flavor and preventing it from burning is to combine it with oil. The science behind mixing butter and oil when cooking is simple. Neutral oils, like avocado oil, canola oil, and vegetable oil, lack flavor but have a high smoke point.
Although butter burning is inevitable when working with high-heat cooking, the oil will help dilute any of the unsavory taste. This trick works best for searing steak and roasting chicken because the proteins depend so much on the butter's unique flavor.
12. Brown butter in your microwave
Making brown butter is an arduous yet rewarding part of the cooking process. It normally requires you to hover over your stove, patiently waiting for the milk solids in the butter to turn golden brown and emit a heavenly, hazelnutty aroma. But if you're looking to cut down on kitchen time, you'll be happy to know that it is possible to make brown butter in the microwave.
Start with anywhere from half a stick to two sticks of butter in a microwave-safe container. Cover with a microwave-safe lid and cook it for anywhere between three and a half and six and a half minutes. The exact time largely depends on how much butter you choose to use. Check the aroma and color after the initial cook time and cook at additional 30-second intervals if needed.
13. Use butter for a crispy crust on your eggs

Cookbook author Molly Yeh and her husband love making eggs. In her goat cheese and dill baked egg recipe, Yeh utilizes leftover herbs from her weekly cooking routine, fresh eggs, and savory goat cheese. She adds the ingredients to a "pool" of butter, which she notes helps make a crisp crust on the outside of the eggs (via The Washington Post).
Molly Yeh's butter tip can be used for almost any egg recipe. The inclusion of butter doesn't make the eggs greasy. Instead, the butter helps keep the proteins in the egg whites soft and supple, rather than tough. Cooking your eggs in frozen butter may yield a better result than room-temperature butter because the butter won't melt as fast, and thus has more time to distribute throughout the eggs.
14. Add the butter before milk to prevent gluey mashed potatoes
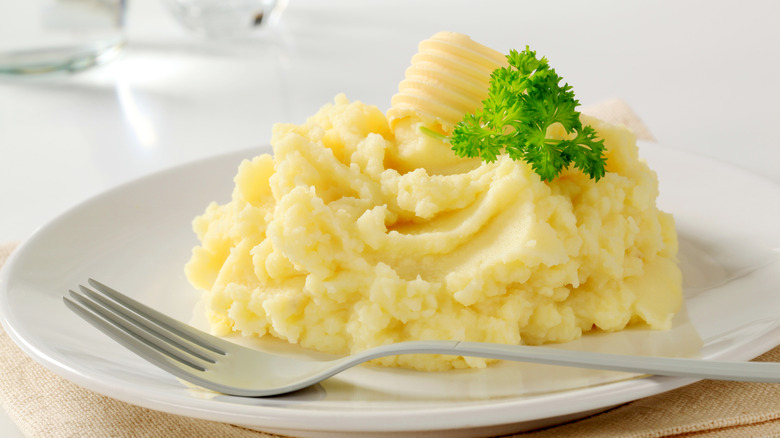
There are numerous reasons why your mashed potatoes aren't turning out soft, luscious, and creamy. You might be using the wrong implement to mash your potatoes, or you're using the wrong kind of potato to start with.
To combat gluey mashed potatoes, you should ensure you're adding your butter in before your milk, cream, or stock. This is because the butter, a fat, contains hydrophobic molecules that will encapsulate the potato's starch molecules. When you add your chosen liquid, you won't have to worry about the potatoes releasing their excess starch and turning into a stick-to-the-roof-of-your-mouth side dish.
Another butter-related tip when making mashed potatoes is to always add cold butter to your spuds rather than melted butter. This is because cold butter will more evenly distribute the fats and milk solids across the starches, compared to melted butter.
15. Freeze your butter to keep it fresher longer
If your recipe only requires a stick of butter, it's unrealistic to allow the other three sticks to take up space in your refrigerator. If you want to keep butter fresher for longer, try freezing it.
The dark, cold conditions in your freezer slow the butter from going rancid — the process of fat breaking down into unpleasant odors, colors, and tastes. When your butter stocks are running low, move as many sticks as you need to into your refrigerator. You can also thaw the butter by placing it in the microwave for 10 seconds, flipping, and repeating on the other side.
If you don't have the butter's original packaging, you can store individual sticks in plastic or aluminum foil. Since frozen butter can be difficult to cut, you can also pre-portion a few tablespoons of butter in plastic wrap for your recipes. Salted butter should last up to a year in the freezer, while unsalted butter will last about six months.
16. Always use unsalted butter for baking
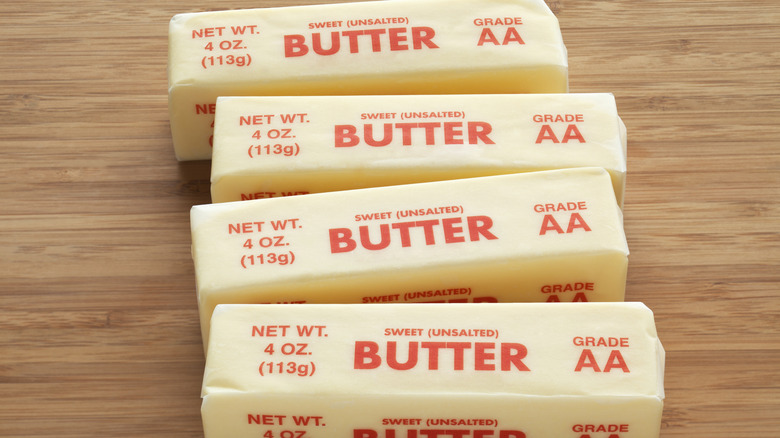
With so many butter varieties out there, how do you decide which kind of butter to use for which recipes? While there are not always hard-and-fast rules on butter when it comes to sweet cream versus French style, there is one standard that is generally followed: Almost always use unsalted butter for baking.
This is because the amount of salt used in butter depends on the brand and has very little consistency across all salted butter brands. For example, Olivio has 10 fewer milligrams of sodium per tablespoon than Country Crock. This discrepancy can disrupt the taste of your cookie recipe or buttercream frosting — and it can also make things worse if you add salt beyond the butter. In addition, since salt is a preservative, unsalted butter is usually fresher and contains less moisture than salted butter.
If you only have salted butter on hand, fear not. For every ½ cup (or stick) of butter in the recipe, decrease the added salt by ¼ teaspoon.
17. Easily upgrade your butter with salt and pepper
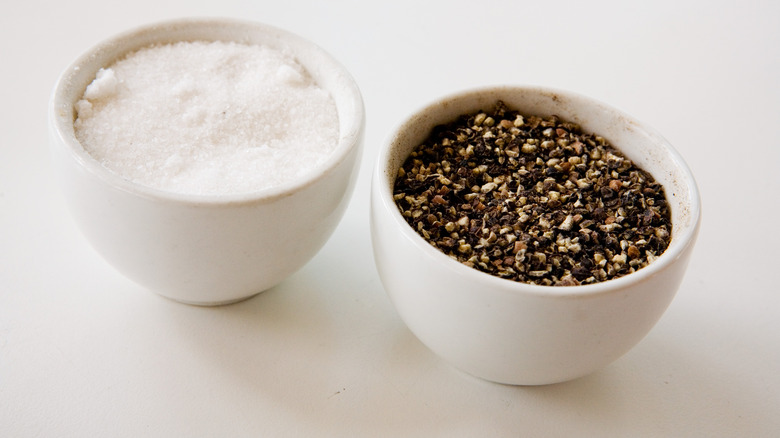
We're always looking for ways to spruce up simple ingredients and serving staples. One of the popular cooking and hosting trends that emerged in 2022 was TikTok's beautiful butter boards. Creators artistically swirled the boards with softened butter and toppings like herbs, edible flowers, roasted garlic, jam, and honey, served alongside freshly baked bread. Although this internet trend got an A+ for trendiness and creativity, it isn't the most feasible thing to construct, nor is it easy to clean.
If you don't want to commit to an elaborate butter board, Food Network star and television personality Alex Guarnaschelli has a tip for you. The easy way Guarnaschelli upgrades butter is by adding a sprinkle of coarse-ground pepper and salt to the top before serving with crusty bread.
"So good that people think you cooked all day," she shared in an Instagram post.