16 Tips You Need For Making Rice Krispies Treats
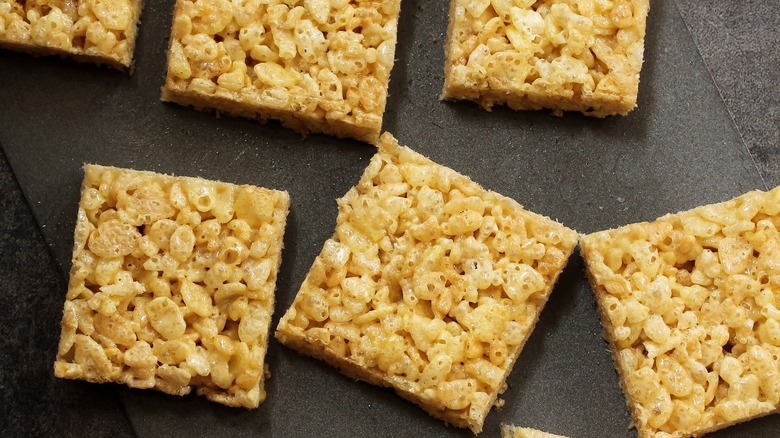
There is no better surprise to find in your lunchbox than a Rice Krispies treat. The original recipe for Rice Krispies treats is credited to Mildred "Millie" Ghrist Day and Malitta Jensen, two co-workers at the Kellogg's factory in Battle Creek, Michigan, in the 1920s. The combination of butter, Rice Krispies cereal, and plush marshmallows was an instant hit. It has been reprinted on the back of every box of Rice Krispies cereal since 1941 and even has its own national holiday on September 18th.
Although the invention of the Rice Krispies treats only utilized three primary ingredients and seems relatively straightforward, there are many mistakes that home cooks make with the nostalgic dessert. We've collected some of the best ways to ameliorate common cereal treat woes and great tips so you can snap, crackle, and pop your way to a delicious homemade bar guaranteed to impress eaters of any age.
Add condensed milk to keep your treats fresher for longer
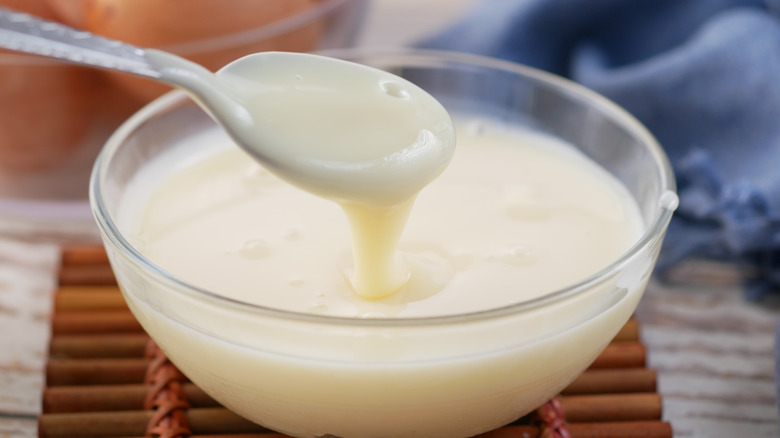
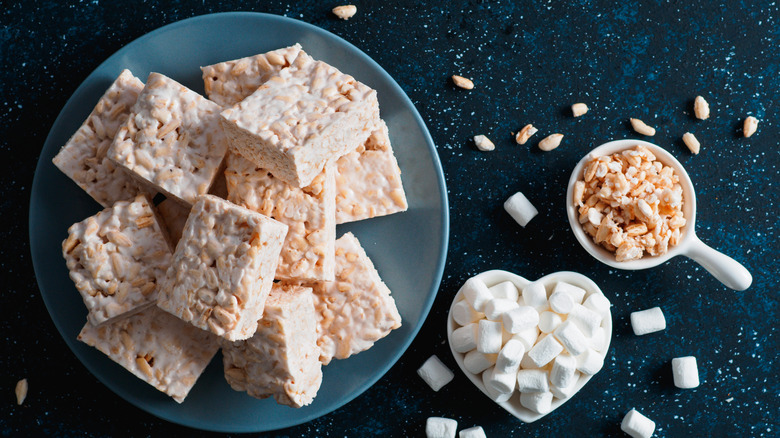
The basic ingredients for Rice Krispies Treats include rice cereal, butter, and marshmallows. But one dairy ingredient can upgrade the flavors of your dessert and boost its shelf life.
Condensed milk is the secret ingredient that will take your Rice Krispies treats to the next level. Not only will your Rice Krispies be super sweet, but the consistency of the canned sweetened milk will help give the treats a gooey consistency. In addition, you'll also find an underlying milky consistency that pairs deliciously well with caramel, chocolate, or just plain bars.
You'll need to add ⅓ to ½ cup of condensed milk for each batch. Add the milk in once your butter is melted, and mix until the two are bubbly and fragrant. From there, you can add the marshmallows and any extra flavorful additions to your treats before coating the cereal.
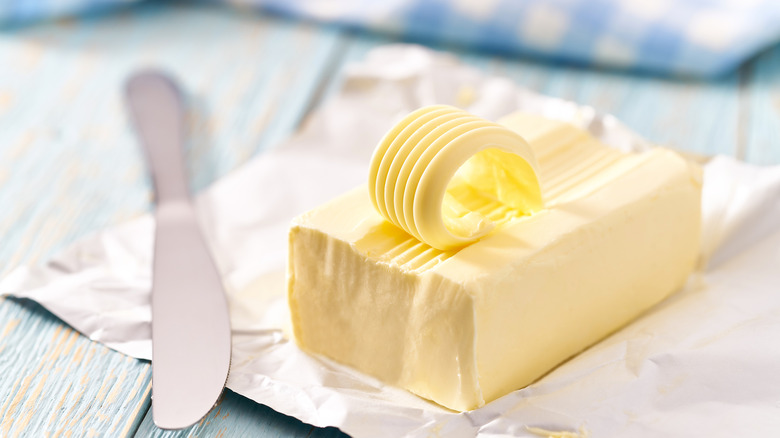
Press your bars with a butter packet to keep your hands clean
One of the reasons why Rice Krispies treats are so fun to make with kids is because of how messy they are. Once an adult has stirred the marshmallows into the butter mixture, the kids can have fun mixing the cereal and the marshmallow batter together and shaping it into the pan. However, this also leads to marshmallows getting stuck in every crevasse of your kitchen and all over your kiddo's clothes.
To keep your hands clean when making Rice Krispies treats, use a leftover butter wrapper instead of your hands. This hack is especially useful for delicate hands because it provides a buffer against any residual heat from the marshmallows. If you've already tossed your butter wrappers, you can instead use a spatula sprayed with non-stick cooking spray (like Pam) to shape your bars into the mold. If you are committed to using your hands, try rinsing them off with cold water first to remove the marshmallow residue.
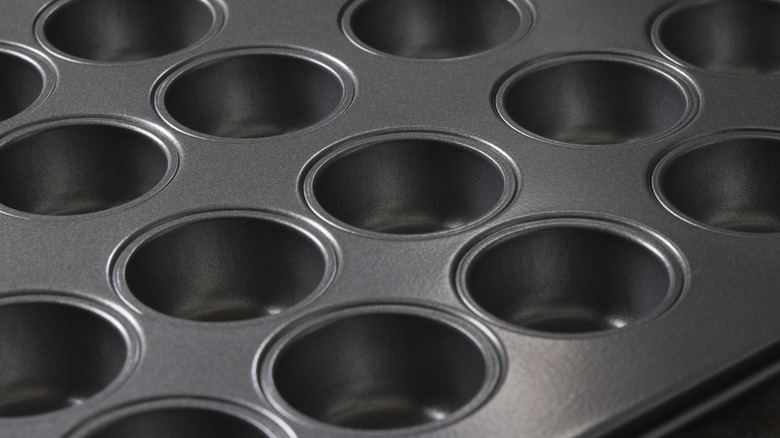
Shape it in a muffin tin for easy cleanup
The most common vessel for shaping Rice Krispies treats is undoubtedly a greased, lined baking dish. But that doesn't mean it has to be the only type of pan you can utilize for making this beloved dessert.
The kitchen tool to avoid the mess of cutting Rice Krispies Treats is a muffin tin. It's the ideal vessel to shape your treats into because you won't have to worry about cutting them with a knife, which is arguably always a sticky situation. Start by greasing your muffin tin (yes, even if it claims to be "non-stick") with cooking spray before adding your coated cereal mixture. Once the bars — or circles, in this case — are finished cooling, you should be able to pop them out of the tray and enjoy. The only thing you'll have to sacrifice with this trick is the traditional shape of the dessert. But you'll also have the opportunity to make little bowls with the cereal mixture — which you can fill with chocolate or candy pieces.
Make Scotcheroo for an upgraded eating experience
We're not saying there's anything wrong with the traditional Rice Krispies treat recipe. However, there are some better alternatives that are much more flavorful and exciting.
Iowa's Scotcheroo is a Rice Krispies treat hybrid you need to try making. It was believed the dessert originated as a play on the original treat recipe in the 1960s in the American Midwest. The recipe involves combining honey, sugar, peanut butter, and vanilla extract together before stirring it into the rice cereal. The mixture is then pressed onto a baking tray and topped with both warmed butterscotch sauce and melted chocolate. Some variations of Scotcheroo include textural add-ins like desiccated coconut, whole mini marshmallows, or pecans. As the name of the recipe suggests, some folks also opt to add bourbon or scotch to the recipe for a boozy twist.
Scotcheroo must be set in the fridge for about two hours before it can be sliced and enjoyed. But with a recipe like this, we think it's worth the wait.
Use salt to balance the flavors

Every sweet recipe needs a little bit of salt to balance out the flavors. It's why you often find the ingredients in recipes for cookies and cakes or why it's often sprinkled on top of chocolate bars. We recommend adding salt to your Rice Krispies treats, too, since it helps add more complexity and rounds out the flavors of your bars.
Salt can make or break your Rice Krispies treats, so it's vital that you always add it incrementally and per the recipe's directions. We recommend adding a sprinkle of flaked sea salt on top of your bars after you've packed them into the pan but also be considerate of if you add any salty ingredients to the actual mixture instead. You might also find other ways to add salty flavor to your dessert without reaching for the container of Morton's instead, such as using salted peanut butter or salted caramel sauce.
Toast the cereal before adding it to the bars
Most people don't think twice about adding cereal to their Rice Krispies treats. But celebrity food personality Alton Brown certainly does.
Brown is adamant about only using the Rice Krispies cereal for his recipe — not a puffed rice substitute. But he also takes an extra step to ensure his Rice Krispies treats truly shine. Alton Brown upgrades Rice Krispies treats by toasting the cereal in a wok before covering it with the marshmallow mixture. As shown in a "Pantry Raid" segment, The heavy, wide-bottomed wok is the perfect vessel to toast the cereal because it has enough space to ensure every piece gets deliciously toasty without the risk of burning. "That is gonna bring out more of the rice-y flavor, and, believe it or not, that is going to definitely translate into the final dish," Brown shared in the video. If you're taking this advice from Brown, be sure to keep a watchful eye on the cereal and keep tossing it to ensure your cereal doesn't come out with any burnt notes.
Substitute the regular butter with browned butter

Brown butter is the ingredient that can make a world of difference in your sweet and savory recipes. Browning the butter is the process that evaporates some of the water from the dairy product while simultaneously toasting the milk solids. The result is a caramelly, toffee flavor and nutty aroma.
Taking a few extra minutes to brown your butter before adding in the rest of your Rice Krispies treat ingredients will add a unique depth of flavor to your dessert. You'll want to cook the butter in a pan for a few minutes, stirring frequently, until it starts to foam and emit a nutty aroma. For more flavorful brown butter, you'll want to avoid letting the mixture rest in the hot pan for any length of time, as this may cause the milk solids to burn. From there, you'll notice specks of brown starting to form. Once the brownness is even across the pan, add in the rest of your ingredients and cook until melty.
If you're looking for a more sure-fire way to make browned butter, try making it in the microwave. Cook it for three-and-a-half to six-and-a-half minutes before checking it to see if it's browned enough. If not, nuke it at 30-second intervals until you get your desired color and aroma.
Pair it with gooey caramel
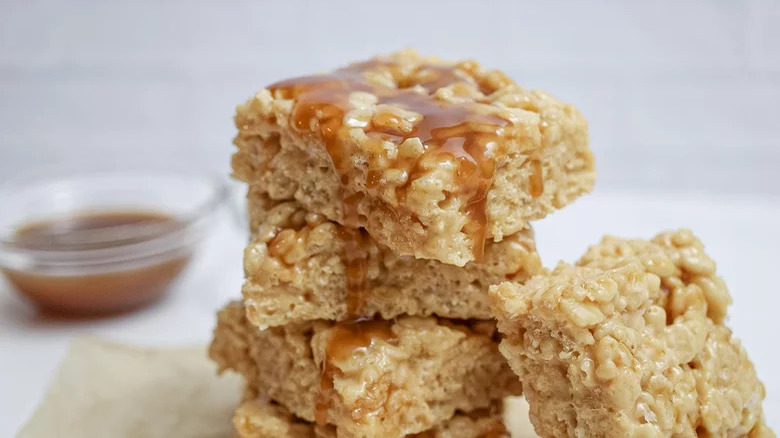
Nothing is better than crispy cereal and melty marshmallows — except when you add caramel to the mix. Our recipe for salted caramel Rice Krispie treats uses several different types of caramel to impart the perfect flavor to the treats. You'll need soft caramel candies, vanilla extract to complement the caramel flavor, and a container of caramel topping (find it in the ice cream aisle at your grocery store). You can also add a sprinkle of flaked sea salt to the top of these bars or omit it if you want your recipe to stay purely sweet.
Add the butter and sweetened condensed milk to the pan to cook before adding your caramel candies. The process of getting these candies to melt may take several minutes, and you'll want to avoid rushing the process so your mixture doesn't burn and subsequently send you back to the drawing board. Pour on the caramel sauce after you've set the treats in the pan; you can always drizzle post-slice for a stunning visual effect.
Pour in some nostalgia with Lucky Charms
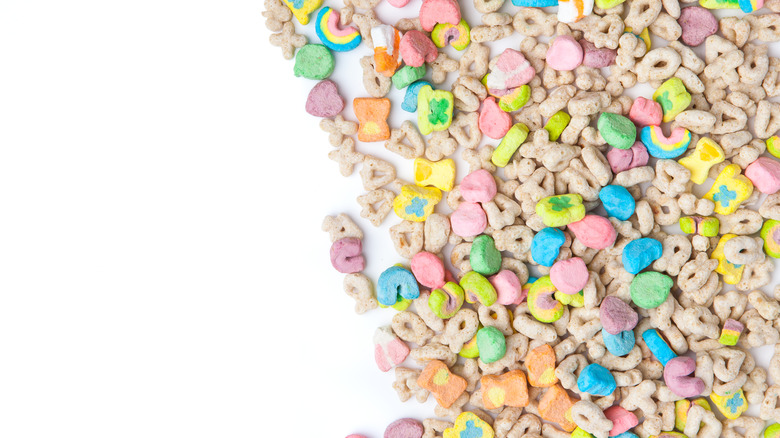
While Rice Krispie treats are a fundamental component of the namesake dessert, you can also switch things up and add different types of cereals to your treat bars. Your Rice Krispie treats will taste even better (and more nostalgic) with the addition of a special marshmallow cereal: Lucky Charms. If you use some of this cereal for your bars, you should expect them to be a little crunchier than the classic recipe. The studded colorful marshmallow pieces may not contribute to the signature gooeyness of the dessert, but it is a bright pop of color that your otherwise monotone bars need.
Lucky Charms aren't the only unconventional cereal you can add to your recipe. You can go rogue and make a marshmallow cereal bar with Fruit Loops, Golden Grahams, or even Chex. Simply substitute the Rice Krispies for your cereal of choice. The only downside is these aren't technically considered Rice Krispies treats anymore.
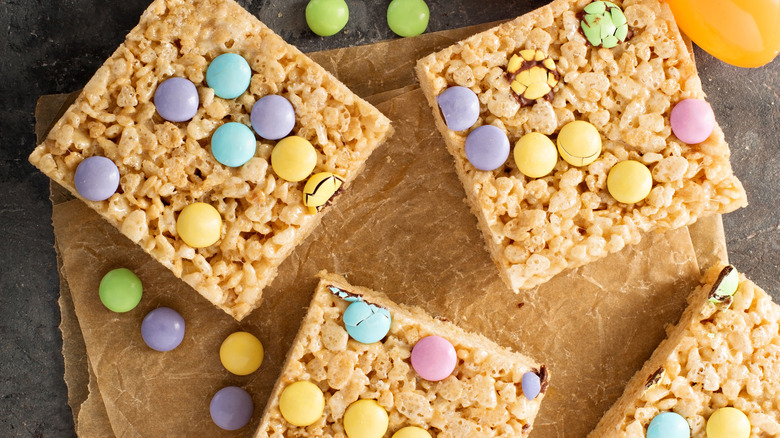
Incorporate add-ins for a nutty treat
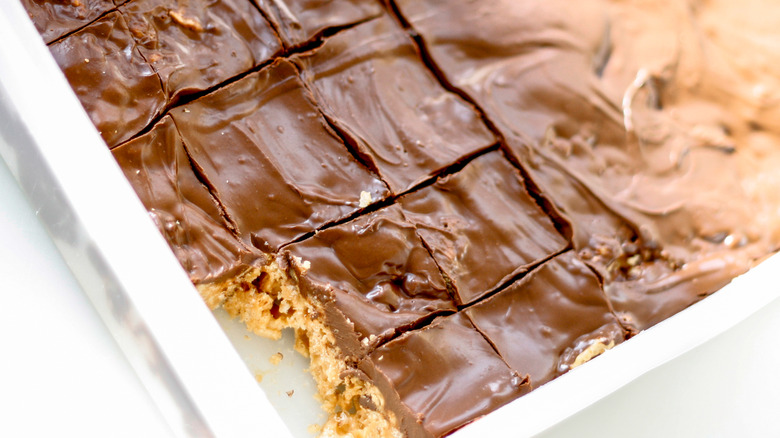
The best way to make your Rice Krispies treat unique is to follow a particular theme. For example, if you're celebrating Easter, you might choose pastel M&Ms to adorn the top of your bars or add in both melted chocolate and a chocolate drizzle for a chocolate lover's Rice Krispies treat.
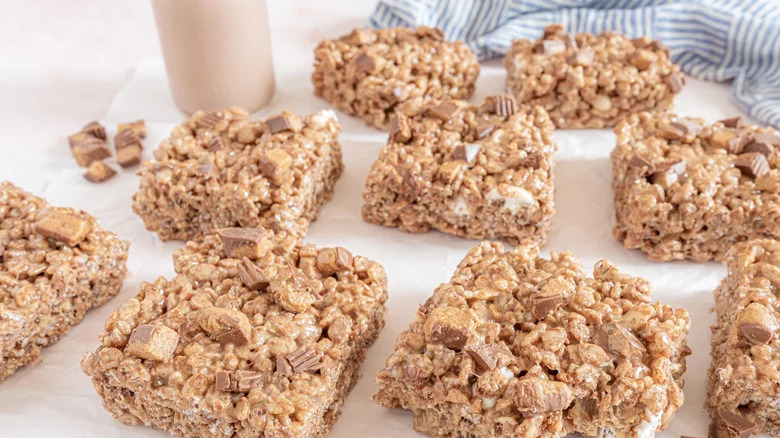
However, our favorite Rice Krispies treat flavor mashup is definitely peanut butter. You can make a Reese's Rice Krispies treat with Cocoa Krispies (or substitute with the plain variety), peanut butter, crushed peanut butter cups, butter, and marshmallows. Add in the peanut butter when you pour in the marshmallows and stir until thoroughly combined. Be advised, though, that this recipe gets super sticky. Then, add in your cereal and a couple of handfuls of mini marshmallows for texture. Once the base is pressed in the pan, sprinkle in your peanut butter cups and finish with a drizzle of chocolate and melted peanut butter, if you'd like.
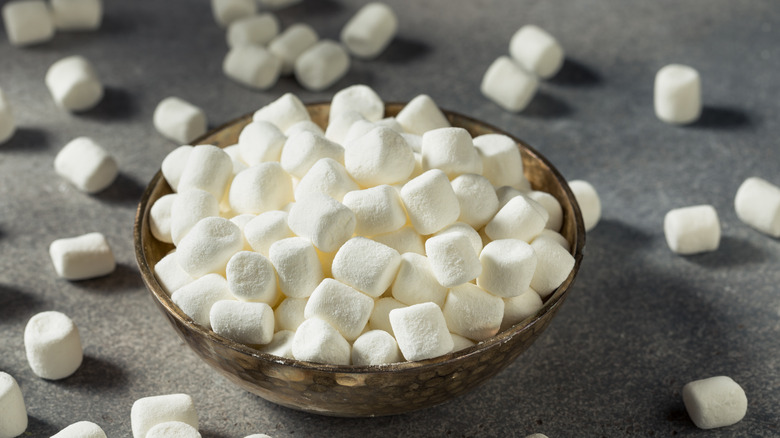
Only use fresh marshmallows
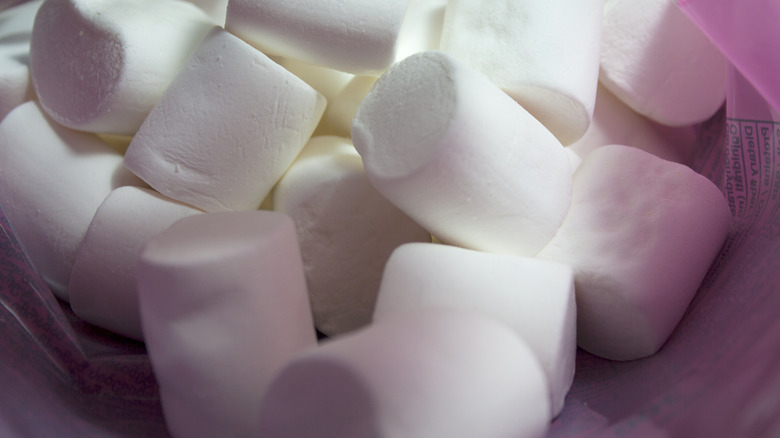
The key to making Rice Krispies treats at home is always using fresh marshmallows — not the questionable, stale bag hanging around in your pantry for who-knows-how-long. If unopened and stored in a cool and dry spot, the puffs can last up to a year. But the shelf life dwindles to just a few weeks when the bag is opened. This is because the outside of the marshmallow gets hard and crusty, so it won't melt down well with the butter.
Although you may not be able to salvage an old bag of marshmallows, you can make sure you take the proper precautions to ensure the next bag stays fresh for a long time. The absolute best ways to keep marshmallows fresh include adding a slice of bread to the bag. Bread absorbs the residual moisture and can keep a bag of puffs looking as good as new for two months. Alternatively, you can freeze your marshmallows in an airtight container and defrost at room temperature before making your Rice Krispies treats.
Don't skimp on the marshmallows
Now is not the time to be stingy with your marshmallows. Alton Brow's Rice Krispies treat riff doubles the marshmallows to ensure that the bars are soft and gooey every time. Brown uses two ten-ounce bags (20 ounces total) of mini marshmallows for each 18-ounce bag of cereal. Our recipe for jazzed-up Rice Krispies treats uses 10 ounces of mini marshmallows for every 6 cups of cereal. Therefore, it's safe to say that you should have, at minimum, a 1-to-1 ratio of marshmallows to cereal, but more is preferred.
You will need to add in even more marshmallows if you're adding in add-ins like chocolate, candy, or sprinkles. If you're too conservative with your marshmallows, you won't be able to cover all of your cereal and add-ins, and you risk a crumbly Rice Krispies treat. You can also substitute a jar of marshmallow crème into your recipe to bulk up the binding potential; one 7-ounce jar is the equivalent of 5 cups of mini marshmallows.
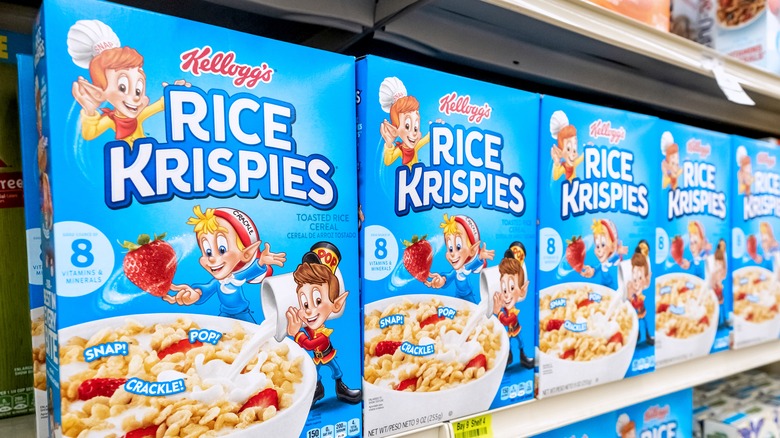
Use more than just plain Rice Krispies
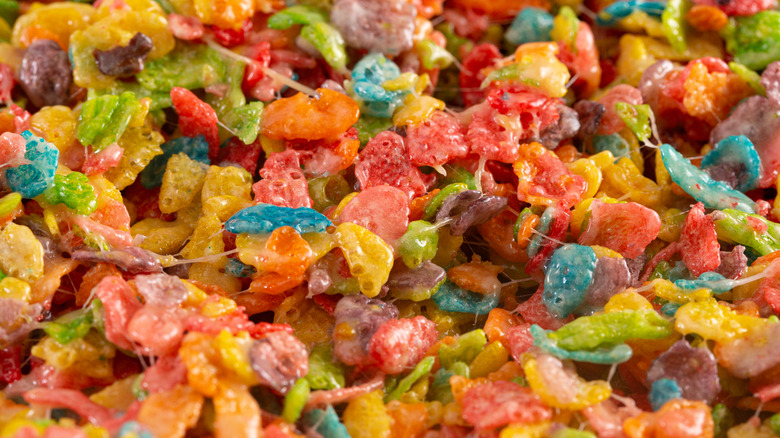
You can employ a lot of creative license around what types of Rice Krispies cereal to include in your bars. Besides the original flavor, the Kellogg's brand also makes Cocoa Krispies, Rainbow Krispies (otherwise branded as Fruity Pebbles by Post), Cinnamon Sugar Krispies, and Frosted Krispies.
We love the fruity flavors of homemade Rice Crispy treats with Fruity Pebbles — and we especially love that we can make the recipe without really changing anything (besides the cereal) from the classic. You can, however, add a bit of texture by studding the bars of freeze-dried strawberries after they've been placed in the pan. Arguably, though, Cocoa Krispies are a much more versatile cereal to work with because you can include candy additions like chopped Butterfingers, peanut butter cups, and a chocolate drizzle. We also see the potential of adding a bit of cookie butter to the bars for a creamy, cinnamon undertone.
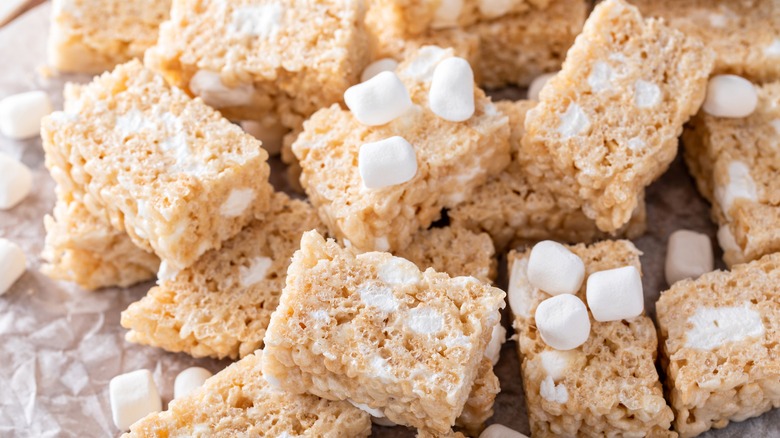
Only use mini-marshmallows
Have you ever wondered why most Rice Krispies treat recipes call for mini marshmallows rather than full-sized ones? Mini marshmallows tend to melt down better than full-sized or jumbo marshmallows because they have a larger surface area or more space exposed to heat. This means that if you're using large marshmallows, you should expect to be stirring for quite a while before your marshmallows are ready to move on to the next step in the recipe.
The other consideration you should take into account when making cereal treats is if you need to substitute marshmallows with a vegetarian or vegan alternative. Marshmallows usually aren't vegetarian-friendly because they contain gelatin — which is processed from animal bones and cartilage. The gelatin is an integral ingredient to stabilize the corn syrup and sugar foam, thus giving its confection the structure. However, the good news is that you can buy vegan marshmallows that are made with plant-based alternatives in both mini and full-sized varieties.
Moderate your heat while cooking down your ingredients
One of the most common mistakes people make with Rice Krispies treats is being unwieldy with the stovetop temperatures. If you heat your stovetop too high and neglect to stir the butter or the butter and marshmallow mixture enough, there is a good chance of it burning. The best method to ensure your mixture is adequately heated is to work low and slow. In addition, you should be sure the butter is completely melted (meaning no lumps or chunks) before tossing it in your mallows. Adding these confections too soon will result in hard Rice Krispies treats rather than gooey ones.
If working with a stovetop can be overwhelming, you can also use your microwave to melt down the butter and the marshmallows. You'll need to melt the butter at 30-second intervals, stirring in between, to ensure you don't burn it. The same interval and process should be followed when you add the mallows.
Don't let them sit on the counter for too long
After you've worked so hard on crafting your perfect Rice Krispies squares, the last thing you're going to want to do is leave it on your counter and forget about it. The cereal gets stale very fast, which will lead to disappointing treat bars. For optimal storage, slice and wrap each bar in plastic wrap and eat within two days. Alternatively, you can vacuum-seal your Rice Krispie treats after they have cooled. This can extend the shelf life up to several weeks, as long as there are no punctures or airflow.
The other alternative to storing your Rice Krispies treats is to freeze them. Start by cooling the bars and slicing them into the desired shape. Stack the pieces in an airtight container, place them in your freezer, or wrap them individually with plastic wrap and store them in a gallon bag.
Static Media owns and operates Tasting Table and Mashed.