15 Ways To Prevent Your Cake From Sticking To The Pan
There are a few sacred rules that all bakers must follow. Preheat your pan. Measure by weight rather than by cups or spoons. And, always, always grease your pans. If you forget to grease your cake pan, you risk your entire effort in baking the perfect bundt cake or measuring equal layers in a layer cake going to waste. Instead of watching your cake slip out of the pan with ease, you'll feel the pit in your stomach drop as you lift the pan up to reveal that a chunk has gone missing. Then you'll have to play Humpty Dumpty, trying to put all the pieces back together and ensure the cake looks, at minimum, presentable.
Preventing a cake from sticking to the pan is a task easier said than done; recipes will often say "grease the pan" rather than explicitly stating what to grease it with or how to do it so as to avoid a sticky situation. We've investigated some of the best ways to stop the stick and ensure cakes come out in one piece. Here are our recommendations.
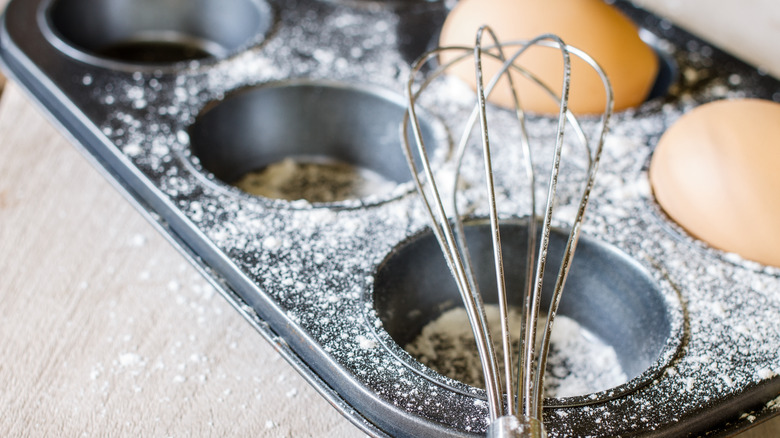
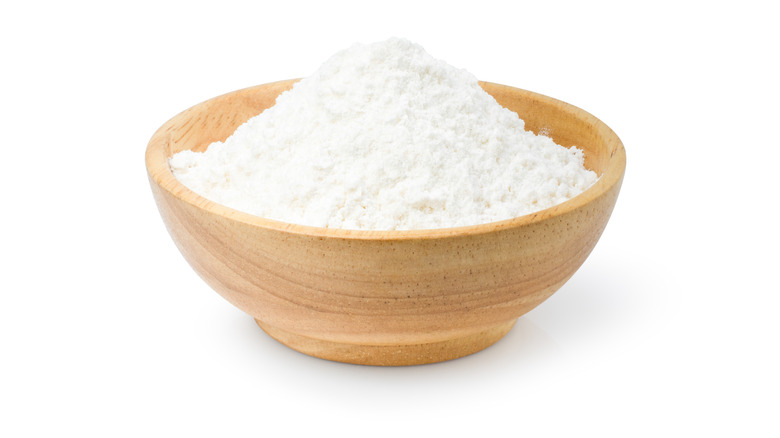
Sprinkle flour on the pan after applying grease
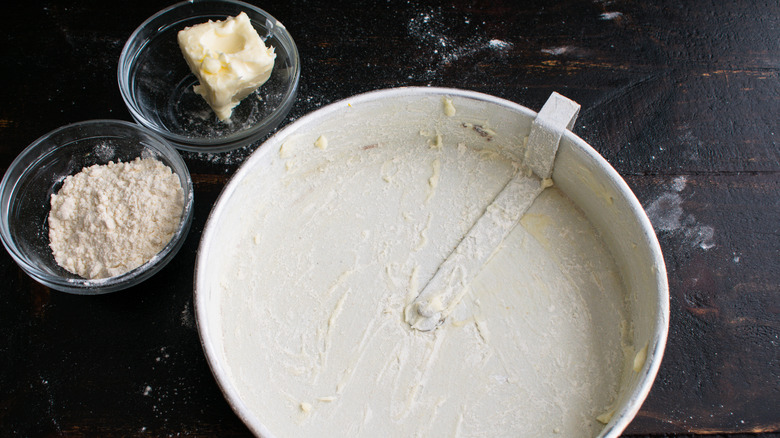
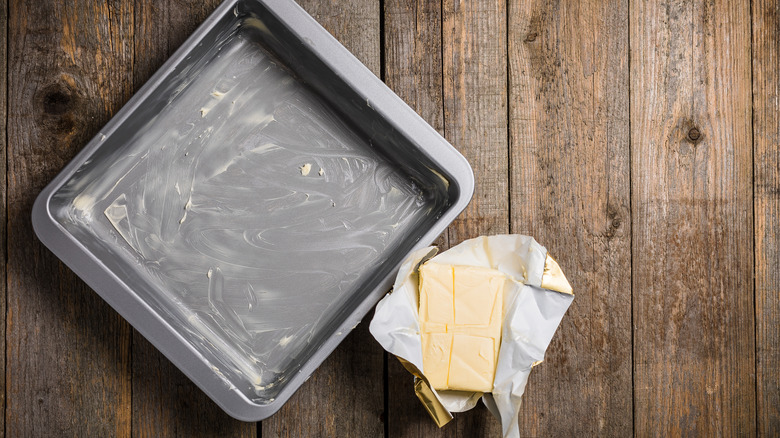
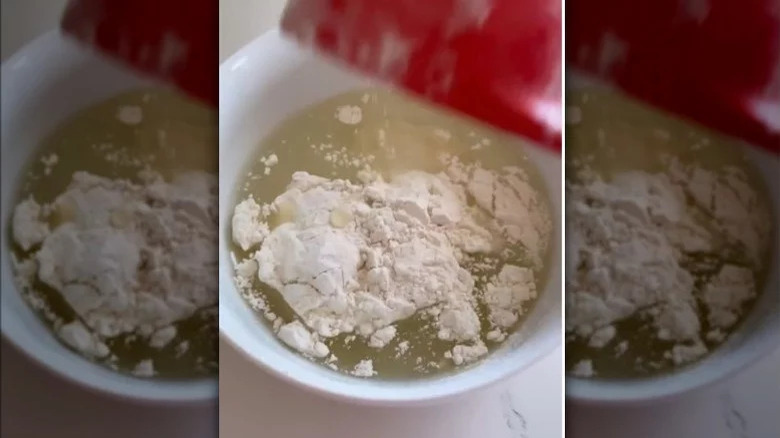
A two-tiered approach is one of the best ways to prevent a cake from sticking to the pan. Start by swiping on a layer of shortening or butter onto the pan, and then add a layer of flour on top. The flour will act as a protective barrier against sticking, but it may leave some floury residue on the outside of cakes.
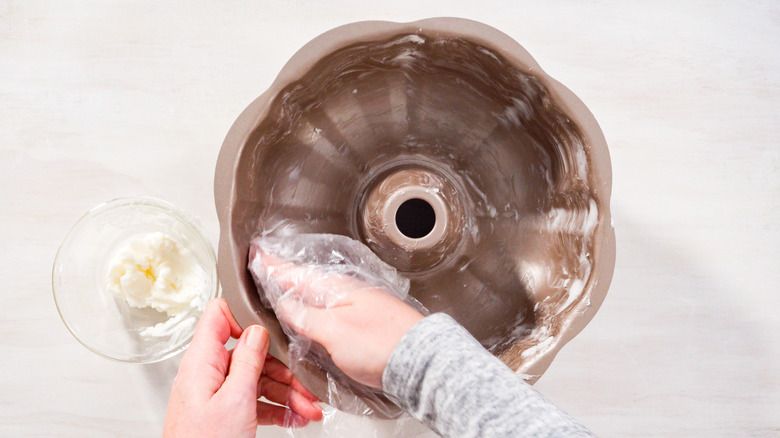
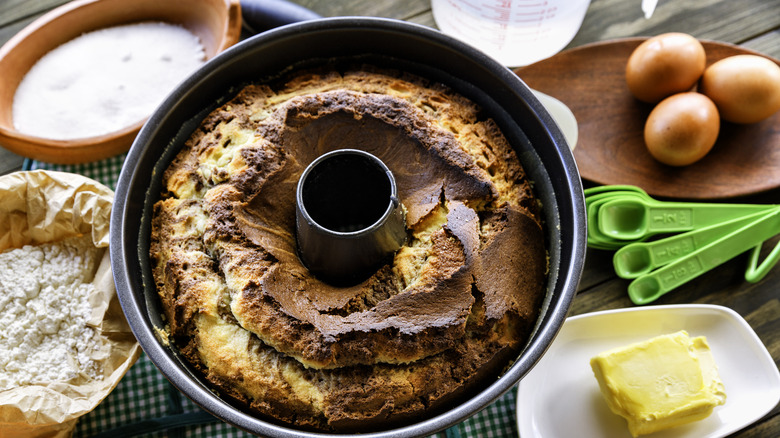
Bundt pans are one of the stickiest offenders. The nooks and crannies of the pan always seem to get a little piece of cake stuck onto them, which can mean the cake will come out of the pan, missing a noticeable chunk. Alton Brown's plastic wrap trick makes coating bundt pans easy. The food personality starts by coating his bundt pan with ample amounts of butter. Then, he sprinkles in two tablespoons of flour and covers it with an affixed piece of plastic wrap. From there, Brown can shake and coat the entire pan, ensuring the flour gets into all corners and divots.
Grease the pan with shortening
Shortening is a go-to for greasing pans when baking a dairy-free dessert. It's the butter alternative that leaves pans without any risk of stickage. Although butter and shortening are often used interchangeably to grease a pan, shortening is the better option for many reasons. It's made of pure, hydrogenated fat, meaning there is no water (compared to butter, which is about 20 percent water). In addition, vegetable shortening does not contain any milk fats, which would otherwise burn at certain temperatures. This results in a smoother finish on the dessert without risking unpleasant flavor notes stemming from the burnt butter.
The easiest way to apply vegetable shortening is to swipe it with a piece of wax paper or paper towel. Evenly rub and coat the edges of the pan to prevent trouble upon removal.
Coat the pan with breadcrumbs
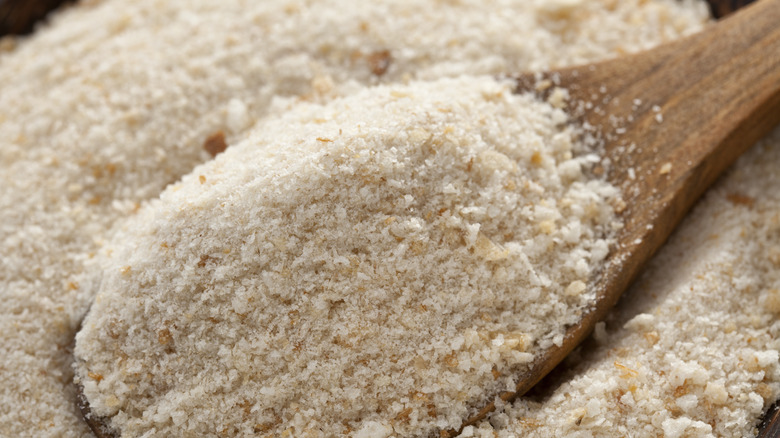
While most people tend to grease pans with a fat and flour, there's another option: breadcrumbs. Use them to help prevent the cake from sticking to the pan, preventing the chalky coating that flour typically yields. This tip originated from 1970s baker/cookbook author Maida Heatter, who published an East 62nd Street Lemon Cake recipe in the New York Times. She recommended bakers apply a coating of butter to the pan before tossing in breadcrumbs. The result was a cake easily extracted from the pan, boasting a crispy exterior that elevated the recipe.
Going with this method, be sure to add melted butter or shortening to the walls of the pan using a pastry brush. Then, add between a half-cup and a full cup of unseasoned breadcrumbs to the pan and shake to disperse. Add that batter in relatively soon after plastering the walls with breadcrumbs, as waiting too long will cause the crumbs to fall off the sides and become ineffective.
Butter and cool the pan

Melting butter or shortening is an easy way to ensure the sides of the pan are well-protected from any risk of sticking. There's also the butter trick, which will help prevent the cake from sticking; place the pan in a refrigerator or freezer after applying the melted butter or shortening. Unlike room temperature or melted butter, this solidified butter will create a more effective layer against the sides of the pan. Plus, it won't leave the outside of the cake greasy.
Although it may take some extra time to ensure the butter has hardened on the walls of the pan, you can always coat it in the melted fat and then pop it in the freezer while preparing the other ingredients or preheating the oven.
Make cake goop
Cake goop is a miracle concoction in the baking world. It's a method to prevent bundt cakes from sticking to the pan, but it can also be used for other types of cake, too. Cake goop can be made by combining equal parts vegetable shortening, flour, and vegetable oil. Making a chocolate cake and looking to avoid the white residue from the flour? Try substituting it with unsweetened cocoa powder.
Combine all of the ingredients together in a mixer (a few lumps are okay) and paint it onto the inside of the pan with a pastry brush. This mixture will work just as well if kept in the refrigerator or left on the countertop covered. Although the cake goop hack works for most types of cake, if making a cake with a high sugar content (such as strawberry or cinnamon), be sure to line the pan with parchment.
Use a cooking spray
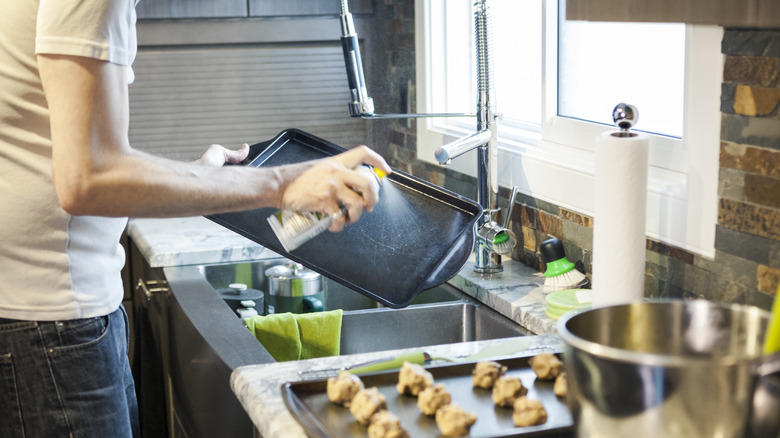
DIY greasing methods aside, there's nothing more convenient than a can of oil spray. Spraying non-stick oil is a more effective way of preventing things from sticking to the pan than melted or room-temperature butter or shortening, because the nozzle ensures an even spray and consistent coverage around the whole pan.
To ensure the entire pan gets coated in oil spray, hold the can a few inches away from the pan so the spray can cover a larger size. Apply more oil than seemingly necessary; to upgrade the texture of the cake, add a sprinkle of white granulated sugar to the oil after the pan is covered. When the cake bakes, the sugar will melt and form a crisp, crunchy layer on the outside.
Some folks have noted that using a non-stick spray inhibits the cake's rise. The spray will make the sides of the pan very slippery, which means the batter can't use it as a scaffolding. For this reason, the non-stick spray perhaps isn't the best method to prevent sticking.
Line the pan with parchment paper before baking
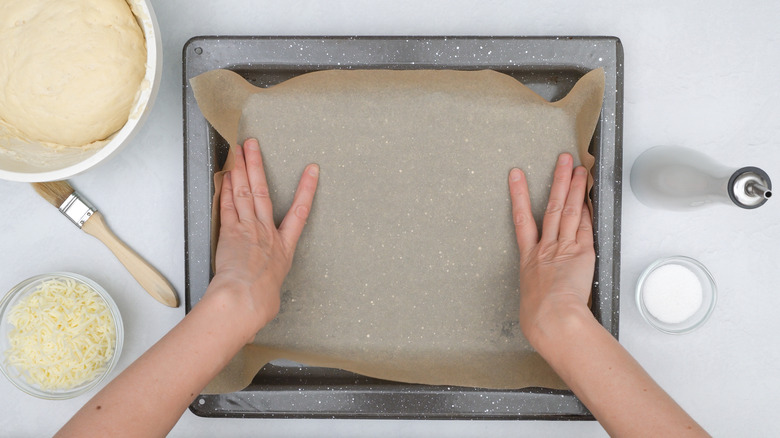
Parchment paper is a baker's best friend. Silicon-coated parchment paper is a critical asset in picking the cake up and removing it from the pan, as it prevents sticking. The easiest way to ensure parchment is cut to size is to place the pan on the parchment and trace around it. When baking, be sure to fold down the sides of the parchment hanging over; this will prevent the paper from catching aflame. Pre-cut rounds and sheet pan-sized pieces can also be purchased, to avoid wrestling with the blade on the box.
Use non-stick spray in addition to the parchment for optimal results. It will keep any residue from clinging to the exterior of the pan. It will also make it easier to peel the parchment off the bottom of the pan without taking any of the cake with it. This method is especially recommended for those working with gooey add-ins (like chocolate chips or candy) that don't have the same properties as the rest of the sponge. The downside to parchment paper is that it's only rated for temperatures between 420 F and 450 F, but most baked goods fall below this baking threshold anyway.
Apply melted butter with a pastry brush
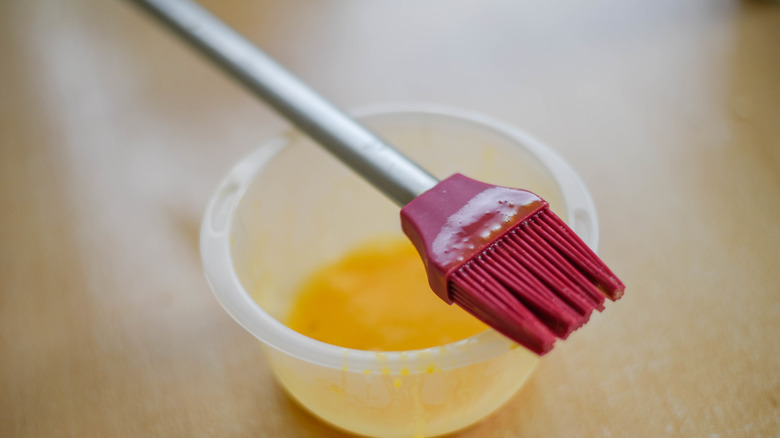
Don't have a pastry brush in the kitchen? Now is the time to go out and purchase one. These brushes come in many different materials, including silicon and natural bristles, and are used to swipe sauce or oil on food. It's a tool that comes in particularly handy when needing to grease a baking pan, since it can be dunked in the melted fat and then shoved it into all the crevasses.
Since butter tends to explode in the microwave, it's best to incrementally heat it up on low power and stir regularly. To melt the shortening, add small pieces to a heat-safe bowl and warm with a double-boiler. Shortening melts at a higher temperature than butter (around 117 F), so expect it to take a bit longer to get shortening to a liquid state.
Use a non-stick cake pan
Non-stick baking pans are a staple in any baker's collection. These pans are often coated in a layer of polytetrafluoroethylene (Teflon) to allow for easy release and less oil. Although the manufacturers of Teflon have come under fire in recent years for a potential risk to human health, Teflon has proven time and time again to be safe, even if a small part flakes off and is ingested. To prevent pans from losing their non-stick qualities, be sure to avoid abrasive cleaning (like steel wool) and metal implements that would damage the pan.
Although the name "non-stick" implies these pans are effective when used without any other protective measures, other methods are still required to prevent the cake from sticking. Even if using a non-stick pan, add a protective layer of grease, parchment paper, cooking spray, or a combination of these methods to prevent a cake from sticking.
Dust the pan with confectioner's sugar
Some baking gurus recommend substituting the flour in a greasing routine for granulated sugar. High-sugar cakes will release easily with a coating of granulated sugar, and there will be a crispy crust to boot. But if using this method, use granulated sugar and granulated sugar only. Don't make the mistake of substituting the confectioner's sugar for granulated sugar. Since the confectioner's sugar contains cornstarch, it will activate with the water and cause the outside of the cake to turn to glue.
One place where confectioner's sugar comes in handy is to keep cakes from sticking to the serving plate. Dust the bottom of the serving dish or cake stand with the confectioner's sugar before adding the sponge down. Ensure the sponge is adequately cooled, since a warm sponge will cause condensation, activating the cornstarch in the powder.
Grease and add almond flour
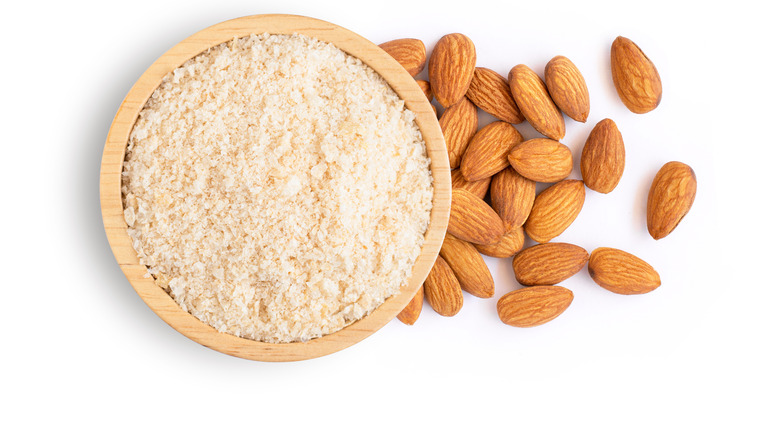
As long as the recipe isn't intended for someone with a nut allergy, almond flour is a good alternative to prevent cake from sticking to a pan. The flour has a coarser texture than flour, and will add a protective barrier between the cake and the pan — while also imparting a moderately almond flavor to the recipe. However, it isn't a top choice for preparing a pan because almond flour tends to bake in some spots and not others, which can give it a patchy look. Not only does using almond flour impart an odd appearance to the cake, but it also creates patches of crunchiness and contrasts a soft sponge more than others.
If using it, be sure to use almond flour, not almond meal. The latter is made of whole almonds (skin-on) and tends to be more coarsely ground.
Add coconut oil
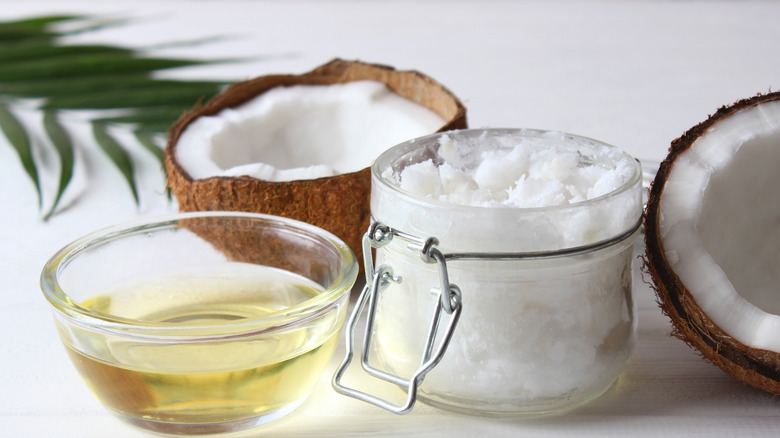
Move over vegetable shortening, there's a new fat in town. Use coconut oil to grease baking pans when desiring a very high smoke point compared to other fats and butter. This quality means the oil won't impart any burnt flavors on the cake when used to grease the pan. Simply melt the coconut oil down to a liquid state, then swipe it inside the pan with a pastry brush or a paper towel.
To maximize the benefits of a higher smoke point, use refined coconut oil over the unrefined variety. Unrefined coconut oil also has a more intense coconut flavor, which can be distracting for some types of desserts. Research and find a brand with a neutral flavor, to get all the benefits of using this fat to grease pans without imparting flavor.
If the cake sticks, flip it over and tap it out
Every baker has experienced that momentary panic when the cake won't come out of the tin. If it happens, take some small steps to ensure it won't come out as a crumbled mess. If turning out a cooled cake (emphasis on "cooled") and it's not landing gently on the wire rack, gently smack the pan as a last resort.
Layer a clean dish towel on the table, then show that cake who's boss. Hit the pan enough so that the cake dislodges, focusing on hitting around the sides of the pan rather than the top. Cakes, especially bundts that include melty additions like chocolate chips or sticky dried fruit, tend to stick more than sponge alone. Still worried the cake won't fall out of the pan? Leave it upside-down and let gravity do the work; it just might take a bit more time.
Put it in the freezer after baking
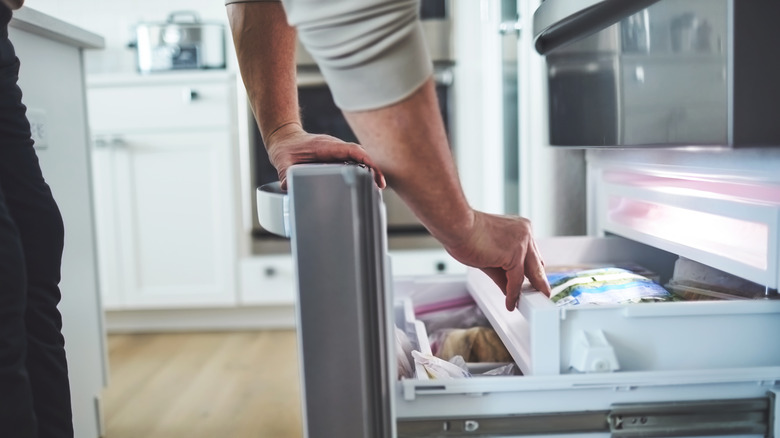
Forgot to grease the pan before adding the batter? Don't panic. Accidents happen, but there's a way to snatch victory from the jaws of defeat.
Try putting it in the freezer, which could help keep the cake intact upon removal. This hack works because it traps the steam that creates a moisture barrier between the sponge and the walls of the cake pan, making for a cleaner release. It's also the exact reason why a cake should never be removed from the pan right after pulling it out of the oven.
Once that warm cake is taken out of the oven, run a butter knife along the edges. Then, seal the cake and the pan in a layer of plastic wrap. Place the whole shebang in the freezer for at least six hours, but no more than a day. When it comes time to remove the cake, unwrap the plastic, run the butter knife along the edges again, and pop the cake out of the pan. Then exhale.
Carefully run around the sides with a butter knife

There are a lot of different ways to remove a cake that has stuck itself to the walls of its tin. The easiest way, though, is to head to the utensil drawer and grab a butter knife. The edges are rounded on a knife intended for butter, making it less likely to damage the sponge. Insert the knife as close to the edge of the cake pan as possible, then release the sponge slowly.
If this results in holes and divots left in the sponge, don't panic. There is a multitude of ways to masquerade such ugliness with the employment of decorations, frosting, or perhaps a garnish. For example, a layer cake with a crumb coating will cover any holes in the sponge, leaving the cake with an even coat of frosting. After all, it's not worth crying over stuck cake.