How To Use Your Oven As A Smoker
Not everyone can smoke food outdoors. Bad weather, lack of space, or inability to purchase a smoker can leave a body feeling left out of the smoky food game. But you needn't feel excluded; you have a tool in your kitchen that you can use as a smoker — your oven.
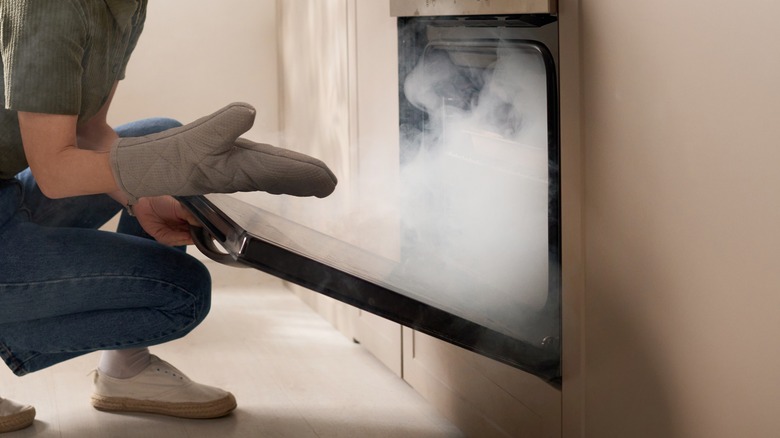
Before going any further, and we can't stress this enough, ensure you have adequate ventilation in your kitchen. An exhaust fan that vents outdoors is good, but opening windows and placing a fan to direct the smoke outside is an added safety level. Why? Although the amount of smoke won't be equivalent to that of a wood fire, it will still be significant for an indoor setting. Smoke contains carbon monoxide, which can kill you, and several other irritating compounds that can make you feel ill. Removing the smoke from your kitchen is primarily a safety issue, but the smell will also linger for days or weeks if ventilation is lacking.
Next, consider what you're trying to accomplish. Are you trying to create BBQ or just add some smoke flavor to your food? While related, we'll address different approaches to each and their degrees of difficulty later. You'll essentially turn your oven into an electric smoker, albeit without the features of some of the more high-tech models, and you can achieve satisfying results in your kitchen out of the elements.
What is oven smoking?
Smoking is essentially slow-cooking food while bathing it in smoke for flavoring. With an oven, you can impart smoke to fully cooked foods, like baked beans, for example, to layer additional taste to them. Or, you can slowly cook food from its raw state. In the case of meat, that slow roasting or smoking breaks down tough connective tissue, renders fat, and leaves you with a moist, tender finished product from what was once tough and chewy.
At the heart of smoking (taking cold smoking off the table,) you need a heat source and a smoke source. In essence, this makes smoking food in an oven completely possible. Electric smokers have a heating element and a means of igniting wood chips or pellets. An oven's heating element provides the first need, and we deliver the hacks to fulfill the second. Don't try oven smoking with anything bigger than wood chips, though; it will only lead to frustration.
Traditional smoking versus smoking in the oven
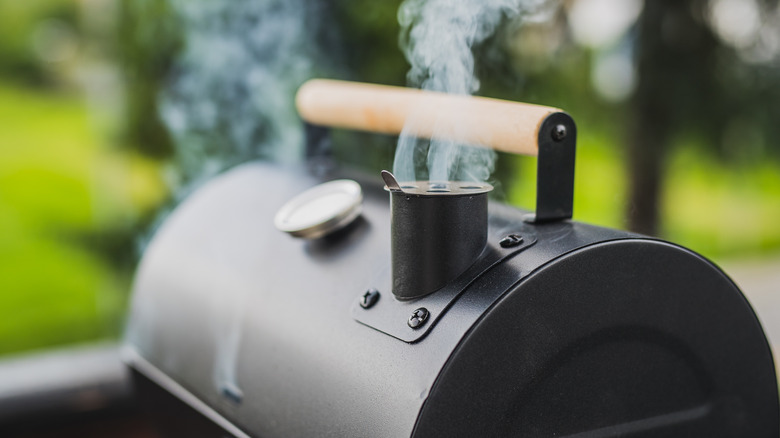
When most people think of smoking, they invoke images of big metal cookers filled with glowing coals and dripping hunks of meat. That's a beautiful image if you feed 20 people or more at a time. Reality is often more subdued, although the same principles apply. Burning wood or charcoal provides a heat source and smoke, which cook and flavor the meat, respectively. A dedicated smoker isn't required; you can easily smoke on a charcoal or gas grill if you want to. But a smoker usually has a more significant food capacity, better heat retention and control, and easier access to the firebox and the food you're smoking.
Well, an oven has good heat retention by design, and its racks make accessing the food and fire (so to speak) easier, too. But where your smoking methods differ is in the heat source. The oven smoking method will use the oven's heating element as the heat source, while a smoldering pan of chips provides the smoke. You won't achieve a big, dark ring associated with traditionally smoked foods, but you can reach a reasonable facsimile.
Gather your materials
Organize yourself for the best results. You can go about oven smoking in two ways, so it's best to address them separately. There are also some pieces that apply exclusively to either method.
For smaller pieces of food, say, a couple of chicken breasts or some carrots, you can construct a self-contained smoker. You'll need a Dutch oven or roasting pan and a colander that fits inside it. For larger foods or quantities that won't fit in a Dutch oven, like brisket, chicken, or Brussels sprouts, you'll need a slightly more elaborate system, requiring a cooling rack, baking sheet, and a heat-resistant pan or skillet. In both scenarios, you'll also need a heat-resistant pot or pan to use as a water pan, a roll of aluminum foil, and a grill thermometer to monitor your cooking. A butane kitchen torch will also come in handy but isn't mandatory.
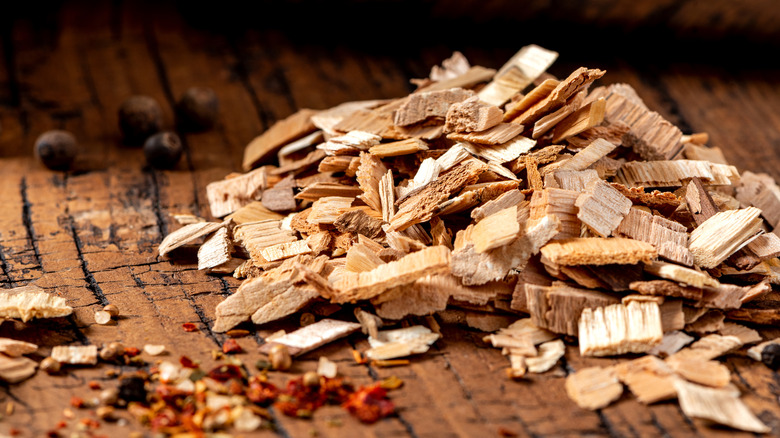
Finally, you'll need some wood chips or smoking pellets. The type of wood is up to you, but don't sell the wood short as an additional ingredient to your cooking. Consider pairing light-flavored wood, like apple, with lighter foods like pork or hard squash. Game meats and stronger-flavored vegetables pair well with darker fruit woods, like cherry. Intense woods like hickory or mesquite work best with big-flavored red meat or quick-cooking vegetables that won't absorb too much of the strong smoke flavor.
Prep your food
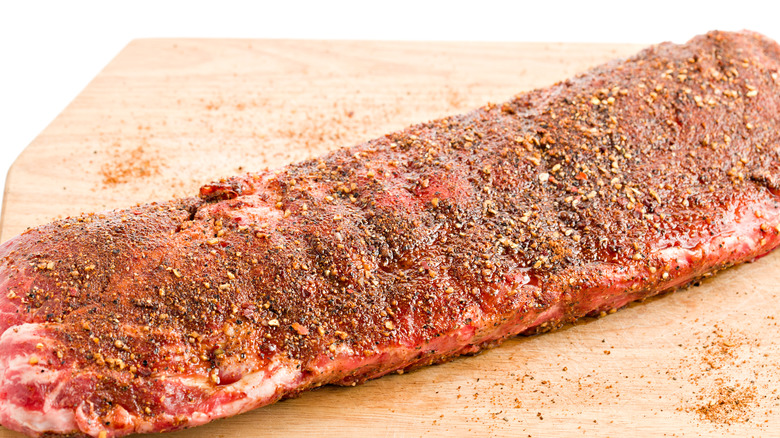
Smoking food starts long before you put your food in the smoker (or oven, in this case.) If you're cooking meat, you'll want to apply any rub ingredients and let the meat warm for 30 minutes or more. Trim, clean, and season your vegetables if that's what you're cooking. Many cooked foods, like beans, pots of braised greens, stews, or even a Bolognese sauce, can benefit from a smoke bath for a while. Of course, these will take a shorter time to finish because they don't need to cook; they just absorb the smoky flavor in this instance.
Another smoker cooking tip to keep in mind is that surface area is your friend. The more exposed the area, the more smoke flavor your food will absorb. So lay out your vegetables in a single layer for maximum exposure, or transfer your beans (or other stew-like dishes) into a baking dish rather than try to smoke them in their cooking pot.
For meats, ensure there's a ½ inch or more between each piece so smoke can pass through the space between and around the meat. This is where the cooling rack is handy for meat, vegetables, fish, or cheese, as it allows that surface area and exposes all sides of the food. If you're using smaller amounts of food, like chicken breast, arrange them in the colander, going up the sides, if necessary, in the same manner — nothing touching and plenty of room for smoke to circulate.
Heat your oven
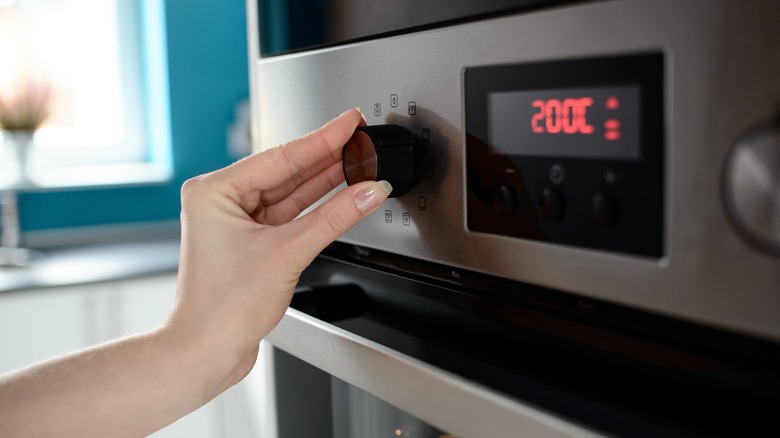
Often neglected, preheating is an important cooking step for anything going into the oven. Preheating your oven reduces the chances of uneven cooking, as the ambient temperature of the oven reaches a relatively uniform temperature after heating it, giving a greater chance of evenly applying the indirect heat. Your food will also spend less time in the "danger zone" where foodborne pathogens are at their most productive, and if you're cooking with time in mind, you'll reach the safe temperature for your food within your cooking schedule because your oven is already hot. For smoking, you'll want to set it to around 225 degrees Fahrenheit.
Another argument for preheating is that, like when using a smoker, you will lose heat when you open the oven to put food and chips in. After closing the door, the oven will need to recover that lost heat, and you'll shorten the recovery time if the oven is already heated to your cooking temperature. Finally, when using your oven as a smoker, you'll be trying to keep your chips lit and smoldering. The preheated ambient temperature will help with combustion, and you'll be less likely to have to re-light them.
Set up your chip pan

A lot of prep work goes into smoking, and now it's time to move to the glamorous part. Two chip pan arrangements need addressing.
If you're using the Dutch oven method, line the bottom of the pot with a double layer of aluminum foil. Arrange your chips in a shallow layer that leaves an inch or more space between the top and bottom of the colander. This space will keep flames from reaching your food in the colander. For the cooling rack method, you'll arrange your chips in a heat-resistant pan or skillet (cast iron is great) that you've double-lined with foil. The skillet will go on your baking sheet on a separate oven rack positioned below the cooling rack.
Don't soak your chips. Soaking makes the chips smolder more and last longer between refills, but you'll steam the wood before it dries enough to catch fire. Chef Matt Bolus says "[soaking chips] creates an almost manufactured bitterness to the smoke flavor." Thats because the wood steams before it burns, which releases bitter or acrid-tasting compounds that will absorb into your food.
Now it's time to light the chips. The easiest way to do this is to use a kitchen torch. Apply the flame to one section of your chips until they catch fire. Repeat this process in two or three more areas, then blow the flame out. You want your chips to smolder as opposed to burn.
Smoke your food (and monitor it)
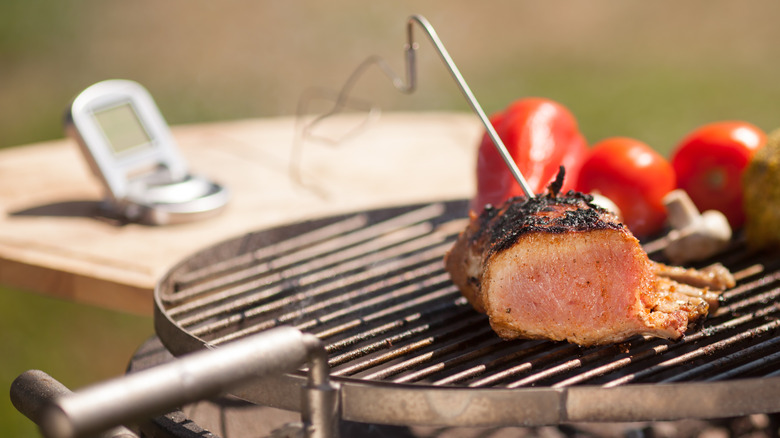
If you're cooking meat, now is the time to insert the grill thermometer probe into it. It's also time to get everything into the oven quickly.
For the Dutch oven method, drop your colander on top of the chips, cover the pot loosely with aluminum foil, and slide it into the oven. If using the cooling rack method, cover the top of the rack loosely with aluminum foil and position it above the skillet of smoldering chips on the baking sheet (to catch drips). In both cases, you'll also want to put your water pan into the oven now.
The grill thermometer lets you keep track of your food's temperature without opening the door. The probe reports to a base unit, which displays the temperature so you don't have to peek inside. Looking ain't cooking, in the vernacular; whenever you open the oven, you lose heat, so try to minimize that via the thermometer.
Periodically, you will need to refill your chip pan. The Dutch oven method requires removing the entire assembly from the oven, removing the colander, and adding more chips. With the cooling rack method, you just refill the skillet. If you're vigilant, you can notice the need to refill the chips before they burn out. If not, simply light them again with the kitchen torch. If your chips catch fire or generate too much smoke while cooking, you can mist them with water to tame the smoke and flames.
Let your food rest, if that applies
You can skip this section if you're not smoking meat. Cheese, vegetables, and pre-cooked dishes don't need a rest period. But meats greatly benefit from resting after cooking. First, the meat keeps cooking after it comes out of the oven because of the heat built up inside it. You can expect the internal temperature to rise 10-15 F in 10 minutes after cooking. Next, as the meat cools, the muscle fibers relax, and it starts to reabsorb the juices it expelled when it first started to cool. Placing the food on an elevated rack, loosely covered with an aluminum foil tent, is the best way to rest. But if you don't have the means to do that, putting it on a plate, pan, baking sheet, or other flat surface that can contain the juices works, too. Just ensure you've tented it and place it away from direct heat sources. Allow 10 minutes or more of resting for the best results.
Dispose of your spent chips

Don't start a fire now that you're done. Even chips that look like ash may be hiding small embers that can ignite flammable material if you simply empty your chip pan into the trash. Treat your spent chips like used charcoal. Either let them sit overnight away from any heat source or flammable material or douse them in water and stir them around. After letting them cool and ensuring everything is thoroughly soaked through, they're safe to throw away or compost.
De-smoke your kitchen
No matter how careful you've been or how much ventilation you provided, your kitchen will smell like smoke after smoking in your oven. The scent will tenaciously stick to porous surfaces like curtains and leave a film on countertops and appliances. The smell won't be obnoxiously strong, like sticking your head into a fireplace, but it will linger, and you will notice it for a week or more if you don't mitigate it. Wash your curtains and towels if they're smoky, and quickly wipe down hard surfaces with soapy water.
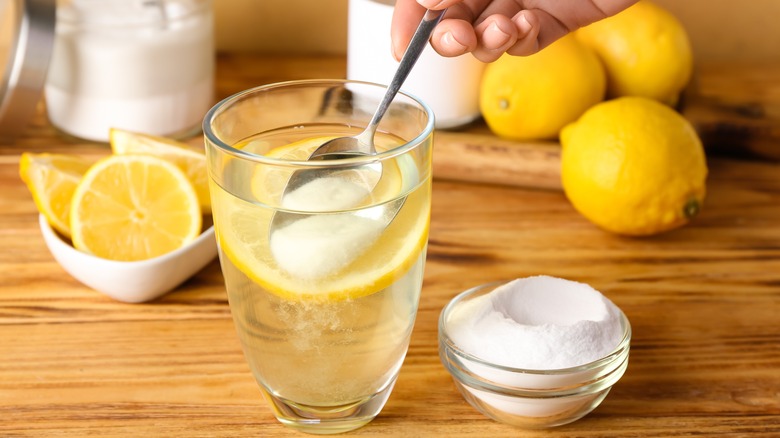
If the smoke lingers after cleaning, you can try a few natural methods to eliminate it. Simmering a 50/50 mix of distilled vinegar and water for 45 minutes will remove the smell. Lemon or cloves simmered in water will accomplish the same thing. Also, placing small bowls of baking soda around your kitchen is a slightly slower yet effective method that should reduce the smoke smell in just a few hours.
Oven-smoked recipes to try
We've handled the hows, but here's some whats to get you started. You can adapt this oven-baked burnt ends recipe by adding a pan of chips and a water pan to the oven while the burnt ends roast for three hours. Just disregard the liquid smoke or smoked paprika suggestions and practice this method instead.
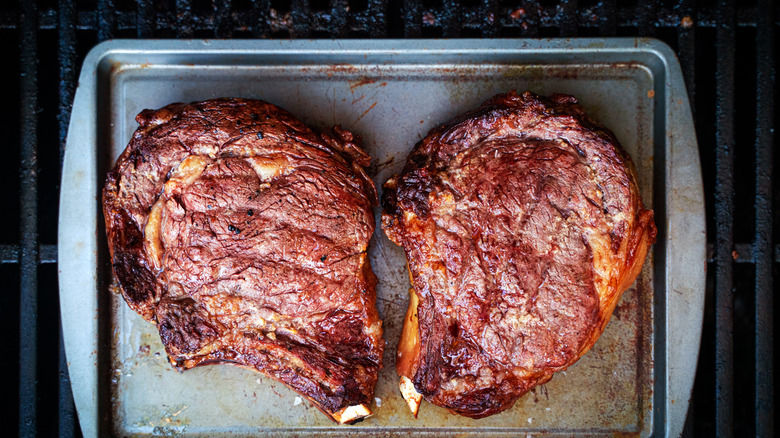
Aaron Franklin's slow-roasted steak recipe can also work great with the addition of a smoked infusion. This will work better with the cooling rack method for better smoke exposure. Add a pan of chips and a water pan while it roasts, pull the steaks out when they are 15 degrees Fahrenheit below your target temperature — pull them at 120 degrees Fahrenheit for medium rare — and then reverse sear them in a cast iron pan.