21 Tips For A Successful Pig Roast
In many parts of the country, a summertime pig roast is a time-honored tradition. Although it would be nice to do so, a pig roast is not a spur-of-the-moment event and requires thought and planning to pull it off successfully. Chef Cory Bahr, owner and founder of Parish Restaurant in Monroe, Louisiana, has racked up some experience in the pig roast arena. As chefs are wont to do, his initial attempt was ambitious, to put it politely.
"My first time roasting a pig; of course, I wasn't roasting just one. I roasted six," he jokes before revealing his limited success in that experience. While ambition might have gotten the better of the situation, he's learned from those lessons, building on them and vastly improving his process, of which he's agreed to share his finer points with us here. Hopefully, you'll find that with planning, preparation, and managing expectations, your inaugural pig roast will succeed.
Decide what you're going to cook on
So you've decided to roast your first pig. There are many ways to bring this about, based on your available space, budget, and skill level. Geographical and cultural norms can also play into how you go about roasting a pig.
You could dig a pit and bury the pig in coals for hours, use a roasting box like a Caja China, spit roast it, or even smoke a small pig on your charcoal grill. Bahr prefers to use a reverse flow smoker from Lang or to build a pit out of cinder blocks and expanded steel for his roasting. To keep the scope of this article to a manageable level, we'll focus on those two mediums for cooking, although many of the same principles apply to spit-roasting.
Plan your timing
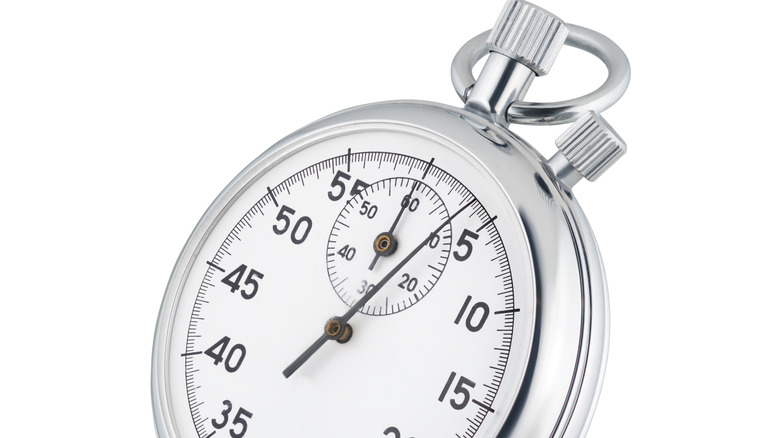
A pig roast isn't usually a small affair involving a handful of friends or family; a whole roasted pig usually dictates a larger audience to consume it. Not to put more pressure on you, but those people will be staring hungrily at you if the pig isn't ready on time.
A good timing guideline is to allow one hour and 15 minutes per 10 pounds of hanging weight of your guest of honor. As there are many variables in the cooking process, add another hour to that time just to be safe. Two other important factors to add to your cooking time are the time it takes your fire to be ready and the time you need to rest your pig and then pick or carve it. Allow an hour or more for your fire and another hour to an hour and a half for resting and picking.
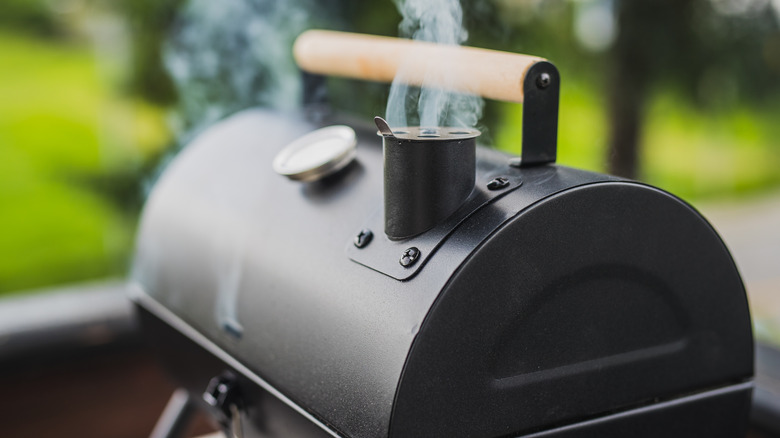
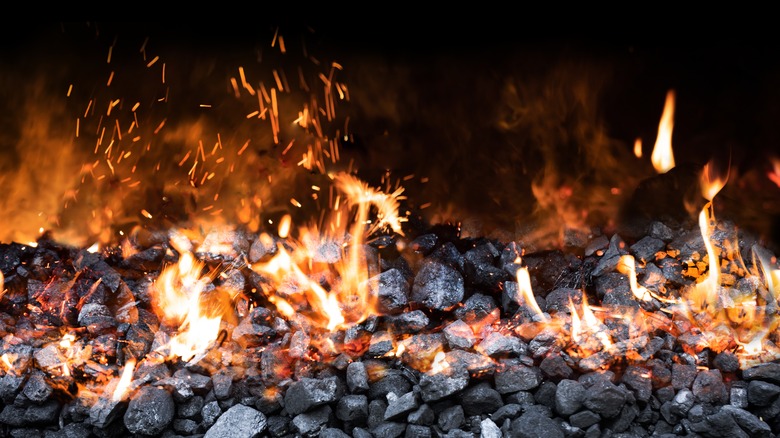
Get the right fuel
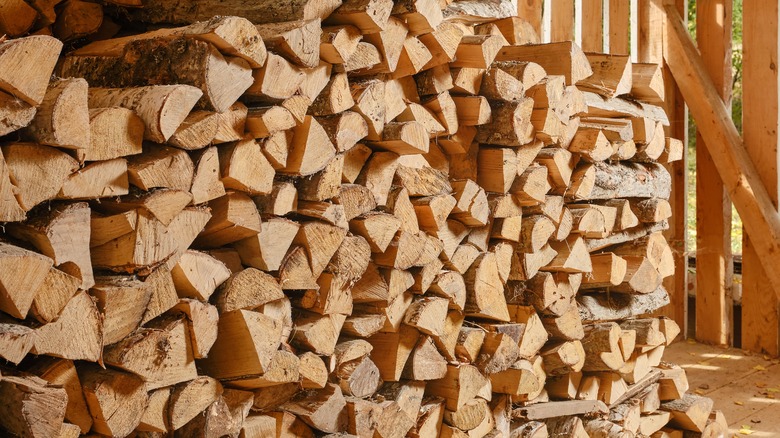
Before buying your pig, you need to plan for what fuel you will use. Bahr prefers a mix of charcoal and hardwood, but you can use either. Know which type of charcoal best suits your purposes, if that's your choice.
Lump charcoal burns longer, but briquettes are easier to manage. For wood, Bahr advises that you secure dry, cured hardwood. "Green" wood will pop and spark due to the water content trapped inside it, giving you the worst smoke flavor and a layer of creosote on your meat. Likewise, old, wet wood will give you off-flavored smoke, and neither will provide you with a good bed of coals for cooking because your heat is boiling off the wood's water content. Dry, cured wood will give you a good bed of coals and a more pleasant smoke flavor.
You really want to use oak
When people mention a pig roast, the most common woods that come to mind are hickory and mesquite. Both are fine wood choices, but they also carry intense flavors. Bahr prefers using red oak for roasting pigs because it has mild smoke that fits well with a variety of foods.
There's nothing wrong with using a stronger flavored wood but be prepared for the assertiveness of that flavor. Consider your wood a key seasoning element of your pig roast. Bahr will start with oak and sometimes use hickory or another stronger flavored wood, but only for the first 25% to 50% of the cooking time so that the pig gains that smoky wood flavor but maintains a balance between the wood and the meat. He wants to taste the wood, but not at the expense of the meat's flavor, and that's where the oak wood best serves him.
Stock your pantry
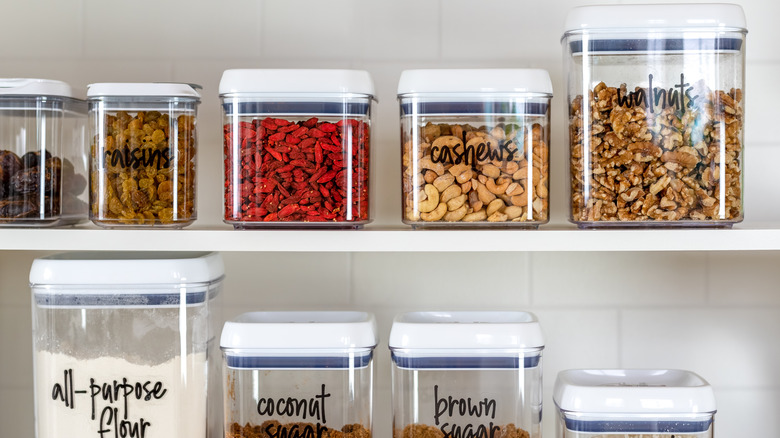
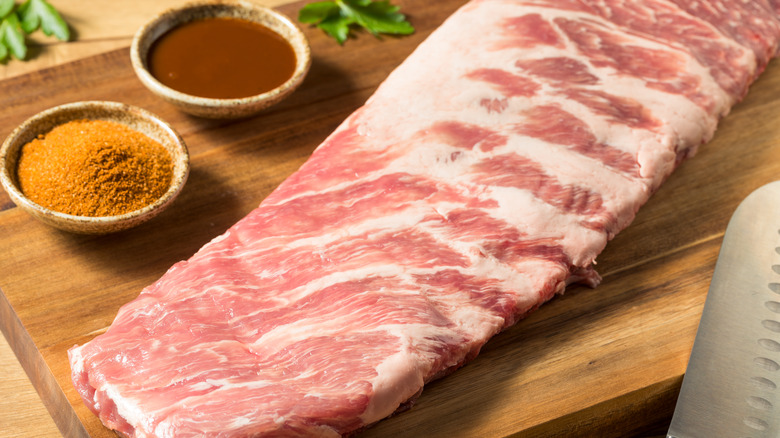
A whole pig requires considerably more seasoning and ingredients than you think. There are three main points of seasoning your pig; before, during, and after cooking, and you'll need enough ingredients to accomplish each. You'll need a rub, whether buying one pre-made or blending your own.
Then you'll need a commercial mop sauce or ingredients to make one to apply during the cooking process. Finally, you'll need seasoning after the pig is done. As a food safety precaution, you can't reuse any rub that may have come in contact with the raw pork, so you'll need fresh or untouched ingredients. The time to ascertain you have enough ingredients on hand is before you start cooking, as you don't want to make an emergency grocery store run mid-cook.
Source your pig
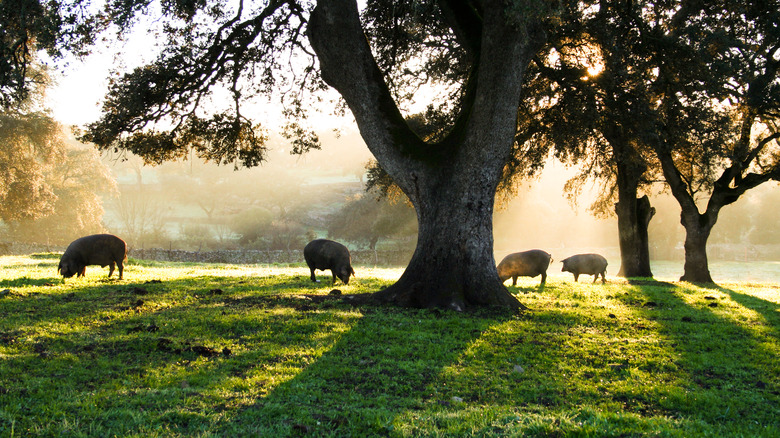
"A commodity pig is going to taste like one, so we always source a local-ish pig from a good producer," Bahr says. Pastured pork is a nebulous concept, but it usually indicates that a pig has lived its life as a pig would, moving around in various environments like fields and woods. Pastured pigs are often from heritage breeds, selectively bred to create a meat-to-marbling ratio that brings more moisture to the meat and more character to the table.
Commodity pigs are raised in more confined circumstances, yielding lower marbling and "the other white meat," which is horrible for the pig's mental health and means less flavor. A pastured pig will usually have reddish meat, a thick layer of fat, and has hopefully enjoyed an idyllic life, all contributing to a more flavorful pig.
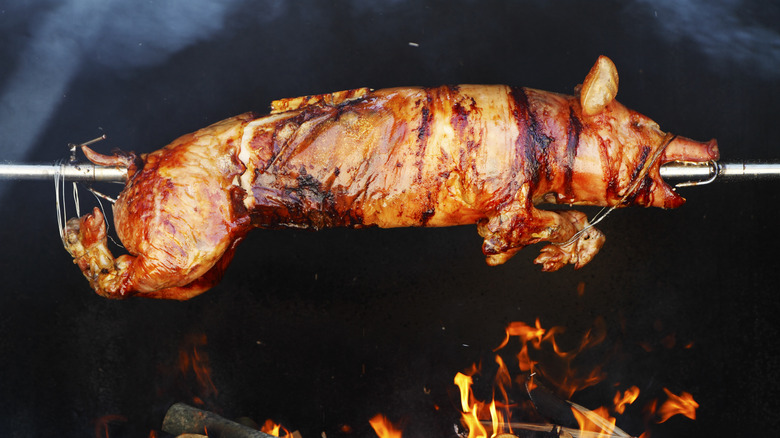
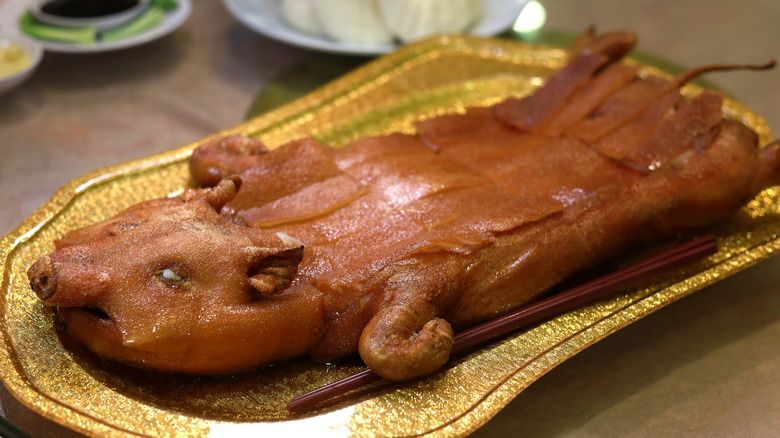
Select the right-sized pig
Roasting a whole pig is a delicious, highly inefficient way of feeding a large group of people. A whole pig has its skeleton intact, and the cooking process will decrease the mass of the meat via fat and moisture loss during cooking.
According to Bahr, a 60 to 80-pound pig will yield 20 to 30 pounds of meat. Roughly translated, he says a 75-pound pig will feed 40 to 50 people with side dishes. With that knowledge, you can find a pig that's neither too big nor too small for your crowd. There are two other factors to consider when selecting a pig, the first of which is knowing the size of your cooking surface to determine if the pig will fit in your cooker after it's butterflied. The second consideration is whether you can move the pig by yourself or if you'll need help, provided that's available.
Season your pig
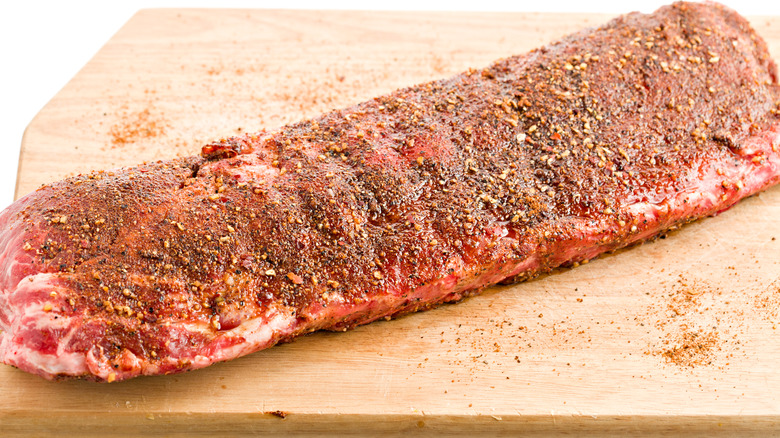
The first step in preparing your pig to cook is to have your butcher butterfly it, if possible, as it is a detailed task best left to a professional. Then it's time to season the pig. There are many excellent commercially-available rubs on the market to choose from, or you can make your own. Bahr prefers simplicity in his rub, which consists of two parts salt, one part black pepper, and ½ part white. He says you can add more ingredients if you'd like, but try his simple rub before getting adventurous.
Bahr finds the skin is too tough to absorb any significant flavor, so he only seasons the inside of the meat. Season the pig for at least an hour before cooking, packing the rub into the meat. Leaving the rub on longer than an hour lets it act as a dry brine, but an hour is a minimum, allowing the rub to be drawn into the meat before cooking.
Make your mop and know when to use it
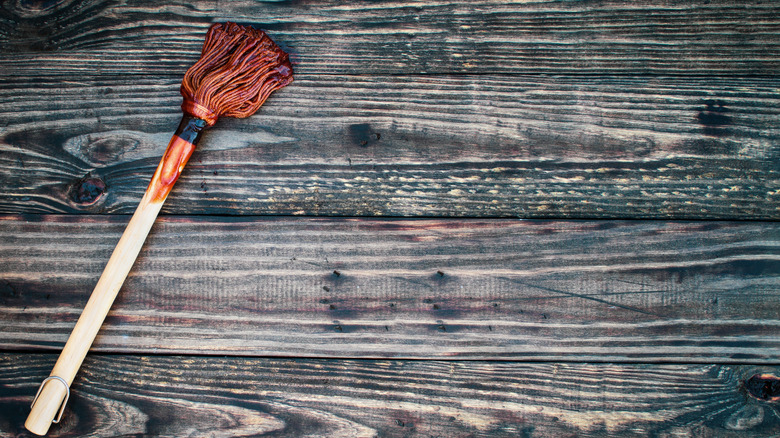
Roasting and smoking have a drying effect on meat, and that might not be the end goal we're seeking in roasting a pig. A mop sauce is an effective tool to counter that drying and add flavor to the "bark" of the meat.
The hardened exterior of your rub creates a craggy surface that your mop will stick to, building complexity and moistening meat. Bahr likes to use about ¼ cup of dried Thai chiles that have been very roughly chopped, some thinly sliced onions, apple cider vinegar, and Crystal brand hot sauce to make his mop. He'll apply it periodically during the cooking process or whenever the rub starts to look too dried out, simply slathering it on with a pastry brush or a specially-made BBQ mop.
Let your pig warm up
A whole pig is a large piece of meat with varying thicknesses and densities, and those facts don't bode well for the pig roasting evenly. You can mitigate this by letting your pig warm up before it hits the fire. When you pull your pig out of refrigeration, it's cold all the way through.
If you immediately place it on the cooker, the outside portions of the pig will heat and cook while the interior meat remains cold, resulting in uneven cooking. Warming it outside the refrigerator for one to two hours, if not longer, gives the meat temperature a chance to equalize somewhat, resulting in a more efficient and, therefore, even transfer of heat, which results in a more even cook for your pig.
Wrap the tender parts
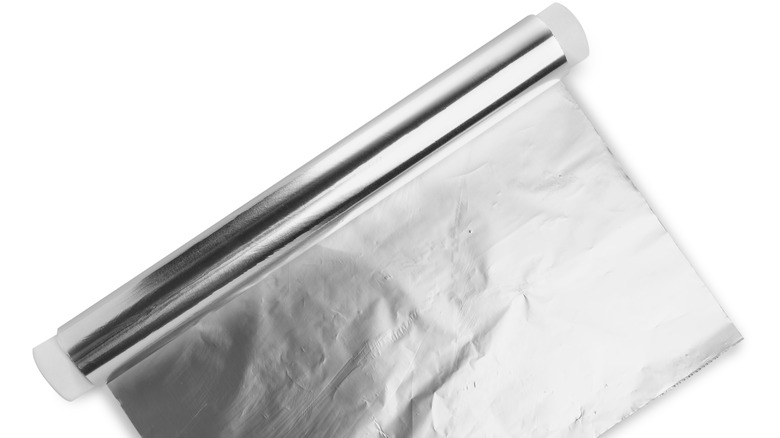
The ears, tail, and sometimes the hocks should raise an eyebrow about the density and evenness of the pig's cooking. These thinner areas will cook much quicker than the rest of the body, most likely burning before the body meat is done. Bahr recommends wrapping these parts in a few layers of aluminum foil before cooking to avoid burning them. Simply hold them away from the body and wrap them two or three times to insulate them.
When the pig is about 75% cooked, he removes the foil. These pieces have been cooking while the rest of the meat has, so they'll be done at this point, but the skin will be soggy and flabby. Exposing them to direct heat will crisp them up quickly.
Build a good fire
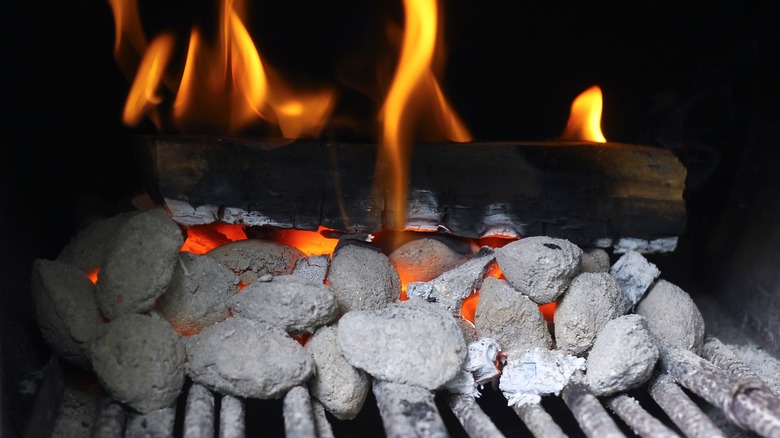
Bahr starts his fire with an even layer of charcoal in the cooker, using a propane torch to ignite the charcoal. He then adds wood to the burning charcoal and lets it all burn down to glowing coals before moving to the next step.
Follow these steps, and then, using a rake or something similar, arrange the coals so there's a thin, even layer across the cooker where the center mass of the pig will rest. With the rest of the coals, bank a slightly higher pile of coals under where the head and butts will lay and another similar mound under the hams. Doing this will concentrate heat on the thicker parts of the pig and allow the bellies and loins to cook without overdoing them.
Manage your heat
After your fire is ready, place your pig skin-side down on a rack over the fire. Your initial load of wood or charcoal will burn down, and your instinct might say just to add more unburned wood. This is exactly the wrong thing to do because you don't want flames involved when roasting a pig.
When starting your cooking fire, start a second fire off to the side in a safe spot, like a fire pit or a sandy area, or you can construct a burn barrel for this purpose. What you want from this is a ready supply of hot coals to add as your fire burns down. Remove them from the pit or barrel with a shovel and place them strategically under your pig as needed.
Monitor your cooking
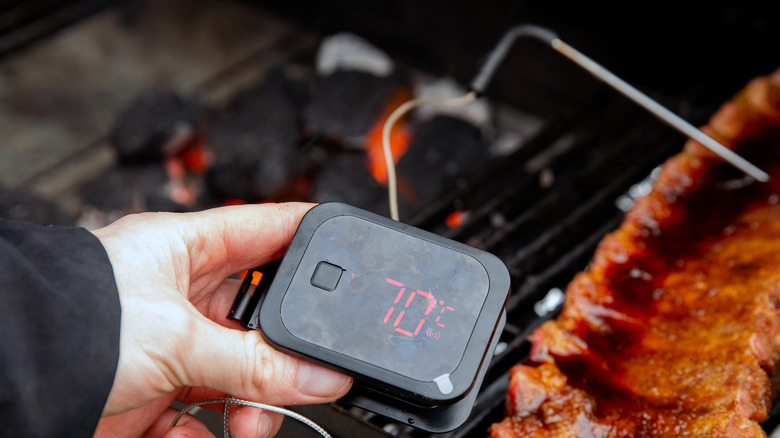
A meat thermometer with several remote probes will be your best friend during the cooking process. In the vernacular, "lookin' ain't cookin'," which means opening your cooker to see what's happening inside lowers the cooker's temperature and slows the cooking process. By keeping a probe in the ham, another in a shoulder, and one monitoring the pit temperature, you don't need to open the cooker. You'll have a clear picture of the pig's thickest parts and know the ambient temperature.
Another helpful tool is an infrared thermometer, which you can aim at your coals and the cooking surface to take their temperatures. This information can signal the need to add new coals or rearrange existing ones if the fire is too hot.
Don't smoke it out
We touched on this briefly when discussing wood, but smoke isn't always the best ingredient to add to your pig roast. To clarify, there's good smoke and bad. We've mentioned that Bahr likes to add wood for smoke for a portion of the cook, but not the entire time.
This method adds smoke to the depth and complexity of the wood-cooked flavor, but it doesn't become a flavor where it battles for domination over your rub, the mop, and the pig itself. Likewise, soaking some chips and throwing them onto your perfect-temperature fire lowers the heat and adds creosote-laden horrible flavors to the end product. You reach a more balanced end product by exercising restraint and viewing your wood and smoke as ingredients rather than simply a cooking vehicle.
Let the fire do the work

If there's a point in this conversation that Bahr can't stress enough, you'll never outsmart slow, controlled cooking in a pig roast. You're not racing to get the meat to 190 degrees Fahrenheit to 200 degrees Fahrenheit as fast as possible. By cooking low and slow, you're rendering the subcutaneous and intramuscular fat and breaking down tough connective tissue, resulting in a tender, juicy end product.
If you're running short on time, increasing the heat will affect the outside of the pig long before the heat carries to the inside, and you'll have a dry, scorched exterior on your pig and an undercooked interior. "The first time I cooked a pig, it would have been fine if I had two more hours," Bahr says, noting his mistake. Do yourself and your guests a favor and exercise a little patience.
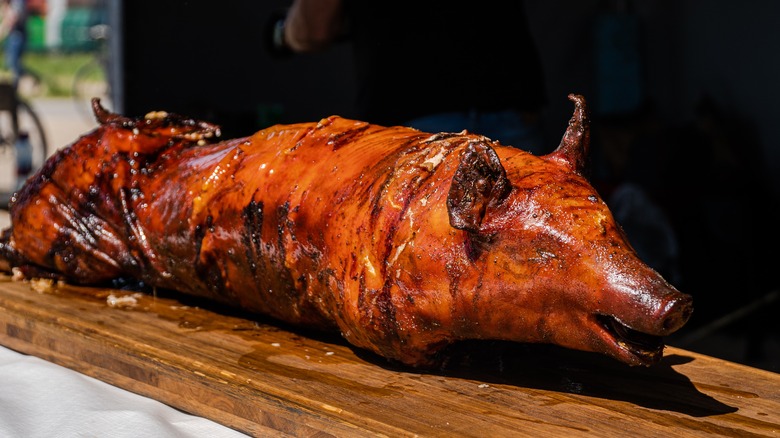
Be gentle with the skin
You'll see many variations that contradict this, but when roasting a whole pig in this manner, the skin is ultra-important. So be gentle with it and do not poke holes in it or tear it. Roasting a pig skin-side down renders and crisps the skin, it's true, but the skin also serves as a vessel for rendered fat and juices and a flame barrier.
If the skin gets even a tiny tear in it, all that fat and all those juices immediately drain onto your hot coals. Grease meeting heat usually results in a grease fire, and with the amount generated by a whole pig, that fire can not only ruin your pig but also be extremely dangerous to you, your guests, and the surrounding area.
Save your juices

After spending extra time and care to maintain the pig skin's integrity to ensure you keep the juices and fat, what's the end goal? First, pouring them back into the meat after you pull it adds flavor and moisture to the pork, so why pass up the extra flavor?
You've paid for those in the pig's weight, and it's just maintaining your investment. Letting everything settle and allowing the fat to rise to the top, Bahr skims that fat and uses that for flavoring collard greens, slow-cooked beans, or other dishes that call for pork fat, bacon fat, or even ham hocks, adding the wood taste and smoky flavor to the dish. It's all that more rewarding knowing that you worked hard to create that added flavor.
Let the meat rest
When you've finally gotten your pig to the magic temperature and removed it from the heat, it's time to dig in, right? If you rest steaks, roasts, and poultry, why would a pig be any different? Resting meat is just that, allowing the muscle fibers of the meat to relax, in turn enabling them to hold the juices better.
Bahr lets his pigs rest for 30 to 45 minutes before moving to the pig-picking part of the show. He also says that he doesn't tent them, as the internal heat from the pig, especially from the bones, which are naturally good conductors of heat, will keep the pig warm during the rest, and tenting allows condensation to form, which can sog your perfectly crisp pig skin.
Pick it well

First things first, get that beautiful, crispy skin out of the way and set it to the side. We'll talk more about what to do with that later. The natural tendency is to dig into the pig's torso or the butts or hams first and then work toward the end.
That's fine, but don't forget the extra bits, like the tail, hocks, and ears. Where people tend to stop is at the shoulder, never approaching the neck. Bahr emphasizes the beauty of the meat from the pig's head and neck. Considering the nature of the pig's anatomy, the jowls, cheeks, and neck are well-used extra-marbled muscles that yield tender, fat-laden meat that's every bit as good as the more prime bits and shouldn't be left untouched.
Finish it right
Once you've finished picking the meat off the carcass, there's one step left in the process. While you've worked hard to build a good crust of rub and mop, a large portion of the pig has never been seasoned. Bahr adds more of his rub ingredients with the collected juices into the meat and mixes it well, seasoning all the meat more thoroughly.
You can also chop up the crispy skin and mix it with the meat, or you can break it up and serve it on the side. Enhancing a basic rub, you can augment it with some garlic and onion powder to round out the flavor and add some of your mop ingredients, like cider vinegar and hot sauce. Now it's time to eat.