13 Tips You Need When Cooking With A Smoker
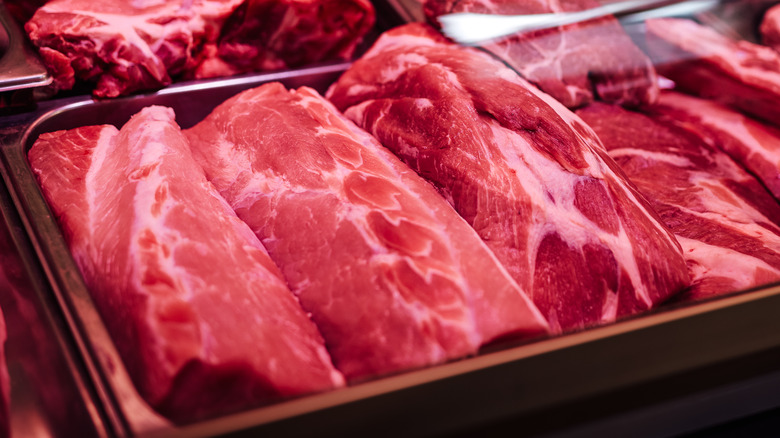
Smoking food is an ancient technique, as a cooking method or one for preserving food. Depending on where you live, smoking can invoke different mental images. In much of the South, it can mean BBQ; pork, chicken, sausage, or beef. It may mean cooking or preserving fish in coastal Southern regions and the Pacific Northwest. California skews towards beef, particularly tri-tip.
Not all smoking involves cooking meat until falling off the bone, as our guest expert Matt Bolus, chef and partner of Nashville's 404 Kitchen and Gertie's Bar, points out. Bolus is well-versed in outdoor and live-fire cooking and has a propensity for smoking an annual standing rib roast on his Big Green Egg. On paper, smoking is a simple discipline; add meat or vegetables to a smoldering fire and let it go for a few hours. In reality, multiple layers of complexity ensure the end result is what you're seeking. So here are some tips for dealing with the most common issues.
1. Control your heat
The first step is knowing the capabilities of your smoker. "I love a Big Green Egg," Bolus says, "but it's not necessarily conducive to cold smoke a salmon. That's not to say it's useless for it; you just have to think outside the box to make it work." Knowing the temperature of your smoker, your ideal cooking temperature, and how to maintain that heat is critical to successful smoking.
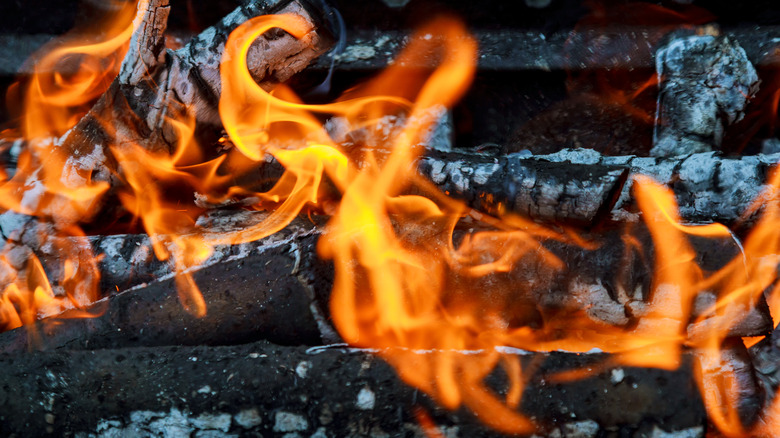
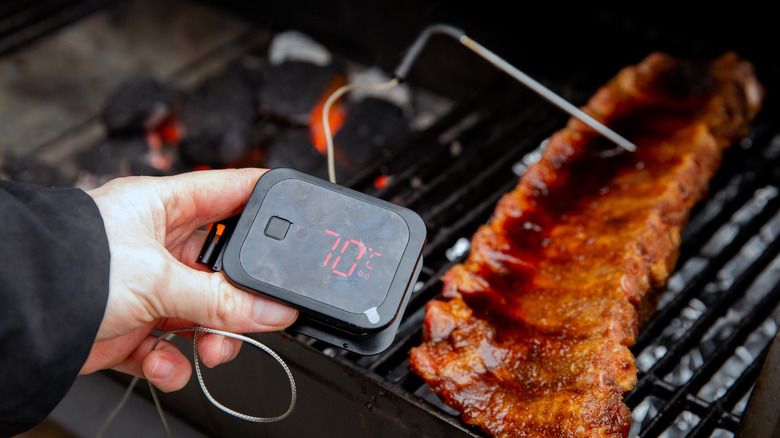
The charcoal manufacturer Kingsford asserts that the ideal temperature in most cases is between 225 and 250 degrees Fahrenheit. This temperature can be lower if you're cold smoking, but the same idea holds true. Fires need oxygen, and increasing the airflow by opening the grill's vents increases the temperature and vice versa. The exception to this rule is fully opening your smoker or grill, which will immediately drop the ambient temperature inside. Once you close your smoker, you'll have to wait for it to return to the desired temperature, lengthening the cooking time. As some say, "lookin' ain't cookin'," so control your desire to check in by opening it constantly. A grill thermometer with two probes that monitor both the smoker and food temperatures provides the data to satisfy your curiosity.
2. Choose the right wood for the right food

"Know what your desired end result is and plan how to get there," Bolus says. Think of your smoking wood as another seasoning component of your food. It should compliment, not overpower. In doing that, it's helpful to think of your wood flavor in terms of shades. We'll explain: apples have a light, bright flavor to them, so the wood, in turn, will have a lighter flavor, which pairs with lighter fare such as pork (think pork chops and apple sauce), poultry, or fish. Darker fruit woods, like cherry, pair better with darker foods like game, duck, or turkey.
You can use the same idea for hardwoods. Hickory has a strong, slightly dark-hued aroma and flavor that stands up well to beef or pork. Alder is a lighter flavor that many reserve for seafood and fish. Mesquite is a heavy-flavored wood best reserved for bigger flavors like beef. Hickory is a dominant flavor that requires a judicious hand, as well. In comparison, oak is a middle-of-the-road-intensity smoke that works well with many foods without overwhelming, so it can slip into many dishes to enhance the flavor without stealing the show.
3. Treat your wood with respect
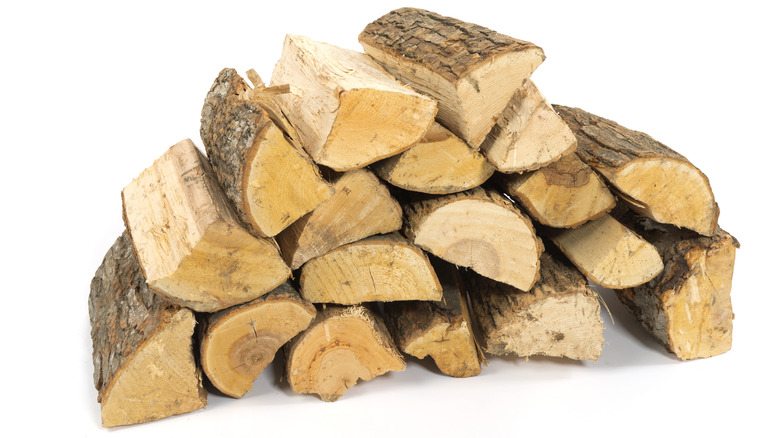
Aged, dry wood is the best choice for smoking. Bolus advises again to examine your end result and plan accordingly. "If you're smoking a brisket, it's almost foolhardy to throw some soaked chips in there and have them burn up," he says. "It creates an almost manufactured bitterness to the smoke flavor." In that, he recommends examining the size of the wood — be it logs, chunks, or chips — to develop the flavor you want.
A log will give long, slow, lighter smoke that builds complexity over time, and the smaller you go in size results in a hotter, faster burn with more intense smoke but less nuance to the smoke flavor. He strongly waves people off of soaking their smoker chips or using unseasoned wood. Soaking or using green wood will lower the cooking temperature because of its moisture and also brings a more "boggy" element to the smoke. He also recommends examining the time you apply smoke. Just because you're smoking with a particular wood doesn't mean you need to smoke with it the entire time. Subtle flavors of wood like cherry can build up and become overwhelming, and mesquite can dominate your food if used in the whole cooking process.
4. Brine, if you like
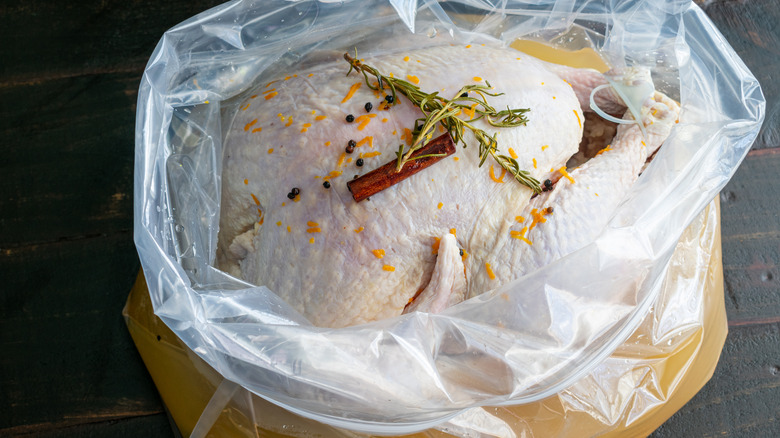
You can brine or not brine. There's no hard and fast rule about brining and smoking. For the uninitiated, a brine is a 5% salt solution with other flavoring additions. The salt kicks off osmotic effects, transferring water and flavor within the cells of the food you're brining. The general rule for applying a brine is to allow one hour for every pound of meat you're soaking. Over-brining can have detrimental effects on your meat, making it soft and spongy.
Where using a brine works to your advantage is in long smokes, which is a drying process often used in food preservation. Since water boils at 212 degrees Fahrenheit and the recommended cooking temperatures are a few degrees above that, evaporation in your food is a given. When cooking dries your meat as an unwanted side-effect, the extra moisture imparted from brine can keep your food moist. As brining is time-consuming and requires significant refrigeration space, there's a more commonplace alternative method to help keep your food moist that we'll cover later.
5. Let your meat come to temperature
The idea of cooking is to bring a piece of food to a desired temperature. Because of food's shape and density, this isn't a process that happens evenly, given that it doesn't exist in a flat sheet where all areas reach the target temperature simultaneously. Naturally, the interior of a piece of meat will retain a colder temperature from the refrigerator than the exterior.
Think of the food you're smoking in the same way as warming a steak before grilling. Equalizing the temperature throughout the meat before cooking ensures a better transfer of heat without drying the exterior out while trying to get the center up to temperature. Bolus uses a pork butt and a standing rib roast as examples, where he lets them warm for several hours before smoking. It requires saying that warming times and safety issues vary with the room temperature. You can reasonably expect meat warmed at 60 degrees Fahrenheit to maintain a degree of food safety; the same doesn't hold true for 90-degree Fahrenheit ambient temperature.
6. Know when to rub
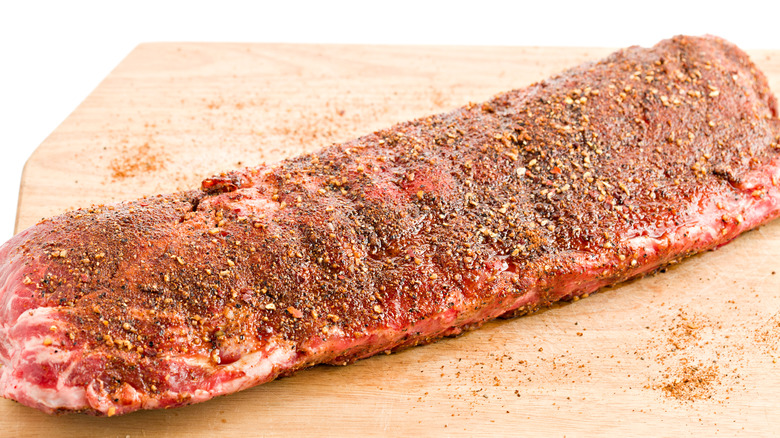
Adding a rub to your meat imparts flavor, but it can also work in your favor in other ways. Rather than just sprinkling your rub on as a quick step between your refrigerator and smoker, Niman Ranch recommends applying your rub 30 to 90 minutes before cooking. This timing allows osmosis to start doing its work with the rub, infusing deeper into the meat rather than just seasoning the surface.
But you can also use a rub as a dry brine, retaining moisture and drawing flavor deeper into the meat. In this case, you can apply the rub the day before and let the meat hang out and do its thing in the refrigerator. At the very least, you can apply the rub while you let the meat rest and come up to temperature before cooking. Doing so will allow time for a pellicle — a slightly sticky coating that forms on salted foods — to develop, which provides a better surface for smoke to "stick" to your food.
7. Choose your rub
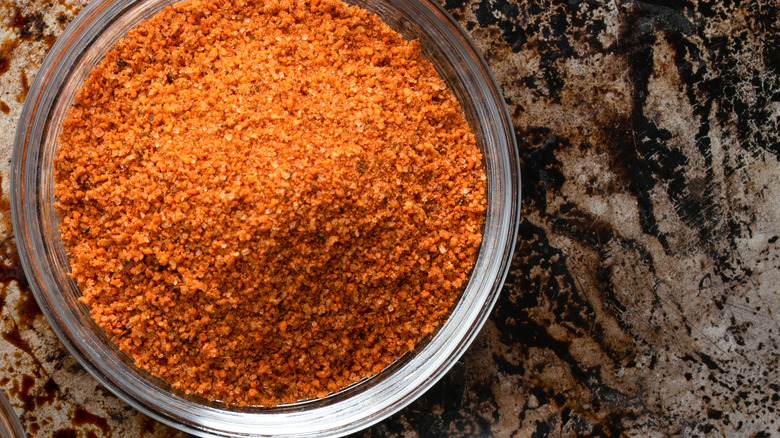
What is a rub? Quite simply, it's a mix of salt and spices that you coat your meat with, perhaps packing it or rubbing it into the meat. The salt is there to kick off the osmosis, and the flavorings vary from there.
Bolus likes to keep the rub simple. "Salt, garlic powder, onion powder, pepper, and paprika," he says. He prefers to play with flavors in external manners, which we'll get to later. Not all commercially available rubs are created equally, nor are they particularly interchangeable. Rubs intended for beef tend to have a more savory list of ingredients, while those meant for pork or poultry skew sweeter on the flavor spectrum. Some rubs will use MSG as an umami booster, and others won't. Neither is better or worse; that selection is a personal choice. As a general rule, look for clean-labeled rubs when shopping, which get you flavor without extra anti-caking or color-enhancing ingredients that add nothing to your food's taste.
8. The question of sugar
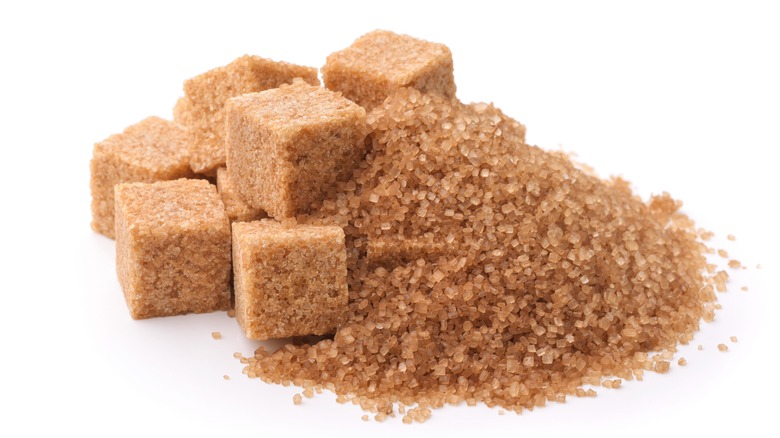
As mentioned before, pork and poultry rubs tend to be sweeter than those intended for beef. These sweeter rubs can lead to issues if you lose control of your heat or up the temperature in an attempt to defeat the stall. (More on the stall soon.) White and brown sugar burns at about 350 degrees Fahrenheit, although brown burns at a slightly higher temperature due to the moisture in its molasses content. If everything goes to plan, burning should never be an issue, as the ideal temperature is 100 to 125 degrees lower than the sugar-burning temperature. But it's still a risk worth considering. There are other ways to bring sweetness to the table without a high risk of burning.
Bolus likes to use a mixture of olive oil and honey to coat the meat before applying the rub. Although honey burns at about 300 degrees Fahrenheit, the dilution with olive oil raises the burn temperature, and the honey brings a different sweetness profile than straight sugar. Other options for working around sugar could be molasses, maple syrup, or sorghum.
9. To bind or not to bind
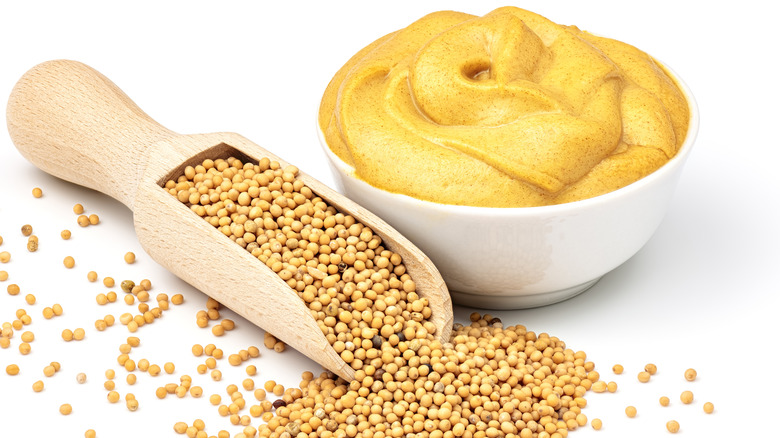
A binder is simply a viscous substance that you rub on your meat to help the rub adhere when you apply it. The most commonly used binders are yellow mustard, oil, and mayonnaise. Because of the molecular structure differences between oil and water, the oil will interfere with the absorption of the rub. It will remain a coating on the surface of your meat rather than drawing into the food via water content.
Mayonnaise is composed mainly of oil but is an oil-in-water emulsion — an oil suspension in a small amount of liquid. So, it can be a better binder than pure oil, but the oil will still hinder the osmotic process. Mustard is a simpler construction of vinegar, water, mustard seeds, and other spices. The vinegar is water-based, so you have two main components that will let the salt and seasoning pass through to flavor the meat's interior rather than just coating the outside. Simpler still is to let your rub sit for a few hours, and the liquid drawn from the salt will act as a hydrating binder, causing the rub to adhere without further intervention. As before, it's a personal choice; none of the methods are right or wrong.
10. Use fresh herbs
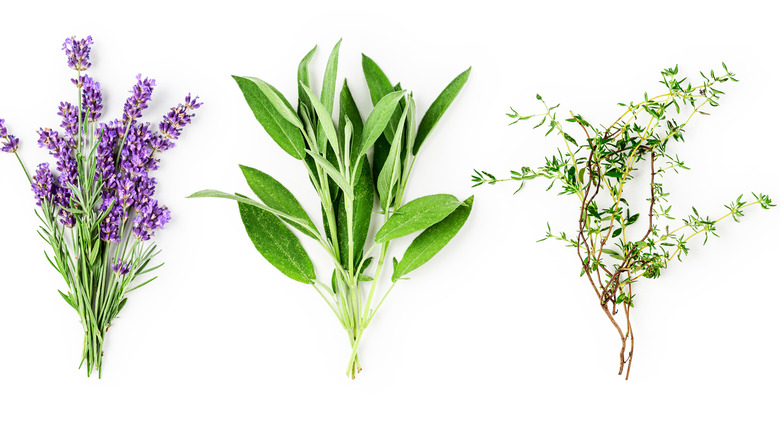
You may have noticed a lack of herbs in Bolus' rub ingredients. Smoking is an amazing vehicle to harness the flavors of fresh herbs, but it will take a little work.
Expressing a particular distaste for dried thyme, Bolus prefers to slide a few sprigs under poultry skin or stuff it inside a bird's cavity. Both of these methods introduce fat and moisture, with moisture being the most important. Left to its own in a smoker, a sprig of an herb will suffer the same dehydrating effects as the meat, as we mentioned when discussing brining. To combat this, you want to keep it moist. Under the skin or in the cavity are good ways to do so. But this also affords you an opportunity to play with flavors. Bolus notes that "smoking with orange wood won't get you a distinct orange flavor." But slicing a few open and placing them in a pan below the meat with some herbs on top of them will. You'll also get a blast of herb flavor for a longer time, as the moisture from the fruit prevents the herbs from drying, yielding better infusion.
11. Keep it moist
We covered brining and dry brining as ways to increase or at least retain moisture. We also said we'd get to another method. Here we are with a drip pan. At its simplest, you place a pan under your meat to catch the grease drippings so as not to make a mess. But that accumulated grease can scorch, so some water in the pan prevents that. Plus, the water also serves another purpose. As it heats and evaporates, it helps keep your meat or vegetables moist by creating a humid environment inside the smoker.
The drip pan can do more than just humidity, though. Looking back at the section on herbs, this would be a good location for some cut fruit or keeping your herbs moist, as Bolus suggested. The evaporative nature adds fruit juice to your humid environment. Beyond the common additions such as beer or fruit juice, Bolus likes to add vinegar to the drip pan. "You have this tart liquid flavored with meat drippings that you can use to build your BBQ sauce or other uses," he says. As he sees it, if you've already collected flavor, why waste it?
12. Living with the stall
At some point in cooking large pieces of meat or poultry, you're going to encounter "the stall." The stall is a point around 155 to 165 degrees Fahrenheit where the meat temperature just won't move. The science behind this lies in evaporative cooling. The liquid evaporating from the meat cools it as it does so. It's aggravating, but you can deal with it.
Upping the smoker temperature sounds reasonable and tempting to get things moving. An increase in temperature can work, but it also presents opportunities for your meat to burn or dry out. Maintaining a humid environment via a drip pan helps considerably, as it slows the evaporation from the meat. Another idea for keeping the humidity is to remember the phrase "lookin' ain't cookin'," since you release the humidity when you open the smoker. If this doesn't resolve the situation, you can wrap your meat. Tightly wrapping in aluminum foil or butcher paper builds a humid microclimate around your meat and helps you move past that evaporation point. Your meat will start climbing in temperature again in short order.
13. Have a rest and build a tent
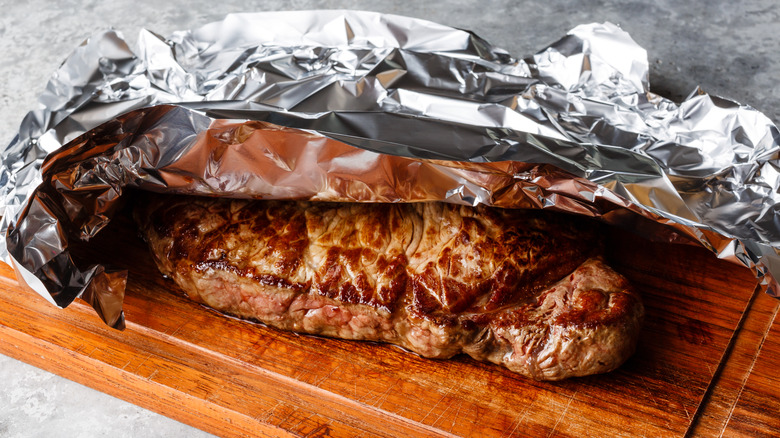
You've managed your fire well, brined, rubbed, bound, humidified, and possibly wrapped your meat, and it's come to your desired end temperature. It's time to eat. Just kidding — there's still an important step.
As a final step to help ensure your smoked meat is as moist and done as can be, you need to rest it. There's debate over exactly how resting works and its effects on the juices in your meat, but let's just say that it will make your meat as moist as possible. There will also be a point ranging from 15 to 30 minutes where your meat continues to cook via carryover heat. The most straightforward explanation for carryover cooking is to refer back to the part where we talked about letting your meat warm before cooking. The center of the meat is hot, and the heat needs to cover a lot of distance to reach the exterior before it can dissipate. So, while the outside has cooled, the middle is still cooking. Looking back at all we've said about maintaining a humid environment, there's no reason to stop now. Covering your meat with foil or paper while resting holds moisture and temperature in while you're waiting for the process to complete.