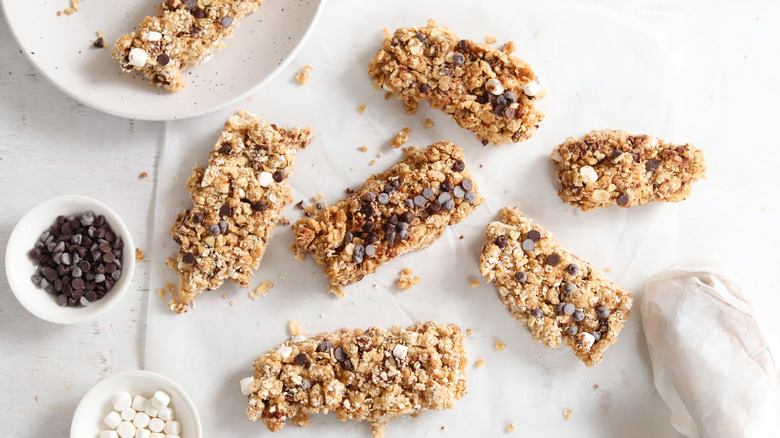
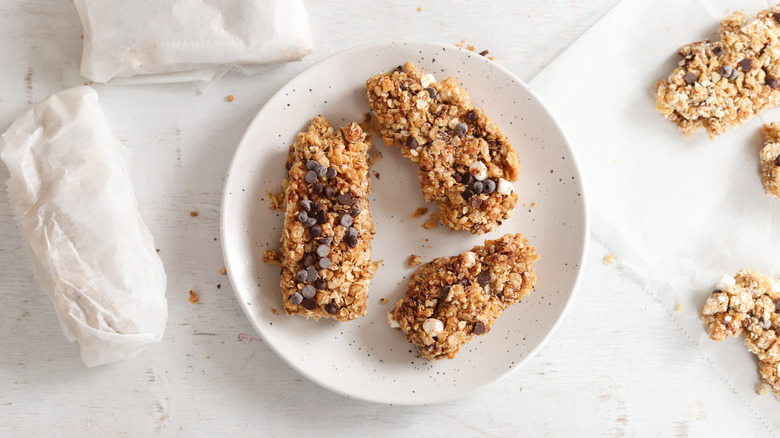
Homemade Chewy S'mores Granola Bars Recipe
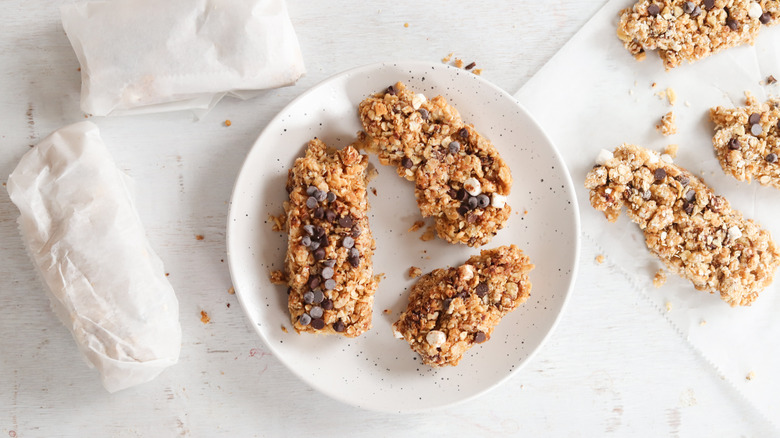
Chewy granola bars packed with mini chocolate chips and crispy rice cereal are a childhood staple. Add graham crackers and little crunchy marshmallows and you have the ultimate nostalgia-filled snack reminiscent of s'mores by the campfire. These little bars don't require any baking, and barely require any cooking! The low maintenance instructions make them the perfect snack to prepare with kids (with adult supervision, of course).
These bars are also customizable. Honey and brown sugar are our sweeteners of choice, but you can substitute with agave nectar or maple syrup. The bars can also easily be made vegan by opting for plant-based butter, chocolate chips, and marshmallows. You can even change the mix-ins entirely, but we're firmly team s'mores here.
Not only are these granola bars chewy, sweet, and delicious, but it's super cost effective to make them at home. You can also use reusable wraps to help save on disposable packaging. Pop them in lunch boxes or just have them on hand when you need a quick and filling snack.
Gather the s'mores granola bar ingredients
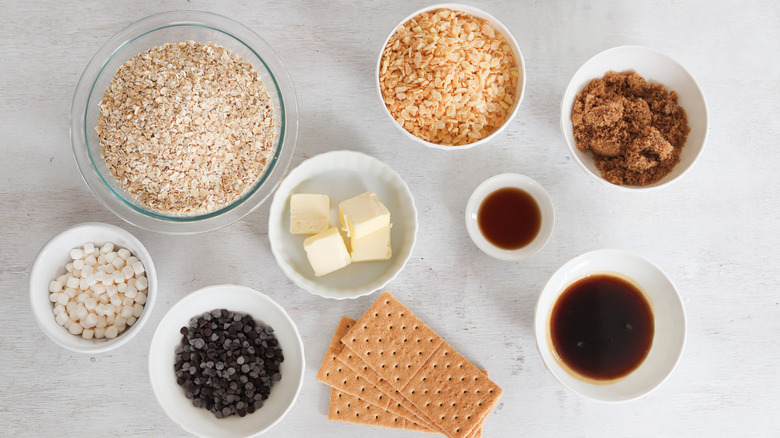
These sweet s'mores granola bars start with crushed graham crackers for that warm cookie flavor. Then they're tossed with quick cooking oats and crispy rice cereal. You must use quick cooking oats and not regular rolled oats or steel cut oats, as quick cooking oats are much smaller and thinner. The larger oats will affect the texture of the bars and their ability to stick together. Honey, brown sugar, butter, and vanilla are heated together to form the sticky syrup. Finally, mini chocolate chips and freeze-dried marshmallow bits are added to the oat and sticky mixture.
Step 1: Crush graham crackers
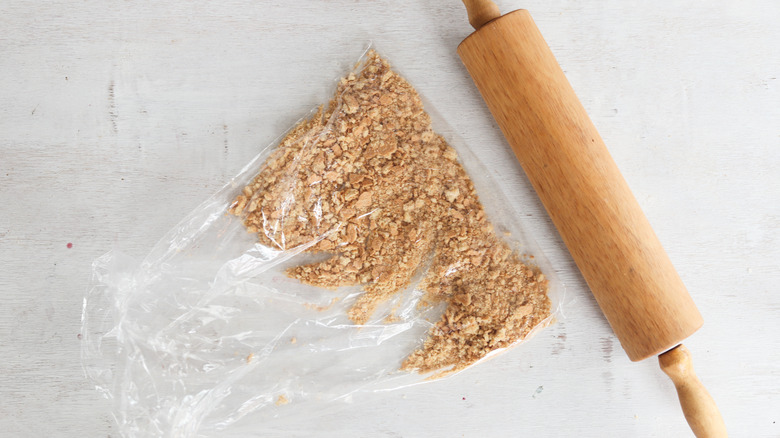
Crush the graham crackers into large crumbs.
Step 2: Combine dry ingredients
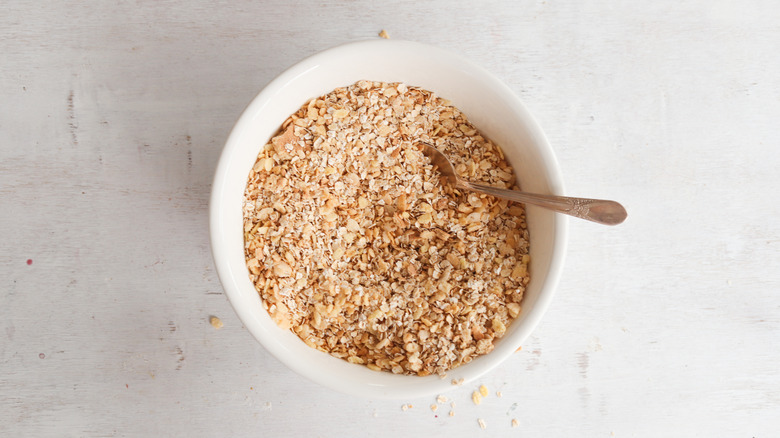
Toss the crushed graham crackers in a bowl with the oats and rice cereal.
Step 3: Bring sugars to a boil
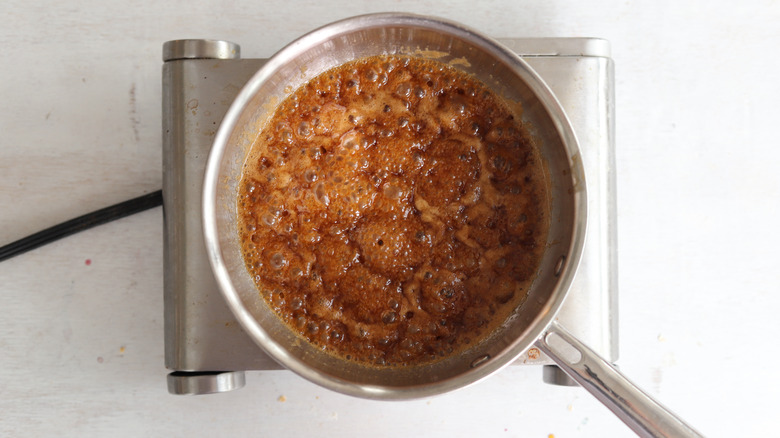
Heat the honey, light brown sugar, and butter in a small saucepan until boiling. Lower the heat to low and cook until the sugar dissolves, about 3 minutes, then whisk in the vanilla extract.
Step 4: Combine the wet and dry ingredients
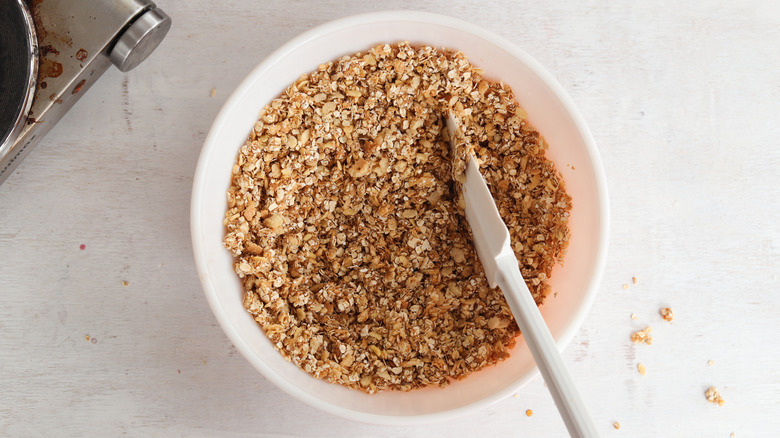
Pour the honey mixture over the oat mixture and toss to completely coat, let cool slightly.
Step 5: Add chocolate chips and marshmallows
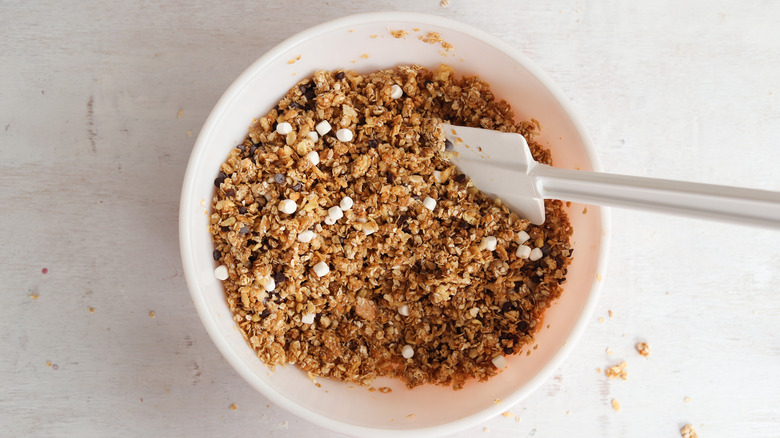
Add the chocolate chips and marshmallow bits into the oat mixture.
Step 6: Line baking pan with parchment
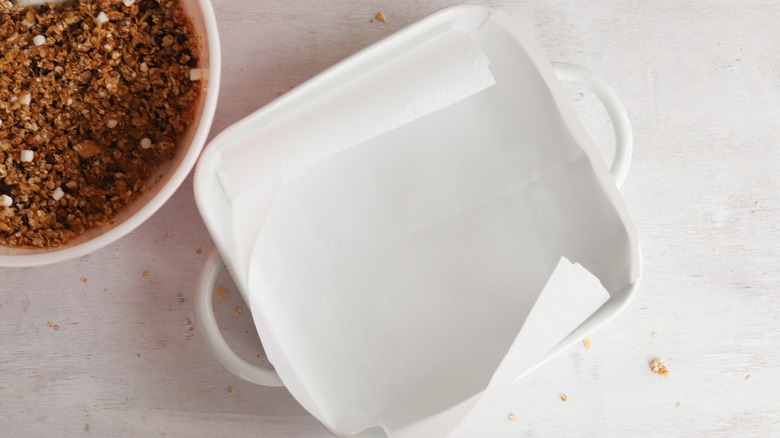
Line a square baking pan with parchment paper.
Step 7: Press granola into the pan
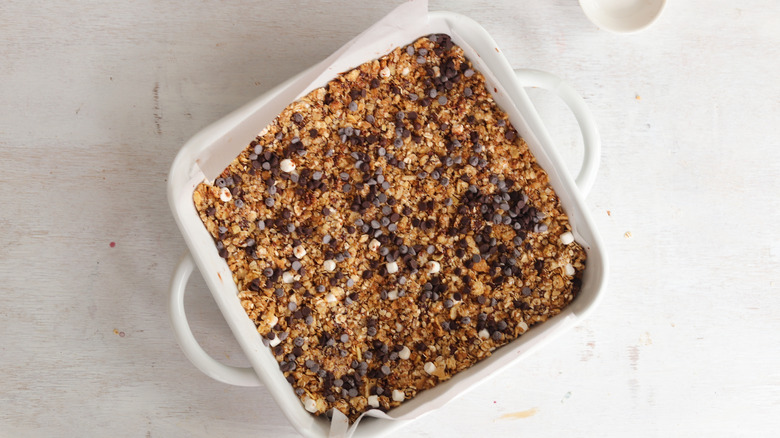
Press the oat mixture into the prepared pan with a spatula.
Step 8: Cut the bars
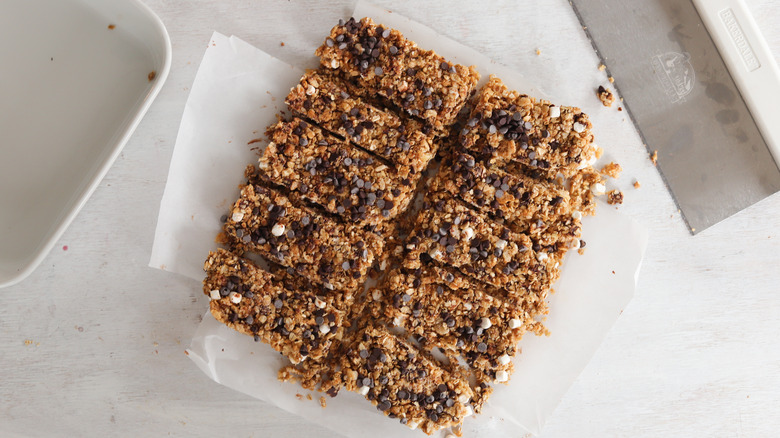
Cool completely in the pan and cut into bars.
Step 9: Wrap and serve
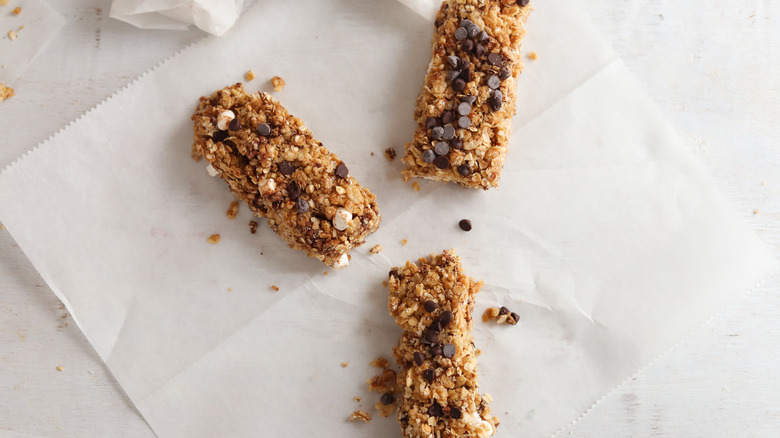
Wrap the granola bars individually with plastic wrap or enjoy immediately.
How can I make different flavors of granola bars?
There are endless possibilities for granola bar flavors! We love the classic combination of graham crackers, marshmallows, and chocolate, but you can take the base of the recipe and make them as simple or as daring as you wish.
Graham crackers and freeze dried blueberries with a drizzle of melted white chocolate make a killer blueberry pie granola bar. Any freeze-dried fruit will work extremely well in this recipe. You can try strawberries, mixed berries, or even bananas. Dip the entire bar in melted chocolate or drizzled with chocolate for an extra sweet treat.
Chop up miniature peanut butter cups and 2 tablespoons of peanut butter along with the mini chocolate chips for the ultimate peanut butter chocolate granola bar. This can work for any type of chocolate candy. Mini M&M's add such a cute pop of color, and if you're looking for a caramel twist, you can't go wrong with chopped Snickers or Milky Way bars.
How long can I keep homemade granola bars?
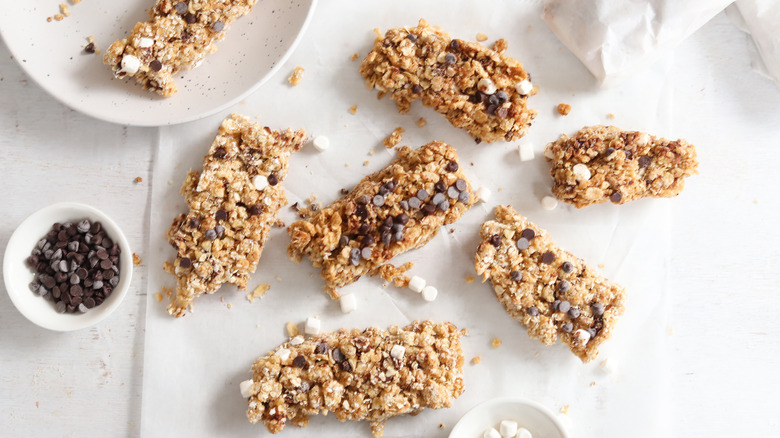
We love making these granola bars ahead of time. The recipe makes a nice number of bars and you can easily wrap and store them. Since you can wrap them individually in wax paper or plastic wrap and then store them in an airtight container, so they're easy to pop in a bagged lunch.
Double or triple the recipe to stockpile even more of these delicious bars. They can be kept in the refrigerator or the pantry for up to 1 month. You can also store them between parchment paper in a larger plastic storage container and don't have to individually wrap them.
Looking to store the bars even longer? Good news: They can also be frozen. They will keep in the freezer for up to 6 months. Just make sure to thaw them before you take a bite. If added to a lunch box while they are still frozen, they will thaw by lunch time.
Homemade Chewy S'mores Granola Bars Recipe
These s'mores granola bars don't require any baking and almost no cooking. The low-maintenance instructions make them the perfect treat to prepare with kids.
Ingredients
- 4 graham crackers
- 3 cups quick-cooking oats
- 1 ½ cups crispy rice cereal
- ⅓ cup honey
- ½ cup light brown sugar
- 5 tablespoons salted butter
- 1 teaspoon vanilla extract
- ¼ cup mini chocolate chips
- ¼ cup marshmallow bits
Directions
- Crush the graham crackers into large crumbs.
- Toss the crushed graham crackers in a bowl with the oats and rice cereal.
- Heat the honey, light brown sugar, and butter in a small saucepan until boiling. Lower the heat to low and cook until the sugar dissolves, about 3 minutes, then whisk in the vanilla extract.
- Pour the honey mixture over the oat mixture and toss to completely coat, let cool slightly.
- Add the chocolate chips and marshmallow bits into the oat mixture.
- Line a square baking pan with parchment paper.
- Press the oat mixture into the prepared pan with a spatula.
- Cool completely in the pan and cut into bars.
- Wrap the granola bars individually with plastic wrap or enjoy immediately.
Nutrition
| Calories per Serving | 361 |
| Total Fat | 10.9 g |
| Saturated Fat | 5.1 g |
| Trans Fat | 0.2 g |
| Cholesterol | 16.1 mg |
| Total Carbohydrates | 58.6 g |
| Dietary Fiber | 5.4 g |
| Total Sugars | 22.0 g |
| Sodium | 82.9 mg |
| Protein | 8.8 g |