The 10 Biggest Mistakes You're Making When Searing Steak
One of the great things about ordering at a steakhouse is the crusty caramelization they build on the steak. It's not only a textural pleasure; it creates flavors and aromas that hit your nose before the steak is even set in front of you. You think, "I wish I could do that at home." If all your attempts to replicate that searing have, to date, been met with failure, you may find yourself saying, "How hard can it be to put a steak in a pan and have it come out like that?"
Fortunately, it's not so difficult at all, but you need to arm yourself with a bit of information to be successful. That information includes the tools for the job, as well as knowing where people most often go wrong in the process.
Successfully searing a steak requires applying science to create an art form. This means you need to understand how heat transfers to food, how it transfers through a pan or grill, and then understand some variables like time, moisture, and quantities. After grasping those, you apply a little finesse and a personal touch, and suddenly, you've created that steakhouse sear you never thought possible. If the mention of science leaves you trepidatious, we're here to help. Broken down into easily digestible chunks, the variables to searing a steak are as easy to consume as a well-cooked piece of meat.
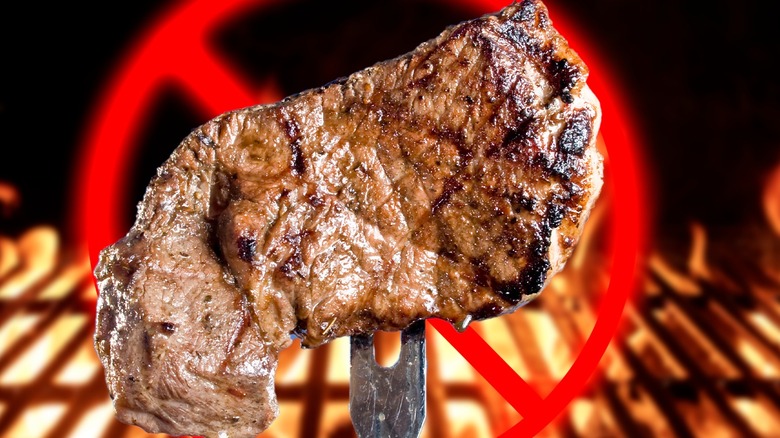
Thinking that the sear is everything
No small amount of thanks goes out to a horde of social media influencers immolating perfectly good steaks in live coals for this idea. A well-developed crust on your steak is a beautiful thing, no doubt, but the internal temperature and the degree of cooking below the crust dictate the true quality of your steak, as well as how safe it is to eat.
After searing, continuing with high heat can create a dry, brown ring around your otherwise perfectly medium-rare steak. This ring happens because the intense, direct heat works on the parts of the steak closest to the surface, while only some reaches the inside. This lack of heat transfer causes the outer parts to overcook while the internal temperature only slowly rises.
If you're searing a thicker piece of meat, like a ribeye or New York strip, have a second, lower-temperature heat source at your disposal, such as an oven or an indirect heat section of your grill. Lower-temperature, ambient heat will penetrate the already hot exterior and start gently working on the interior, slowing the overheating and drying process on the steak's outside. This will give you a nicely developed crust, and more of the steak will be at your desired temperature.
Not allowing your steak to warm up
This idea creates debate and discord across intellectual food forums, but we're of the mind that you shouldn't cook steak straight from the fridge. The idea behind this concept is relatively simple and plausible.
If you start with a cold steak, the heat from the pan transfers to raise the temperature of the closest touching part of the meat, the exterior. Heat dissipates, slowing the transfer to the meat's interior. In simplistic terms, think of pointing a hair dryer at an ice cube. The dryer's heat works on the outside of the ice cube, raising the temperature and melting the outside. But, the middle of the ice cube is still solid, unaffected until the exterior is warm enough. Now, think of doing the same thing with liquid water instead. You're heating a surface that is already warmer, so the surface heat can transfer to the rest of the water easily.
Translating that idea to a steak is pretty straightforward. You're applying heat to a piece of meat with a cold exterior and a cold interior. That heat is being spent on its way to the middle, just like the ice cube. It eventually loses energy and doesn't penetrate, leaving the inside cold. A warmed steak will absorb that heat energy to the middle much quicker because the exterior doesn't need to also come to temperature. This allows you to form a good sear and reach your target temperature with less chance of overcooking.
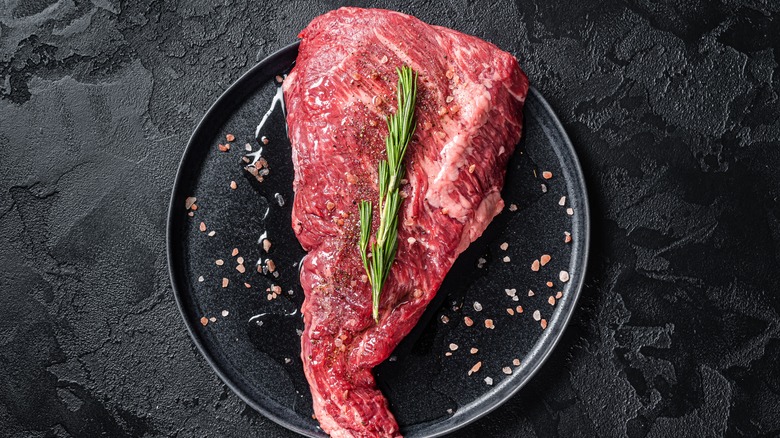
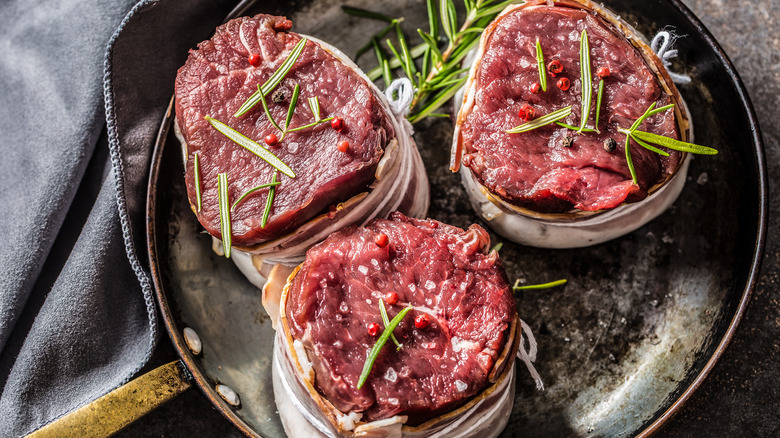
Not drying your steak
It's always a good idea to season your steak with salt as you warm it. Salting at this point allows osmosis to start, exchanging water in the steak's cells for salt. If you wait long enough, 45 to 50 minutes, the steak will begin to reabsorb the water it expelled, creating its own brine. There will still be some surface moisture on the steak, though.
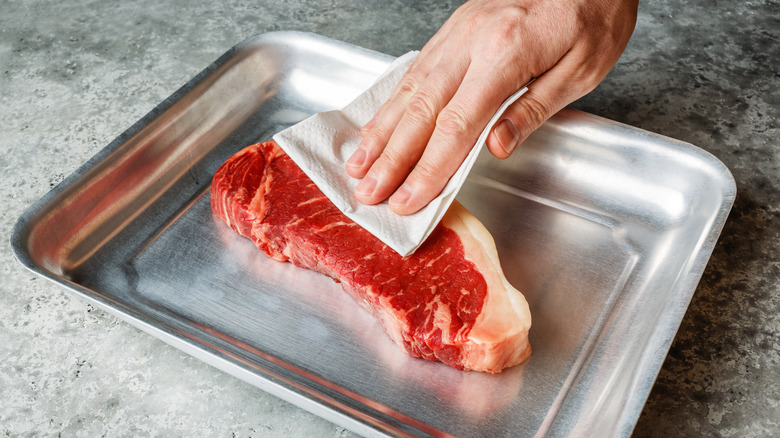
Getting a good sear on your steak can't happen if water is present. That's just the physics of the Maillard reaction and caramelization. If there is some residual water on your steak, the heat from the pan will spend much of its energy boiling off that water before browning can ever happen.
Looking back at how heat energy gets expended in searing and cooking steak — if the heat is spending its time boiling off the water, there's not much energy left to raise the steak's exterior temperature, let alone the interior. Dry parts would sear and caramelize, while wet parts would be grey. If you pat the steak dry with a paper towel before searing it, you'll minimize the surface liquid and attain a more uniform sear and crust. Another drying method is to season the steaks, place them on a cooling rack, and allow them to dry brine in the refrigerator in this manner overnight. Then, you can take the steaks out of the fridge an hour or so before cooking and allow them to warm.
Using the wrong type of pan
Tools won't make you a better cook, but they'll make cooking easier. When searing a steak, you want a pan that conducts and retains heat well. Non-stick, flimsy stainless steel, and aluminum should be off the table because they do neither.
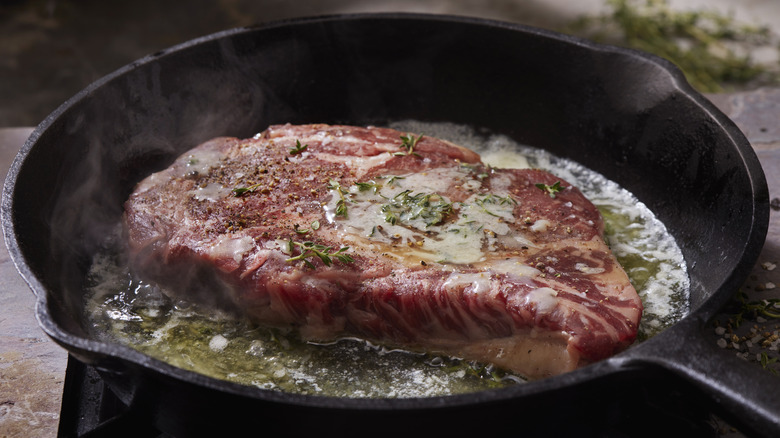
When you're getting ready to sear, preheat the pan. A thick-bottomed pan not only heats to the desired temperature, but the thickness of the bottom gives you some reserves to maintain that heat after you drop your steaks in, an act that immediately cools the pan. With that kinetic heat standing by, the recovery to searing temperature drastically reduces.
The best pans for steak searing are either a well-seasoned cast iron pan or fully clad stainless steel. Cast iron conducts and retains heat very well. Plain stainless steel does not. It looks nice, but it won't heat evenly, and you'll burn your food more often than not. But fully clad stainless steel has alternating layers of aluminum or copper, which are great heat conductors and retainers, sandwiched between the bottom of the pan and the cooking surface, providing the necessary elements that plain stainless lacks. A non-stick pan seems like it would fit the bill for searing, but again, examine the construction. They usually have thin bottoms and sides that don't bode well for conducting, distributing, or retaining heat and will scorch or under-sear your steak.
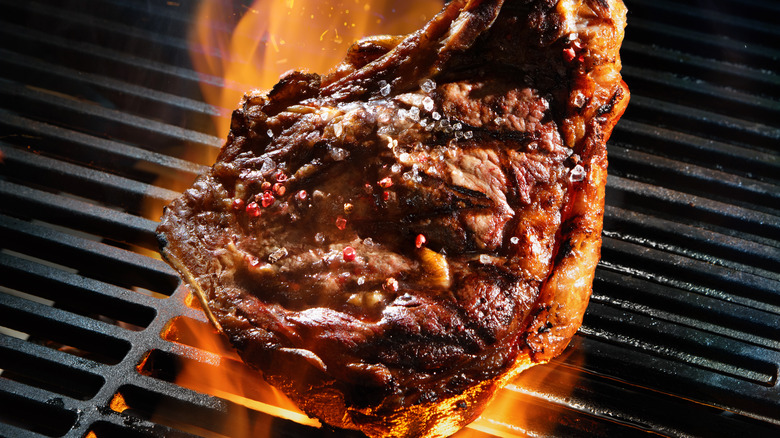
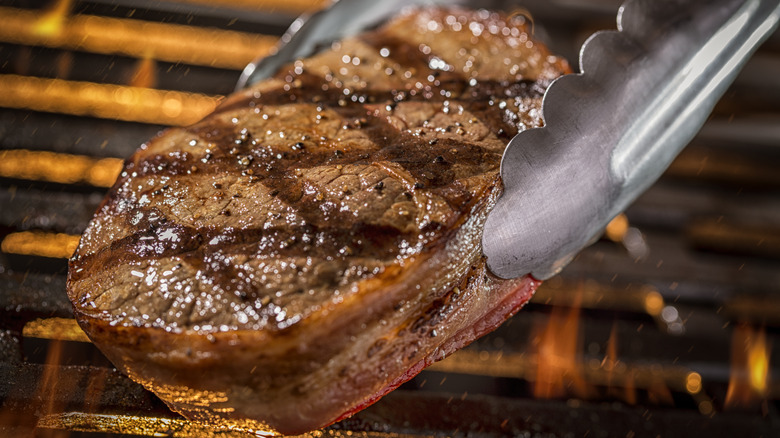
The grill isn't ready
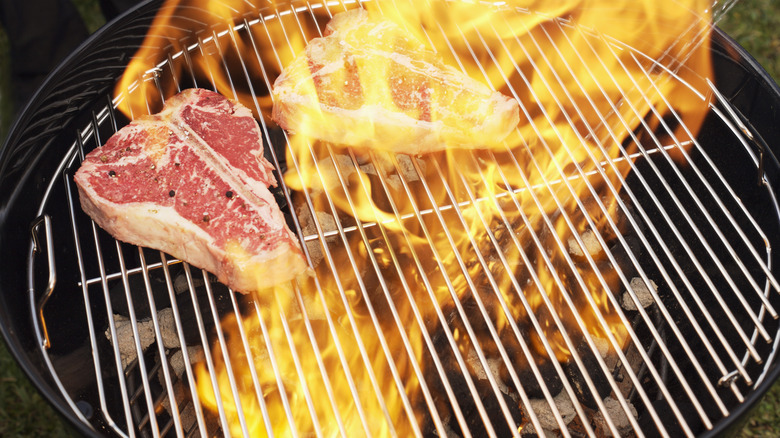
Searing isn't strictly reserved for pan cooking. When you grill a steak, you want a good sear, too. A gas stove allows you more control over the temperature, but how you're building your fire is the make-or-break element when cooking over wood or charcoal.
Flames are hotter than coals, but flames are sporadic, unpredictable, and will scorch your steak quickly. You'll want a concentrated, hot bed of coals under your grill where you intend to sear. Unless you're cooking a thin piece of meat, you'll also want to create a dual-zone arrangement on your grill. One area should be direct fire, and the other zone should be where your coals are smoldering, thus providing an indirect heat source for finishing your thicker steaks. Just ensure you don't spread your coals too much, which may take heat away from your searing zone.
Just as crucial as your coal bed is your grill's temperature. You can have a scorching fire and cool grates. The sear will come from the steak contacting the grates, so a cold grill is not a desirable situation. It's recommended to preheat your grill grates for 15 minutes after your coals are close to ready to ensure they are hot enough to start searing as soon as the steak makes contact.
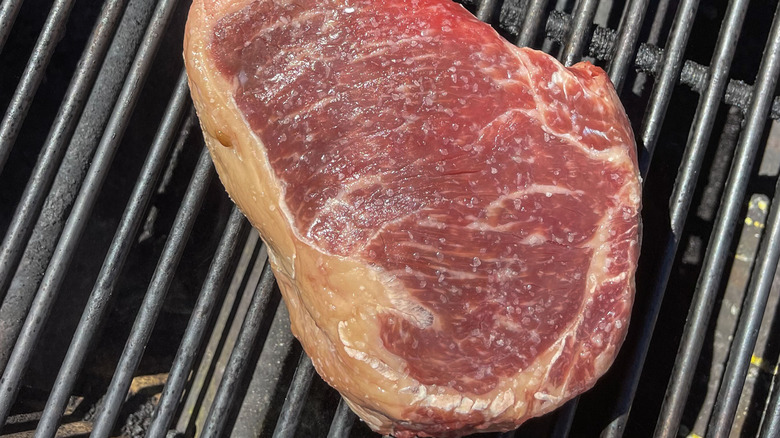
Searing at too low or high a temperature
Searing seems simple: get a pan as hot as possible, put your steak in it, and, voilá, you've got a steak with a beautiful crust. This idea is a myth; searing at too high a temperature will be detrimental to your steak. The ideal searing temperature range is between 300 and 500 F. Cooler than 300 F will yield a poor sear, and higher than 500 F runs you into burning the outside while maintaining a raw interior.
Although it may be contrary to what advice thus far if you sear too hot, you create an environment where the steak's water escapes too quickly. Although you don't want moisture to hang around for too long, you also don't want the toughening of the meat that happens when it is discharged too quickly. The exterior starts to move from nicely seared to tough and overdone when it is forced to expel water. Meanwhile, the center is cold. By the time you can get the internal temperature to the proper degree of doneness, you've created a charcoal, dry crust and an even drier internal layer that lies between the exterior and the center.
Likewise, trying searing at a low temperature allows the steak to expel moisture at a slower pace, which interferes with the Maillard reaction. Unless you have a surface thermometer to measure, heating a thick-bottomed pan over medium-low heat for five to 10 minutes will put you in the desired range.
There's too much oil in the equation
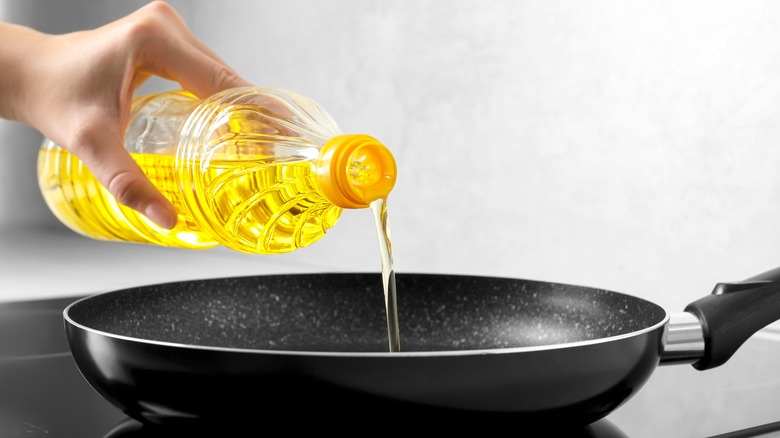
When searing, you can create a problem with charring by not adding enough oil. Searing is good. Charring is burnt. Nobody likes burnt. The other side is that you can add too much oil, which also doesn't achieve the goal of searing.
How much oil should you use? "That depends" is a perfect answer, unfortunately. When there is too much oil in the pan, the steak is now boiling in oil (or frying), rather than making direct contact with the pan to sear. Instead of forming the crust you seek, you have more of a deep-fried surface texture. With that in mind, consider the fattiness of the steak you're searing.
The exterior fat will render as heat transfers to the steak, adding more volume to the oil you've already put in the pan. A fattier steak, like a ribeye, will render considerably more fat than something leaner, like a flat iron. The basic guidance for the amount of oil you need to sear meat is one or two tablespoons — but adjust that amount downward for fattier pieces. For steaks with more marbling or larger fat caps, simply coating the pan with oil from a paper towel provides sufficient lubrication to prevent sticking and frying. Adding the oil after heating your pan reduces smoke or fire incidents and also helps make your cast iron or stainless pan more non-stick than it would if you were to add it to a cold pan.
The pan is overcrowded
Crowding the pan affects all types of pan cooking, whether sauteeing or searing. With searing, you want high heat to build the crust quickly. When you place your steak in the pan, it lowers the temperature. A thick-bottomed pan will recover quickly from that temperature drop and return to searing your steak. If you put too many or too large of a steak in a hot pan, even if it has those heat reserves built up, it won't recover.
Why is that a bad thing? As your steaks sear, they release small amounts of water. With a hot pan, that water evaporates quickly. Have you ever wondered where that popping grease comes from while searing? That's water quickly evaporating, making the grease sputter. When you overcrowd your pan and lower the temperature, you have multiple pieces of meat releasing more water into a cooled pan. The water doesn't evaporate quickly; it boils and steams, making your meat grey and more than likely toughening your steak. To avoid this unpleasant scenario, use a larger pan. If you're cooking multiple steaks, consider working in batches or using a pan with more surface area to spread out the cool spots, which allows the pan to recover temperature quicker.
Letting the steak sit still
Everyone has grill advice, which they'll happily share with you if they catch you cooking. One of the worst bits of advice when searing steaks is, "Just leave it alone. Stop moving it." This idea started strong but went wrong.
The premise is somewhat correct; steak must maintain contact with the pan or grill to sear. But physics is a harsh mistress. The spot where the steak is cooking has cooled once you put the meat on it. Even the best-made cast iron pans don't have perfectly uniform heating. There will be hot spots, and those are where the steak isn't. By frequently moving the steak to a previously unoccupied space in your pan or grill, you're chasing hot spots and getting a more uniform sear across the steak's surface. A part that was formerly in a cool area is now in a hot place, and vice versa, so the searing evens out.
Another benefit of frequently moving the steak is removing moisture. Even though you've patted your steaks dry before searing, they will still release some water. Have you ever noticed a grey spot on your otherwise nicely-seared steak? That's where the steak wasn't making contact with the pan. Often, the culprit in that scenario is water trapped in a pocket on the steak's surface. Moving the steak gives that water an opportunity to evaporate quickly; your meat isn't resting on it anymore, and now the grey spot can sear.
Cooking too long on one side
We've talked about moving the steaks, but we haven't talked about turning them. Ideally, you want your steak to cook on each side for an equal amount of time. Often, people get distracted by the idea of developing the perfect crust, lose track of time, and end up cooking the steak to its done or almost-done temperature before they flip it over. The choice now is overcooked steak or a flabby second side.
It's better to have two almost-perfect sides than one perfect and one just browned. You can avoid this in multiple ways. Turning the steak (onto a new spot, of course) every 30 seconds ensures more even searing on both sides, along with getting rid of any trapped water. But that can be too short of a time period for some. Some folks use a two-minute-per-side method and call it done. Time is rarely a good indicator of doneness, so we advise shorter intervals between flipping and using an instant-read meat thermometer to track the steak's temperature.