17 Tips For Getting The Perfect Sear On Your Steak
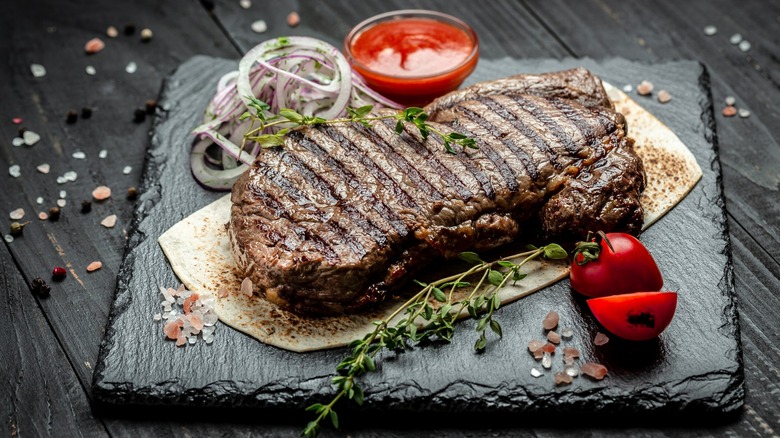
One of the greatest joys of being an omnivore is eating a thick and juicy steak, seared to flavorful perfection. You don't have to rely on your local steakhouse anymore, though. We have some tips to help you learn the ins and outs of searing that precious cut of beef so it's toothsome and slightly charred on the outside yet tender and juicy on the inside, no matter your level of experience.
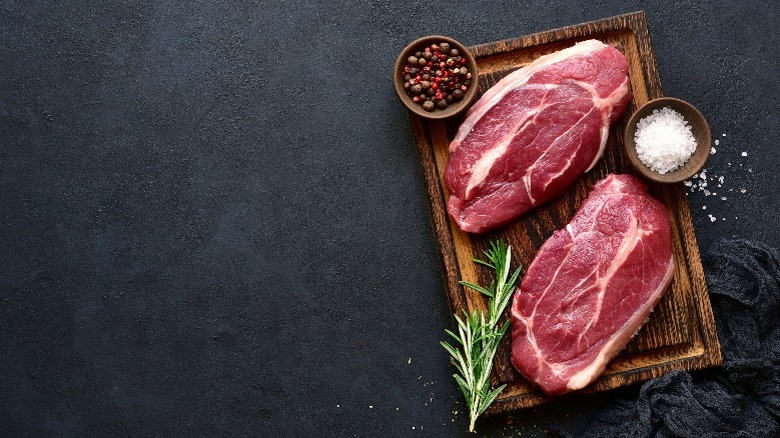
These tips work well for nearly any cut of steak, but keep a few things in mind when you're out buying something to sear. Well-marbled beef is a little more foolproof than anything really lean. Fat is a great insulator that provides moisture and lots of taste so if you're not averse to a little extra adipose, go for something succulent. At the same time, leaner cuts can be truly spectacular when prepped the right way, usually with a few hours of marinating or with the more gentle reverse-sear technique. With that in mind, here are the tips you need for that perfect sear.
1. Let your steak come to room temperature before starting
No matter how you decide to cook your steak, there are a few things you should be doing before starting to ensure that you achieve a decent sear. Temperature is a huge part of cooking the perfect steak, both the temperature of the pan and of the meat. Tossing a fridge-cold chunk of ribeye into a blistering pan is okay if you're a huge fan of blue rare beef, but otherwise? You're going to want to start by resting the steak on the counter for a spell.
The shock of high heat combined with cold meat means you'll likely end up with a dry steak that isn't particularly tender. By the time the chilled interior is cooked to your preference, the thinner parts and edges with be overcooked. Plus, that shock of heat can also make the muscle fibers contract, leaving you with a chewy slice. Don't worry about waiting all afternoon, either. An average steak should only take about 30 minutes to come to temperature.
2. Make sure your steak is dry before cooking
Do you want to know one of the biggest reasons your steak won't sear? Forget about getting a deliciously crisp exterior with that characteristic color and smell if the outside of your meat is wet. Excess moisture on the outside of the steak will sizzle away when the meat hits the blistering hot pan, essentially steaming that gorgeous piece of beef.
The caramelization of the exterior relies on a hot pan meeting dry protein, and the eruption of steam makes it much harder for this reaction to occur. Water, or marinade, means that the steak won't adhere to the cast iron or grate of your barbeque, and in turn, your meat will cook without searing. Excess liquid will also cause the hot metal to cool down and your steak will likely be cooked by the time it's hot enough to start carmelizing the outside. Fortunately, this is easy to remedy. A quick pat down with some paper towels right before the steak hits the heat is usually enough.
3. Know how long to salt your steak beforehand
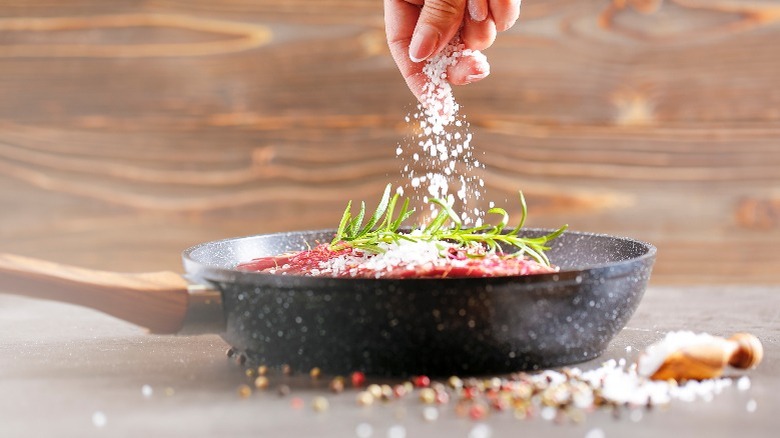
One of the biggest tips we can give you when seasoning a steak is simple. Coarse salt and pepper is really the only thing you need. You can go above and beyond, but a truly good piece of beef won't need anything more. But don't just think it's just a matter of sprinkling on some table salt and a pinch of pepper, either.
First, dry your steak like we just mentioned, and don't worry about the seasonings not sticking — we promise they will. What you're going to need is a generous amount of course salt (not table salt) and freshly cracked pepper if possible. Give that slab a proper covering on both sides, pressing it in with the palm of your hand. This coating will add loads of flavor, as well as amp up the texture of the crisply seared exterior.
4. Understand the best ways to grill different cuts of meat
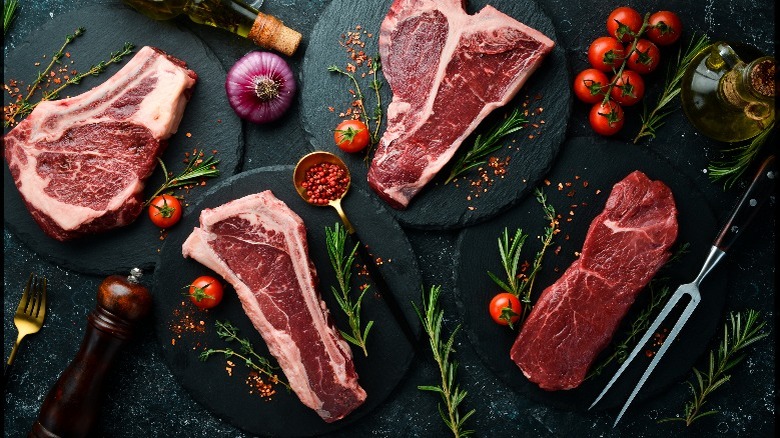
When choosing a cut of beef, keep in mind that fat equals flavor and juiciness, so a cut like a ribeye or New York strip is always a popular choice. For something more affordable, flank or hanger steak will do really well, too. Hanger is more tender but slicing flank across the grain rewards you with an incredible taste that works for a crowd.
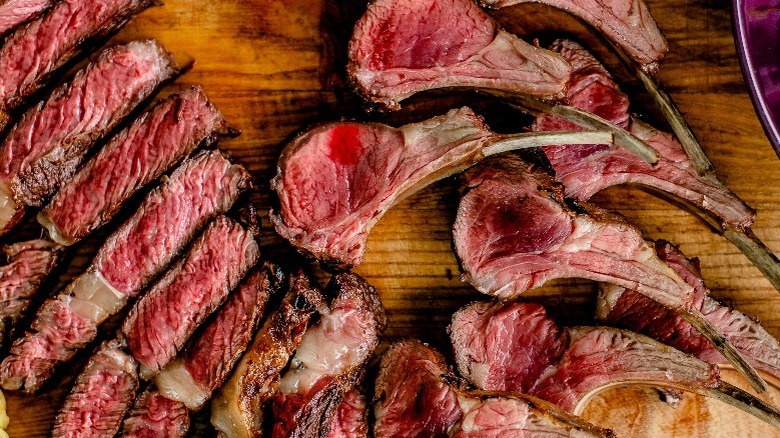
While it's an all-around delicious piece of beef, we generally don't recommend pan-searing a t-bone steak. Consisting of a t-shaped bone separating the meat, a t-bone is tenderloin on one side and New York strip steak on the other. The bone that causes trouble when you drop the meat into a screaming hot pan prevents the meat from making full contact, interfering with the amount of sear. As the meat cooks, it begins to shrink while the bone doesn't, contributing to even less browning. Avoid this by either removing the bone before cooking or skipping the pan altogether and using a grill or your broiler.
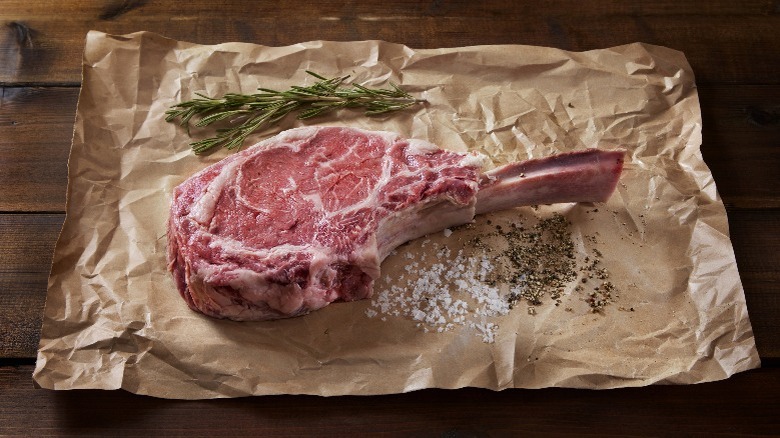
5. Buy thicker cuts of meat to keep the interior juicy
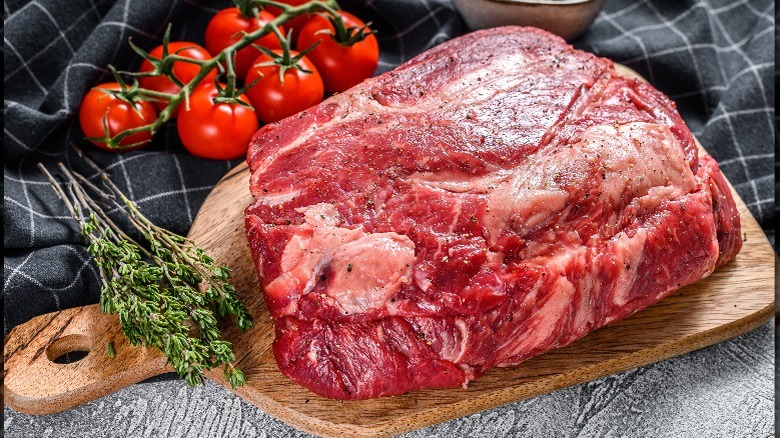
Now that you know what type of steak you're looking to buy, you'll also need to put some thought into how you want that steak cut. A deeply caramelized exterior with a flavorful and juicy interior can often come down to the thickness of that slice of beef. If you didn't achieve either of those things, it might be because you bought the wrong size.
Remember, again, that the more marbled a piece of steak is, the more time it can take on high heat. Cuts like tenderloin or filet are beautiful when seared in a pan but the lack of fat means that a thicker piece will give you both a deep sear while not drying out the tender interior. A thick and well-marbled ribeye can take a little more time on the heat before becoming overdone, giving you a nice medium-rare finish with even more caramelization on the outside.
6. Use cast iron for the best results
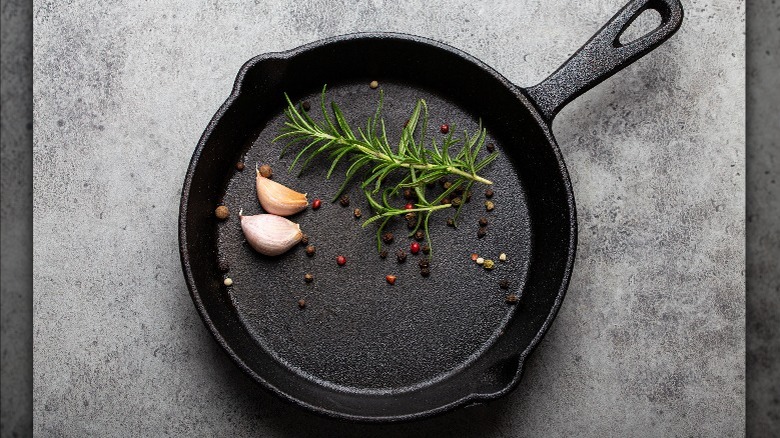
For cooking a steak indoors, nothing beats a cast iron pan. Non-stick isn't recommended for a couple of reasons. First, you won't be able to get a proper sear because of the coating. Second, non-stick pans should never be used at high heat because it will definitely ruin them. Other metals, like aluminum or copper, just can't hold the heat needed to give your steak the sear you're craving. So, cast iron it is.
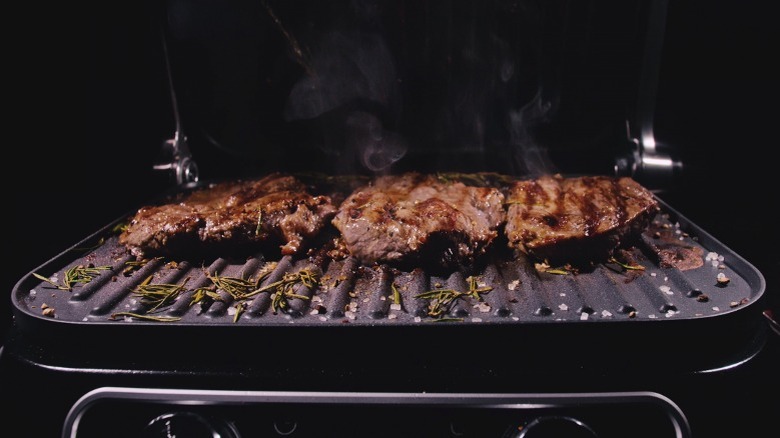
A perfectly seasoned cast iron pan will give you the heat you need to caramelize the sugar on the surface of your striploin, making it flavorful and crispy on the outside while keeping the interior tender and juicy. The high, steady heat easily gives you even heat across the surface so you know that you won't have any overcooked spots if you've chosen a fairly even slice of meat.
7. Realize that searing doesn't actually seal in juices

There are a few reasons for learning how to get a good sear on your next steak. To begin, the caramelization that takes place, called the Maillard reaction, gives protein an unmistakable depth of flavor. Searing beef also kills any bacteria lurking on the surface, which is incredibly helpful if you prefer to eat your steak blue.
A common myth about searing steak is that high heat will help to seal in loads of moisture. Not only is that false, but it's especially incorrect when you're cooking over high heat — the same high heat required to sear the exterior means that all the steamy sizzling taking place is moisture evaporating from your succulent piece of sirloin. However, the fact that you're placing that piece of beef on high heat means that it's subjected to a shorter cooking time which, in turn, cooks it faster, losing less moisture. The small amount of moisture lost also helps to concentrate the beefy flavor of your steak.
8. Remember to use oil judiciously
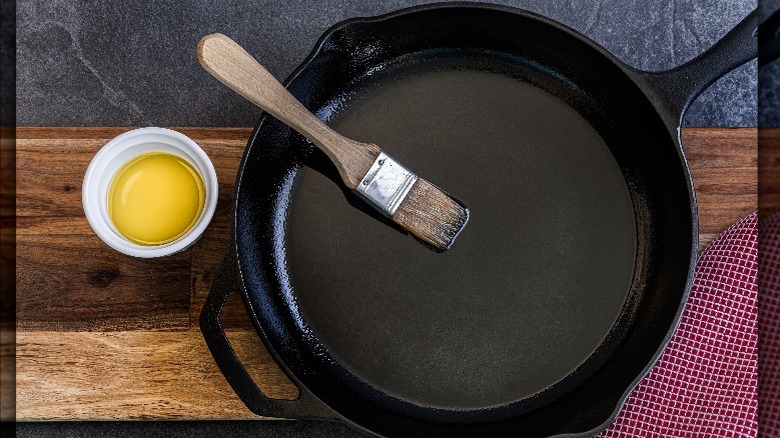
Depending on the cut of beef, you might not need to add much oil to a well-seasoned pan. A well-marbled ribeye will do nicely in a pan that has barely been slicked with a swipe of canola oil. On the other hand, you might want to add a little bit more for something leaner, just to make up for the lack of fat provided by the meat itself.
The choice of oil that you use is important here, too. We suggest canola, avocado, or grapeseed oils because of the high smoke point. As well, it's important to remember that you shouldn't be using unrefined oils for cooking steak. Unrefined oils haven't been processed enough to remove impurities or any volatile compounds, all of which will burn over high heat. These burned impurities will create a bitter taste, as well as fill your kitchen with truly unpleasant smoke. Using a refined oil with a neutral taste will give your steak a perfect sear in a much hotter pan without interfering with the taste.
9. Add butter for even more flavor
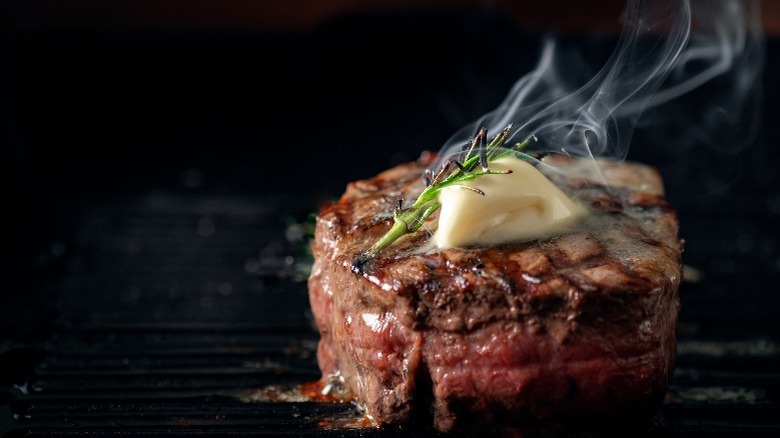
Don't think that you just have to stick with oil. Many home cooks find that a combination of grilling with oil and finishing with butter is an effective way to bring loads of flavor to their steak when done properly. We don't suggest adding the butter too early on; you should start your searing with just oil and finish with a butter baste.
Butter has a lower smoke point than most oils and can't take that high heat needed for searing, so to avoid burning add, a dollop of butter at the very end. A spoonful per steak is usually enough and slowly spoon it over your meat during the last minute of cooking. If you're grilling your steak but still want a buttery finish, try our faux butter-basting technique to get the same effect once your t-bone comes off the coals.
10. Try a marinade or glaze specifically for a better crust
If you want to try amping up that seared crust on your steak, we have some advice for that, too. Building on the Maillard reaction, the chemical reaction that gives some foods richly toasty, deep-roasted flavors, you can use a few simple ingredients to layer on even more punch. The Maillard reaction occurs when high heat causes the surface of food to begin to brown, as the sugars and proteins caramelize. This is also why we encourage you to start with a dry steak — moisture encourages steam, and steam discourages browning.
So, if you want even more browning, try adding a thin coating of glaze that contains some kind of sugar dissolved in a salty base (think honey and soy sauce as a basic example), brushed on as you sear. Remember to cook at a slightly lower temperature when using a glaze, however. You don't want to risk cooking the glaze too high and having it burn.
11. Start with high heat
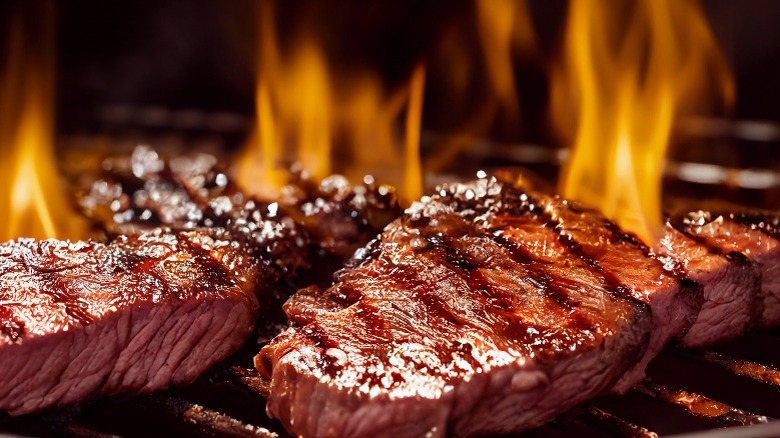
Just like we advised you to let your meat come to room temperature before cooking, you're going to want to get that cast-iron pan or grill blisteringly hot, too. The reason is pretty simple, honestly. A well-seared steak with a juicy interior is best achieved with a short cook time over high heat. There is a time and place for low and slow, especially when working with super tough or lean cuts of meat, or if you're using the reverse-sear technique (which we'll also discuss, we promise).
Imagine dropping a room-temperature steak into a cold pan and waiting while the metal slowly reaches blazing hot. All the moisture inside is going to start running out, effectively steaming your steak while drying out your once-succulent filet. You're going to lose all that juicy flavor and you risk overcooking the interior before you've even started to build decent color on the outside.
12. Don't crowd the pan
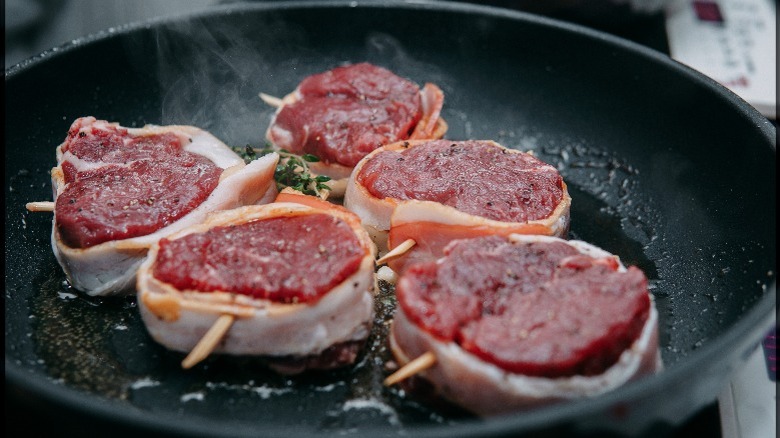
This is the part where we tell you that you might need to invest in a second cast-iron pan if you plan on cooking a lot of steaks all at once. Just like removing the bone from your t-bone, giving your steak room to cook will only encourage better browning and a more evenly finished interior.
Again, steam is the enemy of a perfectly seared crust, and crowding all your meat into one pan is a surefire way to encourage lots of it. This isn't as much of a problem on a grill because they tend to have more space and much better air circulation, making moisture less of a concern. If you've ever tried searing chunks of beef for stew and had a hard time getting anything to brown, you've probably crowded the pan with too much meat.
13. Leave the steak alone while it cooks
Seriously, just drop that steak onto the heat and then leave it. Resist the temptation to wiggle it around or try flipping it too soon. And don't panic if it seems like it's stuck to the pan. The truth is, it's supposed to stick a little bit at first.
When your steak hits that blast of heat, chemical reactions begin to occur, one of which makes your protein adhere to the metal pan. This reaction causes that sear we're looking for, as well as leaving behind crusty bits (called fond) that add flavor to some incredible pan sauce to pour over your steak if you're so inclined. Don't fret about that tenderloin fusing to your cast-iron pan, either. Once the steak has been properly seared, the meat will release from the pan and you'll be able to flip it over. If you've remembered to add a bit of oil before starting, you should have no trouble with a steak that doesn't want to come loose.
14. Be sure to cook both sides
Once you've achieved a decent color on the first side, make sure not to neglect the other side of your steak. Depending on the thickness of your cut of beef, you might only need a few minutes on each side but don't think you can get away with just doing one.
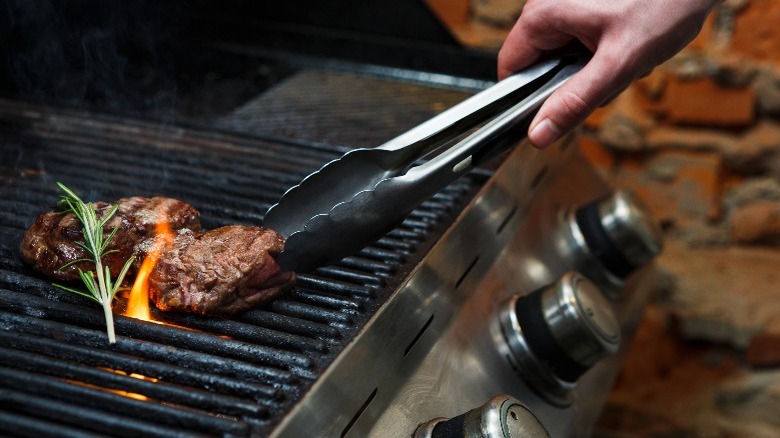
If you neglect to cook both sides, you're running the risk of ending up with a pretty unevenly cooked piece of meat. And considering that we've advised you to use a screaming hot pan or grill, one of those sides is probably going to be unappetizingly crisp and dry. Another tip you might entertain is giving those fatty edges a chance to sear, too. Using a pair of tongs (and an oven mitt if you like), pick up the piece of meat and hold it edge-side down in the pan. This will help to deepen the flavor even more while rendering some of that fat, giving you even more delicious searing to savor.
15. Try a reverse sear for a perfect finish
This next tip takes everything we've told you and kind of turns it on its head, but hear us out. Using the reverse-sear technique is a fuss-free and reliable way to produce a steak that is just as good. It's a terrific way for anyone who isn't super confident or if you're serving various people, all with different opinions about doneness.
When you reverse-sear a steak, you're essentially cooking it first (low and slow in the oven) and then finishing it off with a blast of heat in a hot pan. This method has a few delicious benefits, like being able to use any marinade or baste that you want, or ensuring a good finish by using the heat of the oven to dry the exterior of your steak. This technique works well with almost any cut of steak, especially leaner cuts that are enhanced by a low and slow cooking method. If you're curious, give our oven-to-cast iron reverse-sear technique a try next time you're craving something meaty.
16. Give the broiler a try
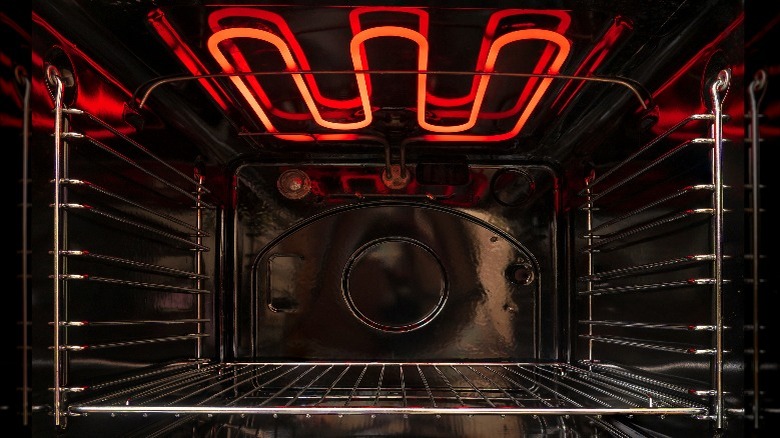
Another great way to get a good sear on your steak is to pop it under the broiler for a minute or two. This is an especially easy way to cook a number of steaks at once without crowding a pan. Simply line a baking sheet with aluminum foil and lay your room-temperature, seasoned steaks on it before sliding it into a preheated oven.
There are a few things to keep in mind when cooking under the broiler, however. If you want to add butter, do so once you've removed the steaks from the oven, otherwise, you'll end up with a kitchen full of smoke. Speaking of smoke, keep the meat at least three inches away from the element; any closer and hot spitting fat could cause a flare-up. This technique was mainly used for cooking London broils, a tougher cut of beef that becomes delightfully tender after a long marinade and quick broiling. Give it a try if you're looking for a great rare steak.
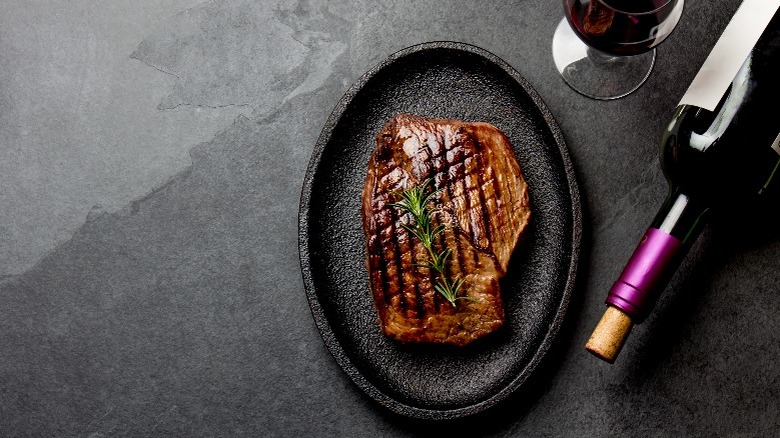
17. Don't forget to rest your steak
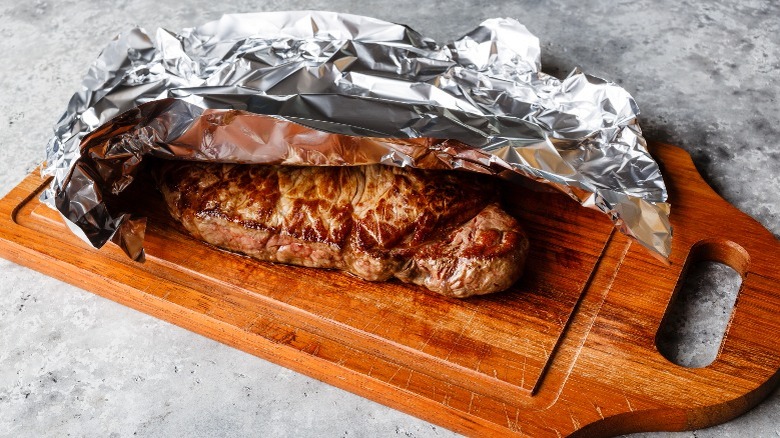
Finally, it's time to tuck into that big juicy steak that you've worked so hard on. But wait ... not quite yet. This is probably the hardest part of the whole enterprise but we promise, it makes a big difference.
Once you've got the perfect sear on the outside and your meat thermometer tells you that the inside is the perfect degree of doneness, take that perfect piece of meat and put it aside. If it sounds like we're kidding, we're not. One of the biggest mistakes everyone makes when cooking steak is to think that the job is finished when you take the meat off the heat. Keep it warm by tenting it with foil, then let it rest to allow the muscle fibers to relax. This is crucial for tenderness, as well as letting the juices redistribute throughout the entire piece, rather than just running all over your plate. A good rule of thumb is to allow one minute for every 3.5 ounces (or 100 grams) of beef, up to 10 minutes.