The Absolute Best Uses For Your Immersion Blender
Once upon a time, immersion blenders were trendy and new. Patented in Switzerland in 1950, immersion blenders remained in Europe until finally making their way over to the United States in the 1980s (via Best Buy). Now, they're something that plenty of home cooks have on hand, and for good reason.
An immersion blender is one of the handiest, most convenient tools you can have in your kitchen. They're compact, so they don't take up much space in your cabinets or drawers, or on your countertop; they're affordable, so you're not dropping a lot of dough on another pricey kitchen gadget; and they're easy to use — notably in a lot of ways you might not have considered.
If you have an immersion blender gathering dust in the back of your pantry, or you're tired of only pulling the appliance out for the occasional use, check out our list of the 15 best ways to use this underutilized kitchen tool, stat.
Pureeing soup
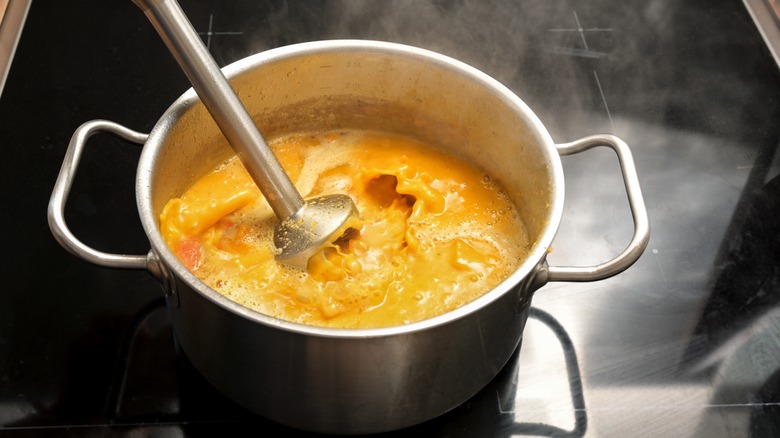
Arguably the most popular use for an immersion blender, and the one that you're likely most familiar with, pureeing soups has become easier than ever thanks to the advent of these handy little appliances. No longer do you need to struggle with hot, boiling soup, attempting to pour it into the slender cylinder of your countertop blender. Now, you can obliterate that butternut squash, pumpkin, or tomatoes, to easily make the perfect pot of soup, easily with just the right texture — no third-degree kitchen burns required.
In addition to being easier to use for pureeing, Williams Sonoma also points out that an immersion blender incorporates more air into your soup than a traditional blender. This makes for a frothier, foamier soup (if that's your preference). Additionally, because you don't need to rely on your traditional blender's jar and however much it can hold, an immersion blender is ideal for blending large batches of soup.
Making tomato sauces
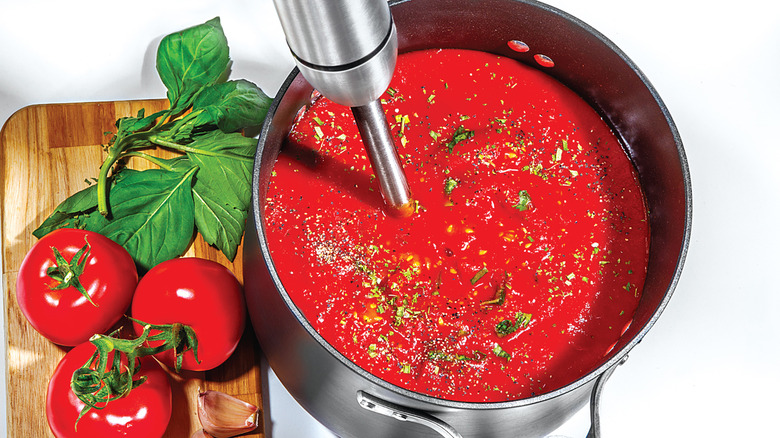
Just like your immersion blender can puree your cooked tomatoes into a perfectly creamy tomato soup, it can likewise turn tomatoes, onions, garlic, and other ingredients into a perfectly smooth — or chunky, depending on how you prefer it — pasta sauce.
Much like you would when making a tomato soup, you'll want to cook all of your tomato sauce ingredients on the stove, then you can blend everything together right in the pot. Since sauces consistency preferences may vary, Vitamix recommends purchasing an immersion blender with multiple speed settings. For a chunkier sauce, a low speed does the trick. A higher blend speed makes for a smoother sauce. However, if you have an immersion blender that only works on one speed, you can simply blend your sauce longer to get rid of any undesired chunks. Whipping up a batch of grandma's famous pasta sauce has never been easier.
Making salsa
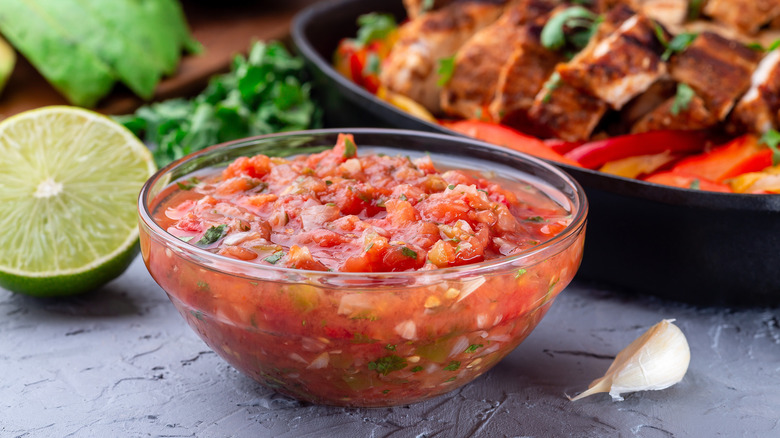
And what is salsa if not just the Mexican version of an Italian pasta sauce? You've got your tomatoes and your onion; switch around a few other ingredients and pasta sauce becomes salsa in a snap. Even though making salsa rarely requires any cooking, you can still bring your immersion blender to the party for this recipe from Vitamix.
Oven-roasted Roma tomatoes, onions, jalapeño, cilantro, lime, salt, and olive oil come together in a large mason jar, which you can then use as your blending receptacle. Just place your immersion blender in the jar and blend at a low speed for chunkier salsa or a high speed for a smoother salsa (or just blend for a longer period of time to get a smoother texture). While this recipe doesn't really work if you like a salsa with big, individual chunks of tomatoes and onions, if you prefer your salsa on the smoother side, you'll love the results.
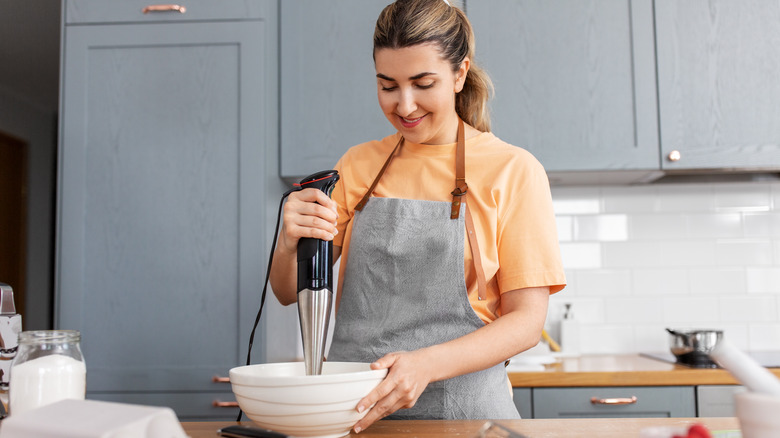
Blending batters
Why waste your time and energy mixing that pancake batter with a fork? That's just a recipe for boredom and a sore wrist or elbow. You get the same (tired) results with a hand mixer. And who wants to lug out their heavy stand mixer for mixing something as simple as a thin waffle or crepe batter? Despite all the annoyances, though, you still need that batter mixed before you can get to cooking.
Luckily, your immersion blender can help here as well. According to Do It Yourself, you can your immersion blender to prepare any thin batter (think cake batters and thinner — you probably don't want to take on a dense cookie dough with those delicate blades). Just blend your dry and wet ingredients separately, first. Then, blend the wet ingredients into your dry ingredients, using a deep mixing bowl or other vessel with sides high enough to prevent splatter.
Making mayo
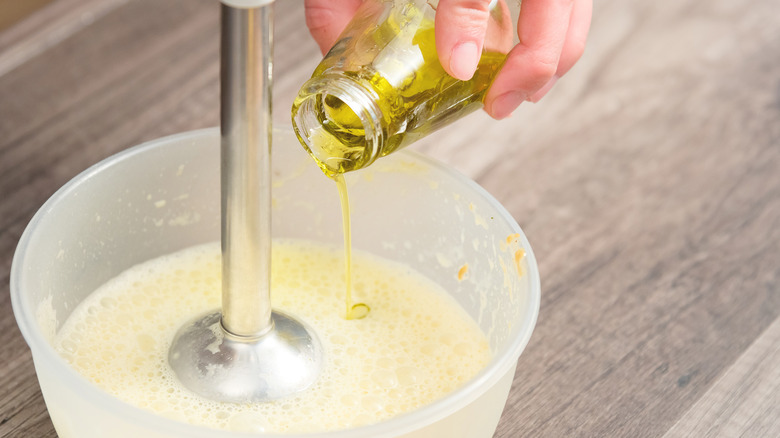
Okay, yes, making homemade mayonnaise is a bit intimidating. Even though a classic mayonnaise recipe only consists of a handful of liquid ingredients — egg yolks, lemon juice, white wine vinegar, and oil — getting that foursome from runny and disgusting to creamy and delightful seems like a work of magic. And you're just supposed to make it happen with a whisk?
Well, not anymore, now that you have your trusty immersion blender. According to Kitchn, you just need to combine your egg yolks, lemon juice, salt, and mustard (if desired) in a jar or large cup (to protect against splatters). Start blending and then, ever so slowly, add your oil just a few spoonfuls at a time. As the oil is completely blended in, spoonful by spoonful, you'll eventually notice the mixture's texture and color beginning to change. After you get a full half cup of oil added, you can add in the rest at a faster pace, until you have mayonnaise.
Making salad dressing
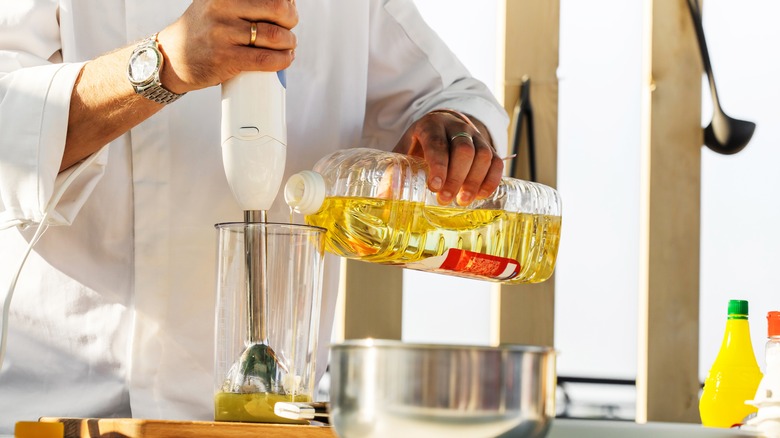
Similar to preparing mayonnaise, making a salad dressing often requires combining oil and vinegar — two liquids that don't play well together unless you master the art of emulsification. While, previously, that emulsification required a whisk and some patience, the process is a little easier when you use an immersion blender. According to Cook's Illustrated, the process is not only easier with an immersion blender, but faster, too, as you can add all of your oil to your vinegar at once, unlike when you use your immersion blender to make mayonnaise.
The publication says all you need to do is add your solids and vinegar to a tall cup (or your blender cup), stir, pour all of the oil in next, then blend on your blender's lowest speed. Then, gently increase the blender speed as you pull the blender from the bottom of the cup to the top, until the dressing is emulsified. This motion creates a vortex that makes emulsification surprisingly simple.
Making jams and jellies
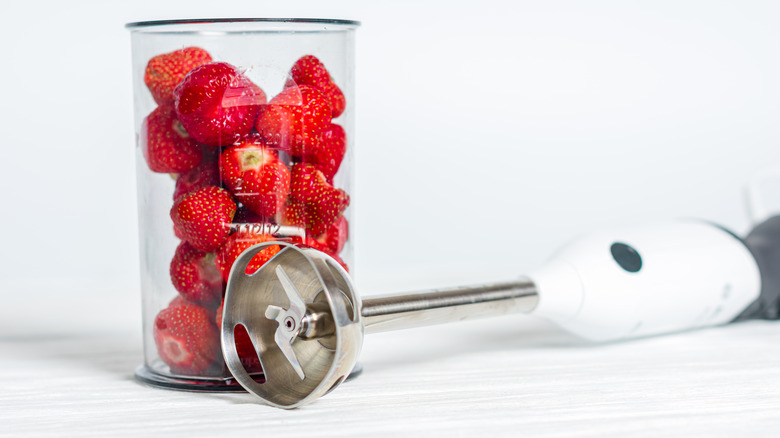
It's all too easy to think of your immersion blender as just a tool that comes in handy when creating savory concoctions in the kitchen. However, it's useful for quite a few sweet treats as well. For example, if you're cooking up a batch of jams or jellies, you can use your immersion blender to get just the right consistency from your soft fruits, much like you would use it to obliterate cooked tomatoes to make a pasta sauce.
Food blog Fork and Beans explains that you can make a wildly easy homemade strawberry jam in just 10 minutes, using water, maple syrup, strawberries, and chia seeds. Just simmer your strawberries in water and maple syrup until soft, then blend with your immersion blender, right in the pot, until you reach your desired consistency, whether you prefer your jams and jellies totally smooth or on the chunky side. Then, whisk in your chia seeds and cool. The chia seeds help the mixture to firm up, forming a gel-like consistency.
Making milkshakes
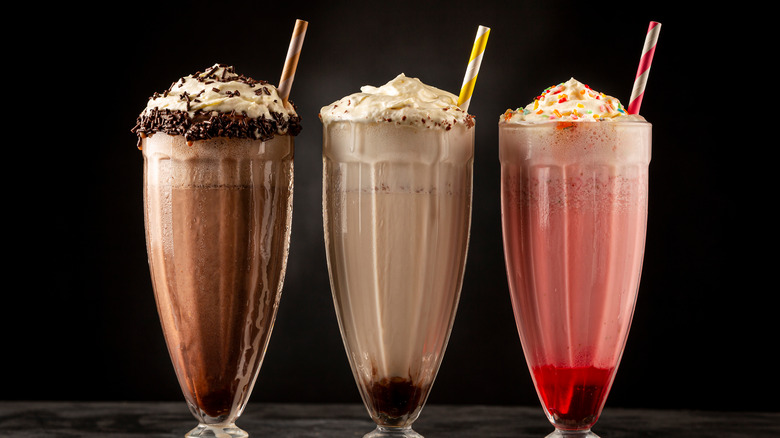
Milkshakes are another sweet treat that you can whip up that much easier with the help of your favorite immersion blender. No need to head to Dairy Queen or McDonald's for a frosty treat (and when was the last time the McDonald's ice cream machine was even working, anyway?). Now, you can make your own at home.
Taste of Home tells us that you can make the publication's traditional blender milkshake recipe using an immersion blender, but you will need to be a little more careful and keep an eye on texture. It's best to blend in small bursts, checking after each burst to see how close you are to your desired consistency. You'll also need a very tall glass or pitcher, as the mixture can get pretty messy and you likely don't want ice cream splattered all across your kitchen walls. Otherwise, the process is easy and straightforward and only requires milk, ice cream, and whatever mix-ins your heart desires.
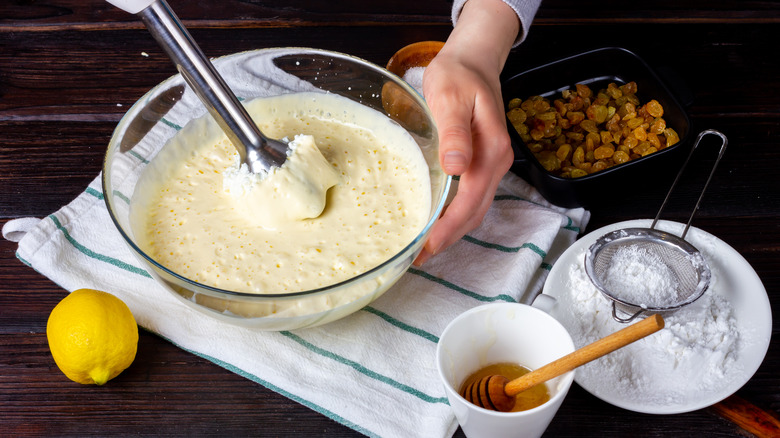
Making whipped cream
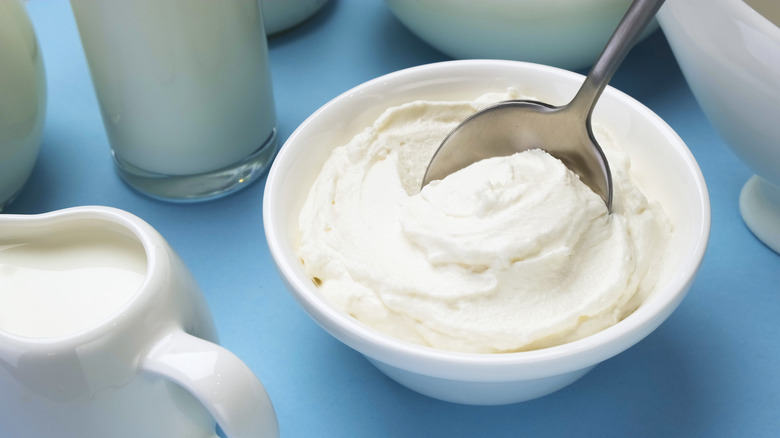
Of course, you're going to need some whipped cream to put atop that milkshake and, yes, your immersion blender can help with that, too. Even if you've never made homemade whipped cream before, we promise that it's easy enough if you follow a few tips from Martha Stewart. You'll want to make sure that you whip your cream in a large measuring cup or other deep, narrow vessel to avoid splatters. Keep your blades submerged and blend on a medium speed, not high. If you go high, you could accidentally over-beat your whipped cream, leading to a buttery, grainy, curdled mess. If that happens, though, you can fix it, by adding in more heavy cream and whipping it into the mixture a few spoonfuls at a time, until you're back to your desired whipped cream consistency.
Whatever you do, make sure that you keep your cream is cold before whipping. You can even pop your immersion blender's blender attachment into the fridge or freezer as well. This can help the whipping process go by faster and also make for more voluminous whipped cream.
Making applesauce

There are a lot of different methods for making applesauce. Some require a food mill. Some ask you to use just a sieve. Others want you to use a food processor. You can, however, use your immersion blender. According to the canning community over on Reddit, immersion blenders make for chunky applesauce, versus the smooth, puree-style applesauce that you'll get from a food mill. Do note, though, that you'll have to peel and core your apples if you go the immersion blender route.
Redditors also noted that an immersion blender is not only handy for making applesauce, but also apple butter. If you're not familiar with this delicious treat, it is essentially concentrated applesauce (Despite the name, there's no butter in apple butter.) The main difference is that, after the blending process, the apple and spice mixture is cooked for a longer amount of time than is the case with applesauce, resulting in a unique caramelized flavor.
Making pesto

Food52 trialed seven methods of making pesto, using all the general ingredients (garlic, salt, basil, pine nuts, cheese, and oil) and all the usual methods (mortar and pestle, immersion blender, mezzaluna, knife, food professor two ways, and traditional blender). The results where the immersion blender was concerned? Well, the writer noted that they were "shocked as a bunch of blanched broccoli," if that tells you anything.
Yes, your immersion blender can make some amazing pesto. Those tiny blades make for a smooth, consistent texture. Just throw all your ingredients into a jar with high sides and blend away until you reach your desired pesto consistency.
Beyond the texture, though, the Food52 writer was also pretty thrilled with the flavor of the resulting pesto. You know how sometimes if you blend something in a traditional blender, your food comes away with a slight metallic flavor? That's from the motor, which sits right beneath the traditional blender's blades. With an immersion blender, the motor sits in the blender body beneath your hand, not next to the blades, meaning no more motor flavor.
Making hummus
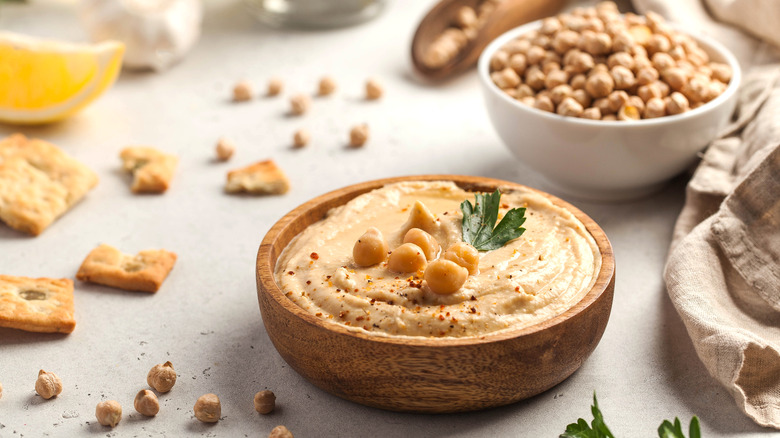
While you're using your immersion blender to make dips and spreads, why not make a batch of hummus, too? Per My Vegan Minimalist, you'll want to combine all of your ingredients in a large bowl (again, with high sides, to avoid splatter) and then blend on low speed, increasing the speed over time. The blog specifies you will need to blend maybe a little bit longer than you might when making hummus in a traditional blender, about five minutes, given an immersion blender's relative smaller size and slower pace.
Still, don't give up. You'll be able to reach that creamy consistency after enough blending. Additionally, if you peel your chickpeas before blending, you'll find it's even easier to achieve an extra-creamy texture. If you find your hummus is still too grainy after five minutes of blending, you might just need to keep at it a little longer, or you may need to add some extra liquid, like oil, lemon juice, or aquafaba.
Making oat milk
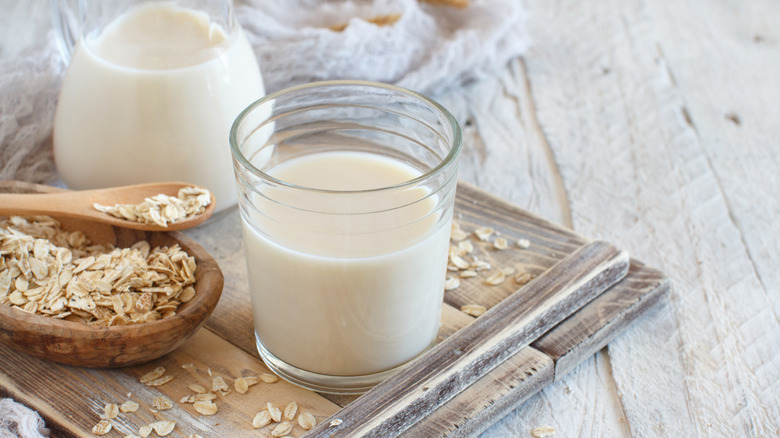
One of the most surprising uses for your immersion blender is making non-dairy milk. While your immersion blender likely isn't strong enough to obliterate almonds or cashews, it is definitely capable of taking on oats for a quick batch of homemade oat milk.
Tastemade offers advice for making oat milk that requires just four ingredients (rolled oats, water, cinnamon, and vanilla). You add it all to a large mason jar, seal it, and refrigerate it overnight. Then, in the morning, you can simply stick your immersion blender right in the jar and give it a few quick blends. Strain the mixture to remove all of the oat clumps and you've got your oat milk.
If you don't want to wait overnight, you can blend everything right after mixing your ingredients together. The brand also advises using a 32-ounce container for your blending, so you can blend 2 to 3 cups of oat milk ingredients without making a mess. It also advises starting the blender on its lowest speed, increasing to a high speed, and moving the blender around your container, for at least a minute.
Frothing milk
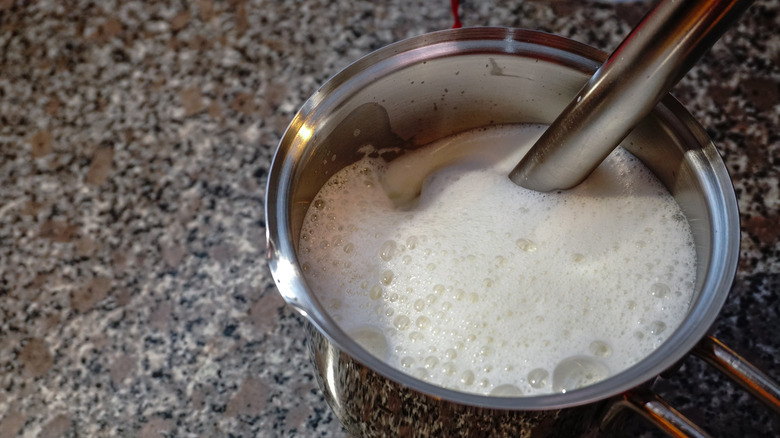
If you plan to use your homemade oat milk in your favorite coffee beverage, add on some frothed milk as well for the full Starbucks experience. According to The Pioneer Woman, frothing your milk with an immersion blender is easy and much less expensive than purchasing an espresso machine to do the same job.
Before you froth your milk you'll want to heat it to between 140 and 155 F. Then, stick your immersion blender right into your pot (make sure to use a deep one) and blend on low, blades fully immersed, until your milk is frothy. Do note that unless your pot is deep enough, you can make a mess or even cause the milk to overflow onto your stove. If you can avoid this, though, you'll find thatr5f your immersion blender is pretty capable of creating a nice, thick, robust foam with only a minute or two of blending. If you don't have a pot deep enough to avoid splatter, pour the hot milk into a tall, narrow container for blending.
Making soap

Did you know you can use your immersion blender to make soap? The soap-making community already knows that a stick blender is necessary for the process (and can share horror stories on Reddit of whisking by hand for hours at a time when an immersion blender isn't available). This is because the same factors that make an immersion blender ideal for emulsifying salad dressings and mayonnaise also make it great for mixing together soap ingredients like essential oils and lye solutions.
The jury is out on whether or not it's safe to use your food-specific immersion blender for soap-making and vice versa, as the fragrance oils used in soap can stick to the blender and transfer to your food. However, some report a good wash takes care of the issue.
If you want to give it a go, though, Food52 offers a full rundown of the process. Do note it's a little bit of a science experiment and requires a lot of extra tools and ingredients, but if you're looking for a project, this might just become your new favorite hobby.