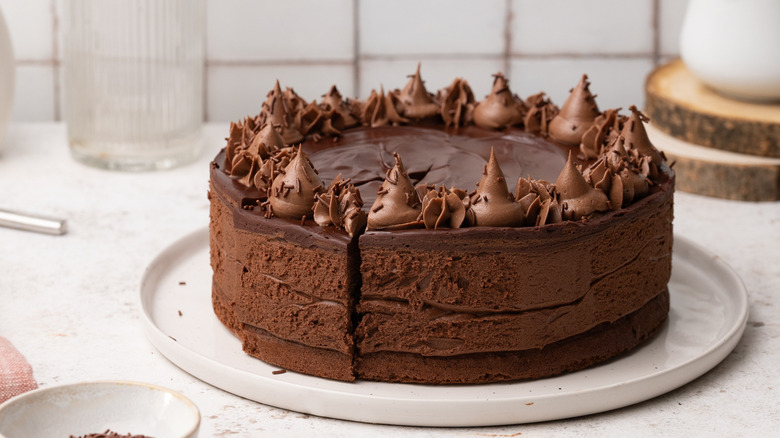
Dreamy Decadent Chocolate Mousse Cake Recipe
Chocolate has taken quite the journey to become the indulgent creamy and sweet ingredient we all know and love today, and this flavor favorite is now firmly cemented into our collective consciousness, especially in the dessert realm, from chocolate chip cookies, to triple chocolate ice cream, or a classic chocolate birthday cake. Even better yet if the dessert manages to layer chocolate onto chocolate, which is exactly the case with this recipe.
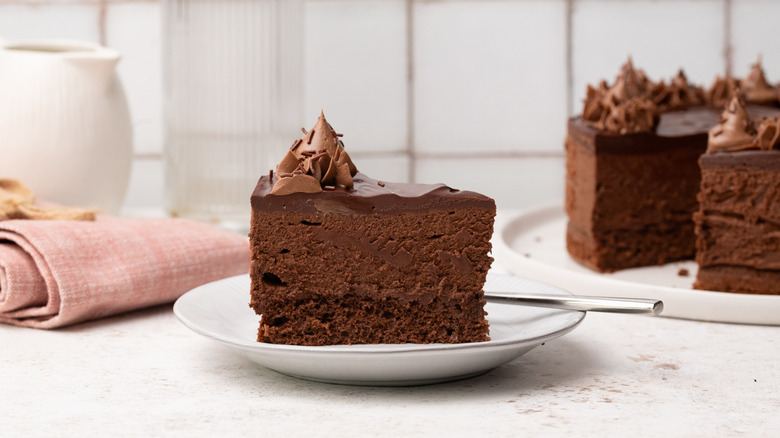
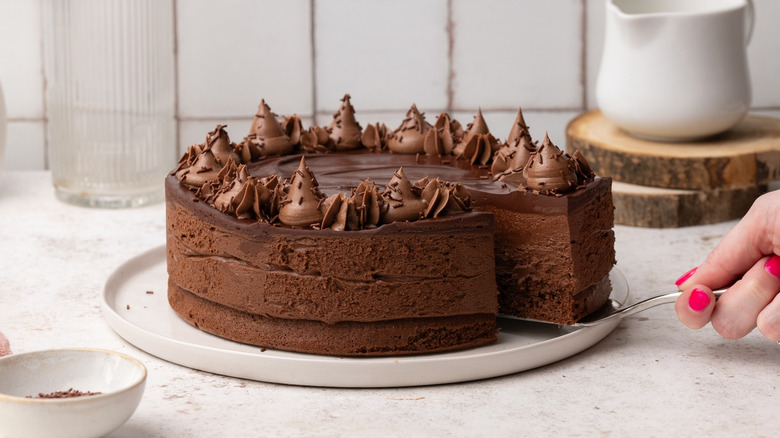
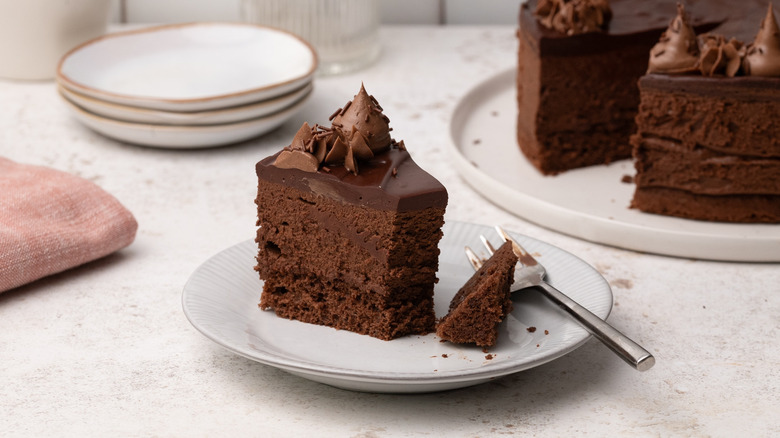
If you adore chocolate, but a chocolate cake by itself doesn't get your heart racing, or, if you are looking for something a little different as well as decidedly decadent, why not consider making a chocolate mousse cake? This dreamy dessert combines the silky smooth creaminess of homemade dark chocolate mousse, a light and airy chocolate sponge base, and a rich dark chocolate ganache to make a cake that is the perfect indulgence. Created by Tasting Table recipe developer Jennine Rye, this dreamy decadent chocolate mousse cake recipe certainly requires more effort than the standard chocolate cake, but it is well worth the effort.
Gather the ingredients for this dreamy decadent chocolate mousse cake recipe
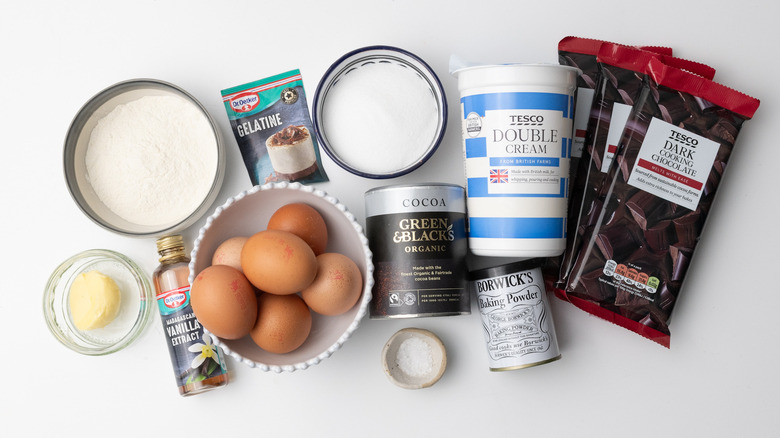
To begin this dreamy decadent chocolate mousse cake recipe, first you will need to gather the ingredients. For the cake base you will want butter, caster sugar, eggs, all-purpose flour, cocoa powder, baking powder, and a pinch of salt. For the mousse layer you will additionally need heavy cream, vanilla extract, gelatin powder, dark chocolate, butter, eggs, and caster sugar. Finally, you will want more dark chocolate and heavy cream for the ganache topping.
Step 1: Preheat the oven
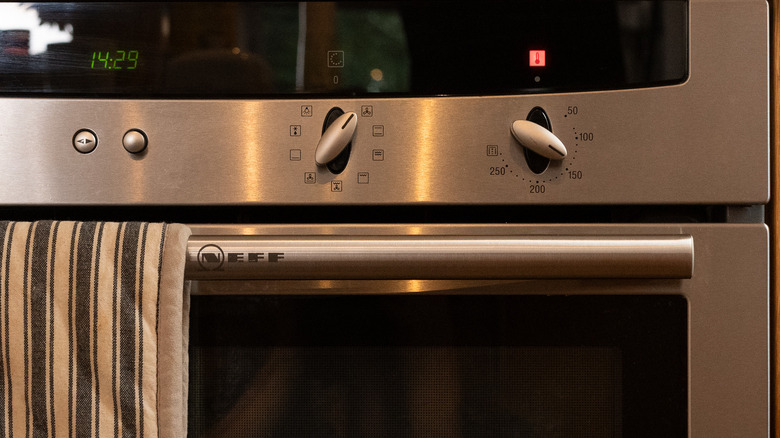
Preheat the oven to 400 F.
Step 2: Prepare a cake tin
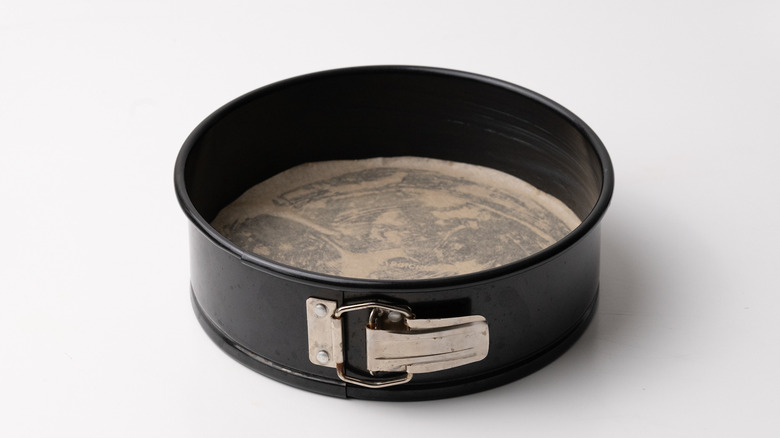
Grease and line an 8-inch cake tin with baking paper.
Step 3: Beat the eggs and sugar
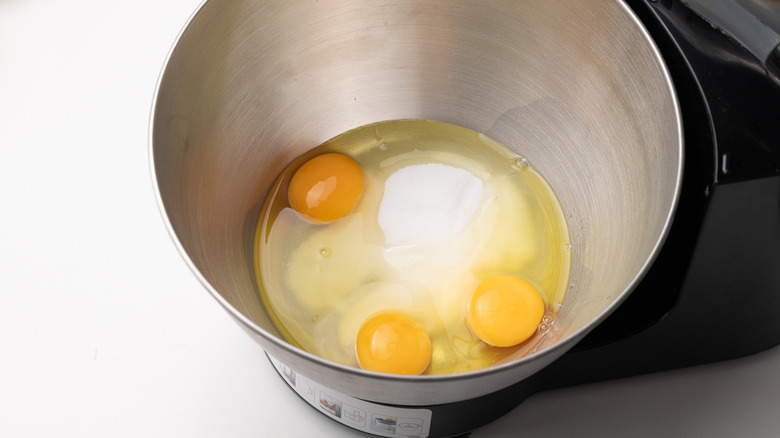
In a stand mixer, beat together the sugar and eggs for 6 to 7 minutes until the mixture is thick and pale.
Step 4: Combine the dry ingredients
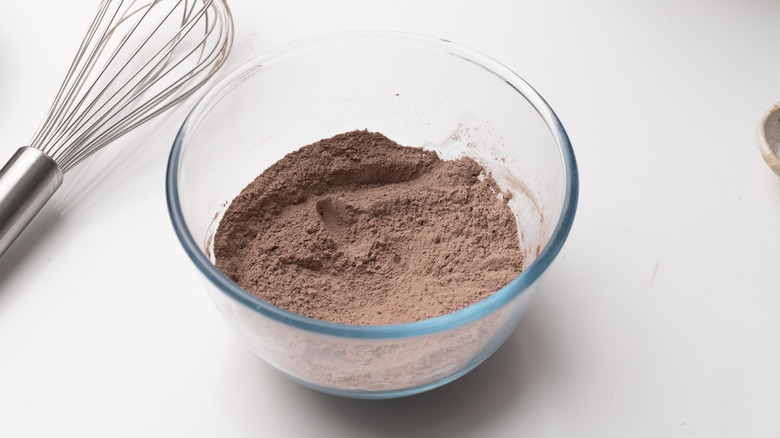
In a separate bowl, whisk together the flour, cocoa powder, baking powder, and salt.
Step 5: Combine the wet and dry ingredients
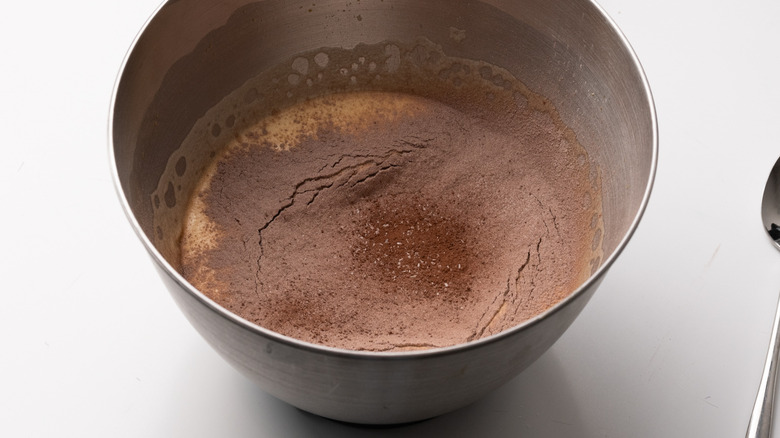
Sift the dry ingredients into the wet ingredients, and gently fold.
Step 6: Pour batter into cake tin
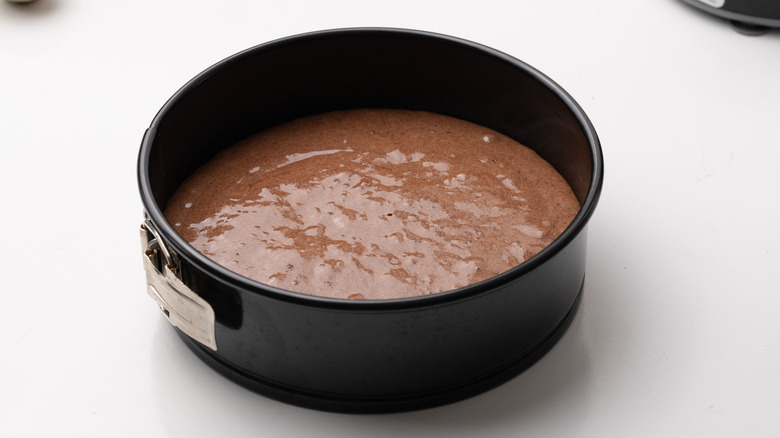
Transfer the cake batter to the prepared tin.
Step 7: Bake the cake
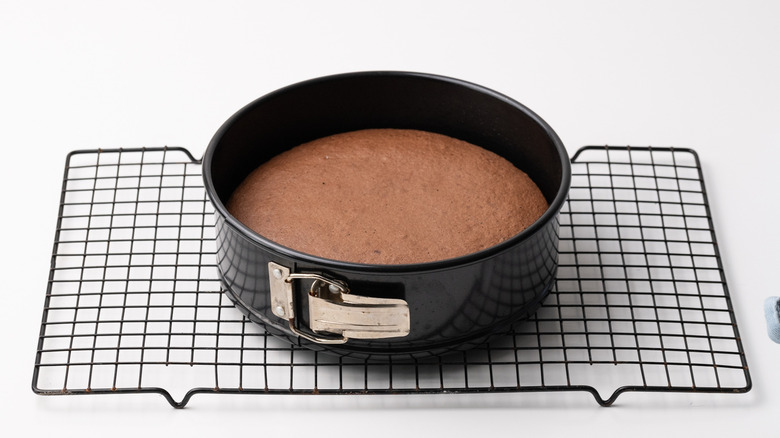
Bake the cake batter for 15 minutes until it springs back to the touch, then set aside to cool completely.
Step 8: Add a cake collar
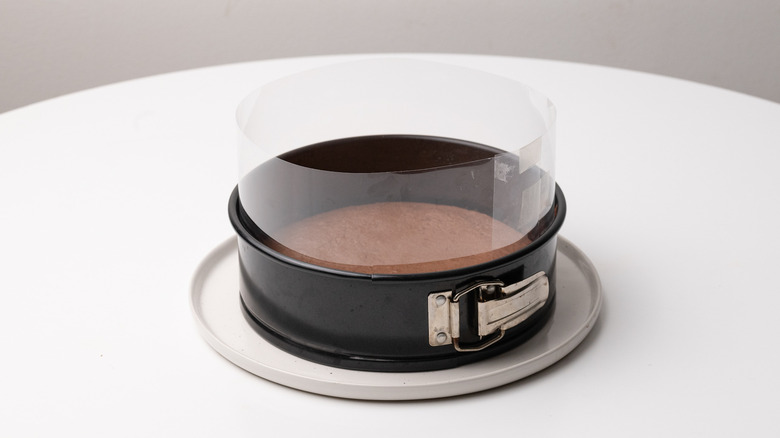
Once cool, remove the cake from the tin and wrap a clear cake collar around it before placing it back into the cake tin.
Step 9: Start the mousse
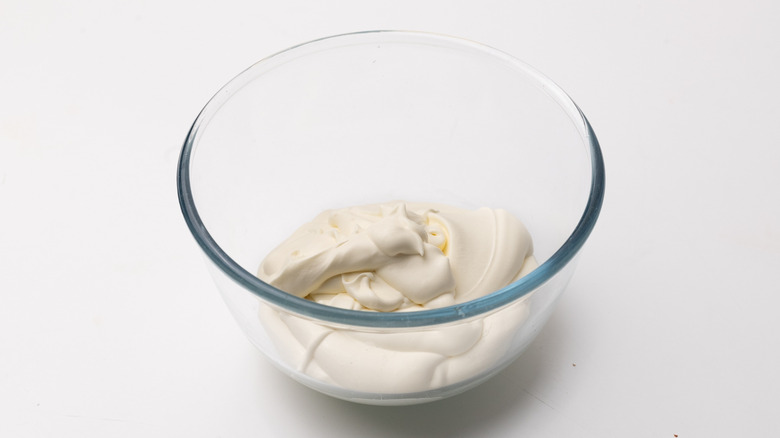
To begin the mousse, whip together ¾ cup cream with the vanilla extract, then place in the fridge until needed.
Step 10: Prepare the gelatin
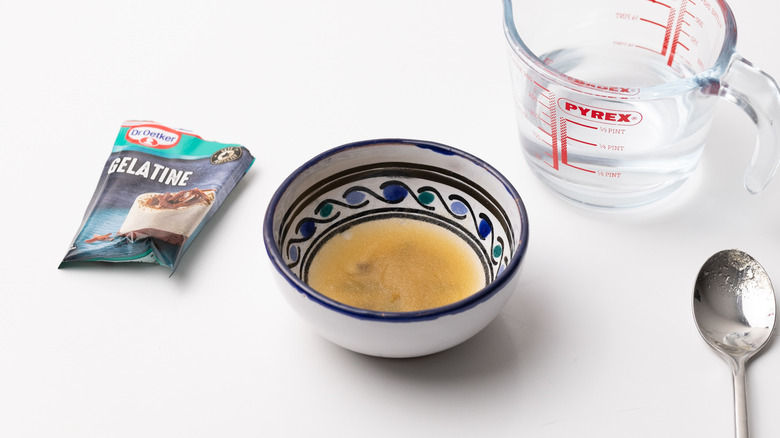
Mix the gelatin powder with 4 teaspoons water, and set aside 5 minutes.
Step 11: Add chocolate, cream, and butter to a bowl
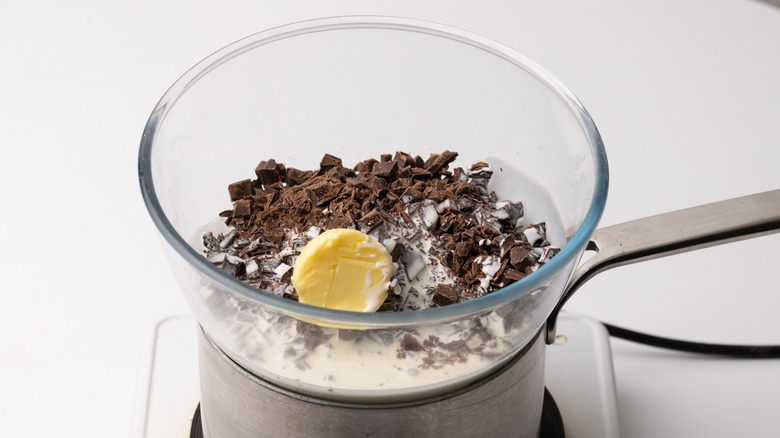
Add the dark chocolate, remaining ¾ cup cream, and the tablespoon of butter to a bowl set over a saucepan of hot water.
Step 12: Melt the ingredients
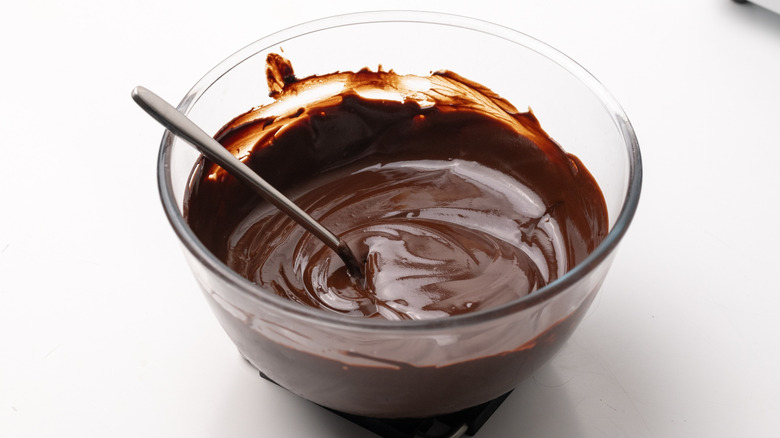
Mix the chocolate and other ingredients until they are melted and combined.
Step 13: Whisk in the egg yolks
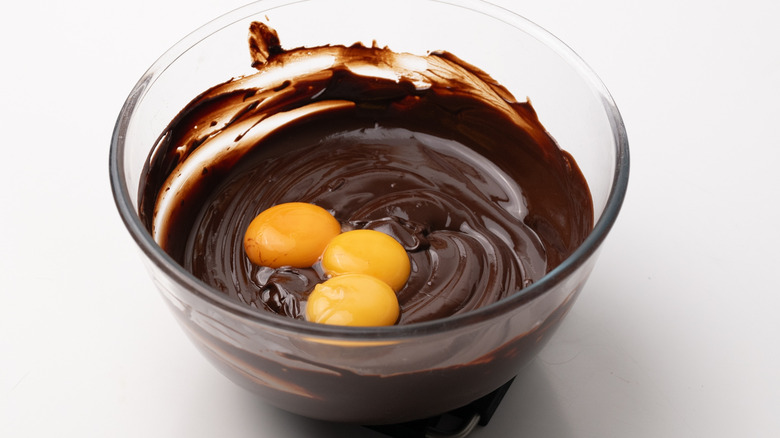
Remove from the heat and whisk in the egg yolks.
Step 14: Whisk in the gelatin
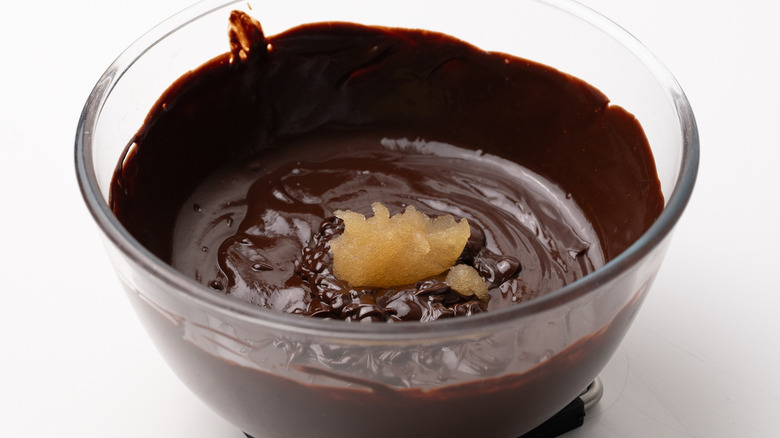
Stir in the gelatin powder mixture and then set to one side.
Step 15: Whisk egg whites
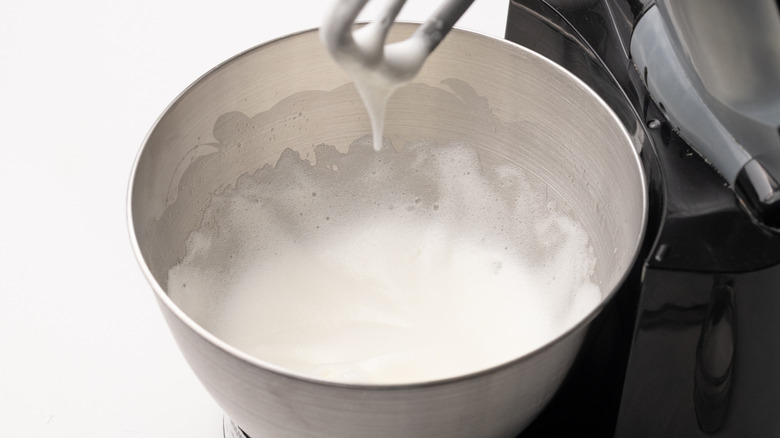
Add the 3 egg whites to a stand mixer and whisk on high for 1 to 2 minutes until peaks form.
Step 16: Add sugar
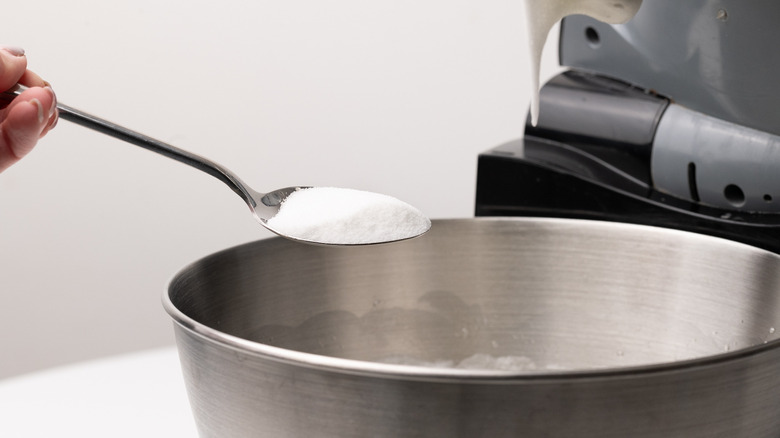
Feed the 4 tablespoons of sugar into the egg whites and keep beating until the sugar has completely dissolved.
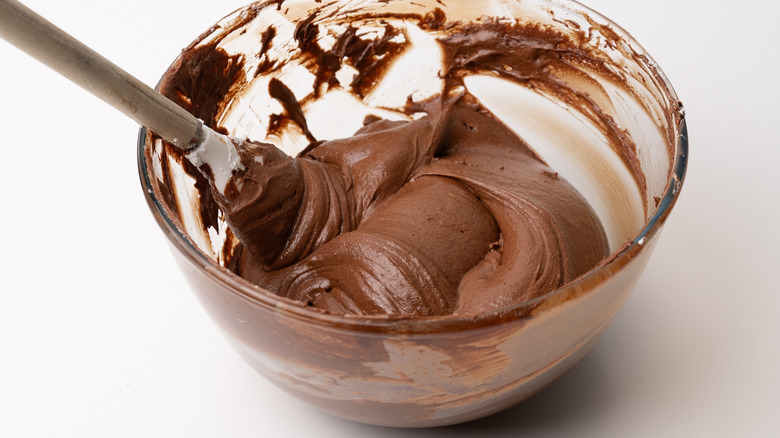
Step 17: Fold in the egg whites
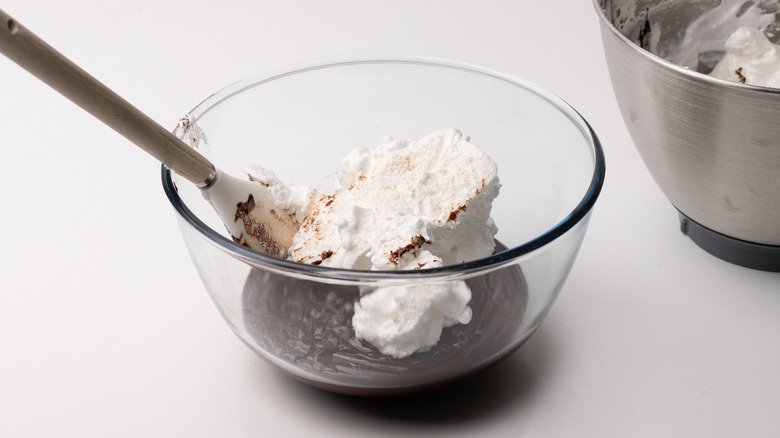
Gently fold the egg white mixture into the cooled chocolate mixture in two batches.
Step 18: Fold in the cream
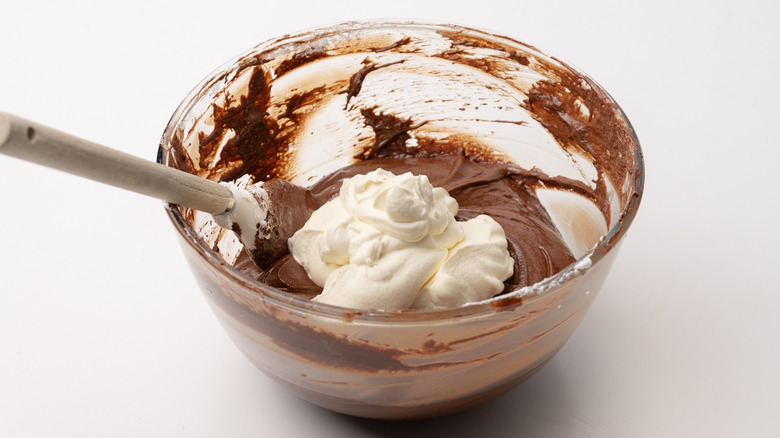
Fold the chilled whipped cream from the fridge into the chocolate mixture.
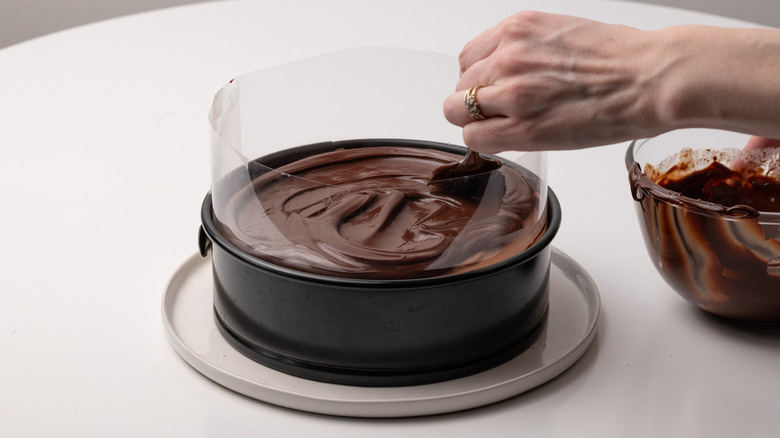
Step 19: Transfer the mousse
Pour the chocolate mousse onto the cake base in the prepared tin.
Step 20: Refrigerate the mousse cake
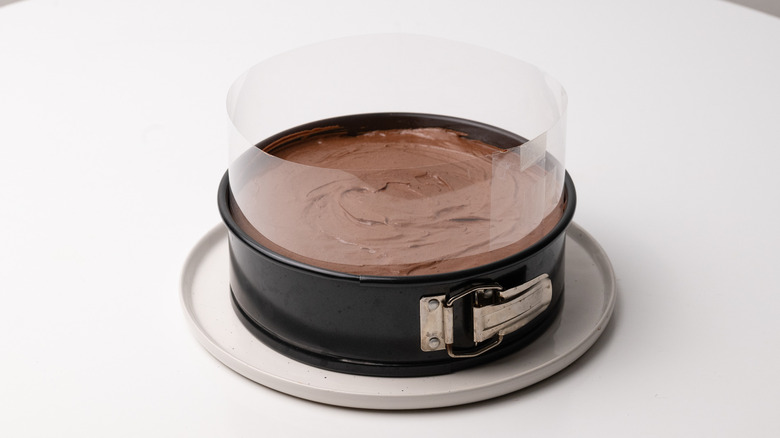
Place the cake into the fridge to set for at least 8 hours, or overnight.
Step 21: Start the ganache
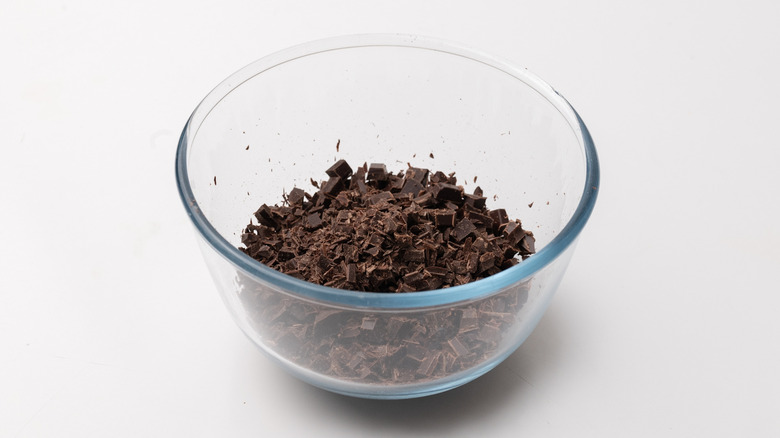
For the ganache layer, break up the chocolate into little pieces in a heatproof bowl.
Step 22: Heat the cream
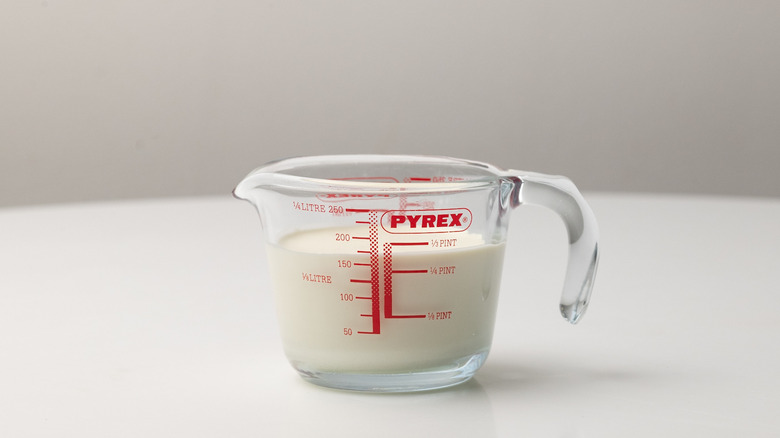
Heat the cream in the microwave on a high heat for 1 minute, until it is hot but not boiling.
Step 23: Whisk to form a ganache
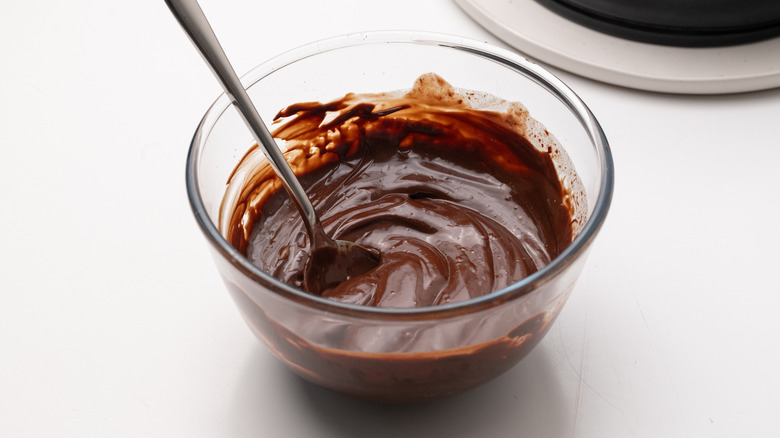
Pour the hot cream over the chocolate and whisk until the mixture is smooth and glossy.
Step 24: Top the cake with ganache
Pour the ganache over the top of the mousse layer, and place in the fridge to set for 10 minutes.
Step 25: Serve
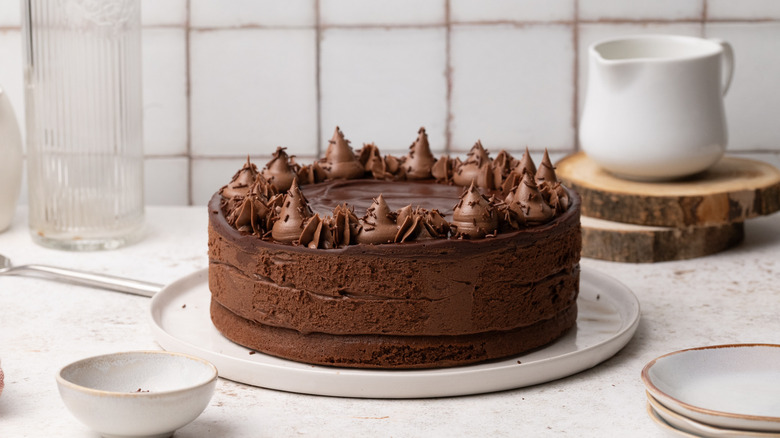
If you wish, decorate the chocolate mousse cake with frosting or extra sprinkles, or serve as-is.
How can you customize this chocolate mousse cake?
If you want to make this chocolate mousse cake recipe but need to adapt it according to ingredient availability, dietary requirements, or simply personal preference, there are plenty of options to help you indulge in this chocolatey delight. To make this dessert gluten-free, you will want to substitute the flour in the sponge base for a gluten-free variety. To make this recipe lactose-free requires a little more work, but it is definitely doable. The dairy cream can be replaced with a whippable soy or coconut cream, the butter can be substituted for a lactose-free variety, and, the chocolate used in this recipe is of the dark variety, which is often naturally dairy-free. However, you may want to shop around to find a dark chocolate that is guaranteed to be free from lactose to suit your needs.
For flavor variations, why not try mixing up the chocolate used in this recipe? To make it a triple chocolate mousse cake, you could divide the mousse mixture in half and add milk chocolate and white chocolate to each layer, before finishing the cake with the dark chocolate ganache.
How can you store leftover chocolate mousse cake?
This delicious, dreamy, decadent chocolate mousse cake recipe is pretty robust as mousse cakes go, as long as it is properly stored. To keep this cake at its best, cover it well, or ideally use an airtight cake container if you have one that it will fit into, and then store in the fridge. Kept in the fridge in an airtight container, the cake will keep for two to three days. With that being said, this chocolate mousse cake is at its best when served at room temperature, so if you can, take it out of the fridge 15 minutes or so before serving to let the cake warm back up to an optimal temperature.
If you need to store it for longer, this chocolate mousse cake can also be frozen, but it's a good idea to slice it first and wrap the individual portions before transferring them to the freezer. This will mean you can defrost as much of the cake as you plan to consume, rather than needing to defrost the whole cake in one go. It will also take less time for each individual slice to defrost as opposed to the whole cake.
Dreamy Decadent Chocolate Mousse Cake Recipe
Don't settle for plain old chocolate cake when you could have this dreamy decadent chocolate cake, richly adorned with a chocolate mousse and ganache.
Ingredients
- For the cake
- 1 teaspoon butter, for greasing pan
- ½ cup caster sugar
- 3 large eggs, room temperature
- ⅓ cup all-purpose flour
- 2 tablespoons cocoa powder
- ½ teaspoon baking powder
- Pinch of salt
- For the mousse
- 1 ½ cups heavy cream, divided
- ½ teaspoon vanilla extract
- 2 teaspoons gelatin powder
- 15 ounces dark chocolate
- 1 tablespoon butter
- 3 large eggs, yolks and whites separated
- 4 tablespoons caster sugar
- For the ganache
- 5 ounces dark chocolate
- ⅔ cup heavy cream
Optional Ingredients
- Chocolate buttercream, to decorate
- Chocolate sprinkles, to decorate
Directions
- Preheat the oven to 400 F.
- Grease and line an 8-inch cake tin with baking paper.
- In a stand mixer, beat together the sugar and eggs for 6 to 7 minutes until the mixture is thick and pale.
- In a separate bowl, whisk together the flour, cocoa powder, baking powder, and salt.
- Sift the dry ingredients into the wet ingredients, and gently fold.
- Transfer the cake batter to the prepared tin.
- Bake the cake batter for 15 minutes until it springs back to the touch, then set aside to cool completely.
- Once cool, remove the cake from the tin and wrap a clear cake collar around it before placing it back into the cake tin.
- To begin the mousse, whip together ¾ cup cream with the vanilla extract, then place in the fridge until needed.
- Mix the gelatin powder with 4 teaspoons water, and set aside 5 minutes.
- Add the dark chocolate, remaining ¾ cup cream, and the tablespoon of butter to a bowl set over a saucepan of hot water.
- Mix the chocolate and other ingredients until they are melted and combined.
- Remove from the heat and whisk in the egg yolks.
- Stir in the gelatin powder mixture and then set to one side.
- Add the 3 egg whites to a stand mixer and whisk on high for 1 to 2 minutes until peaks form.
- Feed the 4 tablespoons of sugar into the egg whites and keep beating until the sugar has completely dissolved.
- Gently fold the egg white mixture into the cooled chocolate mixture in two batches.
- Fold the chilled whipped cream from the fridge into the chocolate mixture.
- Pour the chocolate mousse onto the cake base in the prepared tin.
- Place the cake into the fridge to set for at least 8 hours, or overnight.
- For the ganache layer, break up the chocolate into little pieces in a heatproof bowl.
- Heat the cream in the microwave on a high heat for 1 minute, until it is hot but not boiling.
- Pour the hot cream over the chocolate and whisk until the mixture is smooth and glossy.
- Pour the ganache over the top of the mousse layer, and place in the fridge to set for 10 minutes.
- If you wish, decorate the chocolate mousse cake with frosting or extra sprinkles, or serve as-is.
Nutrition
| Calories per Serving | 539 |
| Total Fat | 39.5 g |
| Saturated Fat | 23.1 g |
| Trans Fat | 0.6 g |
| Cholesterol | 146.4 mg |
| Total Carbohydrates | 38.3 g |
| Dietary Fiber | 5.6 g |
| Total Sugars | 24.7 g |
| Sodium | 85.3 mg |
| Protein | 8.9 g |