The Biggest Mistake You're Making When Searing Duck
In theory, searing duck breast is straightforward, but there's plenty that can go wrong. Equipped with the proper know-how (and enough practice), however, a perfectly seared duck breast can easily be achieved. Of the many considerations to keep in mind during the process, there is one faux pas that should be avoided at all costs — frequently moving it.
Constantly repositioning duck breast is pointless; it isn't doing favors for the poultry, nor for your wrist. Don't get us wrong, this isn't an invitation to abandon your post by the stove. But, there's also no need to fuss over duck breast, either. Frequent turning and flipping can have a negative impact on the final result, both texturally and aesthetically. But why?
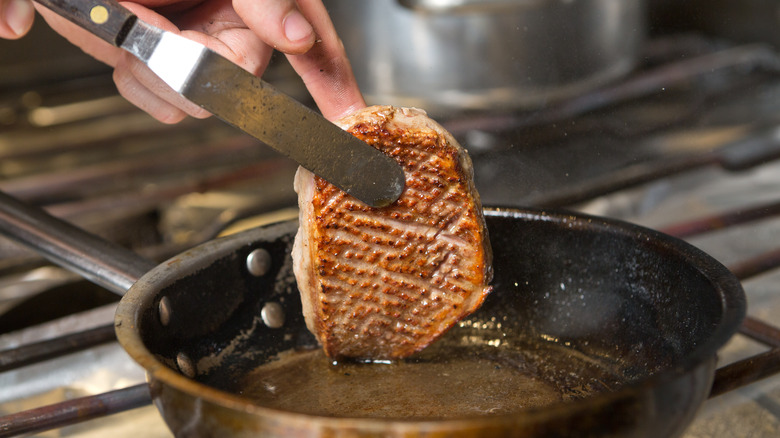
Skin typically sticks to the pan in the initial phases of searing, which means that prematurely moving the piece of protein can cause unfortunate rips and tears, reducing visual appeal. Additionally, frequent repositioning also prevents the duck breast's fat from properly rendering and gaining a crisply caramelized crust since less time is spent in direct contact with the heat source. Resisting the urge to move the protein too often is a must, should you want to give duck breast the sear it rightfully deserves.
A definitive guide to searing duck breast
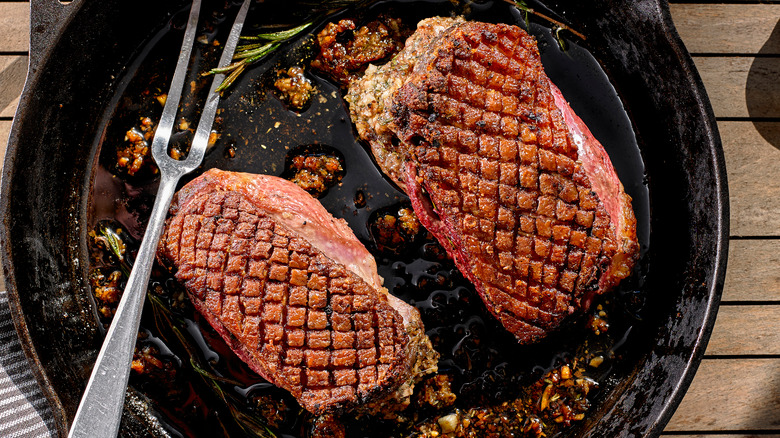
First things first, prep your main ingredient. A duck breast should always be scored prior to searing. Making as many crosshatch lines as possible will actually increase surface area and help render fat more effectively as it cooks, preventing the meat from sticking to the pan. Once scored, the duck should be patted dry and seasoned, prior to resting so as to dry up the skin to dry for maximum crispness. Now, onto the searing process.
To achieve the ideal sear, we recommend working with a cast iron or steel skillet given that they retain heat the best. Likewise, always start with a cold pan as a sizzling high temperature will just cause the meat to cook quickly without allowing fat to properly render. Simply, place the duck skin-side down, before slowly bringing up the heat to medium. Remember to refrain from moving the breast within the first several minutes — the skin will eventually release from the pan on its own. Basting with spoonfuls of the rendered fat, after about 15 minutes the duck breast can be flipped and finished cooking to a rosy medium rare.
As a final word of advice, let the duck rest before slicing, to let juices reabsorb. Then and only then, can you give the seared duck breast a taste test, and experience the entrancing effects that minimal movement can have on duck breast when searing. We guarantee this tip will become a game-changer from here on out!