The Final Step To Ensure Extra Flavorful, Crispy Skin On Roast Duck
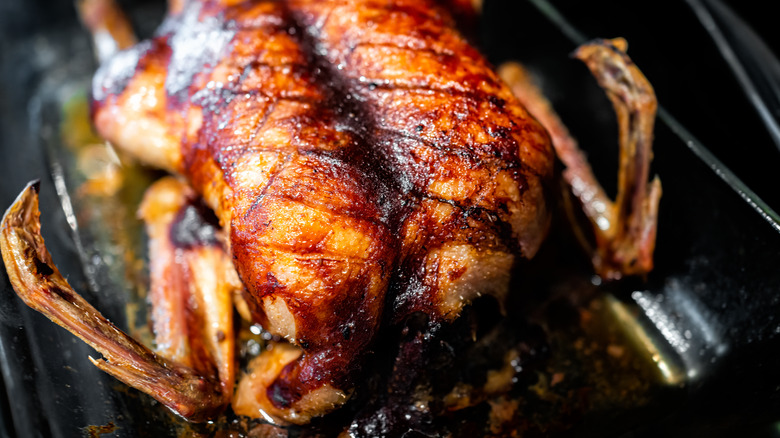
A touchstone for a beautifully executed whole roast duck lies in its skin. Particularly, it has to be crispy and ooze fat when bitten into. Yet, roasting a duck to this point can be pretty difficult, especially for beginners. But no worries! With the right method, making the most of the fat under the duck's skin to create that lovely crunch is easier than you might imagine.
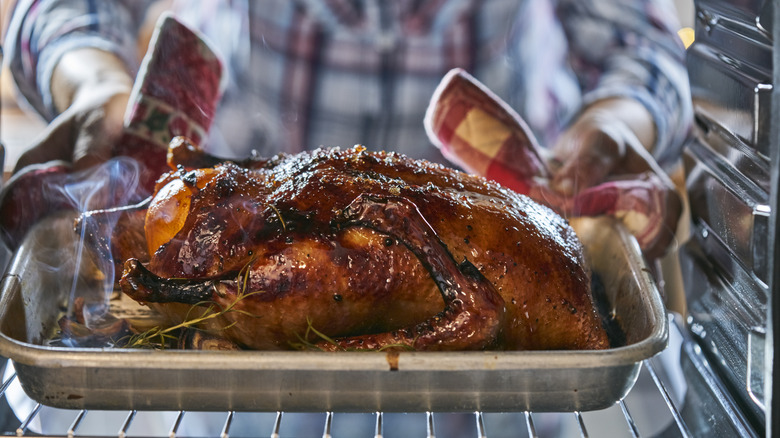
The crucial moment in the roasting process comes during the last 30 minutes of cooking. In the final leg of roasting, position the duck breast-side up in the oven — this step is where the magic happens, as it's essential for achieving that deep, golden hue that defines a perfectly roasted duck. About 15 minutes into this phase, grab your basting brush and generously coat the duck's skin with a glaze (try a sweet and tangy lemon-honey-thyme glaze.) Then, turn up the oven to a high 475 degrees Fahrenheit to let that glaze caramelize. Keep a close watch, though, as the honey in the glaze can easily burn. Your goal is a glossy finish without any charred bits. If things start to darken too quickly, lower the temperature.
Once the final roasting is complete, let the duck rest for 15 minutes. This resting period is not just a pause but a crucial step in ensuring the meat's juices redistribute and give you juicy, flavorful meat beneath the crispened-up skin.
Extra tips to make roast duck with crispy skin every time
Achieving that perfect, crispy-skinned roast duck is a process that actually starts before the duck even meets the oven. To kick things off, ensure the duck's skin is moisture-free by giving it a thorough pat-down with paper towels when it's resting on the cutting board.
Once that's checked off, you can move on to the next step — scoring the skin. This involves making shallow cuts on the skin's surface, which allow the oven's heat to engage better with the dense fat beneath. Here's a pro tip: Instead of making vertical cuts, go for angled cuts in 30- or 45-degree angles. This creates more room on the skin for the fat to melt, resulting in an even crispier outcome. Aim for a diamond pattern that spans the entire duck breast.
From this point on, it should be smooth sailing. Pop the duck back onto the oven rack, and you'll have about two hours to tend to the sides (don't forget to flip it every 30 minutes for even cooking). When there are 30 minutes left to go, flip the duck for the final time, and in the last 15 minutes, follow the glazing tip above. Put it back in the oven to bake for another 15 minutes and voilà, a crispy whole roast duck is yours to serve to dinner guests — just like a pro!