12 Tips You Need For Homemade Peanut Butter
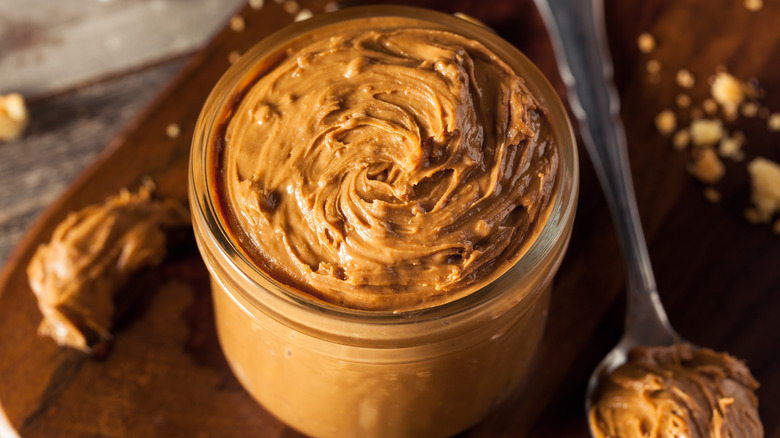
Peanut butter is an excellent choice for a staple in your food pantry, even beyond that perennial favorite peanut butter and jelly. Loaded with nutrients like protein, magnesium, and vitamin E, it's an interesting ingredient for making exotic sauces, turning your smoothie into a meal, slathering on a banana for a pre-workout snack, and delicious desserts. Everyone knows peanut butter is perfect with chocolate, but some even swear it's perfect alongside a spicy bowl of chili.
Unfortunately, conventional peanut butter is loaded with additives besides peanuts, some of which degrade its health benefits. These include salt, sugar, oil, xylitol, and artificial sweeteners. Since food prices have risen, peanut butter varieties without additives are, ironically, more expensive.
There is good news: Making peanut butter at home is super simple. It can even save you money. Better yet, you can make one that caters to your tastes and nutrition requirements. If you want a cheaper treat that takes little effort, homemade peanut butter is the way to go.
Choose un-roasted, unsalted, and un-shelled peanuts
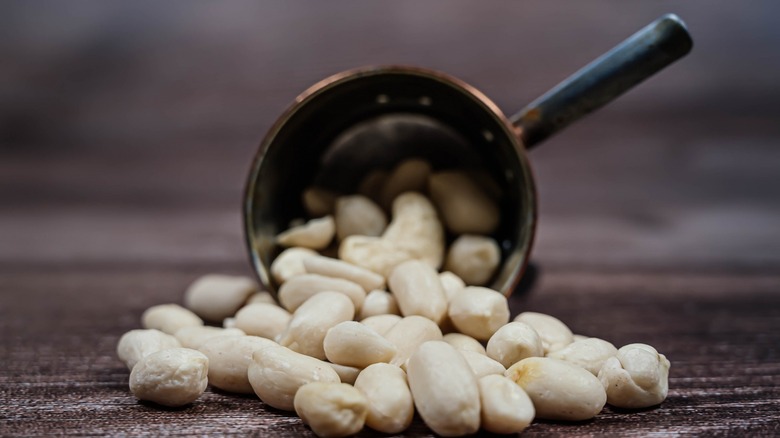
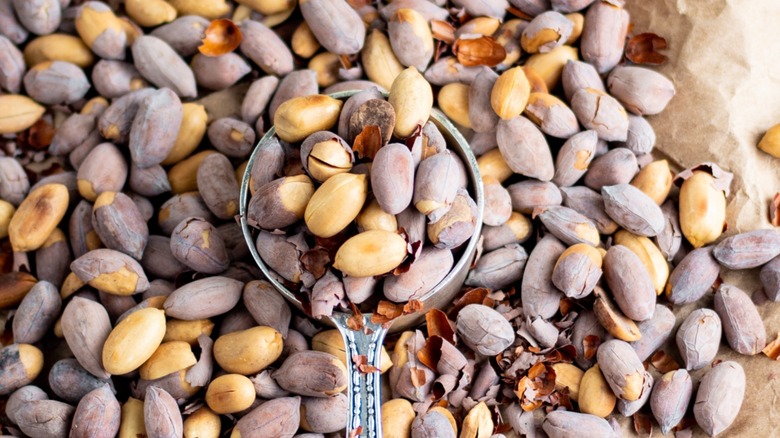
Before starting, you must select the ideal peanuts for making the best peanut butter. We recommend you use un-roasted, unsalted, and unshelled. Sure, if you buy them roasted, you'll save time. But you will lose out on the flavor and freshness of roasting them yourself.
You can make up some of that time by buying shelled peanuts. However, unshelled peanuts tend to roast faster. Another option is to buy blanched peanuts, which are shelled and then boiled to remove the skin. This also makes them easier to roast, but, again, you might lose out on flavor.
Either way, choose unsalted peanuts so that you can control the level of saltiness yourself. In addition to the level of pre-processing your peanuts get, you can choose different types of peanuts. Of the four varieties found in U.S. grocery stores, Spanish or redskin peanuts are most often used to make peanut butter because their flavor profile enhances the nuttiness.
Roast or fry your peanuts for the best flavor
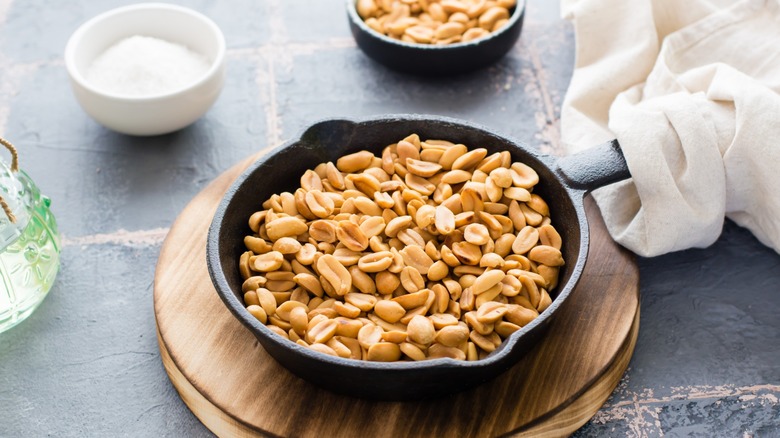
Roasting the peanuts yourself ensures that the oil inside the peanut is released. That helps enhance the flavor and freshness and actually. Home roasting is simple and makes the nuts easier to process.
Spread your nuts out on a baking sheet and cook at 350 F. If using unshelled peanuts, keep the shells on to help the nut retain its oils. Just remember, they'll need plenty of time to cool down before shelling — so don't burn your hand.
Shelled peanuts can dry out in the oven, but you can remedy this problem by getting out your wok to fry them. Unexpected as that sounds, it will do the same job as roasting. Of course, you will need oil, and we recommend peanut oil for added flavor. Otherwise, select a neutral oil such as vegetable. Preheat the wok (or cast iron skillet), then add the oil. When the oil starts to bubble, carefully add the peanuts and cook until they are lightly browned. Let them cool before proceeding on to the next step.
Using a food processor is the easiest option
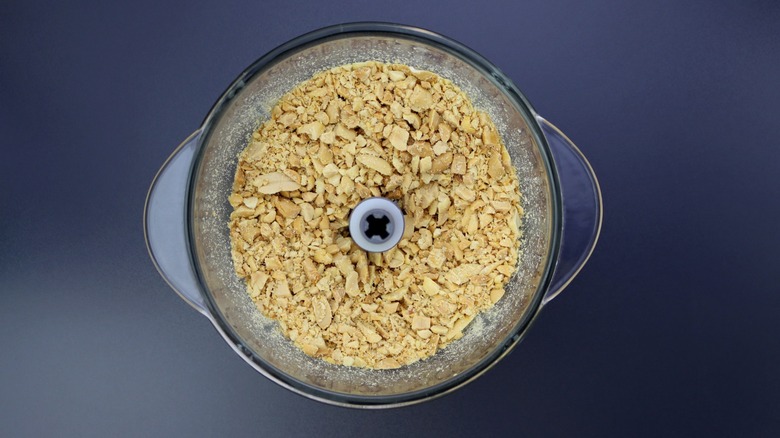
A food processor with a blade attachment is the easiest way to make peanut butter. Add your roasted peanuts before turning it on. Your peanuts will go through roughly three stages. Whether you pulse and release or let them process to the end depends on your desired results and how well your equipment running through the stages.
In stage one, the peanuts are finely chopped and are ideal for garnishing recipes like Pad Thai or topping off an ice cream sundae, so feel free to pull some out for other uses. Scrape the sides if needed and turn the food processor back on for about a minute or two. In the next stage, your peanut mixture will resemble a thick dough. Scrape the sides again if necessary, and turn on the processor again. The oils will now be fully released, giving you a buttery consistency. Keep processing until you get the smooth peanut butter texture you desire.
If you want chunky peanut butter, set aside about half of the peanuts before starting. Dice them to the size you like, but don't process them; simply add them to the completed recipe. You can also use a high-powered blender to achieve the same results. In this case, the container is slimmer, so you may need to stop and scrape the sides more frequently. It will also be more difficult to clean. A blender that has a removable base is easier to use and clean.
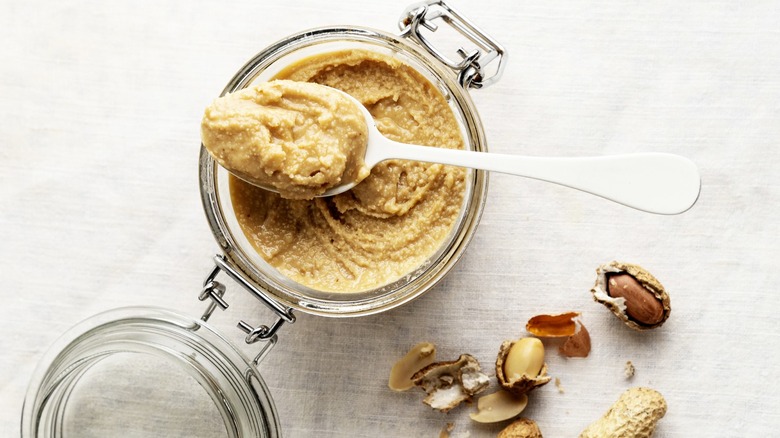
Add oil and salt at the end
Unlike many conventional jarred peanut butter brands, homemade peanut butter does not require oil unless you don't like the consistency without it. If you think your mixture needs to be creamier, a little oil will do the trick.
As mentioned, peanut oil is your best choice to match the flavor. If you don't have peanut oil, you can use vegetable oil (such as corn, canola, soy, or some blend) because it has a neutral taste. Some cooks even use melted coconut oil, but the flavors will likely war for your attention.
At this stage, you can also add a handful of salt to help bring out the nuttiness of the peanut butter. Once your mixture has a creamy consistency, add about a tablespoon of oil and anywhere from a pinch to ½ teaspoon of salt, depending on your liking. Then pulse for another minute or two. Keep watching the consistency to determine if you've added enough oil.
Sweeten things up
Making peanut butter at home allows you to experiment with all kinds of delicious flavors. The most obvious, perhaps, is basic sweetened peanut butter. Powders will work best, such as stevia, monk fruit, powdered sugar, erythritol, or coconut sugar.
Another option is to blend is to use Medjool dates and blend them in. Also, using jams, honey, or maple syrup to sweeten are more options for you, but just be cautious when adding these, because their liquid content can potentially ruin the consistency of your peanut butter. Avoid using extracts like vanilla, because they are too watery for this type of mixture. Add your liquid sweetener at the end with your oil.
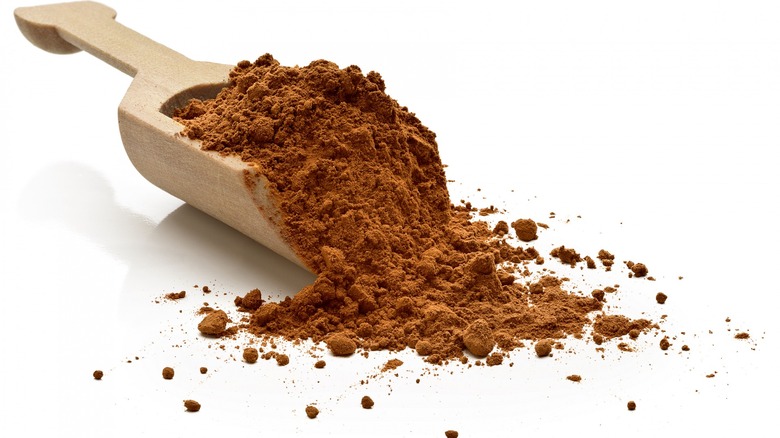
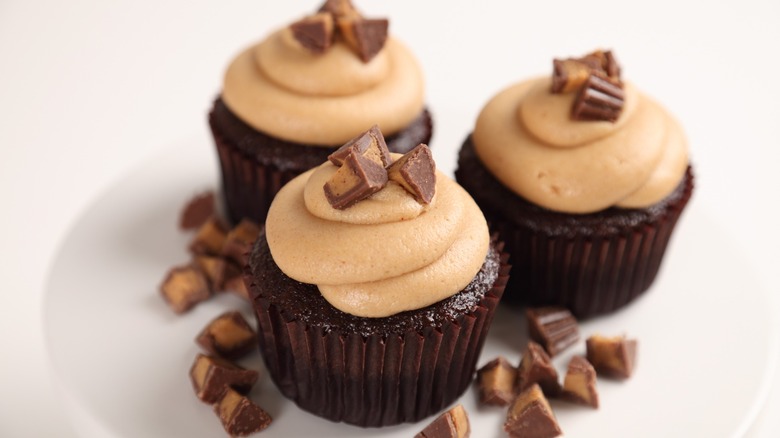
If you want to mix things up, a popular flavor choice to incorporate is chocolate. You can directly add cocoa powder once your peanuts reach the powdered state. We recommend using unsweetened cocoa or raw cacao and tossing in the powdered sweetener of your choice. Cocoa powder can make this recipe too dry, so make sure to add some oil to compensate.
Try a spicy peanut butter style
But you don't need to strictly make sweeter peanut butter. It's your peanut butter, so don't be afraid to spice it up with some savory flavors. You can create a blend of spices, add flavor packets, or toss in some dollops of thick jams and chutneys to your mixtures. Some ideas include hot chili, apple cinnamon, maple bacon, raspberry or cherry chocolate, smoky chipotle, or pumpkin spice.
If that still sounds too mild for your tastes, you may want to try your hand at making mamba, sometimes called Haitian peanut butter. Mamba is made by adding spices like cayenne and whole peppers to the ground peanuts before processing. Haitians typically use fresh, uncooked Scotch bonnet chiles or habanero peppers to give it a kick. This high-heat treat is best to eat with crackers or bread, but you might also want to keep a frosty beverage on hand as well to cool down.
Peanut butter powder is your homemade peanut butter shortcut
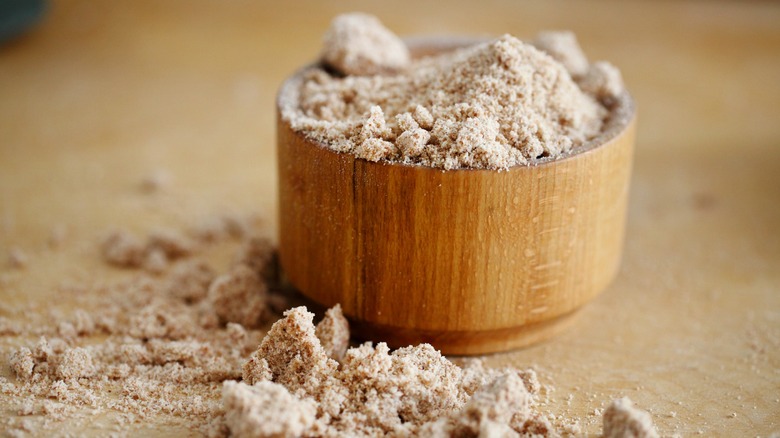
If you want to make homemade peanut butter but you are out of peanuts, there is a shortcut you can try: peanut butter powder. This is not our favorite way to make it fresh, but it can work in a pinch if you do it right.
PB2 Powdered Peanut Butter is a popular brand available at many grocery stores. It's made from peanuts that are dried of their oils, so it won't have quite the same creaminess as homemade peanut butter made from real peanuts. The upside, though, is that all you need to do is add water to make instant peanut butter. If you have peanut oil, you can carefully add that to the mixture instead of water. Overall, we think using real peanuts is a more delicious choice, but it doesn't hurt to keep PB2 in your pantry. After all, you can always use it to add protein to your smoothies.
Use a hand mixer to stir it

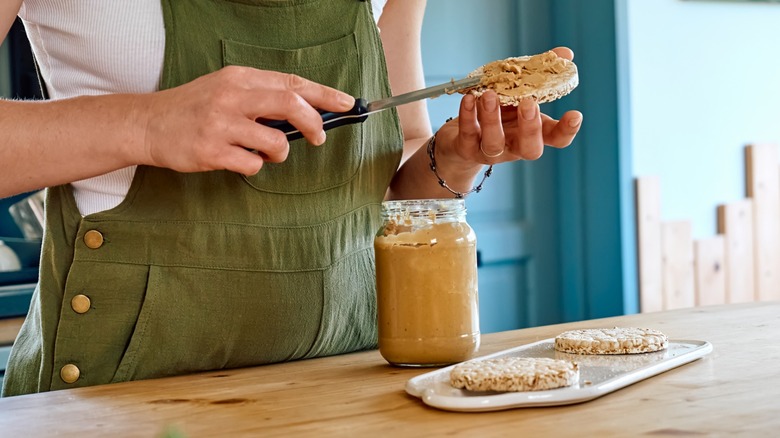
Natural peanut butter separates easily because, over time, the oils become solid again. That means you need to stir it before use every time. One of the best ways to ensure that it easily mixes every time is to store it upside down. If you are reaching for your peanut butter often, the jar will be flipped frequently enough to keep those oils moving keeping it creamy most of the time. If you still are having trouble with separation, use a hand mixer with just one beater to stir it up.
Once you're down to the end of your batch, there are plenty of hacks to grab those last few precious globs of peanut butter stuck to the bottom of your jar. One fun idea is to share it with your dog, as they probably have a long enough tongue to lick the bottom. A better idea is to use it to measure ingredients for a recipe that calls for a small amount of peanut butter, such as a quick peanut dressing or topping.
Adding cream makes for a fluffy topping
If you want to make your finished peanut butter fluffier, you can add heavy cream. You'll need quite a bit of cream to make sure it comes out with the right consistency. A hand mixer is required to make this work. For those who do not consume dairy, you can use full-fat coconut cream that's been refrigerated until the cream hardens. Whip it separately before adding it to the peanut butter. This will make a fluffy textured topping, but it won't last long.
You can go one step further and use your homemade peanut butter to make a creamy peanut butter frosting with marshmallow fluff. We recommend using a peanut-only homemade recipe for this one.
If you feel like you've still got quite a bit of peanut butter left and are stuck for ideas on how to use it, there are dozens of peanut butter recipes out there. You can it to a latte or bake amazing peanut butter cookies. We think the savory peanut butter dishes are the most intriguing, like spicy stir-fry or West African peanut stew. You can even drizzle it on homemade or store-bought plain popcorn.
Don't add watery liquids, but do add superfood powders
When you're making your own peanut butter, there are a few do's and don'ts to get the best final result. Don't add any water-based liquids. The only thin liquid you should add is oil. Water will ruin the consistency of your peanut butter, which is why you need to add a lot of cream for those topping recipes. For any other thick liquids you'd like to add, such as maple syrup, wait until the end to add, and be very judicious with your amount.
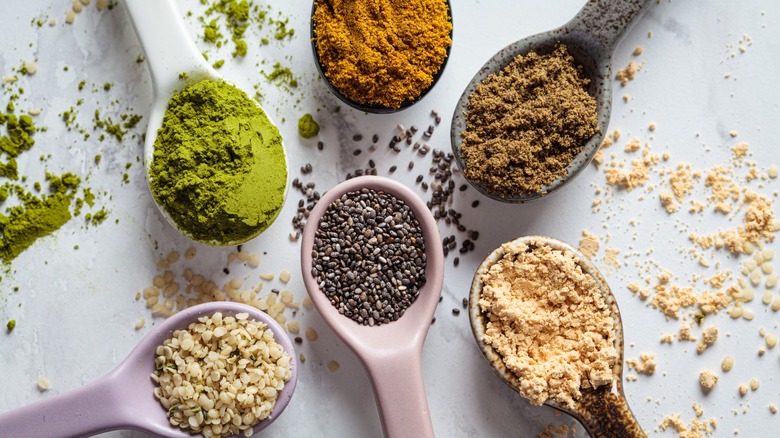
Just as you can add spices, you can easily add powders to pack an antioxidant boost into your peanut butter. Some great ideas include collagen, adaptogens, maca root, turmeric blends, and moringa. Start by adding powders that have a mild or neutral taste before experimenting with heavier flavors, like berry powders.
Powders are best added to at the end, so you can pause, taste, and watch the consistency. Don't exceed 1 or 2 tablespoons, or you may compromise both the flavor and the consistency.
Keep your peanut butter cool for a longer shelf life
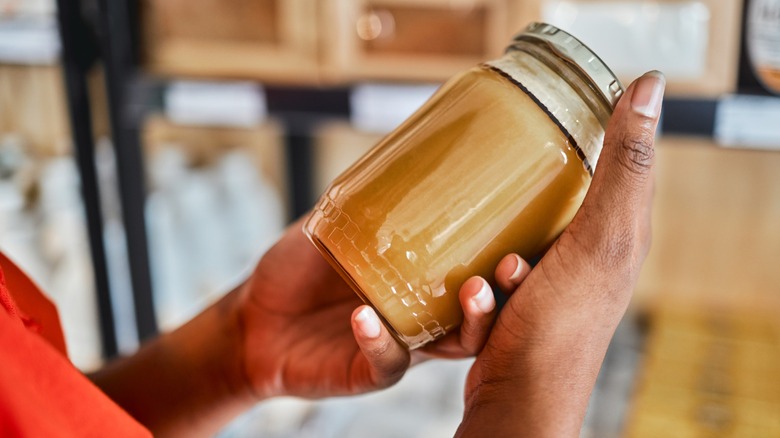
Storing your peanut butter for a long life is easy. Put your completed creation in a glass mason jar to mimic store-bought peanut butter containers. Heat will not only melt it and cause the oils to separate, but it can also speed up spoilage so keep it cool at all times. If you don't have a cool, dark area to store it, you may want to keep it in your refrigerator. Refrigeration is also recommended if it takes a long time to finish it.
You can freeze your peanut butter, too, if you don't use it that often. But keep in mind that freezing it will make it very difficult to spread — even after defrosting. If you already started to dip into the jar, it's best to place it in an airtight container or put it in a freezer-safe Ziplock bag. Otherwise, it can still go bad while freezing.
One other thing to consider is the shelf-life of the other ingredients you've added. Whether it's fresh spicy peppers, maple syrup, or heavy cream, refrigeration may be required.
A pungent smell or taste means throw it out
It's important to remember that homemade peanut butter is not like conventional store-bought brands, which often contain preservatives. This gives them a long shelf life. This is fresh food, so it won't last too long. Natural peanut butter can go bad in as quickly as 30 days, thanks to exposure to bacteria and other things in the air.
How can you tell if your peanut butter has gone bad? The telltale sign is a very foul taste or smell. You may also see gross signs of rot as well, including mold, dryness, or dark patches. The basic rule of thumb? If it no longer looks, smells, or tastes like your original peanut butter creation, you should absolutely throw it out. But don't be too sad — it just means you can start the process over again, this time incorporating different ingredients and flavors for a new peanut butter favorite.