15 Tips You Need For Roasting Whole Chicken
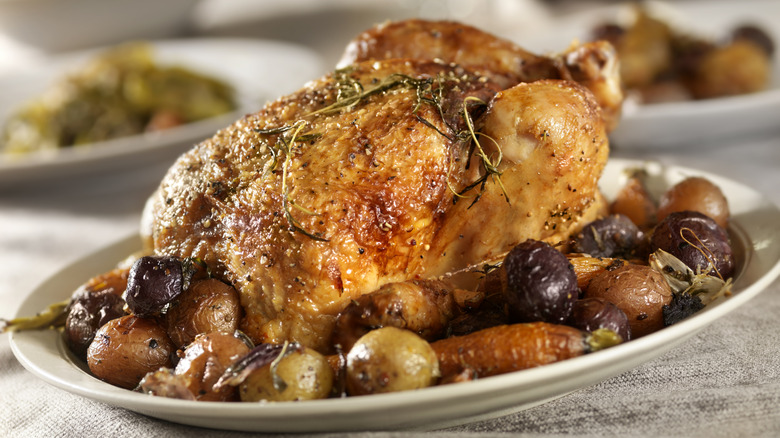
The classic roast chicken has long been a staple North American repast, one that can please even the pickiest of family members. There's nothing quite like the aroma of a roast chicken wafting through the house as it lies on top of a bed of root vegetables benefiting from rich, dripping juice. The traditional meal is also a favorite among a host of culinary celebrities from Julia Child to Martha Stewart, chefs who have weighed in with their own variations on this delicious comfort meal. If we agree on anything one thing in the culinary world, it's roast chicken.
It doesn't take a Le Cordon Bleu-trained cook to make the perfect roast chicken, however. With careful inspection and a little preparation, it's possible to serve up a beautifully crisp, golden brown, and juicy roast that will complement whatever side dishes you want. Are you a fan of dark meat or white? Thigh or breast? Whatever you fancy, these helpful tips will help you achieve the roast bird of your dreams.
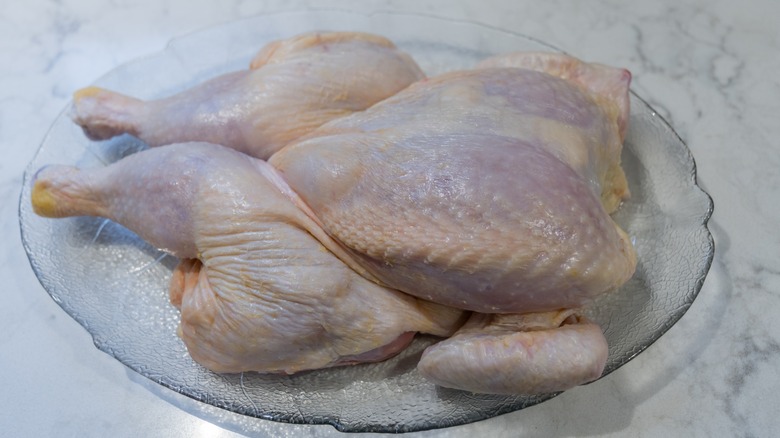
1. Look for a small chicken
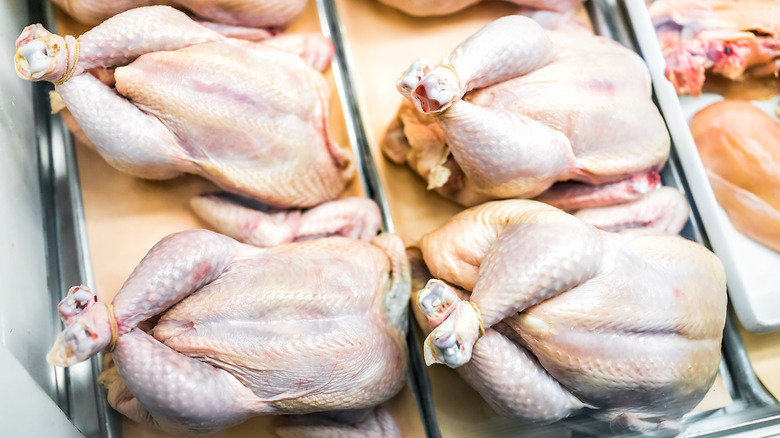
The most suitable chickens for the purpose of roasting are called, of course, roasters. These birds weigh more than 5 pounds, according to the USDA, while broilers, sometimes referred to as fryers, weigh between 2½ and 4½ pounds. Broilers are also as satisfactory as roasting chickens, though the yield is less. While bigger might be better in other situations, we think smaller chickens are often more flavorful. Fresh chicken should be plump, with a pinkish hue. Poke it with your finger; does it resume its former shape quickly? Look for signs of bruising and tearing in the skin, which often affects quality and freshness. Make sure to check the best before the date before selecting.
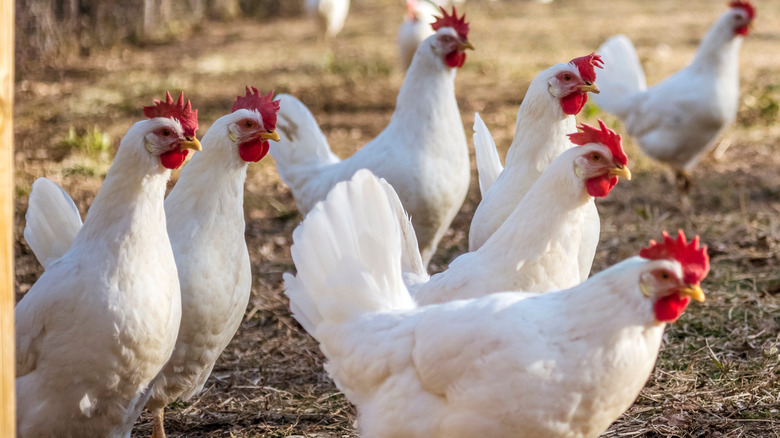
Other factors include personal principles. Will your chicken be organic, free-range, or antibiotic-free? Many people believe that these designations affect the taste of the bird in a positive way. Ethical considerations can also come into play with such certifications as free-range, cage-free, and pasture-raised, though this does not always mean that the chickens are treated in a humane fashion. Keep in mind that your pocketbook will probably be lightened a little more when purchasing one of these over a standard supermarket bird.
2. Consider a capon or Cornish hen
Now and again in some specialty markets, you'll come across a capon, which is a rooster that was gelded when still young. Larger than a standard-sized chicken but still smaller than a turkey, capons are celebrated for their flavorful meat. This is due to their diet of milk and porridge, which is very different from a chicken's usual fare of table scraps, grains, and grain by-products. Capons tend to be somewhat expensive due to these fancy eats, but aficionados swear by the difference.
You'll also pay a little bit more for a Cornish hen, which might make you somewhat hesitant when considering their diminutive size. Don't be quick to judge, however; these smaller birds tend to be around 2 pounds on average, but the trade-off is in the large breasts that they've been bred for. This is a very tender bird to roast, and you'll find that it's very good at absorbing marinades and herbs.
3. Examine the chicken for freshness and possible damage
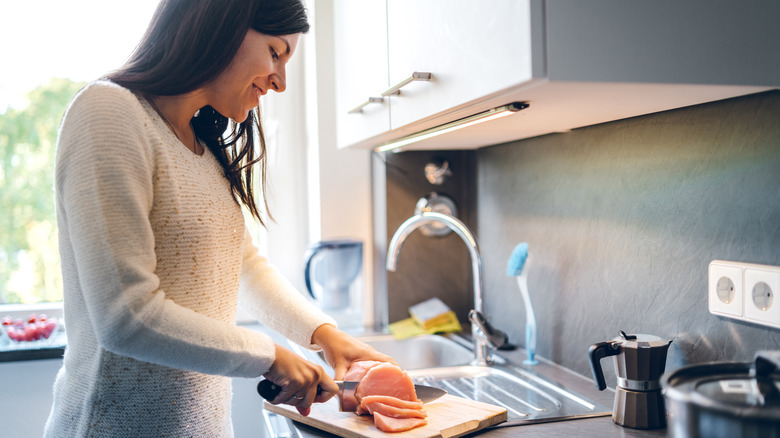
Sometimes you bring a chicken home and decide that you're not in the mood to roast it, and instead deposit it in the fridge for another day. That might be fine for upwards of 48 hours or so on the outside, but you're still running the risk of giving the family salmonella unless you check the bird closely before putting it in the oven. First up is obvious, but necessary: Check that expiration date again.
Next, examine the chicken closely. If the flesh has taken on a slightly grayish tinge then you'll need to chuck it. Give it the smell test. Your uncooked chicken should smell of nothing at all, but if it's gone bad you'll be able to tell by the stench of rotten eggs. Is the chicken slimy? That's also a bad sign, and no amount of washing the bird will fix that. Unfortunately, you'll have to chuck the chicken in the garbage and buy another one.
4. Brine your chicken for flavorful meat
It's a problem that all of us have had to deal with over the years. You proudly bring out your chicken on a platter to the family, cut into the breast, and it's dry. That's because chicken is very lean, which prompts experts to declare it to be one of the healthiest types of meat but also makes for a disappointing family meal when overcooked. This is something that can be fixed in a few ways, including wet brining or dry brining.
Wet brining takes some patience, as it involves submerging your chicken in a solution of water, salt, and sugar for a period of time. Advocates point to this system as the perfect way to tenderize and flavor the meat. Dry brining, which involves using a salt rub with herbs and sugar as possible additives as well, is a little less involved as it takes only an hour or so for the salt to be fully dissolved into the skin. The results won't give you quite the juiciness of the wet brine, but it does guarantee a crispier skin.
5. Another option is soaking your chicken in milk.
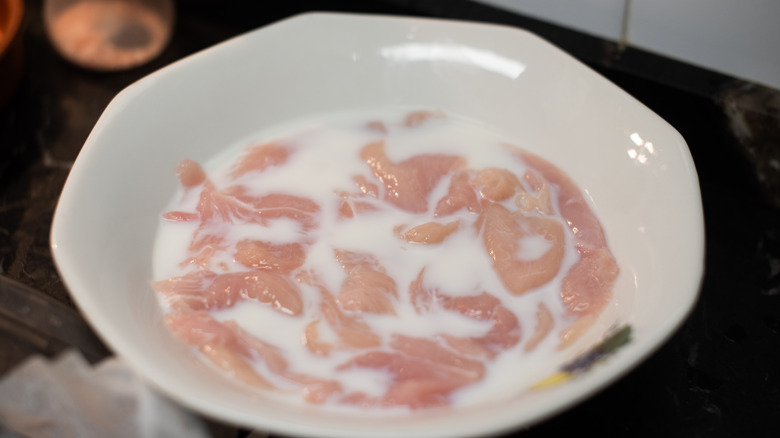
There are plenty of satisfactory ways to roast a chicken but cooking is a constantly evolving science, and chefs like Jamie Oliver are always finding ways in which to tweak it. For instance, Oliver has been known to advocate for marinating chicken with a preparation that includes just over a couple of cups of milk. He suggests adding other elements like herbs, garlic, and lemon zest, but it's the calcium in the milk that does the trick of tenderizing the meat and making it that much more delicious.
Since calcium is the mineral you're looking for in this process you can also opt for other possibilities other than the standard 2% milk. One percent is acceptable, though you might want to add a little lemon juice or equivalent for acid, and buttermilk is even better. You don't have to stop there if you're into kitchen experiments. If you want to really stretch your culinary skills, think about yogurt, which can add a delectably creamy texture to the finished product.
6. Make a dry rub
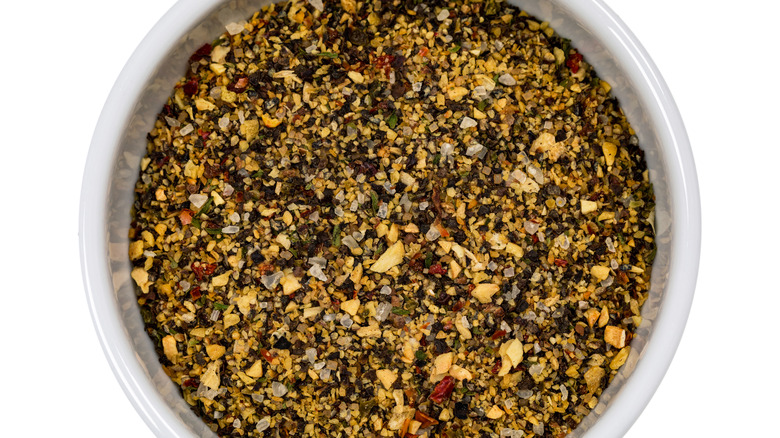
Another method for adding maximum tastiness to your chicken is to make a dry rub. Unlike a seasoning, dry rubs are added before cooking, not after. Spices and herbs such as dried thyme, basil, rosemary, tarragon, fennel seed, and marjoram are excellent for imparting that extra flavor that induces sheer pleasure in the taste buds. Best of all, you can do a little experimenting to find out what suits you best.
Many people opt for French-inspired flavors like those listed above, ground into a delicious combination that can be rubbed on the skin after a light brushing with olive oil. You don't have to adhere to this traditional method, though. A classic Mediterranean rub involving onion, garlic powder, dill, and oregano can transport you to a small restaurant on a Greek island, while a Southwestern rub might involve ground chili powders and cumin. Find flavors that play well together and mix them up a little if you're feeling the urge.
7. Ensure you have the necessary utensils on hand
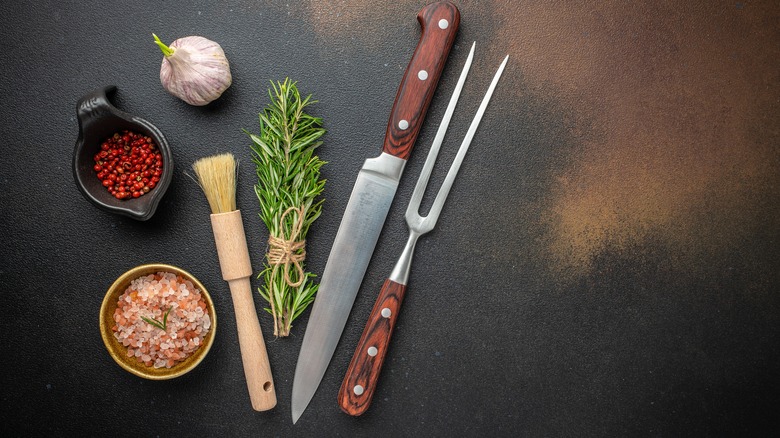
There really is nothing worse than setting out to make supper and discovering that you've forgotten something. Not just in terms of ingredients, but also with tools that are necessary for preparing your meal. With a roast chicken that might mean a baster or a pastry brush to use in applying melted butter with herbs and spices to the bird. A cutting board is absolutely essential when dealing with raw chicken; make sure to have some vinegar on hand to wash it down when you're done.
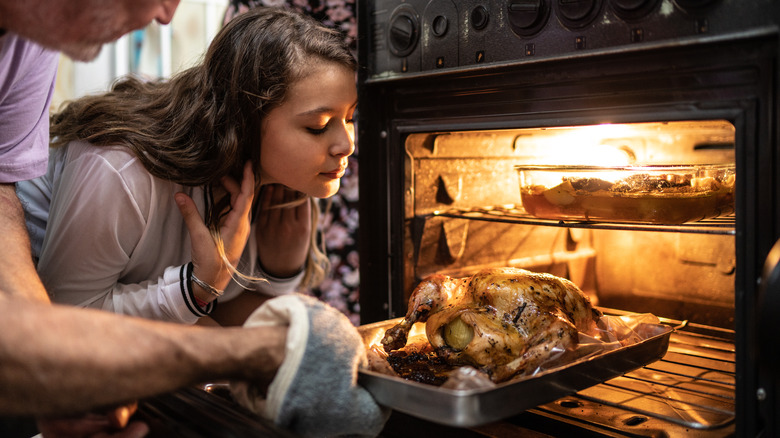
Other items you might want to have handy when preparing your feast include a sharp knife for cutting, a paper towel to dry the chicken before preparing with a rub, kitchen twine to tie the legs together so that whatever you opt to shove in the cavity stays there, and a digital thermometer to make sure the chicken has been cooked to 180 degrees F. Finally, rather than frantically looking around, you're going to want to have some oven mitts on hand to pull out your dinner when it's done.
8. Stuff your roaster with garlic and herbs
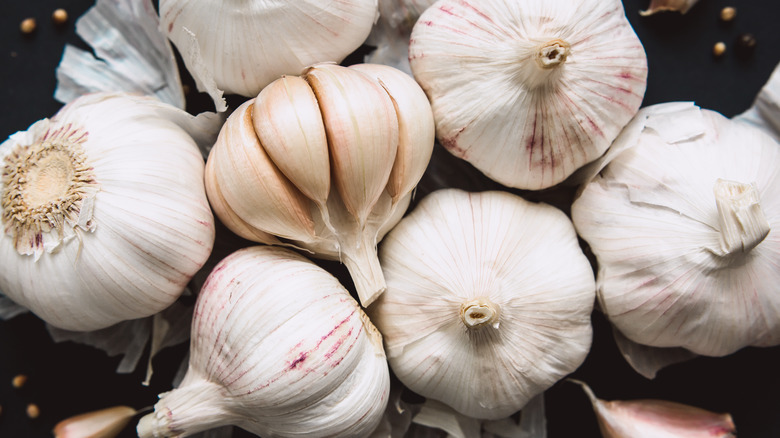
Scooping out the giblets is just the first of many stages before you put your chicken in the oven. You'll want to fill up that now-empty cavity with vegetables, herbs, and other items that will not only help keep the meat moist but also impart subtle flavorings. This can be done with a number of different ingredients, but most professional chefs and home cooks will agree that garlic is absolutely essential in this process.
This is where you really put a personal touch on the chicken. Stuff a number of whole peeled garlic cloves in there, along with some lemon wedges and onions. Herbs are also a great addition; including tarragon, basil, thyme, and rosemary. Vegetables are a great option as well, so get inventive and chop up a few parsnips, carrots, or celery to help with the final product. The end result will impress your entire family with your culinary skills.
9. Use a half-sheet pan for effective heat distribution
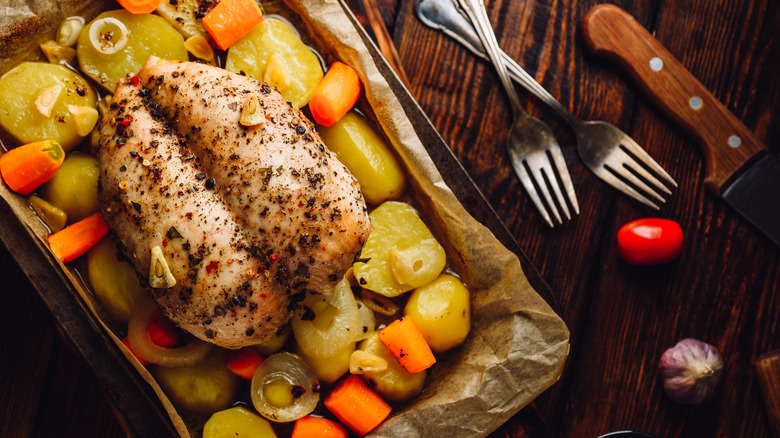
We can all get a little set in our ways when it comes to cooking, but sometimes it's a good idea to rethink our normal practices. For instance, when choosing the vessel that we plan on roasting a chicken in. There are actually a few schools of thought on this, and none of them are really wrong. Some people opt for an oven-proof skillet, while others are satisfied with a roasting pan and rack.
The traditional roasting pan is certainly one way to get the job done, but consider using a half-sheet pan for more effective heat distribution. Celebrity chef Ina Garten suggests that using a half-sheet pan is far more conducive to roasting because the shallow side allows hot air to circulate more easily around the chicken. Also, it makes for a much easier cleanup at the end of the night if you line the pan with aluminum foil or parchment paper.
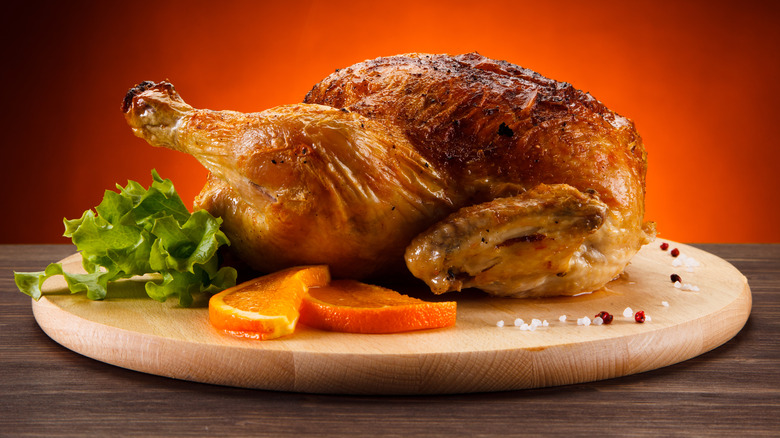
10. Carefully consider your temperature range
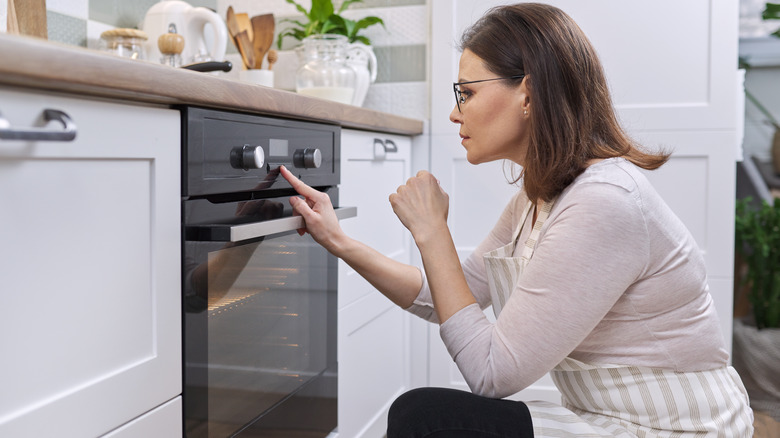
There are a couple of schools of thought when it comes to setting the temperature for your roast chicken. Some say that a lower temperature for longer makes for tender meat, while others contend that setting a hotter oven for a chicken will result in crispy skin and chewy meat. Since we've already discussed the leanness of the meat and the potential for chicken drying out, finding the right temperature for your chicken is an important question factor.
If crispy skin isn't particularly important to you then by all means set your oven to 300 degrees F and let the bird roast slowly over a good two-and-a-half hours. It will result in beautifully moist chicken that will melt in your mouth. If you want the crackly skin along with tender breast on your fork then crank it between 375 degrees F and 450 degrees F, determining the cooking time based on chicken size and temperature. If you plan on this route, make sure you have your meat thermometer on hand to check the chicken's interior temperature.
11. If you're short on time, spatchcock
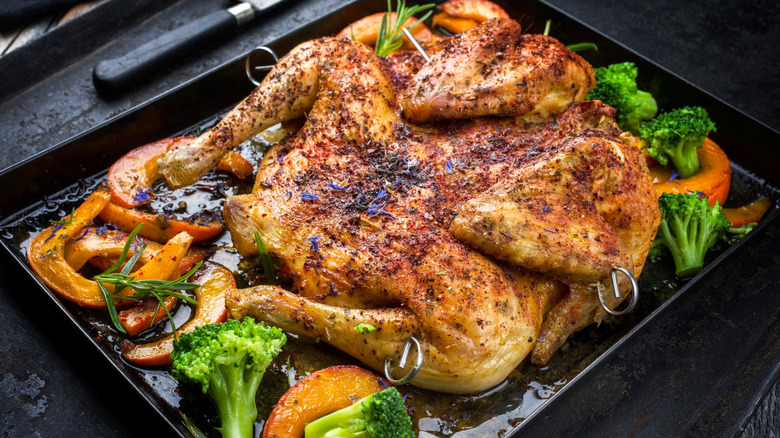
Also known as "butterflying," this method, which involves removing the backbone with kitchen shears and then flattening it, decreases cooking time and also results in tender, flavorful meat. It might seem that cutting out cartilage is a difficult and unnecessarily messy thing to do, but once you've done the operation a few times it becomes much easier. It's also a favorite among celebrity chefs; Ronnie Woo is a big proponent of spatchcocking.
Once you've completed the task of removing the backbone you can rub butter and herbs under the skin to help with the roasting. You then spread the chicken out on a pan, pulling the wings and legs apart to flatten it as much as possible. If you want to make a one-pan dish, you can also roast potatoes and other vegetables around it as it cooks. Not only will you be able to get the bird in the oven and out in a faster time, but it also helps with making the skin crispier.
12. Flip the chicken to distribute juices
It's at times like these that we bow before Julia Child when it comes to roasting tips. The famed chef stuck at nothing when it came to making sure that her chicken came out tender, juicy, and with crispy skin, including flipping the chicken a few times during the cooking process to evenly distribute the juices. Make no mistake; if you plan on cooking a meal that would satisfy Child you'll be watching the oven very closely with oven mitts, ready to move that bird around.
It might seem like a daunting task but the actual operation is very simple. After cooking for a period breast side up you'll flip the chicken on its left side, roasting it until it browns nicely. The right side follows, after which it's breast side up again until it's finished. A pair of metal tongs will help with the flipping action but do so carefully so that you're not ripping the skin. Make sure not to dilly-dally lest you cause the oven temperature to fluctuate too much.
13. Baste several times

The chicken is in the oven but that doesn't mean you can totally relax. If you want to offer a prime piece of bird then basting the chicken is just as important as any of the others on this list. Scooping the liquid up from the bottom of the pan and pouring it back on stops the bird from drying out, and it also helps with flavoring and coloring. As with other steps that involve opening the oven, you don't want to do this too often because the temperature fluctuations will interfere with the roasting. Some people use a baster, pulling the juice up in a tube to squirt directly on the chicken, while others will use a basting brush; either way is perfectly acceptable.
If this seems like a lot of work or you don't want to risk drying out the chicken by constantly opening the oven then there are other options. Some people have found that cheesecloth soaked in a butter preparation with herbs, wine, or oil, and then placed on the chicken for the entire time it bakes, is a great way to avoid the constant need to baste. You'll trap in the flavor, keep your chicken moist, and also give yourself time to do other cooking-related activities.
14. Let the chicken rest
This might well be the hardest tip to handle as you're assaulted with the delicious aroma of savory roasted chicken. Hold in those hunger pangs, however, as waiting for the chicken to rest can only make the final result that much more flavorsome. Find something else to do. Put utensils on the table, make sure that the napkins are in place, and practice a little forbearance, because letting the chicken rest is essential for the redistribution of the juices.
The reasons are eminently practical. If you cut into the bird too soon, those juices will end up all over the cutting table and possibly your clothes not keeping the chicken moist. There are a few ways to deal with this; some people will wrap their chicken in a tent-like foil cover to keep the heat in, but if you let it cool down slowly in an oven set to 150 degrees F you'll still have that crispy skin you so desire. In any event, you'll only have to wait 10 to 20 minutes before you can dig in.
15. Roast your chicken over bread
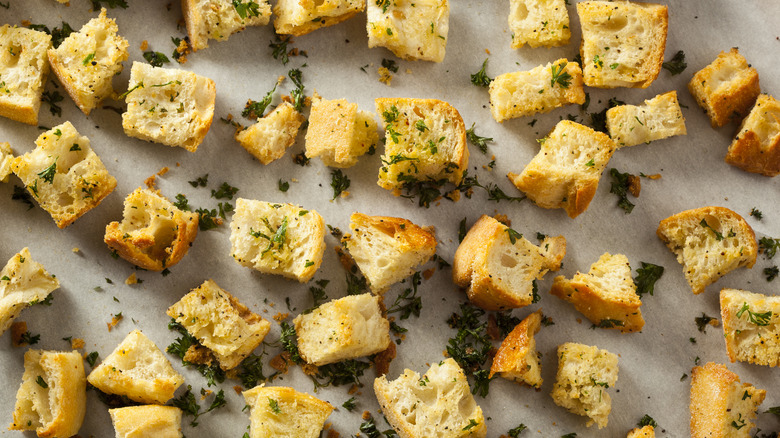
We've all had the assortment of vegetables roasted underneath a chicken, and we can all agree that they're a perfect complement to the roast chicken itself. But there are other possible side dishes making use of the fat dripping down from the bird as it cooks, including homemade croutons. What better way to re-purpose that day-old bread than tearing it into small chunks and letting the chicken do the work of turning it into chewy or crunchy croutons?
It's a simple proposition that allows the bread to gain flavor via whatever herb or spice mixture you use on your chicken. Either tear them into bite-sized portions and toss them into the bottom of the roasting pan for the chicken to turn into yummy morsels, or use the drippings later to fry them up. Either way, you'll have a tasty side dish that can be used alongside the chicken or with soups and Caesar salads.