The Flavorful Methods For Cooking White Meat That Won't Dry It Out
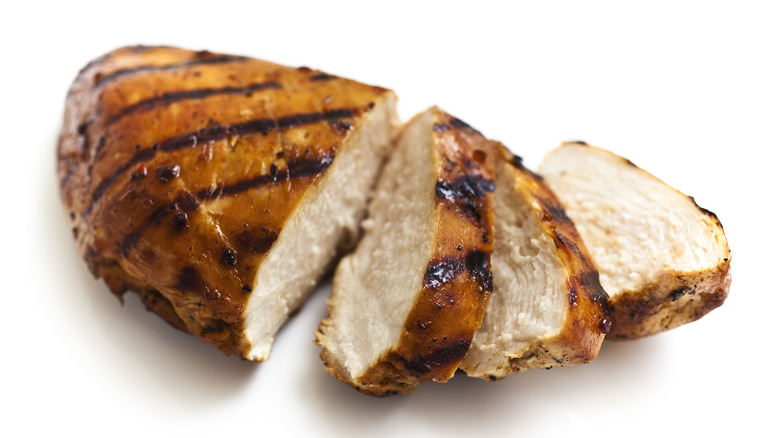
When comparing the preparation of white versus dark meat, the texture is a night and day difference. It feels as if even overcooked chicken thighs and drumsticks still retain some moisture and flavor, while chicken breasts and wings dry out almost immediately upon doneness. This is actually because dark meat has more myoglobin — a protein within muscles that is full of iron and converts fat into energy — than white meat. Indeed, dark meat has more iron and a higher fat content than white meat, which actually yields more flavor. Because of this, it seems nearly impossible to successfully master turning a piece of turkey or chicken breast into a tender, juicy, flavorful protein. There's got to be a way.
The whole point of applying heat to something — hence "cooking" it — is to draw out the moisture, dehydrating it until it reaches a specific internal temperature and external texture. However, because it seems that white meat releases too much moisture during the cooking process, leaving you with a dry piece of meat, the best solution is to use a technique that retains moisture.
Basting
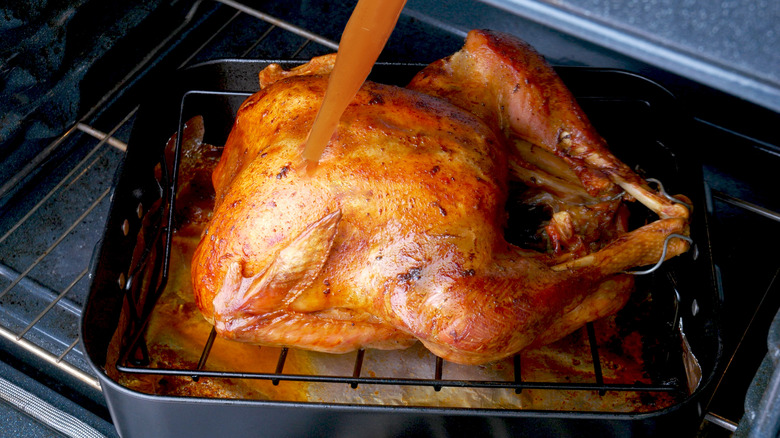
To baste is to coat meat with sauce, pan drippings, or fat such as butter or oil periodically throughout the cooking process to reintroduce moisture into the protein. If you've ever noticed a restaurant chef tilting a cast iron that's got a steak searing in the center, only to draw the infused sauce or dripping to the bottom so that he can collect it with a spoon and toss it onto the meat, he is essentially trying to add flavor and keep it juicy while still cooking it. Furthermore, a baster bulb is a very common tool used when cooking a turkey or large chicken, as this sucks any drippings from the bird into the utensil and allows you to drizzle it anywhere onto the meat you'd like.
For example, to successfully baste chicken breasts so that they yield succulent flavor, you need them to release as much of that natural flavor as possible in order to form an ideal liquid to baste with. You can do this by sprinkling your chicken with a seasoned dry rub, coating it in herbed butter, or marinating it in a flavorful liquid. From there, transfer your meat to a greased skillet and get to searing. This will give you those pan drippings, allowing you to do it like the pros and tilt the pan or use a bulb baster to transfer the liquids to the protein.
Covering with foil
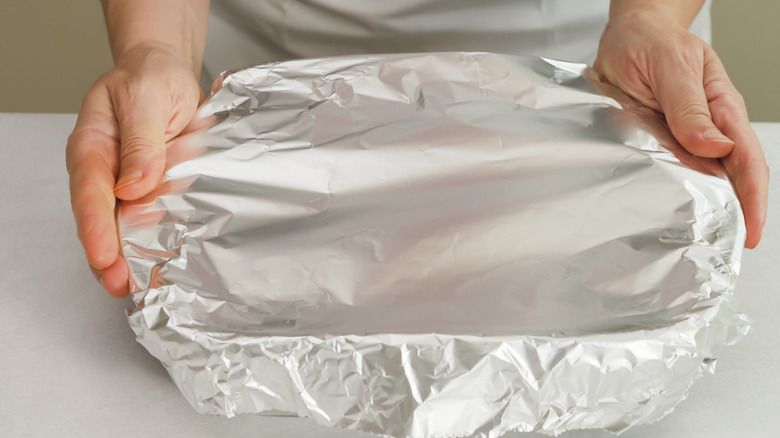
If you've ever heard of cooking meat low and slow, it actually produces a more tender texture with more moisture intact. The thing is, it takes patience. Aluminum foil is a great tool to use for this method because it can withstand higher temperatures and acts as a barrier to your food in order to prevent excess browning and burning. Furthermore, aluminum foil actually promotes even, steady cooking as it blocks your meat from releasing too much moisture too rapidly, allowing all that condensation to steam your food and keep those juices in place. It gives you the low-and-slow effect without actually having to wait that long. Whether you decide to place your white meat in a dish and cover the top with foil or create foil packets around your protein is completely up to you. However, one thing that is crucial is marinating or seasoning your meat beforehand.
The benefit of foil packets is that it prevents you from having to use up too many dishes, and once your meat is done, you can simply transfer it to your plate and discard the foil.
Poaching

Lastly, poaching is another brilliant option, as this technique is similar to boiling but at a gentler temperature — between 140 and 180 degrees Fahrenheit. This is what we call low-and-slow cooking, with zero chance of a tough texture. Some tips before you start include removing any skin, adding salt and aromatics into the liquid (such as garlic, bay leaves, peppercorns, ginger, onions, and/or fresh herbs), and never ever discarding the liquid — you can use it as a broth in your next batch of soup!
Now that we've covered the basics, all that's left is to add your white meat, bring your liquid to the appropriate temperature, and monitor the protein with a probe thermometer, removing it as soon as it reaches the proper temperature (165 degrees Fahrenheit for poultry, 140 degrees Fahrenheit for fish). From there, simply transfer the protein to a cutting board, and instead of having to let it rest like most meats, you can start slicing immediately.