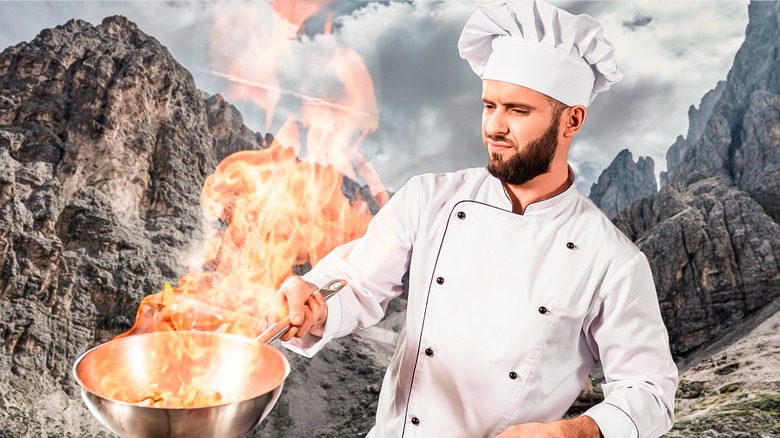
12 Tips You Need For Cooking In High Altitudes
Moving to or vacationing in a high-altitude environment is an exciting undertaking — the opportunities for outdoor activities like skiing, snowboarding, hiking, and mountain biking abound, and the higher elevations lend themselves to cool, refreshing evenings even on the hottest of summer days. But all that outdoor activity is bound to leave you hungry... and the one thing that might not be as easy to do at higher elevations is to whip up your favorite baked goods or dishes without making a few adjustments.
The thinner air and lower humidity levels of high-elevation environments affect boiling points, the way baked goods rise, and how quickly water evaporates, all of which can wreak havoc on your standard cooking practices. That said, millions of people live, work, bake, and cook at high altitudes, proving it's perfectly possible to master the art and science of high-altitude cooking — all you need is the know-how. Here are some of the best high-altitude chefs around sharing their tips for keeping their customers satisfied, even at 5,000, 6,000, or 7,000-foot elevations.
Adjust proofing times when baking
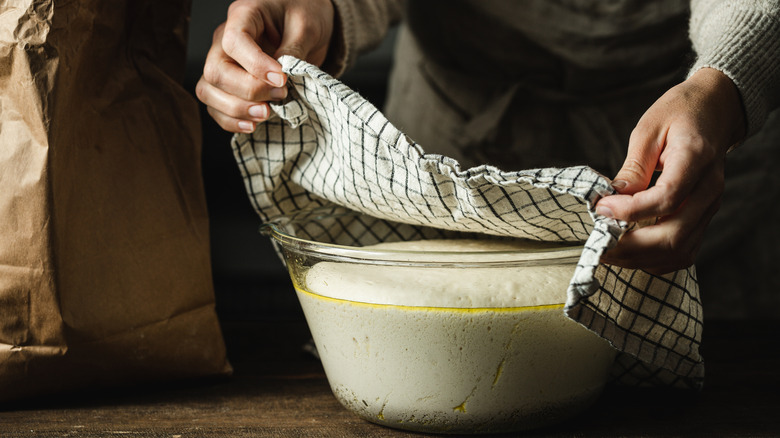
When it comes to making bread and baked goods that require yeast, the "proofing time," or the time you let the dough rest and rise, is a key part of achieving the right consistency in the final product. Proofing is important because the yeast in the bread needs to be given time to release carbon dioxide and create the "air pockets" within the dough that end up giving baked bread the right texture and flavor. You don't want your baked goods to end up over-proofed or under-proofed, both of which could lead to bread that doesn't rise correctly when baked.
Given that air is thinner at higher altitudes, breads prove (rise) faster during this resting period. Chef Jeb Aldrich, the executive chef at Cataloochee Ranch in the Great Smoky Mountains, which sits at a 5,556-foot elevation says, "Adjust proofing times because bread levens and proofs faster at a higher altitude. It will make for better dough in a shorter time frame." To get the proof right, you'll need to experiment a little, as rise times will vary based on factors like air temperature and specific elevation, but the general rule is to let the dough rise to 1.5 to 2 times its original size, and it's best to keep it on the lower end for higher altitude baking.
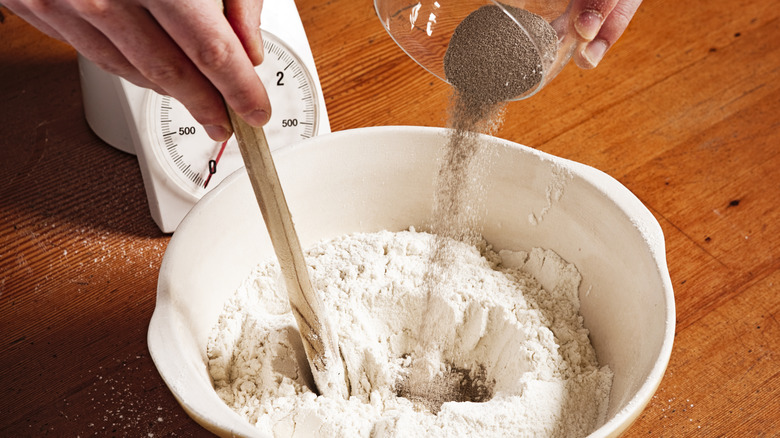
Add hydration to your bakes
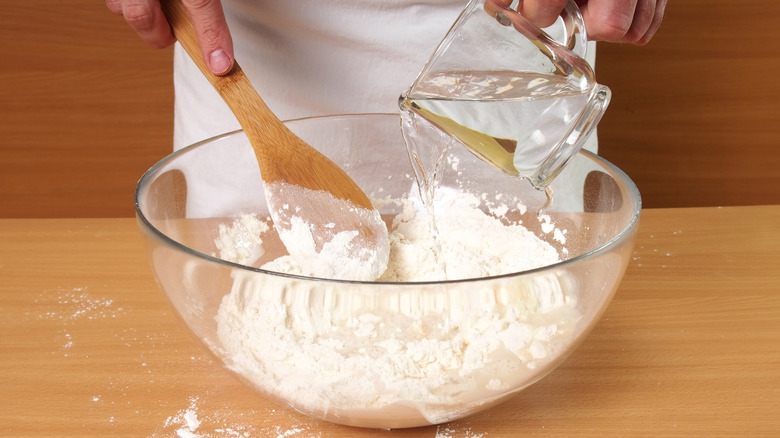
Thinner air is often dryer air — with fewer air molecules carrying water, humidity levels tend to be lower, which also causes water to evaporate more quickly. All-in-all, this can lead to problems with moisture retention in baking and cooking. In other words, your food may end up dried out.
"When cooking at high altitudes, the air is much dryer and water boils at a lower temperature," says Jason Franey, YUTA Park City's executive chef at The Lodge at Blue Sky, which is located at about a 7,000-foot elevation outside of Park City, Utah. "The largest problem I've had with my recipes from sea level was baking them properly at this new elevation. I had to pivot, using more hydration — about 10% as the flour is much drier than at sea level."
Mawa McQueen, owner and executive chef of four restaurant concepts in Aspen and Snowmass Village in Colorado, including the Michelin-recommended restaurant Mawa's Kitchen, agrees that making changes to hydration levels in baking is critical. "Add more water (or whatever the liquid source is) when cooking and baking. I recommend adjusting your recipe based on humidity; adding more moisture as needed. I learned this when making gluten-free bread. Gluten-free bread is hard to make in general, but at high altitudes, it's even more difficult. I figured out how to adjust the measurements to get the quality I wanted," she says.
Use a temperature-controlled environment
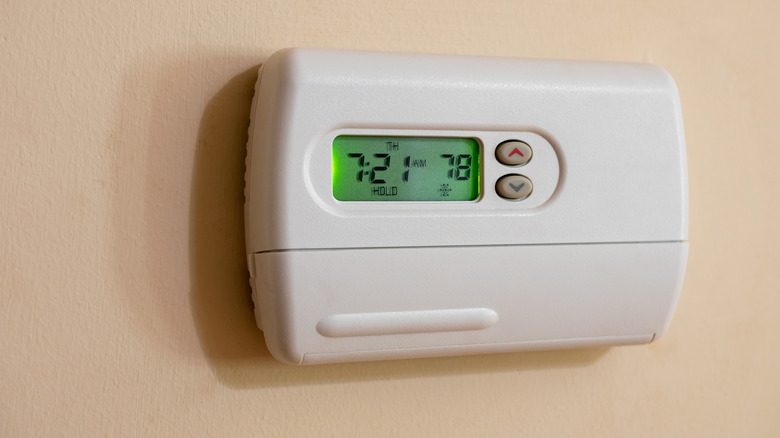
When it comes to proofing bread and other yeast doughs, it's not just the thinner air that affects proof time. Air temperature causes the dough to rise faster or more slowly. Colder air retards the action of the yeast, causing it to ferment more slowly, while warmer air leads to a faster rise.
If you're already having to make adjustments to your proofing time based on the higher elevation, it's important to at least try to control the air temperature so you do not have to make other adjustments on the fly. "Proofing in a controlled environment at about 75-85 F is the best for higher elevations," says Franey. But be aware that you can "play with" air temperature as needed to get the right proof. If you find at 85 degrees F your dough is still rising too quickly and you want to slow it down, you can adjust the ambient temperature the next time you make the bake to see if a lower temp helps your bread turn out better.
Know when to adjust your oven temperature
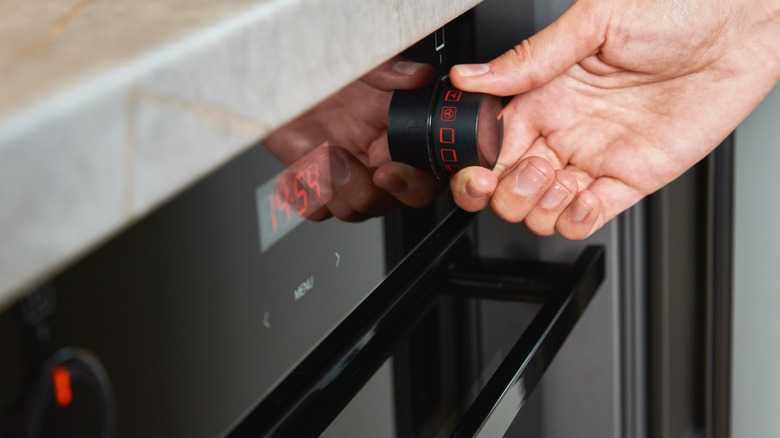
It's not just the ambient air temperature that will affect the outcome of your bake, but the temperature at which you bake your bread, cookies, or cakes, too. This is tied to the faster speed at which dough rises at higher elevations. Essentially, you want to stop the rise as quickly as possible once you start baking the dough to prevent the air bubbles from expanding too much, which could lead to a collapsed bake.
To get the dough to "set," you'll want to increase the temperature of your oven. So if your recipe typically calls for a 350 degrees F temperature, you'll need to hike that up a bit. "Increase oven temperature by 15-20 degrees F," suggests Saura Kline, the head pastry chef at Local Jones restaurant in Denver, Colorado. Then, to prevent overbaking and drying out your breads or pastries, she says you'll also need to decrease the baking time by about five to eight minutes. Just keep in mind that these specific suggestions may need adjusting based on your specific elevation. Kline notes that these guidelines are appropriate to Denver-level elevations of about 3,000 to 6,000 feet. They may need to be increased for elevations over 6,000 feet.
Use less yeast based on your elevation
Clearly, baking becomes even more of a science at higher elevations, and that confers even to the amount of yeast you use in your recipes. Once again, because doughs rise more quickly at higher elevations, it's helpful to decrease the amount of yeast your recipes call for to help prevent the dough from rising too fast. "For yeast, you want to take out about 5-10% per 1,000 feet," says Franey.
This may be tricky to know how to do if you're using measurements in teaspoons or tablespoons, but adjusting your measurements to grams can help. For instance, a teaspoon of yeast is 4.68 grams. If you're at 5,000 feet elevation, you'd want to take out about .23 to .47 grams per 1,000 feet, which comes to roughly 1.2 to 2.35 grams. That means if your recipe calls for a teaspoon of yeast (4.68 grams), you'd instead add 2.3 to 3.5 grams.
Change the boiling times

While most high-elevation cooking tips are geared toward baking, there are a number of ways that your standard dishes can be affected by altitude. Namely, water boils at a lower temperature. "This can change cook times and quality for things like pasta, legumes, and beans," says Daniel Young, the executive chef at Halcyon, a hotel in Cherry Creek, Denver, Colorado. The result is that it takes longer to cook items that need to be boiled.
"Water typically boils around 202 degrees in Denver, which means it can often take various items, such as rice, pasta, braised meats, or vegetables, a little bit longer to cook. I recommend adding time to the suggested cooking time in directions," says Dustin Beckner, the executive chef at Nocturne in Denver. So if you're used to throwing spaghetti in the pot and having it ready to go in about eight minutes, keep an eye on it and test the consistency at eight, 10, or even 12 minutes to figure out when it's actually cooked to your liking. Remember, even this adjustment in time may vary based on the actual elevation where you're staying.
Soak beans before cooking
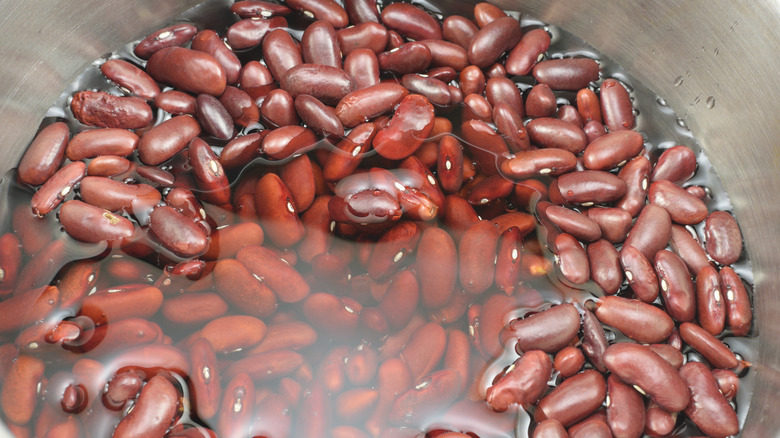
Cooking beans from scratch always takes at least a few hours, even when cooking them at sea level. That means that with the lower boiling points for water at higher elevations, beans take even longer to cook. That said, there are a few tricks to help speed up the process. "Always soak beans overnight before cooking to lower cooking time by up to two hours," says Young. Frankly, this is a tip that's useful even at lower elevations.
And if you find you're still having a hard time getting your beans to a well-cooked, creamy texture, Young has a tip for that, too. "Add three teaspoons of baking soda per gallon of water before soaking," he says. Your beans may still take a little longer to cook at higher elevations than at lower elevations, but the timing and end results will end up being more comparable.
Choose an Instant Pot
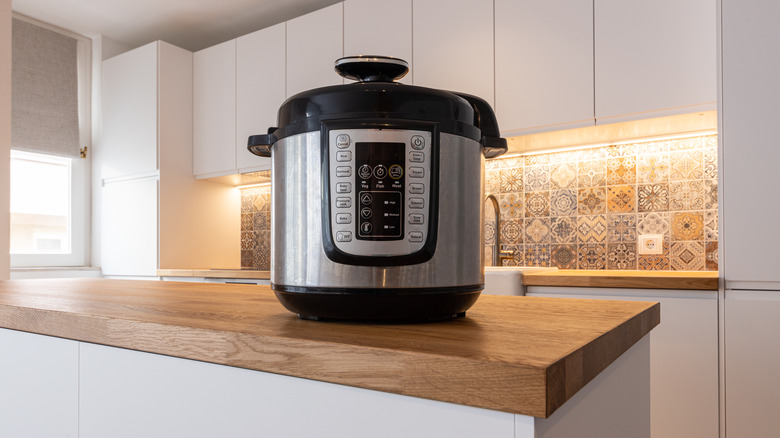
One other way to help mitigate the longer cooking times that are expected at higher elevations is to use a pressure cooker instead of other cooking methods, when appropriate. This is particularly helpful for beans or dishes that need to cook at low temperatures for long periods of time. "I recommend using a pressure cooker, which can sometimes speed things up," says Beckner.
This is the perfect time to buy and put an Instant Pot to use, which is what Young says he does when he's cooking at home. He says that the Instant Pot helps alleviate some of the issues that arise with cook times and quality when at a higher altitude. That said, you shouldn't expect your Instant Pot cook times to be exactly the same, either. The best practice for adding cooking time is to increase the time by 5% for every 1,000 feet above sea level you are after 2,000 feet. In other words, if you're at 3,000 feet elevation, just add 5% to the suggested cooking time for your Instant Pot recipe.
Consider the season and humidity
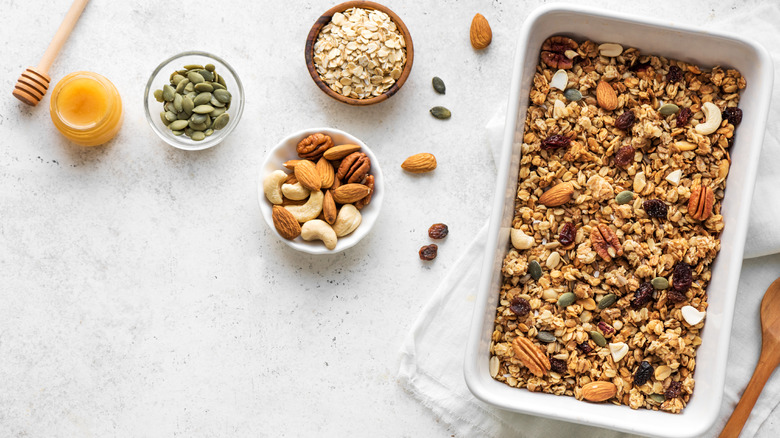
One thing that may come as a surprise is that especially at high altitudes, time of year can affect the outcome of some of your dishes. McQueen offers the perfect example. "When I first started making my GrainFreeNola, which I bake to get crispy, I realized I had to adjust the recipe based on the season I was making it in. The air is extra dry in the winter, which makes for better granola, and the summertime can be more difficult to get a crispy texture," she says.
Use this knowledge to your advantage, being aware that in the colder months, when the humidity is lower, it's easier to get your bakes or fries crispier. But you may have to make adjustments as the humidity changes with the season. "Play around with dishes and ingredients and figure out what works for you and your cooking. Don't assume you can just open a cookbook, pick out a recipe, and have it come out as you'd normally expect. Recipes that don't have to go in an oven or on a stove are typically fine to follow as-is, but when it requires heat, that's when you want to make adjustments," McQueen explains.
Let veggies sit before boiling
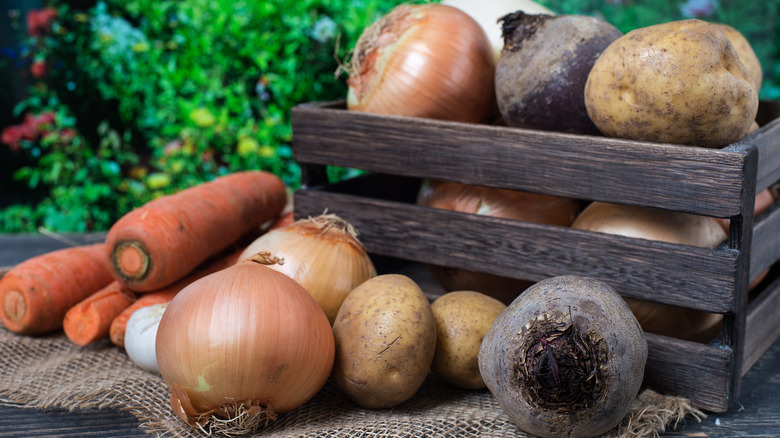
One thing you might not think to take into consideration when cooking at high elevations is the temperature of the foods you're going to cook before you cook them. Yet, this is one of the primary tips imparted by Victor Mena, the executive chef and owner at Super Mega Bien in Denver, Colorado.
"Before boiling any products, such as vegetables, you want to get them out of your fridge about 10 minutes before starting the cooking process. High altitude makes for longer cooking time, and if the vegetables are too cold, they can easily become over-cooked," he says. Veggies at room temperature will be more predictable for achieving a proper boil, but just remember that exact cooking times vary based on your specific elevation.
As such, it's particularly important to keep an eye on whatever it is you're boiling as it gets close to the right texture to make sure you're removing it from the heat at exactly the right time. It's also a good idea to pay attention to the specific cooking times you end up using, making note of how long each type of vegetable or dish requires so that it's easier to cook without a second thought in subsequent attempts.
Braise meats overnight
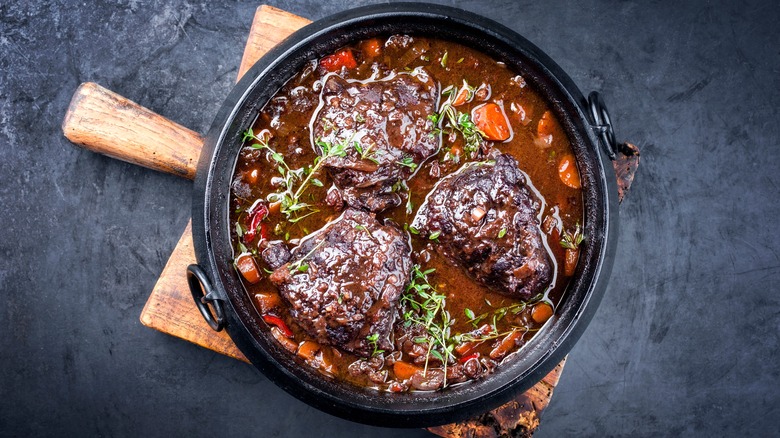
Braising (common with dishes like pot roast) is a method of cooking meats low and slow. But, given the lower boiling point of water at higher elevations, this already long process requires extra time to cook the meat right. If your goal is to end up with moist, flavorful meat (as it should be), avoid raising the cooking temperature or running your stove all day long. Rather, Mena suggests allowing for overnight braising.
"It's best to braise them overnight. This allows, on average, for about two more hours of cooking at the same temperature, which is needed at higher altitudes," he says. "Otherwise, you have to increase the temperature for a shorter cooking period, and your meat will be drier and tougher." If you're new to braising and need a few recipe ideas to put this tip to the test, consider trying red wine-braised beef short ribs or braised ropa vieja.
Pan sear fish more quickly

One of the reasons why fish are so nice for cooking up on weeknights is that the cooking time is already quick. And unlike vegetables or pasta that require more time to boil at higher altitudes, the low humidity and faster evaporation rates that take place at higher elevations mean that cooking fish is even faster.
"For pan-searing fish, it is a much shorter sear time at high altitude due to the fact that liquid from the fish evaporates more quickly. If cooked too long, your fish will be dry, chewy, and tasteless," says Mena. So if your typical high-heat sear is 30 to 60 seconds followed by three to five minutes of cook time per side at a lower temperature, keep the high-heat sear shorter (15 to 30 seconds), and pay close attention to how long you're cooking the fish per side after that. Aim for a couple of minutes per side and test the fillet. If it's flaky and cooked through, it's ready to serve. So instead of an eight to 10 minute cook time, you may be looking at closer to six to eight minutes, depending on your elevation.