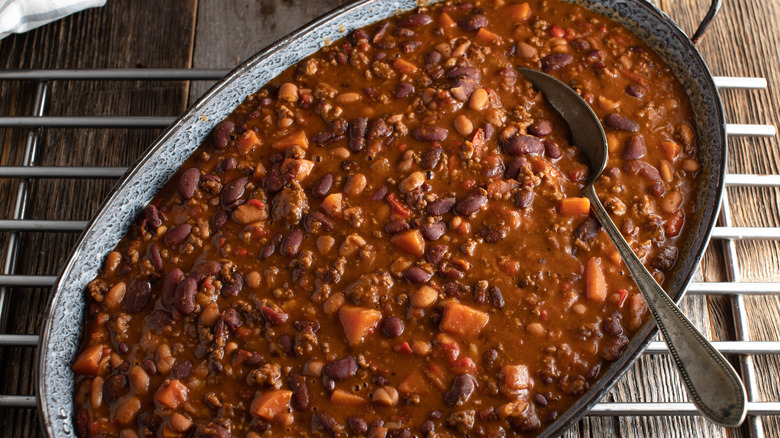
13 Best Tips For Cooking Beans From Scratch
Ditch the aluminum cans — cooking your own batch of beans is delicious, cost-effective, and easy. It may not be quite as fast or convenient, but the increase in flavor alone will be enough to make you set aside a few hours on a weekend to devote to this cooking project. Some cooks can be intimidated by this process but fear not — cooking a great batch of beans is much simpler than it seems, with a couple of key rules to follow.
If you follow the tips in this guide, you will have beans so tasty you can eat them straight by the spoonful. Try a few, or do them all. Even one of the tips we've laid out below will improve the taste and quality of any kind of beans, from kidney to pinto to cannellini. Find a nice cozy Sunday to whip up a big batch of beans and set yourself up for the whole week ahead.
Choose the right bean
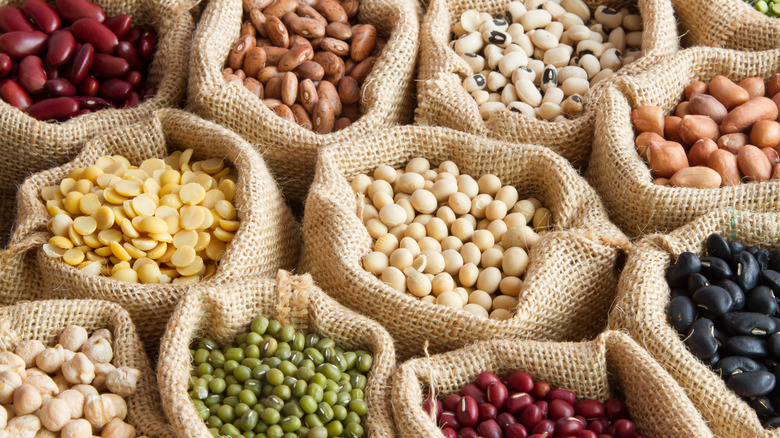
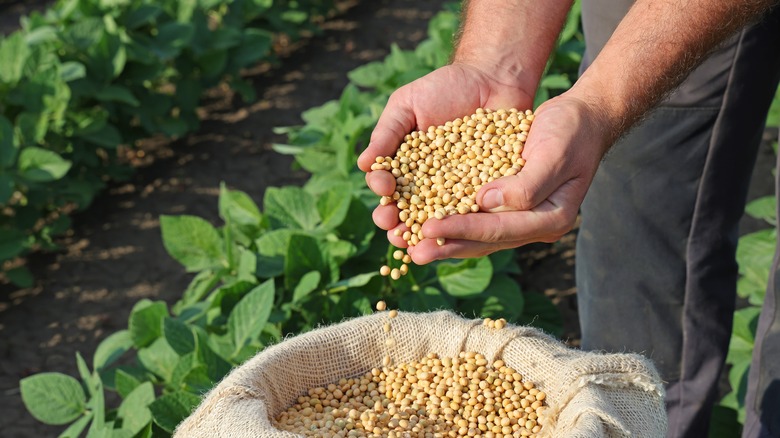
The first step to a great cooked bean is to start with an excellent dried bean. Consider the recipe or dish your beans will be cooked in, and pick the right type of bean for the recipe. Creamy cannellini and gigante beans are great at soaking up a tangy marinade, while hearty chickpeas will maintain their shape even after being simmered in a soup.
Once you have identified the type of bean you want to work with, go for the best quality you can get your hands on. Heirloom beans have a much better taste and texture than generic varieties and are worth the additional cost. There is much more choice when it comes to heirloom beans as well, so you experiment with new, fun options. Several companies sell heirloom beans over the internet, and farmer's markets often have various types of beans grown by local farmers.
Soak them
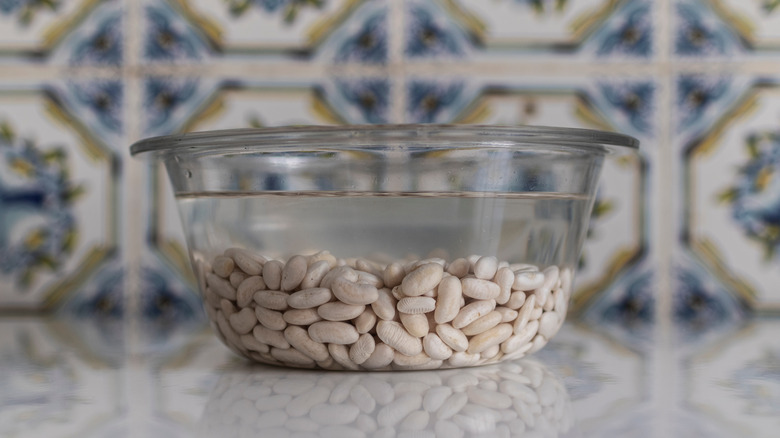
One of the cardinal rules of bean cookery is to soak them unless you are working with very fresh beans. Note that by fresh, we still mean dried, just freshly dried and preferably not hanging around on a supermarket shelf for months on end. Top-tier bean producers like Rancho Gordo sell fresh, dried beans, but if you're working with beans of unknown age, go for the soak.
Place your beans in a clean vessel and cover with cool water by at least 2 inches. Put in the fridge and let sit overnight. By morning, the beans will have absorbed some of the water and will cook more evenly than if cooked from bone dry. If you forget to soak, no sweat. Cover the beans with water and bring to a boil, then shut off the water and let them sit for two hours. The results will be more or less the same as soaking overnight. Always ditch the soaking water and start fresh when cooking.
Look for fresh beans
All dried beans start out as fresh beans in a pod before being dried. Some fresh beans we eat as is, such as peas, soybeans, or green chickpeas. Some of those fresh beans have a dried counterpart, as with fresh green peas and dried split peas. In any case, the length of time a dried bean has been stored affects the final quality and taste. Fresher-dried beans often don't require soaking, which is another bonus.
When we talk about the importance of seeking out fresh, dried beans, we're referring to the length of time the beans have been dried. It's worth looking for the freshest dried beans possible, either directly from the supplier or at a farmer's market. Many types of beans no longer need to print an expiration date, so if you are unsure of their freshness, assume it's longer rather than shorter and make sure to give them a good soak.
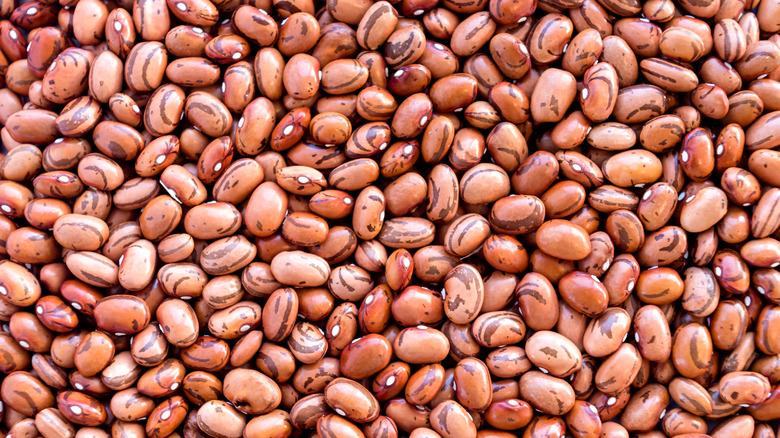
Check for unwanted elements
When we buy dried beans at the store, all neatly packaged, it can be easy to forget the long process that goes into this product. The bean plant is grown from seedling to maturity before it bears bean pods. Those bean pods are shucked and shelled to separate out the beans inside, which are then dried before packaging. That whole long process can sometimes introduce certain undesirables, such as rocks or broken beans. Even beans produced by large-scale retailers can contain these unwanted elements.
While things like rocks or inedible debris are clearly unwanted, you really want to pick out broken beans as well. These broken pieces may not seem like a big deal, but they can cook unevenly and throw off the whole pot. This also goes for any beans that look shriveled, burnt, or otherwise "off." A quick look-through should make it easy to spot the intruders.
Use a flavorful broth instead of water
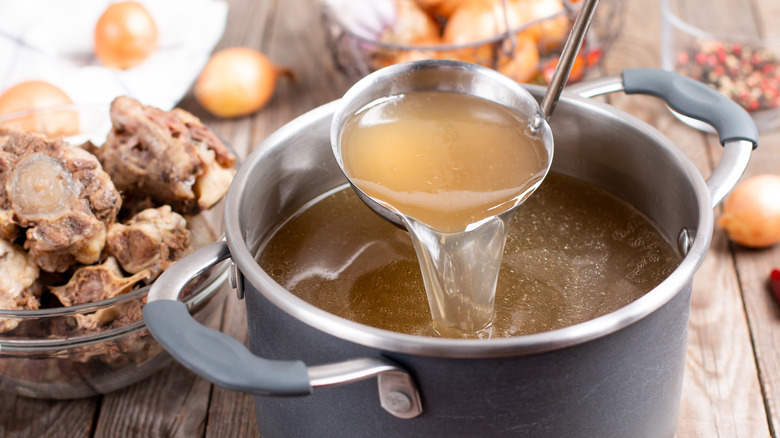
Cooking beans in broth is a complete game-changer in the realm of bean cookery. Do you know how you need to drain and rinse the liquid off canned beans before eating? You would never want to taste that liquid, let alone eat it. Well, imagine if, instead, that liquid was something you would drink straight. Obviously, the beans cooked in that liquid would taste so much better.
Most commonly, beans are cooked in water. Water is a perfectly fine cooking medium for beans, just the same as it is for any other dried grain or legume. But this guide isn't about making average beans — we're looking to make the best possible beans, and the best-tasting beans are cooked in a super-flavorful broth. Store-bought chicken or vegetable broth works well, or you can make your own chicken stock from scratch to really kick it up a notch.
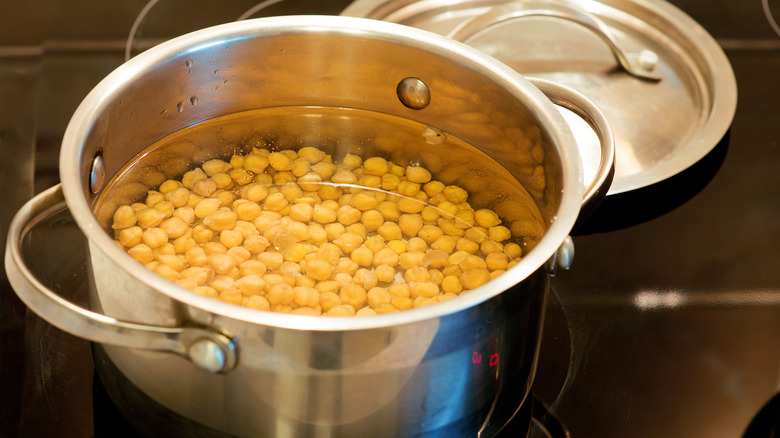
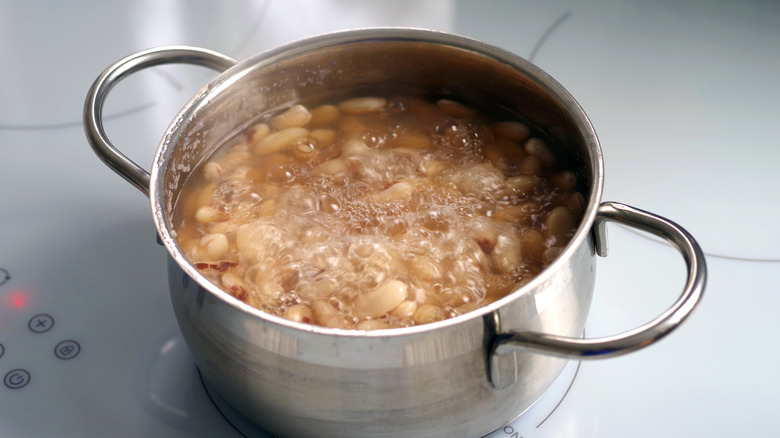
Dial the temperature in just right
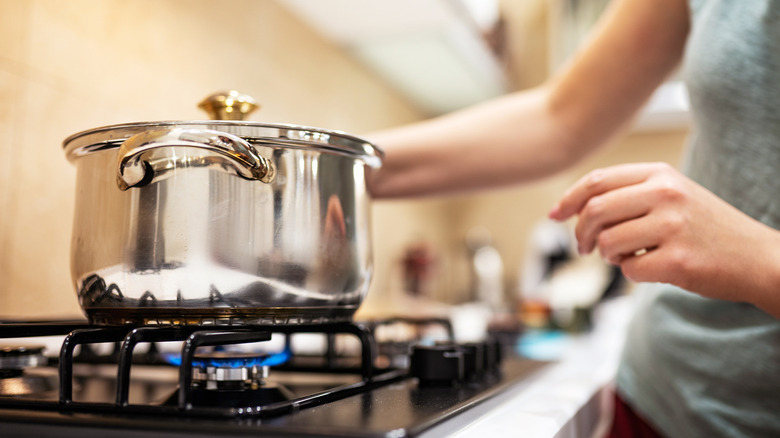
Possibly the trickiest part of cooking beans on the stove is getting the temperature just right. Boiling the beans the whole time will produce beans that are mushy on the outside and crunchy inside. You want to boil them a bit, and most chefs tend to agree that a rapid boil for 15 to 20 minutes is the sweet spot. After that, turn the heat down low. You know you have the temperature right when you see just a few lazy bubbles atop the surface. Any higher and the liquid could cook off too quickly, forcing you to add more water.
If you do top up the water, make sure to do it with hot water to avoid slowing down the cooking process. The last thing you want is to keep turning the burner up and down to keep the pot at the right temperature.
Use a large enough pot
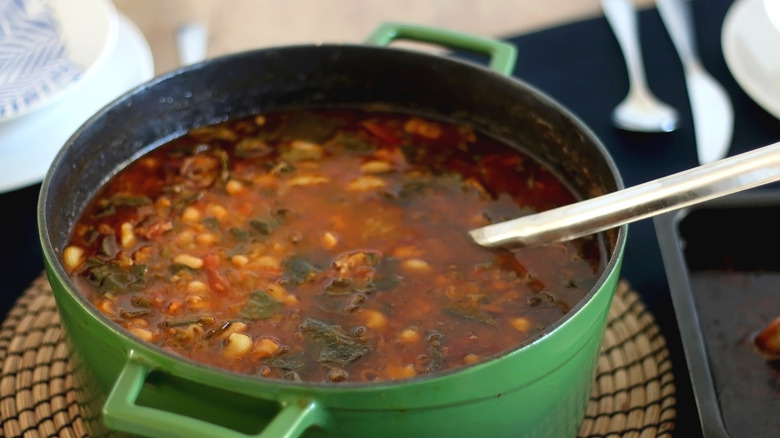
Save the small pots for sauces and reheating soup. When it comes to beans, you'll want to bust out the big pot. Beans need to be cooked with at least two inches of liquid covering them, and the pot should come up at least two to three inches above that to provide ample room for stirring. If you don't leave yourself room for stirring, you could end up mashing and breaking the beans instead of rotating their position in the pot. Ample room also allows the beans to float more freely in the liquid and will help prevent scorching on the bottom caused by beans being forced to the bottom.
You can't really go too big in terms of pot size as long as it is still manageable to stir and handle. Another added benefit of a large pot is plenty of room to add vegetables and other ingredients if you want to turn your beans into soup.
Wait to salt (or not)
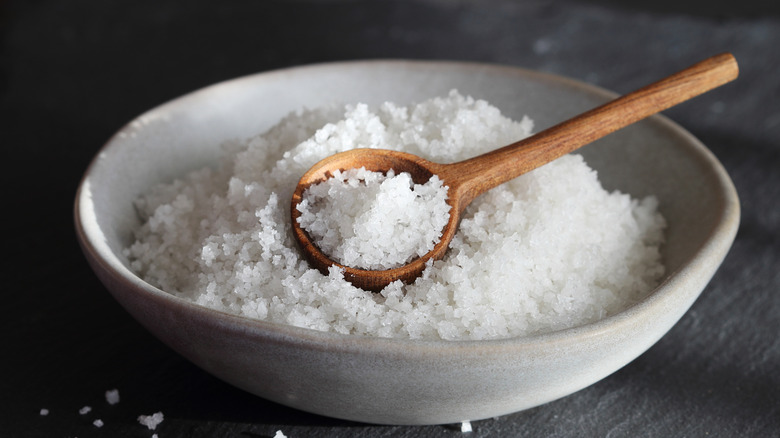
In most cases, when it comes to cooking, the best idea is to salt early. When cooking pasta, for example, you want to salt the water before you add the dry pasta so that it absorbs the salty liquid and seasons the noodles from the inside out. When it comes to beans, the jury's out. It's a cooking myth that salting beans from the beginning can toughen the beans or lead to more split beans. Several online cooking publications have gone the extra length to put it to the test and found out that salting the beans from the beginning did not leave them with tough beans.
Some chefs even have a method of soaking the beans in salted water, like a brine, to bring that flavor into the bean before cooking even begins. One drawback of salting early is that if your liquid reduces too much, you could end up with a too-salty broth. Ultimately, the choice of when to salt is yours.
Add some aromatics

So, you're already cooking your (fresh) beans in plenty of flavorful broth. What's next? You can still amp up the flavor even more by adding in a few more aromatics. A good place to start would be an onion or head of garlic cut in half, a few carrots, or a stalk of celery. If you have them, add a bay leaf or a few sprigs of thyme. The aromatics can be paired with your bean of choice, as well. Some toasted dried chilis in a pot of black or pinto beans are perfect for bringing that South-of-the-border flavor, and a couple of cloves are often the secret ingredient in a big pot of French cassoulet beans.
These aromatics and flavoring elements work to add even more layers of flavor to your beans. It may sound complicated, but it's not. Take black beans, for instance. Simply top the beans with some broth, throw in a half an onion, a carrot, and some pasilla chilis and simmer until tender and you have the makings for perfect black beans.
Don't be afraid to add fat
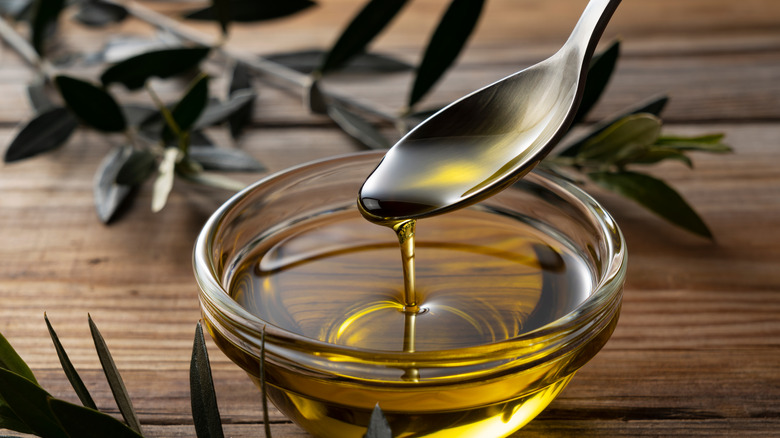
There's a simple ingredient that can seriously take your pot of beans to the next level, and you likely already have it in your pantry. A bit of fat added to beans boosts flavor and provides a rich, creamy mouthfeel. You can add fat to a pot of beans in one of two ways. The first is to simply drizzle some olive oil into the cooking pot towards the end of cooking. The olive oil coats the beans as you spoon them onto your plate. Some restaurants even take it a step further by dressing beans like a salad with both oil and vinegar.
The other way to add fat is likely one you're familiar with. A fatty piece of meat, like a ham hock or a few slices of uncooked bacon, added to the pot at the beginning of cooking will render as the beans cook, leaving a deliciously velvety mouthfeel plus a smoky, porky taste. Beef bones will also work if you have some on hand, as well as dried sausages.
Try them in the oven
Many people are turned off from cooking beans at home because of the hours they take simmering on the stove. That qualm is fair enough, as we've already discussed the importance of maintaining the correct temperature with a watchful eye. While you could try cooking your beans in a slow cooker or an Instant Pot, there's another easy, hands-off way to get great beans. Beans can be cooked in the oven with great results, and the beans don't need to be pre-soaked with this method.
In general, you can cook any type of bean at 325 F for roughly 75 minutes in a covered pot. That's a good place to start testing, but larger varieties of beans will likely take longer. The ideal pot is some kind of Dutch oven or another heavy-bottomed pan. Make sure the beans are covered by at least an inch of water. Bring the pot to a full boil before transferring it to the oven.
Taste often
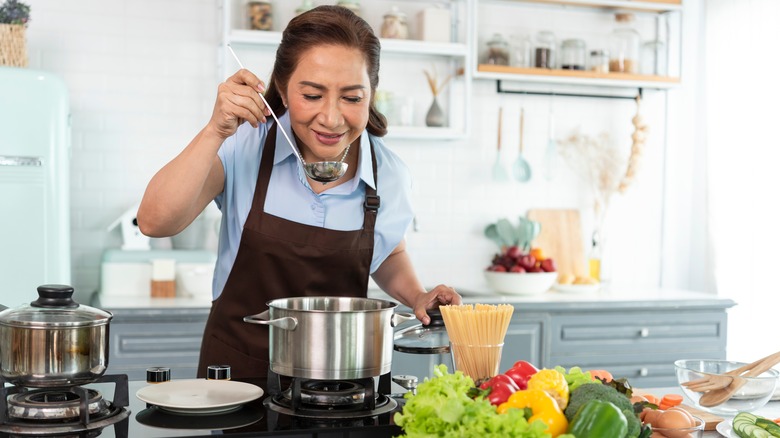
It's a general culinary practice so widespread it hardly needs saying, but it's especially true for beans. Tasting your beans often will be the best way to ensure the texture and flavor you want. No one wants to crunch through a hard bean, so wait at least 30 minutes before tasting. Regular taste tests of the beans are the only way to truly know if they are cooked to the right consistency. It can be a small window between hard-and-crunchy and mushy-and-overcooked, so you don't want to miss it.
If you haven't already salted the pot, try doing it now. Start with a little, and taste as you go. Are beans not quite as flavorful as you had hoped? Try adding some ground spices or a few cracks of fresh pepper. A little touch of acidity never hurts, so try a splash of lemon juice or sherry vinegar.
Save the broth
By this point, you should have an incredible batch of beans that will make you forget about the plain old canned kind. After you've taken all the steps to make beans with such a tasty cooking liquid, you aren't going to throw it away, are you? The final trick when it comes to cooking beans is to save your bean cooking broth. Assuming you aren't already going to make use of the liquid by turning it into a soup or mashing up a puree (hello, refried beans), you should be saving this starchy liquid gold.
The bean broth can be used in place of broth or stock in practically any recipe, and it can be a glorious thickening agent for stews and braises. This trick will most definitely not work with canned beans, as the liquid is just too flavorless to provide any benefit or added taste.