Cider And Chili-Glazed Baby Back Ribs Recipe
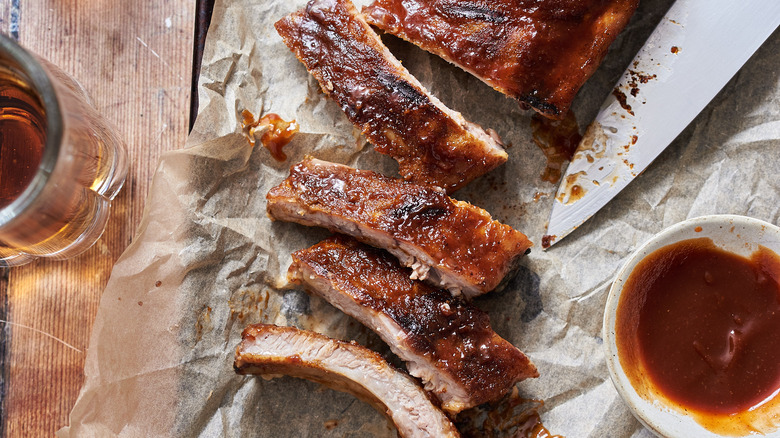
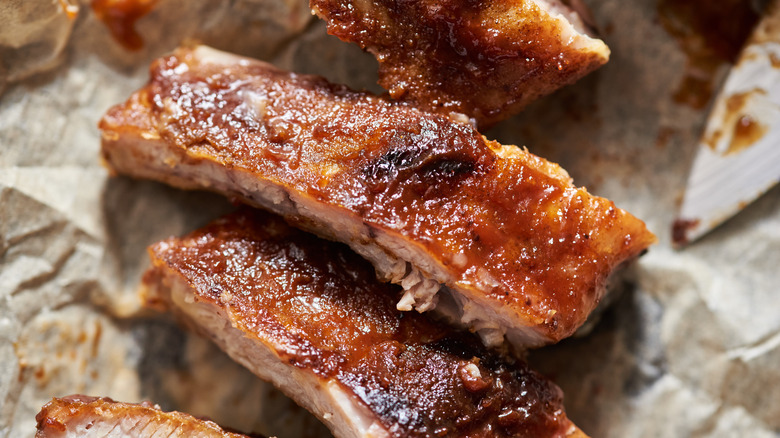
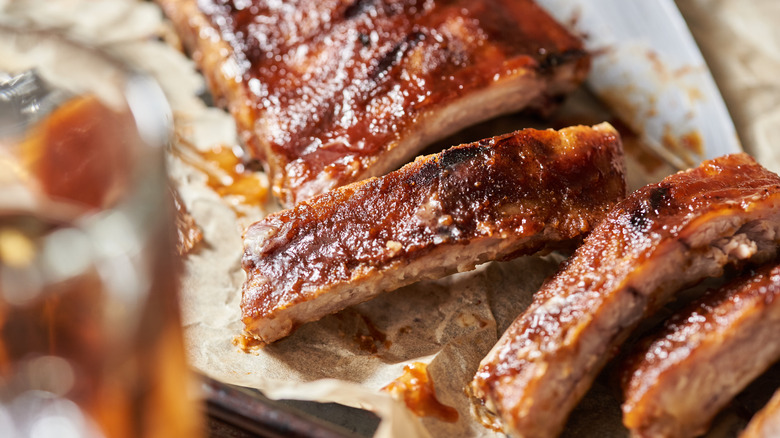
Ribs are kind of the quintessential summer meal, well known for their smoky just-off-the-grill flavor. What's lesser known is how good baby back ribs are as the seasons change, too. Rubbed with smoky chipotle and glazed with farm-fresh apple cider, the kitchen fills with the warmest scents of fall as the ribs slowly tenderize in the oven. Sure, fall and winter call for soups, stews, pot roasts, and chilis, but with this cider and chili-glazed rib recipe written by developer Michelle McGlinn, you'll find a different kind of cozy — one you can eat with your hands.
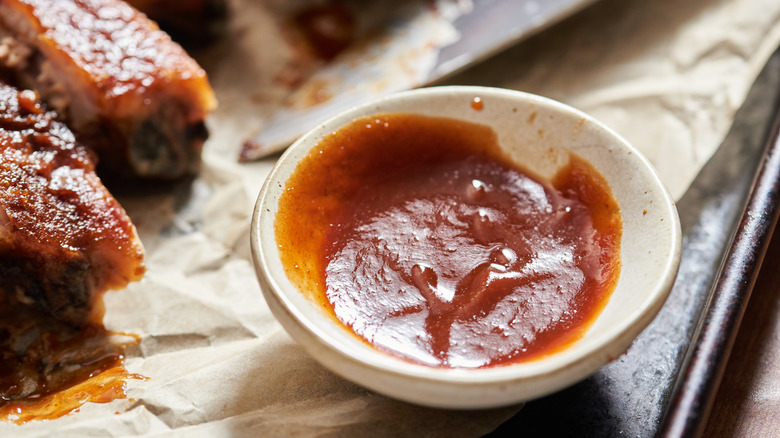
There are hundreds of ways to make ribs, and maybe your favorite method involves smoking, grilling, or boiling. The technique used here cooks the ribs low and slow in a barely-warm oven so that the fat renders and the meat becomes meltingly tender, a similar approach to the well-known 3-2-1 method. With first a dry rub and then a steam in cider and honey, the ribs are ready to go in barely 3 hours. For a finishing touch (and even more apple), grill the ribs with our homemade apple cider barbecue sauce.
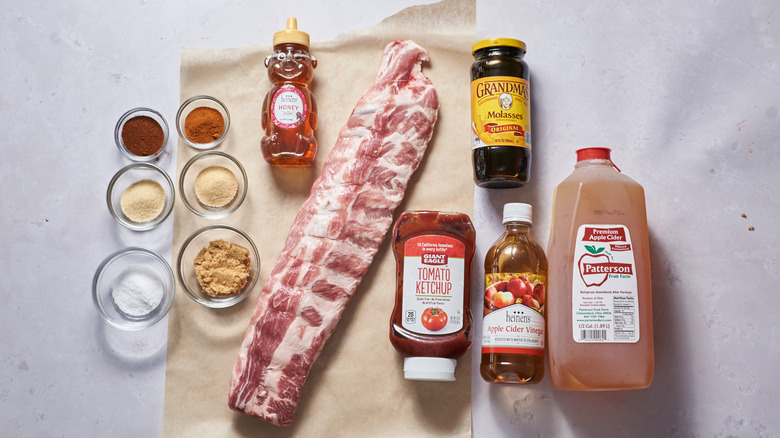
The ingredients needed for cider and chili-glazed baby back ribs
First things first: You'll need a couple of good racks of baby back ribs. Look for meaty slabs with about 12 ribs per rack, and if possible, get the racks cleaned up so that the membrane is already removed for you. One rack will serve 2 people, so to serve 4, make sure to buy 2 slabs.
Next, you'll need chipotle chile powder, brown sugar, salt, garlic powder, onion powder, and smoked paprika for the seasoning mix, and apple cider and honey to round off the glaze. To make the barbecue sauce, you'll just need some ketchup, apple cider vinegar, and molasses to add to your cider, sugar, and seasoning mix.
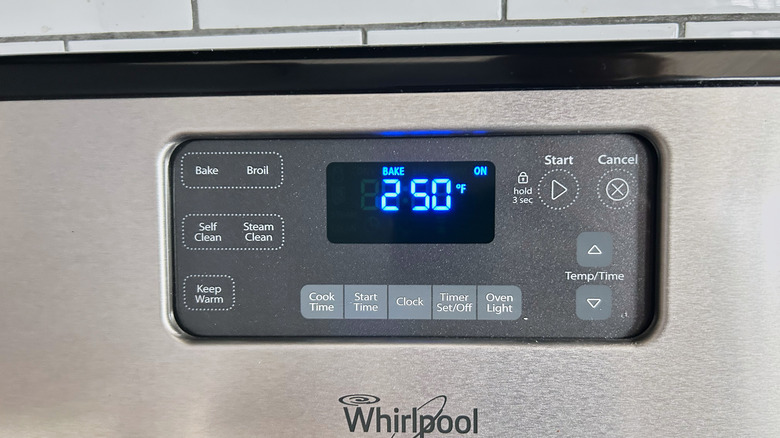
Step 1: Preheat the oven
Preheat the oven to 250 F.
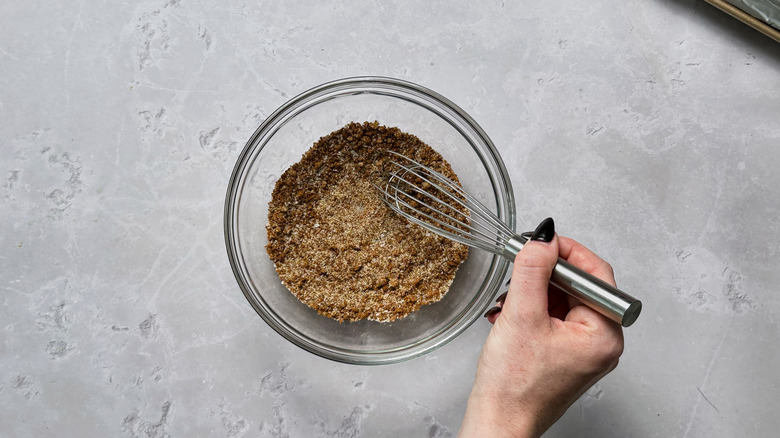
Step 2: Make the seasoning mix
To make the seasoning mix, mix together the chile powder, brown sugar, salt, garlic powder, onion powder, and smoked paprika.
Step 3: Prep the ribs
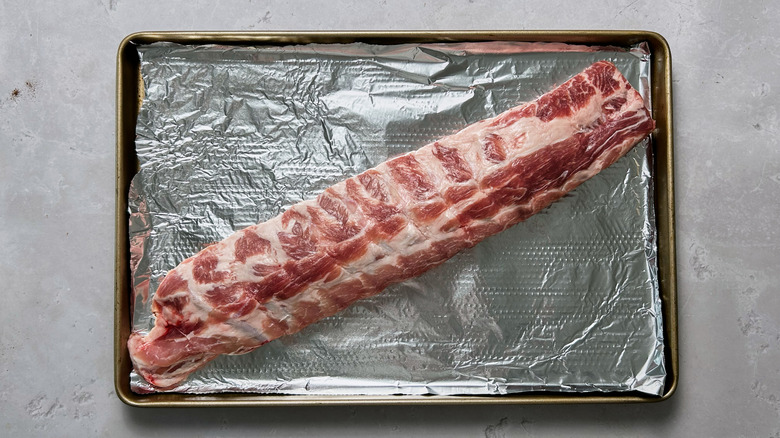
Arrange ribs on a foil-lined baking sheet.
Step 4: Dry rub the ribs
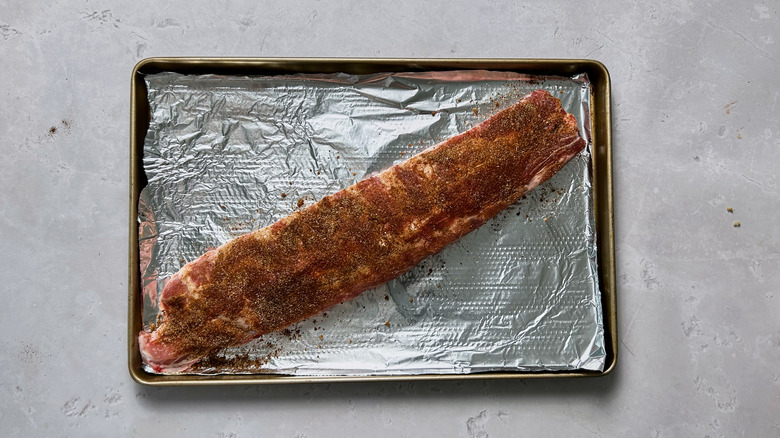
Rub 4 tablespoons of spice mix onto meat.
Step 5: Bake the ribs
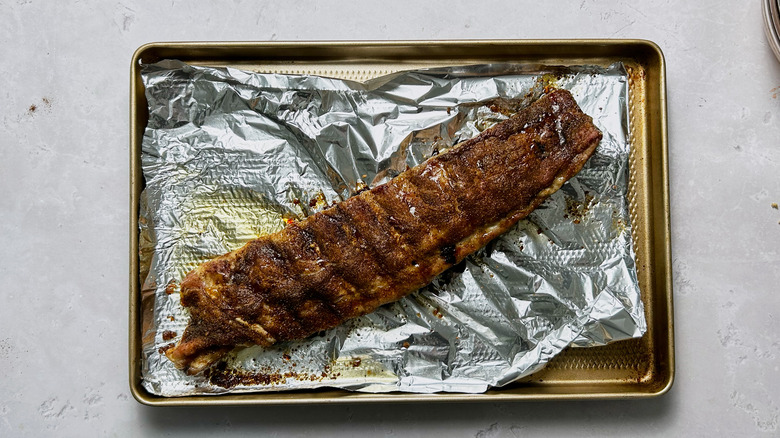
Bake, uncovered, for 2 hours.
Step 6: Make the glaze
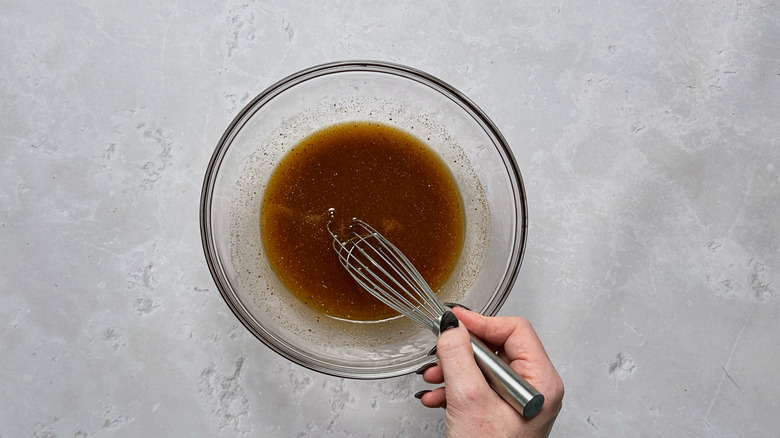
In the meantime, whisk together ½ cup apple cider, honey, 2 tablespoons brown sugar, and 1 tablespoon seasoning mix.
Step 7: Glaze the ribs
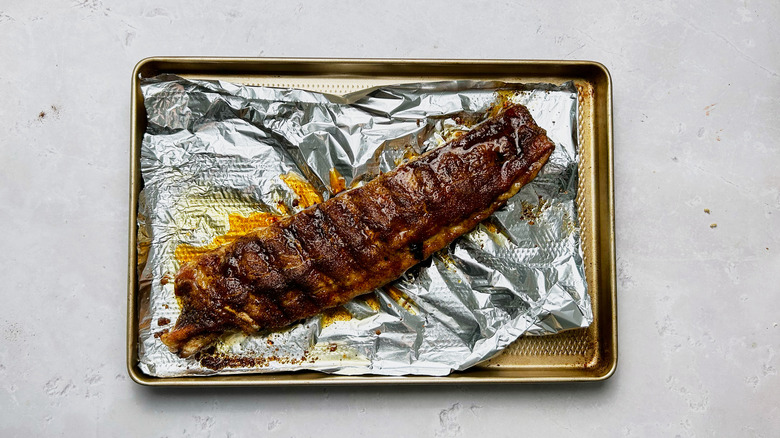
Brush the glaze over the ribs.
Step 8: Wrap the ribs and bake again
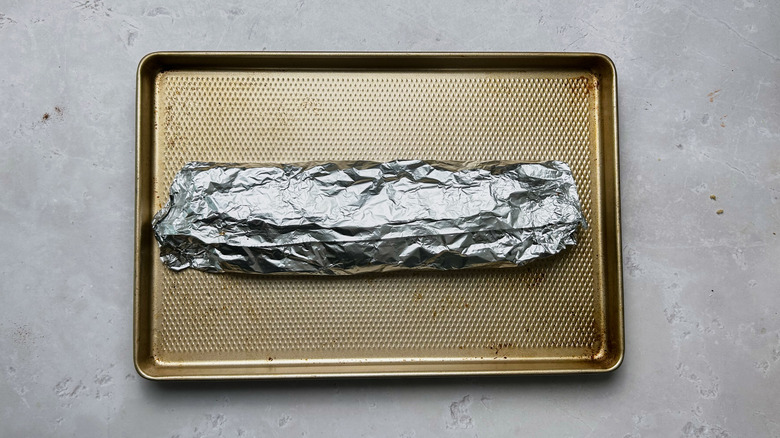
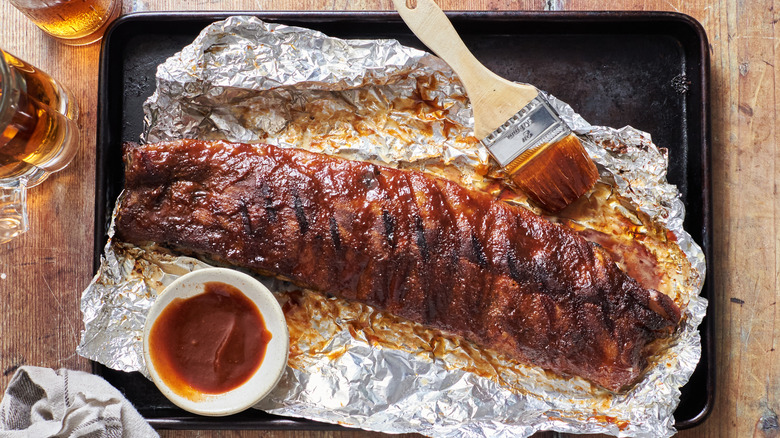
Tightly wrap the ribs with foil, then return to the oven and bake for 1 hour.
Step 9: Make the barbecue sauce
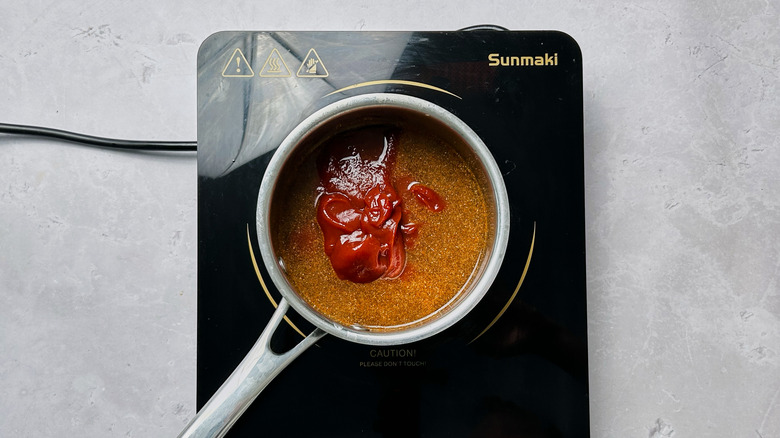
To make the barbecue sauce, add the remaining ½ cup apple cider, ketchup, molasses, apple cider vinegar, 1 tablespoon spice mix, and remaining 2 tablespoons brown sugar to a small saucepan.
Step 10: Simmer until thick
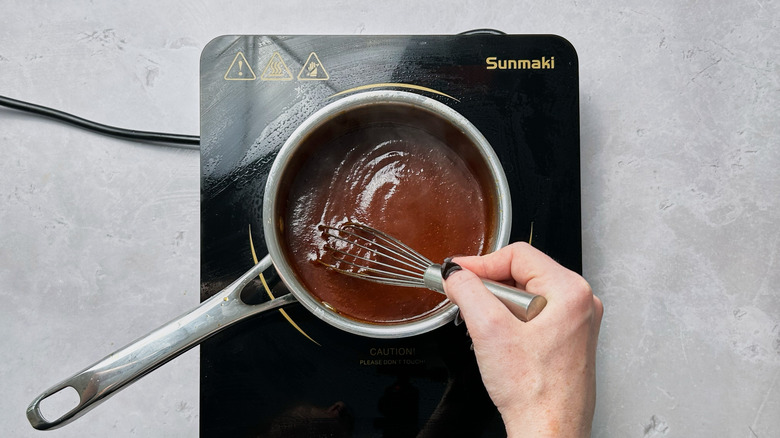
Bring to a simmer and cook until thickened, about 5-10 minutes.
Step 11: Prep the grill
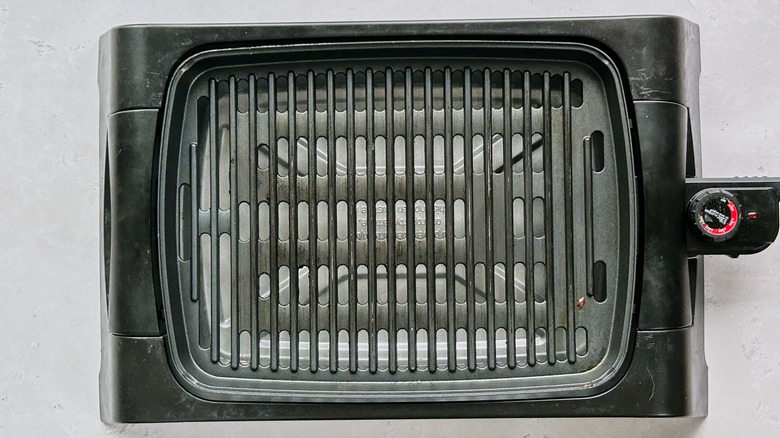
To finish the ribs, heat the grill to 350 F, or medium heat.
Step 12: Grill the ribs
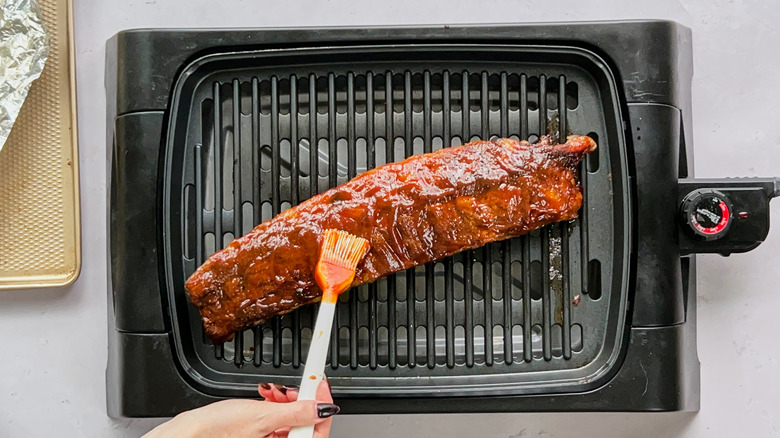
Place the ribs on the grill and brush with barbecue sauce. Grill for 10 minutes, flipping and re-applying the barbecue sauce halfway through.
Step 13: Rest and serve
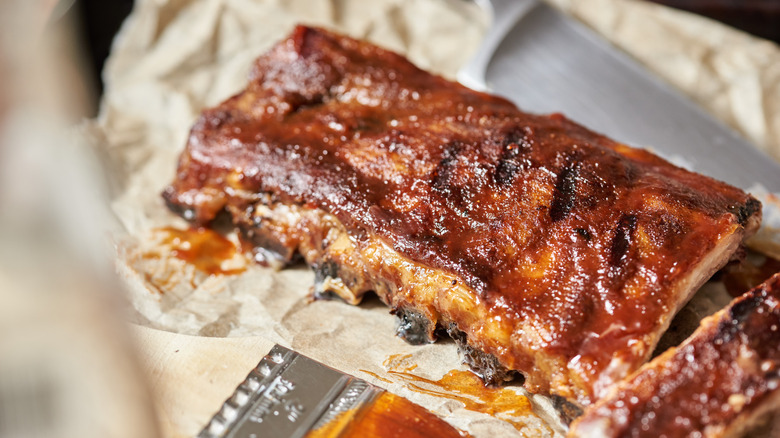
Let rest 5 minutes before serving.
Can these be made ahead?
Preparing ribs for a crowd doesn't have to be a daunting task, and with some prepping, you can have dinner on the table in no time at all. The good thing about ribs is that they can be cooked fully in advance and slowly reheated or grilled right before serving, so the taste and texture are just as good as if you had made them fresh. To do this, dry rub the ribs and bake, then glaze and cook again for their entire 3 hour cook time. Leave the ribs wrapped in foil and allow to cool, then transfer to a foil pan or large airtight container and store in the refrigerator until ready to serve. The ribs can be made up to 3 days in advance this way, but be prepared for a meaty-smelling fridge.
To serve the pre-cooked ribs, you have a few options. If you're a grill master, continue with the recipe as written, first bringing the ribs to room temperature for 30 minutes, then grilling the racks as written. If you don't have a grill or don't want to fuss with bringing the ribs outside, you can also heat the ribs in a 250 F oven until their internal temperature registers 140F. Leave the ribs wrapped in foil for this and unwrap only when ready to serve.
What can the extra barbecue sauce be used for?
The barbecue sauce can also be made in advance and stored for up to a week (this recipe is great for proactive hosts). Stir together the sauce until thick, then transfer to a jar and allow to cool before adding a lid and storing in the refrigerator. When using the barbecue sauce for the ribs, pour a portion of the sauce into a bowl to brush onto the ribs so that the remaining sauce can be stored without the risk of cross-contamination. That way, you can brush this barbecue sauce onto burgers, toss it with chicken wings, drizzle it over mac and cheese, or use it to make baked beans.
If you reheated the ribs in the oven instead of the grill, brush the ribs with barbecue sauce while the ribs are still warm. When serving the ribs, remember to give guests some extra barbecue sauce to slather on while they are eating.
What can I serve these with?
Ribs can both serve as a main attraction or a piece to a potluck puzzle. If you plan to serve these ribs as the main course, plan to serve a half rack per person and keep the sides light, like a Brussels sprouts and broccoli salad or roasted potatoes. If serving as part of a potluck, plan for 2-3 ribs per person and serve with other mains like seafood stuffed shells, grilled fish, or parmesan-crusted cauliflower. If serving with other roasted and baked sides, plan to grill the ribs so that the oven is free for the high-heat cooking (vegetables often cook in the 400 F range). This way, there is no delay in getting food on the table, and everything arrives hot and fresh. As for leftovers, your best option is to eat the ribs plain with a side salad and some mac and cheese – and yes, they reheat in the microwave just fine.
- For the spice mix
- 1 tablespoon chipotle chile powder
- 1 tablespoon brown sugar
- 1 tablespoon salt
- 1 tablespoon garlic powder
- 1 tablespoon onion powder
- 1 tablespoon smoked paprika
- For the ribs
- 4 pounds baby back ribs, membrane removed
- 1 cup apple cider, divided
- ¼ cup honey
- 4 tablespoons brown sugar, divided
- ¾ cups ketchup
- 2 tablespoons apple cider vinegar
- 1 tablespoon molasses
- Preheat the oven to 250 F.
- To make the seasoning mix, mix together the chile powder, brown sugar, salt, garlic powder, onion powder, and smoked paprika.
- Arrange ribs on a foil-lined baking sheet.
- Rub 4 tablespoons of spice mix onto meat.
- Bake, uncovered, for 2 hours.
- In the meantime, whisk together ½ cup apple cider, honey, 2 tablespoons brown sugar, and 1 tablespoon seasoning mix.
- Brush the glaze over the ribs.
- Tightly wrap the ribs with foil, then return to the oven and bake for 1 hour.
- To make the barbecue sauce, add the remaining ½ cup apple cider, ketchup, molasses, apple cider vinegar, 1 tablespoon spice mix, and remaining 2 tablespoons brown sugar to a small saucepan.
- Bring to a simmer and cook until thickened, about 5-10 minutes.
- To finish the ribs, heat the grill to 350 F, or medium heat.
- Place the ribs on the grill and brush with barbecue sauce. Grill for 10 minutes, flipping and re-applying the barbecue sauce halfway through.
- Let rest 5 minutes before serving.
| Calories per Serving | 1,239 |
| Total Fat | 74.6 g |
| Saturated Fat | 26.3 g |
| Trans Fat | 0.6 g |
| Cholesterol | 313.0 mg |
| Total Carbohydrates | 56.9 g |
| Dietary Fiber | 2.1 g |
| Total Sugars | 48.4 g |
| Sodium | 1,427.1 mg |
| Protein | 88.3 g |
