14 Tips For Shucking Corn Fast And Easily

Summer may be winding down, but corn season is still going strong. Whether grilling or in the kitchen, there's time to take advantage of fresh corn on the cob before the harvest ends. Hot, buttered corn on the cob is a timeless staple and one of the more straightforward ways to enjoy in-season corn. But why stop there?
Elotes (Mexican street corn) move that simplicity to the next level, as do adding sweet or savory seasonings, like spiced honey, garlic and parmesan, or maple and mustard. But whatever the end goal for corn, the ear must first be separated from its husk and silk.
Shucking isn't high on anyone's list of pleasant activities, and life is busy; so, can you hack the process? There are multiple ways to part the ears and husks, from traditional, manual separation to enlisting kitchen appliances in unexpected ways. Below, some of the best, often outside-the-box techniques. The list begins where everyone should start: What to do before even buying the corn.
Skip the gadgets
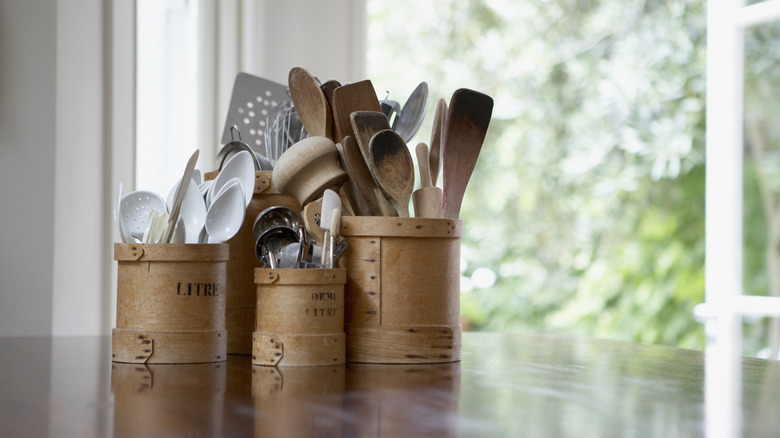
Walk into the kitchen and head towards that drawer everyone has, the place where old kitchen gadgets reside for months at a time. From avocado slicers to egg white separators, garlic peelers and slotted spoons that double as a grater, it's all in there. Once upon a time, such purchases were new and exciting; now, these gadgets are most likely not used all that frequently. With corn on the cob preparation, however, they might find a new purpose.
According to a 2023 Statista report, kitchen gadget revenues are likely to reach over $19 billion in 2024. For corn shucking, don't buy into a must-have gadget that purports to shuck corn in a fraction of the time; instead, there are likely numerous tools already in the kitchen that could serve the exact same purpose. As a matter of fact, don't be surprised if they do a better job.
Pick the right ears
Fresh corn is easier to shuck than older ears. So, aim for success by picking the best ears available. As a point of common decency, do not start tearing ears of corn apart in the produce aisle or farm stand. It creates a mess for everyone else, leaving damaged corn for the next person to choose from, and there are easier, more civilized ways to go about it.
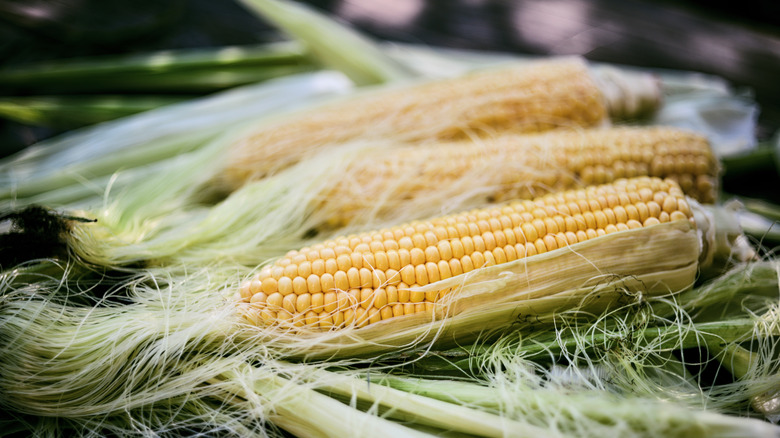
Out-of-season corn will typically be dry and beat up from shipping and storage. If it is in-season, start by looking at the ears. Look for green husks and golden-colored tassels. Brown or black silk is a sign of age, as are pallid husks. Next, touch the corn. Feel the silk; it should be unmatted, moist, and, ideally, a little sticky. The husks should also feel moist and soft. Overall, the ear should be heavy relative to its size.
The weight, combined with these other factors, indicates moisture; moist, fresh corn is much easier to shuck. One final note: After completing a fresh corn quest, refrigerate the corn and use it within a day or two for the best results.
Take it outside

Farmers who grow corn, and grocers alike, prefer that corn isn't shucked in the store or farmer's market. Most people probably don't want to deal with the clean up in their kitchen, either.
These are all reasons why corn shucking is an activity best done outdoors. Inevitably, there will be piles of husks and no small amount of silk to deal with, so it's wise to minimize that cleanup by shucking in a place where catching every last strand of silk before it hits the floor isn't quite so important.
Cover a table with paper, then wrap the whole mess up when finished, for easy relocation to the compost pile or trash. Lacking a table, turn the task social by circling a few chairs, giving each person a container for husks and silk, and then sit, talk, and clean that corn while keeping the mess contained. It's a great way to get kids involved and share the workload.
Just rip it

In the days when corn-shucking was a social part of meal prep, when folks weren't concerned with "hacking" or "disrupting" the process and life allowed dinner preparation minus the daily scramble, the "grip it and rip it" method was standard. While the name might sound aggressive, the method is far from it.
Hold the ear upright, with the silk at the top. Slide an index finger through the top of the husk and silk to separate the combination into two segments. Grasp half the silk and husk in each hand and pull downward simultaneously, removing the unwanted material in one fell swoop.
This isn't a perfect method, as some residual silk will be left between kernels. Remove that silk by rubbing it with a (clean) hand or picking the finer bits between fingers. By the time it's finished, a good clean corn cob should be ready for further preparation.
Use a kitchen towel
While most methods originate with gripping and ripping, there are ways to improve even on the time-tested ways of doing things. Rubbing the ear with a bare hand will do the job, sure, but adding more friction to the process speeds it along.
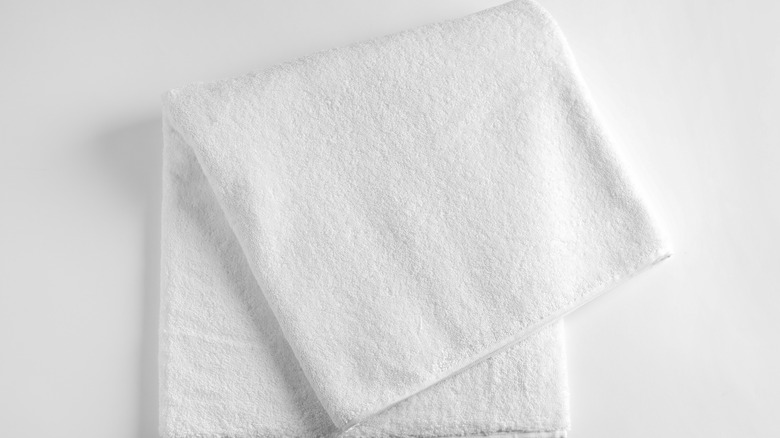
Try wrapping the ear in a kitchen towel, then vigorously rubbing it up and down. This can be done with any (clean) kitchen towel, and the tea-towels typically located around cooking areas are fine, but the smoothness doesn't generate as much friction as others might.
For additional friction, try a terry cloth "bar towel" type. The terry cloth loops and thickness of these towels generate significantly more friction than tea towels, and the loops can help snag errant bits of silk while rubbing up and down the ear. It's not a perfect solution by a long shot, but it is faster than rubbing the corn solely by hand.
A damp paper towel

Kitchen towels are fine, but a damp paper towel can remove silk as well. It's also almost always cleaner to take a fresh paper towel, put it in water, and then go to work, grabbing new paper towels as needed.
When shucking this way, there's no need to find the proper kitchen towel or ensure it's clean and food-safe. Most kitchens always have paper towels on hand, so this technique probably doesn't require anything that isn't already handy. Dampen, don't soak the paper towel to increase its flexibility, allowing it to be wrapped around the ear without ripping.
It's still necessary to grip the corn and rub vigorously, but not using too much pressure. The towel's texture will dislodge the silk, and the moisture will adhere the silk to the towel. This method is still an inglorious solution, but it's better than by hand. An added benefit is not needing to wash a towel after completing the job.
Use a gripper pad

Pulling open that drawer full of gadgets again, check to see if there's a gripper pad in there. It's intended to help open jar lids, but corn on the cob gives it another reason to be put to use. The gripper will similarly create ideal friction, strong enough to remove silk without gouging corn kernels.
The little nubs that help grip the jar lid will help grab those bits of cornsilk that stubbornly won't come out from between the kernels. No pad in the gadget drawer? Try a piece of grip-y shelf liner, wrapping it around the ear and rubbing vigorously.
Most likely, the pad (or shelf paper) will bunch up from time to time, and there might be a few lost kernels in the process. It's a small price to pay for removing quite a bit of the silk with minimal effort. It also makes that gripper pad purchase look even more worthwhile.
Try a rubber glove

It's a catch-all term, as a "rubber" glove could also be latex, vinyl, or nitrile — just so long as it's clean and food-safe. The glove gets bonus points if it's textured, like those intended for dishwashing, and has little nubs on the palm and fingers to help hold on to glassware and such, but smooth gloves work, too.
The concept remains unchanged; once again, try to create friction to extract the silk. Lightly but vigorously rub the ear of corn and let the glove do the abrading. This method probably sits somewhere above cloth or paper towels but below using a gripper pad when it comes to effectiveness, but gloves get the job done, even if there still might be individual stray strands of silk with which to contend.
Elegance and shucking aren't words commonly used in tandem. So, when seeking hacks with what's on hand in the kitchen, set aside vanity and throw on those rubber gloves.
Try a rubber band
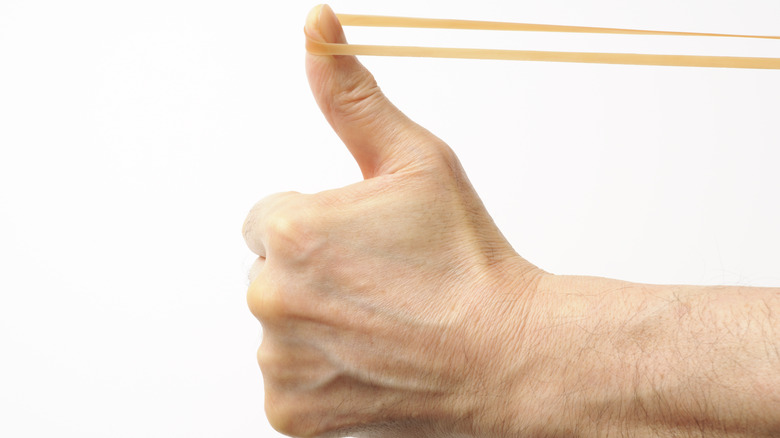
Moving from the gadget drawer to the junk drawer, this method makes use of any discarded rubber bands that might be lying around. Thicker rubber bands are preferable; ½ inch seems to be the best size choice.
The suggested technique is to place the rubber band around the index, middle, and ring fingers, double it over, and then rub the ear of corn in an up-and-down motion. The doubled-over rubber band grips and plucks the silk between the kernels. An upside to this method is the lack of pressure necessary to dislodge the silk, which spares the kernels from any friction-related trauma. The downside is that this tends to be painfully slow. So much so that some will inevitably ditch the rubber band and just go back to the hand.
Your mileage may vary, as some have reported great success with the technique. If you have a spare, clean rubber band lying around, it's worth exploring how it works for you.
Drop it in boiling water
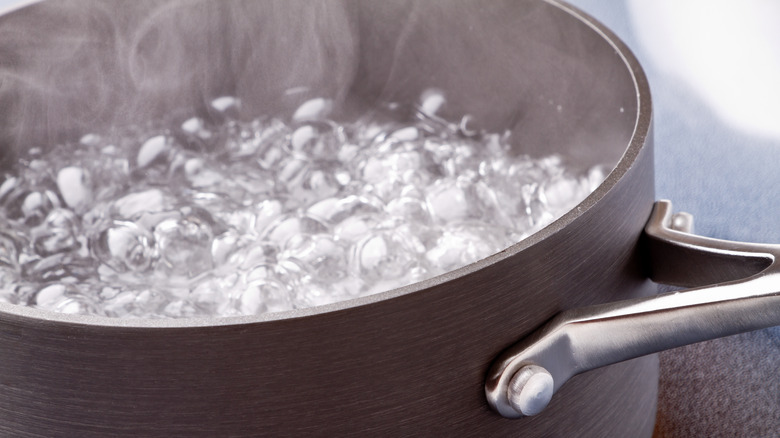
Heat and steam can be quite effective in removing husks and silk. One of the downsides to this method is that it requires cooking the corn to some degree; if raw corn is required, choose a different method.
Bring a large pot of water to a full boil. Be sure to salt the water. If par-cooking the corn, now is the perfect time to take the opportunity to infuse some seasoning. Drop the whole ears into the boiling water and let them cook for five to eight minutes. Remove the corn and let the ears drain well. This draining is extremely important, as all the little folds of the husk will hide near-boiling water, and it's important to avoid that thermal surprise when moving on to the next step.
Cut through the bottom (stalk end) of the cob, slightly above where the pieces of husk come together. Now that the base of the ear is exposed, grab the top (where the silk emerges and the husks come together) and squeeze towards the cut end, pushing the ear out of the husk, minus most of the silk.
Use a brush
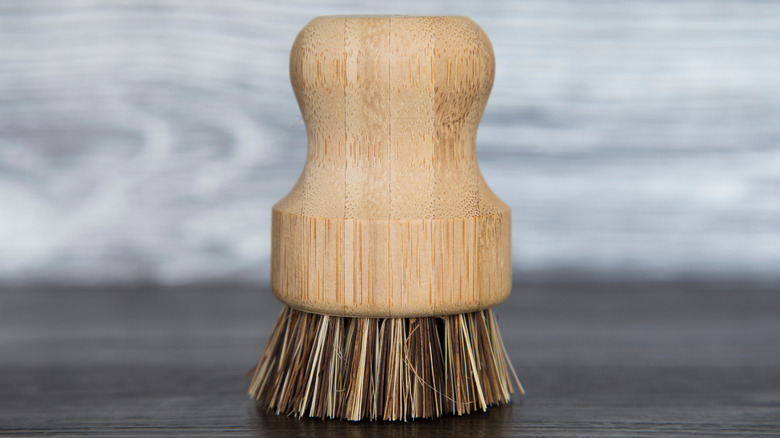
There's a reasonable chance there's a stiff-bristled vegetable-cleaning brush somewhere in any kitchen. If not, a basic toothbrush works equally well. Just ensure they're clean and food-safe, and dedicate them solely to food preparation.
Hold the ear under running water and work the brush up and down between the kernels. Be sure to be firm but gentle. Being careful not to damage the kernels from excess friction, tear the silk out of the ear. Use water to washes everything away, minimizing the remaining mess.
If any tiny strays are left, the damp paper towel method is a good follow-up to this one, tidying things up easily. Across multiple sources, the brush method is among the highest-rated for its efficacy and ease, requiring little extra effort. There's also the bonus, once again, of repurposing an existing tool without adding to that collection in the overstuffed kitchen gadget drawer.
Grill it in the husk
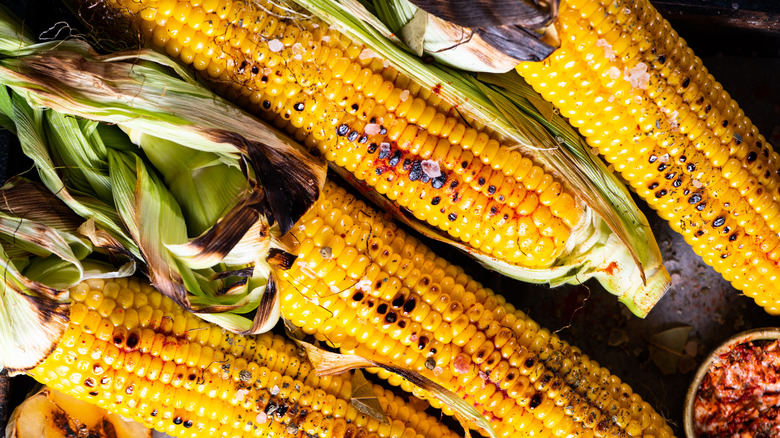
Returning to the heat and steam school of thought, grilling corn whole is a viable option. As long as the corn has been properly selected and stored, there isn't much that needs to be done further before grilling it. Some folks suggest that the ears be soaked before grilling, but the water hiding in the husks' crevices will only lower the grill's temperature while providing no significant advantage. Others suggest pulling back the husk and removing the silk as a first step, but that also seems inefficient.
Placing moist, ripe corn directly on the grill creates steam inside the husk, loosening the silk as the corn cooks. Seven to eight minutes (or until the exterior husk leaves char nicely) is enough grill time to finish the job. After removing the corn from the grill, pull the husk and silk back from the top, and the silk should release itself from between the kernels.
Fire purifies

On the topic of heat, there's another thermal method for removing clingy silk remnants, although it might only be for the brave. Holding a shucked ear over a flame from a gas stove or a grill burner, slowly turn that ear, moving it back and forth while burning the silk from its footholds. This can also be achieved by running a brûlée torch slowly up and down the ear, methodically removing silk strands while trying to keep a distance from the corn, lest it be burnt.
One of the drawbacks to these methods is that it will almost certainly char some of the kernels, and this isn't ideal from a preparation point of view; if that's not the desired look, instead simply pursue another approach. Burning silk is a lengthy process, and those who don't have the time also might want to try something else instead.
Microwave it

The last shucking suggestion relies on a tool often maligned by "serious cooks." Nonetheless, it resides in nearly every home kitchen, and can even help with corn on the cob. In 2020, chef and restaurateur José Andrés illustrated a microwave-dependent method in a TikTok video where the word "easy" seems to be the order of the day.
This microwave method is a variation of boiling the corn in the husk — minus the potential for trapped hot water scalding the hands of those shucking. Simply microwave the whole ear of corn for four or five minutes, creating steam inside the husk that separates the silk from its foothold.
Slice the end of the corn just above where the stalk ends and the kernels begin. A row or two of kernels might end up becoming a casualty, but that's a small tribute to pay to the kitchen deities. Finally, grasp the corn at the tassel end and squeeze it like a toothpaste tube. The ear of corn will emerge from the bottom of the husk, leaving the husk and silk in one hand and a clean ear of corn in the other.
As with the boiling method, this method will cook the corn, so if raw corn is required, try another method. Otherwise, the microwave stands firm as perhaps the most effective, efficient method of them all.