The 13 Biggest Mistakes Everyone Makes While Baking Focaccia
Focaccia is one of the most flavorful yet simple bread a home baker can make. The Sussex Kitchen notes that focaccia was likely first baked by the Etruscans in North Central Italy during the early phases of the Roman empire. The name "focaccia" is derived from the Roman "panis focacius" — meaning "hearth bread." Historians believe the bread was initially quite plain and made from flour, water, yeast, and salt; the bland taste of the bread would have been an excellent flavor carrier for dipping in salty soups. Eventually, the movement of the Romans outwards to other regions in Europe transformed focaccia into a regional food adapted to different toppings and ingredients.
The focaccia made in modern kitchens contains many of the same ingredients and flavors as earlier versions — as well as the addition of new flavors like honey, herbs, and dried fruits. If you're still trying to master the basic focaccia recipe, we've got you covered with all of the things you need to know when you start venturing into this type of bread. Here are some of the biggest mistakes folks make when trying focaccia bread and recommendations for optimizing your next baking experience.
Only using standard all-purpose flour
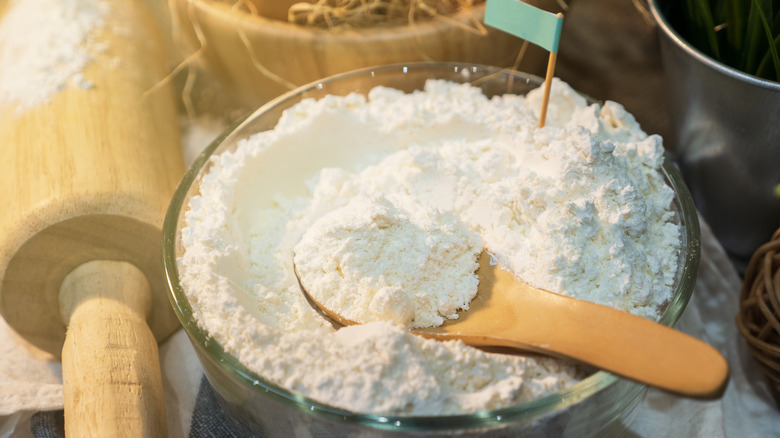
All-purpose flour should no doubt be a staple in your kitchen. But is it always the best option for baking focaccia?
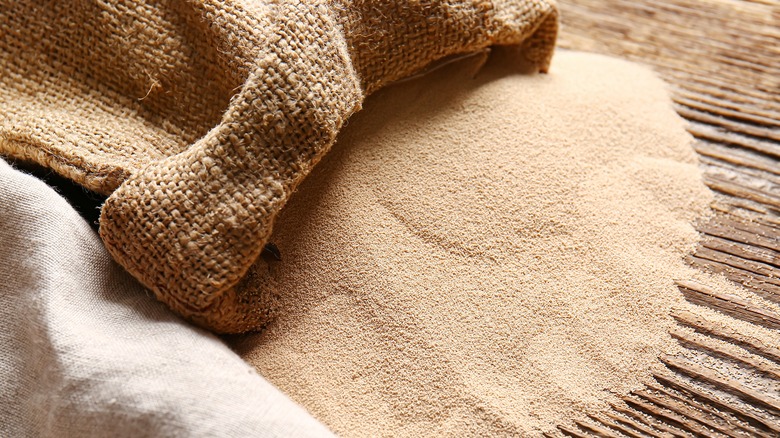
The Guardian notes that the type of flour you choose has the potential to change the flavor and the texture of the bread. Strong, glutenous bread flour is one component of good focaccia bread. Substituting some (not all) of the all-purpose flour for bread flour in your recipe will result in a more elastic and stretchy texture. This is because bread flour contains slightly more protein (12-15%) than standard all-purpose flour (8-12%), resulting in more gluten.
The Guardian recommends using equal parts bread flour and 00 flour to make a focaccia. Fine Dining Lovers notes that 00 (double zero) flour is as finely ground as flour can come, and the dough contains similar amounts of gluten to bread flour. Bread flour, though, is made from red wheat, which is more elastic and chewy than 00's durum wheat structure.
Keeping the dough too dry
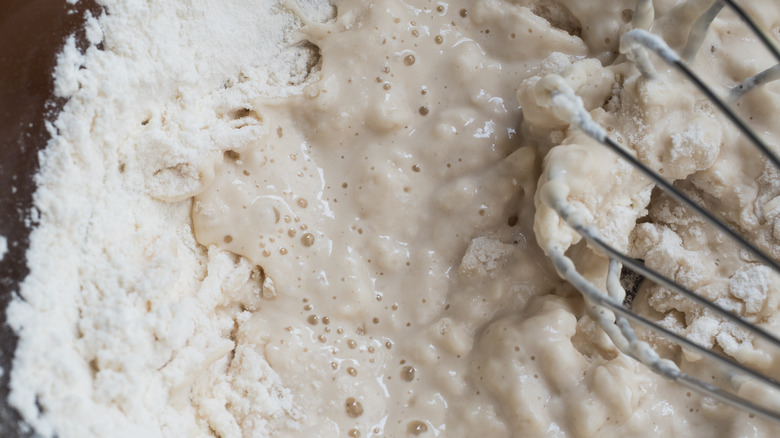
One of the common misconceptions about focaccia is that it is a low-hydration dough. If you're making focaccia in a stand mixer, you might be alarmed to see how wet the dough is and promptly reach for your flour canister to do damage control. Focaccia actually requires a lot of water to maintain its structure and produce the chewy, delicious texture that the bread is known for; you should use about 1½ cups of water to four cups of flour.
Phil's Home Kitchen recommends working the dough a little differently than other types of bread dough because of its high hydration. You can plop the dough into a stand mixer with a dough hook attachment for 15 minutes, or you can repeatedly turn and flop the dough on itself for up to ten minutes. The dough may not come together as immediately as other types of dough, but giving the gluten an overnight to develop and proof will result in great focaccia and less headache for the baker. In short, trust the process!
Forgetting to add salt to the dough
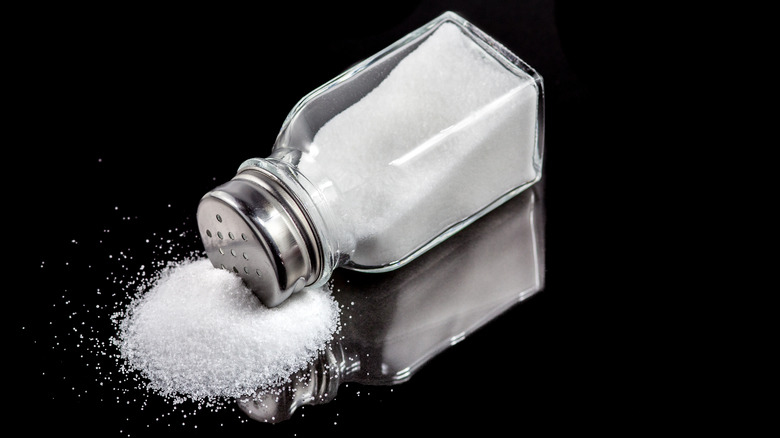
Salt is an essential ingredient for all bread dough. The Weekend Bakery notes that there are several reasons why you should add salt to the dough. The first is that salt brings out the flavors of other ingredients; this is especially important for focaccia flavored with herbs, olives, and other vegetables. The salt's chemical structure also helps the bread build strong gluten structures that allow for a more elastic, chewy dough. When the bread is proofing, the salt will hold the carbon dioxide in the dough rather than escape into the atmosphere — thus keeping the dough soft and fluffy rather than crisp like a cracker.
The only precaution you should consider when adding salt to your focaccia dough is to not place the salt directly on top of the yeast for extended periods of time (as the salt will kill the yeast). If you're mixing the dough straight away, you can rest assured that the yeast and the salt can coexist and work together to help you achieve a good bake.
Using the wrong kind of yeast
There are many types of yeast popular for bread-making. Cake yeast is sold in wet bricks rather than as a powder and is used in commercial applications. To prepare, a baker will cut the blocks and dissolve the yeast in water. Cake yeast is not ideal for focaccia because it is usually used for baked goods that require a much longer rise time, such as brioche. Active dry yeast (ADY) is essentially dehydrated cake yeast. Similar to cake yeast, you would have to add the ADY powder to water and proof the yeast with a bit of sugar. Although this step may appear arduous, it ensures that the yeast is active and ready to feed on the carbohydrates in the dough.
The best choice for yeast that lends quick results is instant yeast. You'll find this product in the baking section of your grocery store labeled as "bread-machine yeast" or "rapid-rise yeast." Instant yeast is best for focaccia because it is finer than ADY, does not require proofing before being added to the dough, and works quickly in various bread products. Simply add the yeast right in with the flour and keep on working.
Not using a poolish starter
Fermentation builds flavor, so it is reasonable to expect that dough with a longer window of time to ferment will be more flavorful than dough rushed through the proofing and fermentation process. For more flavorful focaccia, we recommend making a poolish starter. Unlike a levain made from wild yeast (what we think of as a "true sourdough"), a poolish starter is made from commercial yeast that has been allowed to pre-ferment for 12-24 hours before being mixed in with the rest of the bread ingredients. You won't get the same strong, acidic taste as you would with a levanin, and you won't have to go through the arduous process of keeping your sourdough alive and fed up until you use it.
Per The Weekend Bakery, you can make a poolish starter simply by adding equal parts flour and water (resulting in 100% hydration). The amount of instant yeast you'll add depends on the time you have to allow the dough to pre-ferment; you'd add more yeast for a culture you'll use in eight hours versus one that has a whole day to pre-ferment. For an eight-hour pre-ferment, the yeast percentage ranges around 0.23 to 0.33% of the weight of the flour.
Forgetting to coat the pan with oil before baking
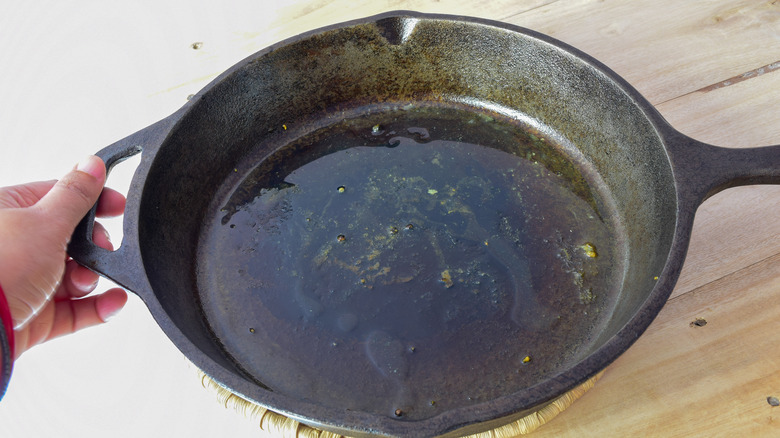
If you've worked with cast iron in the past, you're likely able to articulate how important it is to have a well-seasoned pan. The same goes for working with focaccia — even if you opt for a non-stick square baking pan. Not only does the oil crisp the bottom of the focaccia, but it also ensures that nothing will stick to the bottom of the pan when you remove the bread.
For a 10-inch skillet or round non-stick cake pan, you'll need about two tablespoons of oil. The exact type of oil you use for focaccia corresponds to the oil's smoke point. Avocado oil is a good choice for focaccia because it has a higher smoke point. Oils like extra virgin olive oil are not ideal for working with focaccia because the oil can quickly burn with the oven temperature needed to cook your focaccia.
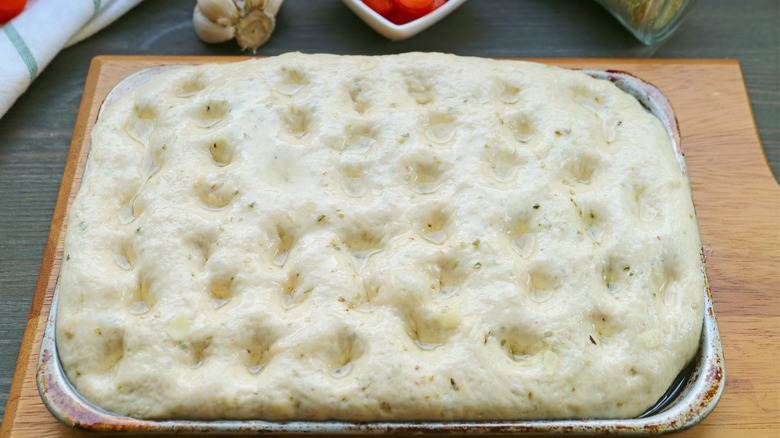
Forgetting to dimple the dough
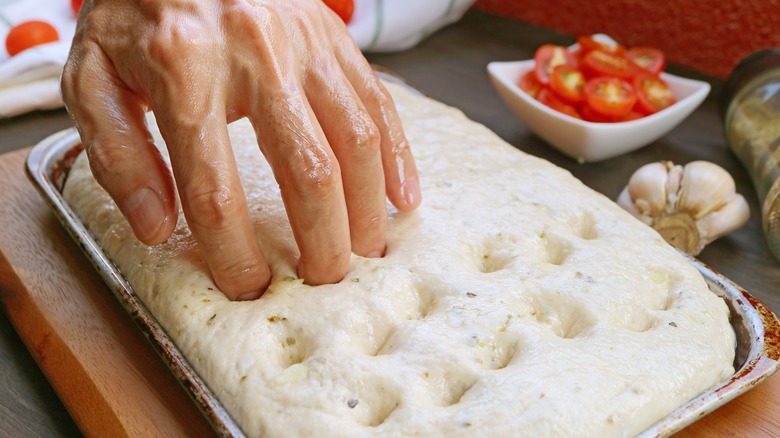
Not only is sticking your oily fingers into squishy dough fun, but it also serves an important purpose for the focaccia. Thyme and Envy note that dimpling the dough prior to baking prevents the dough from bubbling and burning — similar to a pizza crust. If you forget to dimple your dough and bake it, the dough will collapse when the bubbles burst, resulting in sad focaccia and a sad baker.
To dimple your dough, oil your fingers or the end of a wooden spoon handle and gently poke the dough. You don't have to adhere to a specific pattern, but avoid crushing your fingers all the way to the bottom of the pan to break the dough apart. Thyme and Envy note another benefit of dimpling your dough — you will increase the surface area when you apply the final coat of olive oil. As a result, you'll find dimpled focaccia gets a much better and more consistent color.
Not letting the dough rise after it's been dimpled
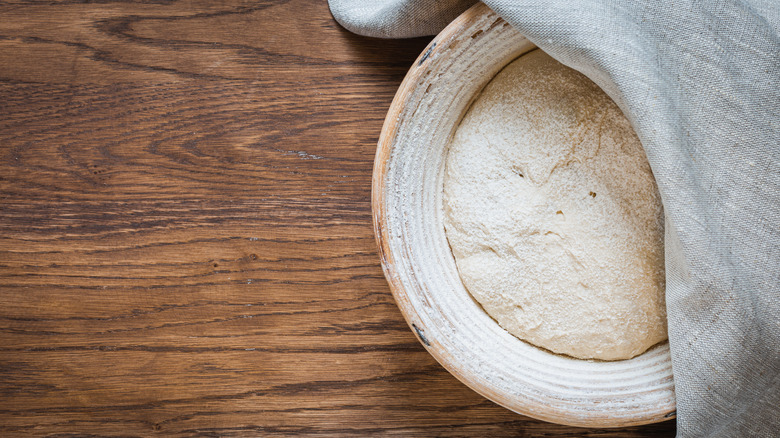
Focaccia requires two rising periods — the first occurs once the dough has been mixed and the yeast is starting to colonize the flour, and the second is after the dough has been dimpled. The second rise for focaccia can take anywhere from 20 minutes to upwards of 45 minutes, depending on the recipe. According to Cooking for My Soul, the second rise of the focaccia is important for the development of both the texture and the structure of the bread.
During the second rise, the dough will expand to the sides of the pan, so you don't have to worry about stretching the dough out completely when you first fit it into the pan (via Fig and Olive Platter). If you choose a recipe with an overnight refrigeration period before the second rise, you may need to relax the dough before you are able to shape it.
Not adding enough oil to the focaccia before baking
We've concluded that oil is your friend when it comes to focaccia. But can the same be said for the oil added after the dough is dimpled?
The short answer is yes. If you want to achieve optimal color, you'll want to apply a thick layer of oil to the top of your focaccia before it's about to go in the oven. You can use a pastry brush to spread the oil on or gently swipe your oiled finger across the top of the dough to spread out an even oil layer. According to The Guardian, some bakers will make a brine for the top of the focaccia before it bakes. The brine, which includes salt, water, and oil, keeps the dough moist in the dimples and grooves of the pan. But for the amateur baker, adding a drizzle of oil and a pinch of salt to the top of the focaccia should suffice.
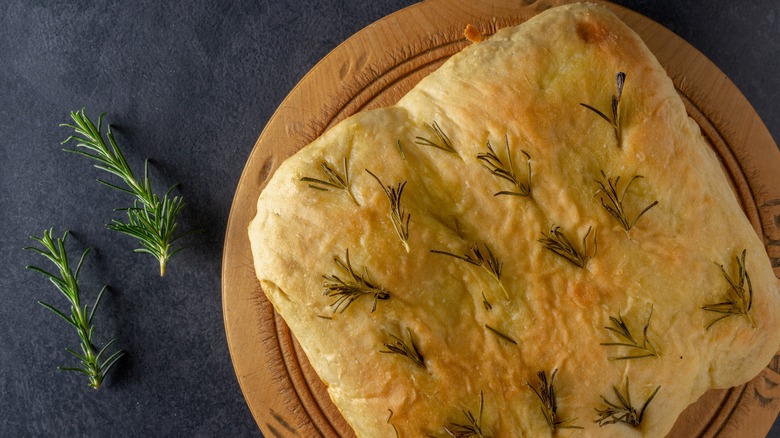
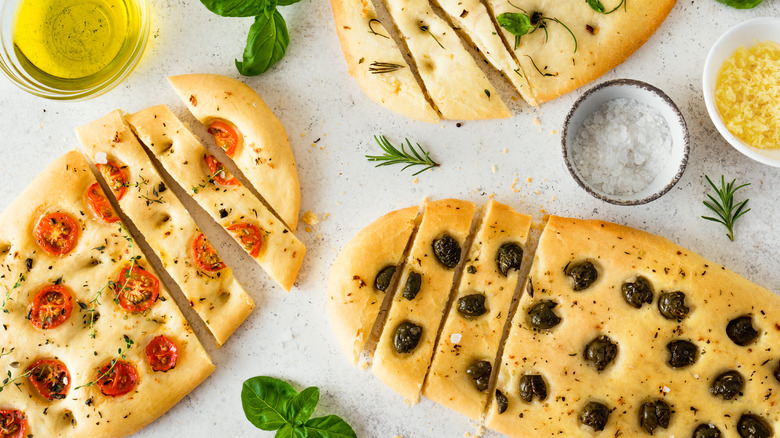
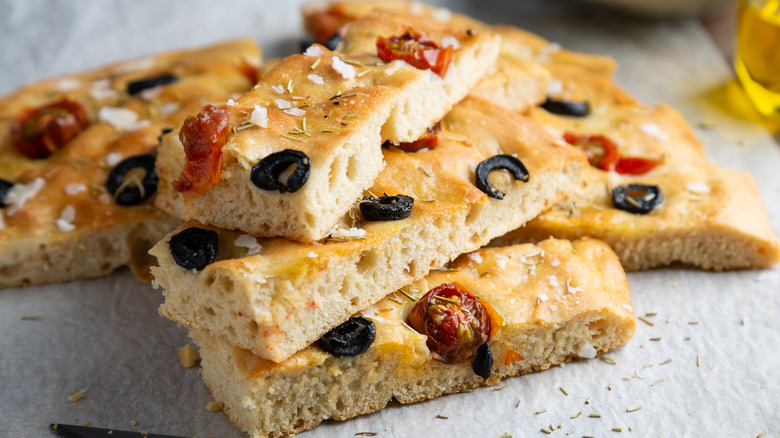
Forgetting to add toppings and spices
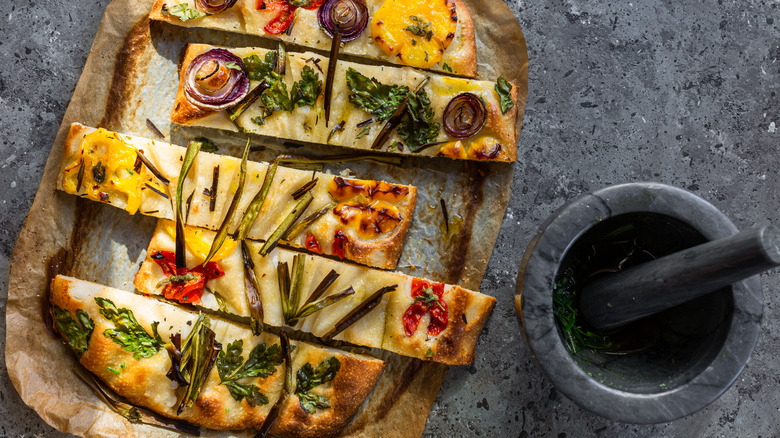
Focaccia is an artistic canvas that can be peppered with delicious fresh herbs, tomatoes, olives, or even watermelon radishes. Rosemary is a common topping for focaccia because of its aromatic properties; you can use fresh or dried versions of this herb for your focaccia. Bakers also add springs of tarragon, basil leaves, and oregano to focaccia for an authentic Italian flavor. You might also consider mincing garlic and adding a sprinkle to the top of your bread before it goes into the oven. If you're a fan of cheesy bread, you should try adding crumbled feta to your focaccia; the flavor pairs beautifully with garlic and halved cherry tomatoes.
Fruit, veggies, and herbs have been the inspiration for focaccia artists. These bakers coordinate chopped vegetables in the shapes of flowers, landscapes, and other beautiful designs. Plus, if your focaccia tastes as good as it looks, we can't really ask for much else.
Only baking the focaccia in a standard oven
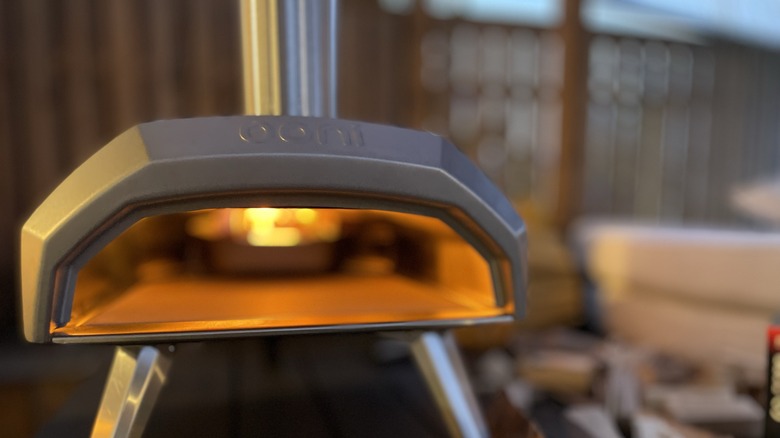
Baking focaccia in a standard convection oven is certainly functional, but why not experiment with something more creative? We recommend cooking your focaccia in an outdoor pizza oven to spare your kitchen from the heat on a hot summer day. These ovens can reach the same temperatures as your home oven and can be powered by gas, wood pellets, or both. Our favorite model, the Ooni Koda 12, is a mere 20.4 pounds, thus making it super portable for bread (and pizza-making) on the go. Since this model is gas-powered, controlling the temperature is simple and easy for novice focaccia makers.
If you have access to a wood-fired pizza oven, crack out your pizza peel and get to work. A wood-fired oven results in more complex flavor notes that adapt to the type of wood you use — such as cherry or hickory.
Only eating focaccia as an appetizer
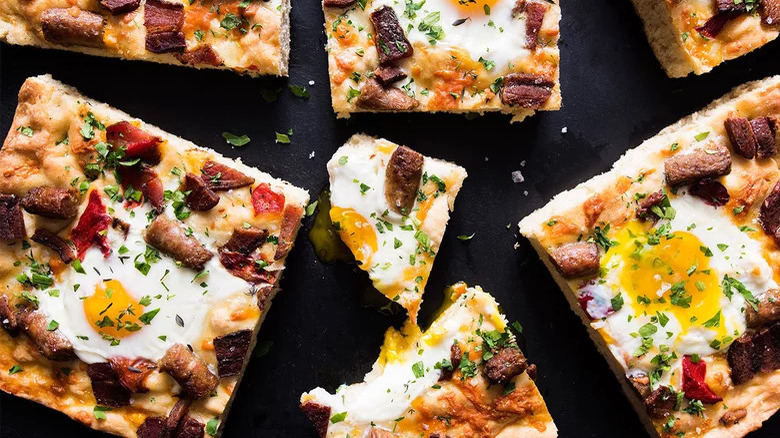
Focaccia is most commonly consumed alongside other Italian appetizers, but there is no hard-and-fast rule for how (or when) to enjoy this delicious bread. We recommend starting your day out right with breakfast focaccia. The dough for this focaccia has grated cheese baked into it, along with sausage, bacon, and diced red peppers. The trick for adding eggs to your breakfast focaccia is a little more difficult; you'll want to make a few wells with tinfoil for when you bake the focaccia. Once the focaccia is baked, remove the tin foil, crack the eggs into the wells, and bake for another 10 minutes until the eggs are slightly runny. This recipe is perfect for entertaining a brunch crowd or meal-prepping with just a sheet pan.
If focaccia for breakfast isn't your thing, you can also use the focaccia you bake to replace sandwich bread or as the perfect crusty bread for a panini.
Not storing your focaccia correctly
If you still have focaccia at the end of your meal (which we admit may not happen), you'll need to store it correctly to ensure that the bread stays fresh for as long as possible. Since focaccia is an airy bread, it does not require the same care as a loaf of dense rye bread. You can pack your focaccia in an air-tight storage bag and leave the slices on the counter for up to a few days after you've baked them.
The one place focaccia does not belong in is your refrigerator. While it might seem intuitive to place your bread slices in the fridge for optimal freshness, the moisture in your fridge can quickly cause the starches in the bread to gelatinize and harden. If you're adding hard cheese like cheddar to your focaccia, the USDA notes that these types of cheeses do not need to be refrigerated for safety, although they will store longer in the fridge.