TT Culinary Institute: Glazed Doughnuts
Homemade doughnuts are easier than you think and may just change your life
There's nothing quite like the joy of happening upon a Krispy Kreme when the hot light is on—except, of course, for devouring a freshly glazed doughnut (or 12) on the spot. We're all for an artisanal doughnut or an apple cider variety for that matter, but there's something about the Original Glazed, signaled by the warm neon glow of the hot light.
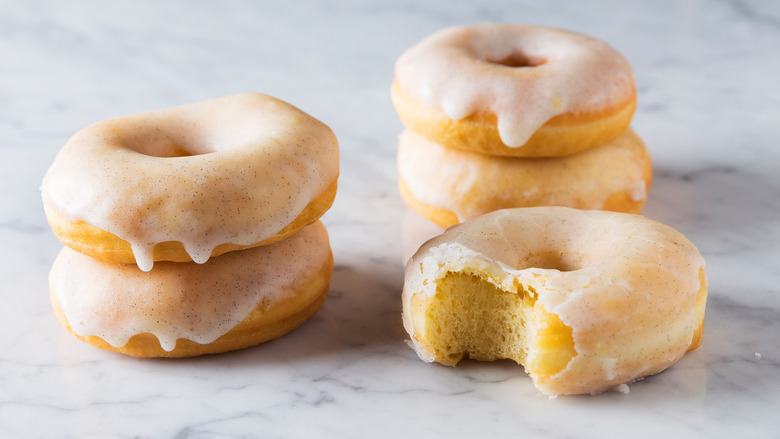
So we decided to break down the steps of making a classic glazed yeast doughnut at home. We're talking about a fluffy brioche-like dough fried to golden perfection and coated in a vanilla seed- and lemon zest-speckled glaze (see the recipe). In addition to our step-by-step guide, we've gathered tips and tricks from some of our favorite doughnut makers for a foolproof path to success. Trust us: Making doughnuts is much easier than you think.
The number one requirement? "SO. MUCH. PATIENCE," Katie Poppe, owner and cofounder of Blue Star Donuts in Portland, exclaims. Troy Neal, CEO and chef of NYC's The Doughnut Project, and Fany Gerson, chef and owner of Dough Doughnuts, feel the same way. As long as you're not too hungry, we know you can handle that, so let's dive into to this dough.

Body of Proof
Proofing—the process of allowing time for the dough to rise—is the key to any yeasted dough. While it's not uncommon in professional kitchens to find appliances built just for this purpose, at home, it can be tricky to find the perfect warm location to let your dough proof. Wherever you choose, making sure the dough doesn't get too hot takes precedent.
"Many people put things right on top of the oven, but that can easily kill the yeast," Gerson, who doesn't use true proof boxes at Dough Doughnuts, explains.
Neal recommends placing a pan of boiling water in your oven (make sure the oven is off), along with the dough. This will create a contained, warm space that will let the dough rise.
RELATED Dip Apple Cider Doughnuts into Caramel for Pure Nirvana "
It's important to remember to "read the dough," Poppe says. Even if it's cold in your kitchen, your dough will still rise; it will just take a bit longer than expected. Keep your eyes peeled for the visual cue of the dough doubling in volume.
Fried and True
Frying your doughnuts is a labor of love. Once you get a nice vat of oil heated to 350 degrees, you're looking to fry each side for only a minute or two. "When they're done, they look like the perfect piece of buttered toast!" Poppe explains.
Another key point that Neal and Gerson stress is pausing in between batches. After you've fried your first batch, the temperature of the oil will have dropped. Using a candy thermometer, make sure the oil returns to the right temp before you continue frying.
Glazed and Confused
The final, and possibly most important step, is the glaze. Think of your doughnut as a blank slate that you can use for whatever sugary topping you please. For that translucent look, all our experts recommend glazing your doughnut when it's just a few minutes out of the fryer.
Now that we've mapped out the key steps, it doesn't sound that daunting, does it? It's more fun than waiting for the hot light to turn on, at least.
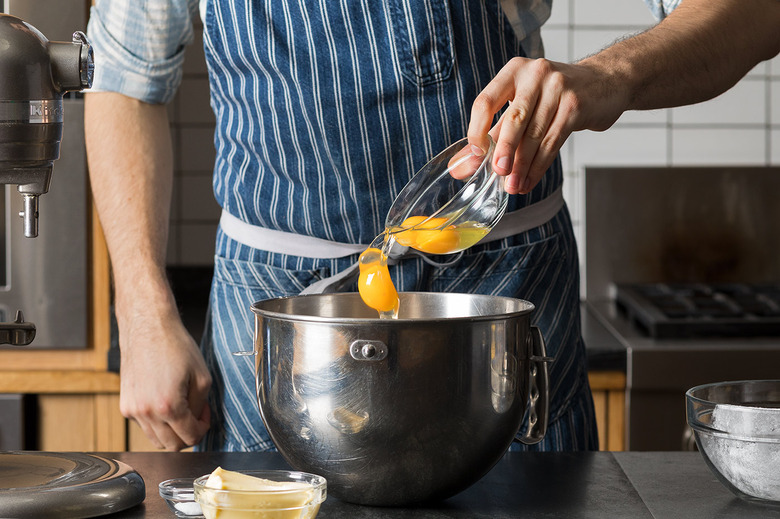
Make your dough: Mix bloomed yeast with eggs, flour, sugar and softened butter.
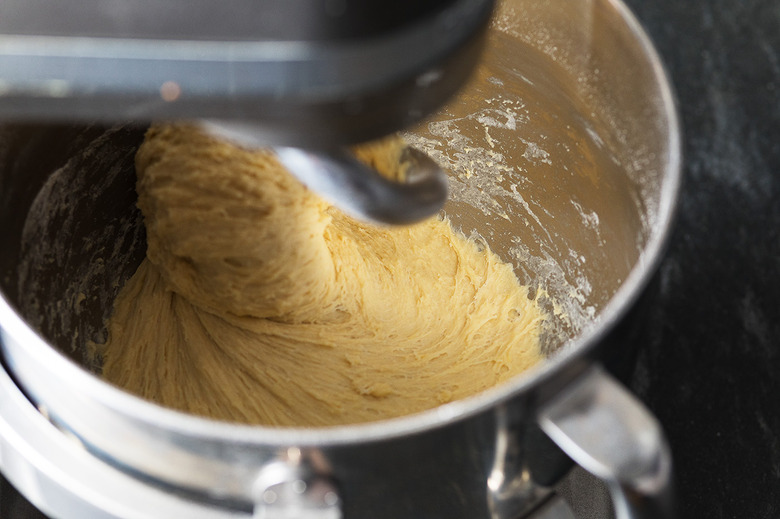
Don't be afraid to mix the dough for a few minutes until completely smooth. You won't overmix it.

On a floured surface, finish kneading by hand, forming a smooth ball of dough.
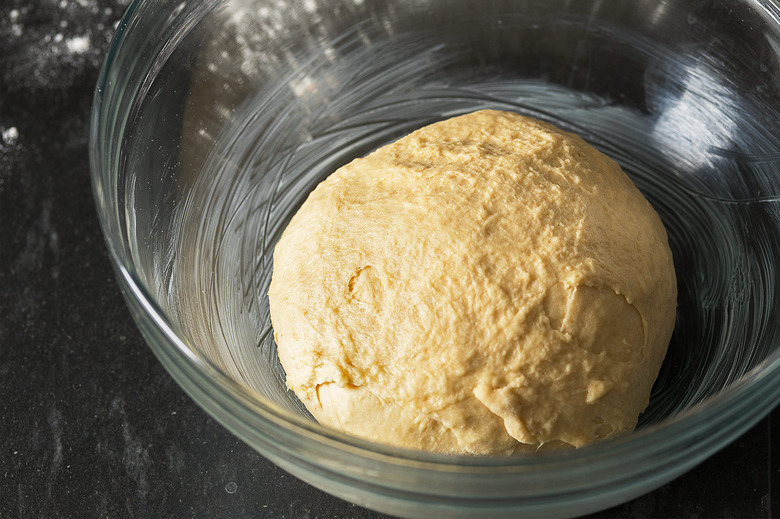
Place the dough in a warm (not hot) spot in your kitchen and let it proof 2 times.
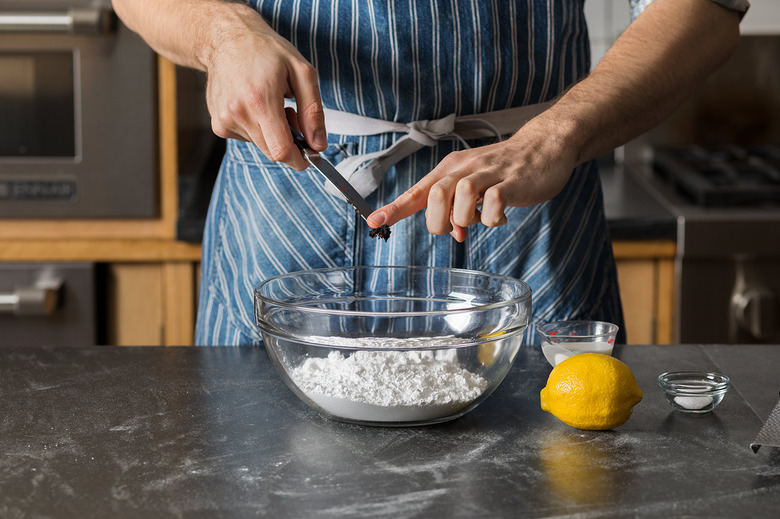
While the dough proofs, make the glaze by adding vanilla seeds to confectioners' sugar, milk and lemon zest.
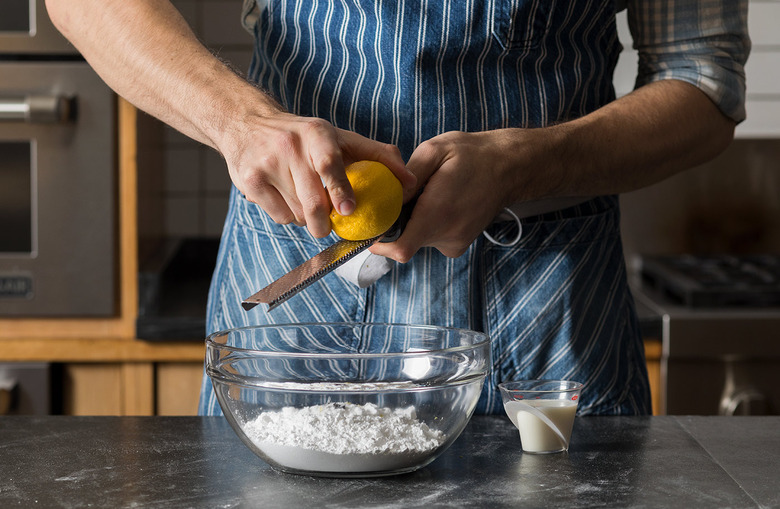
The lemon zest gives the perfect brightness to the glaze so that it's not cloyingly sweet.
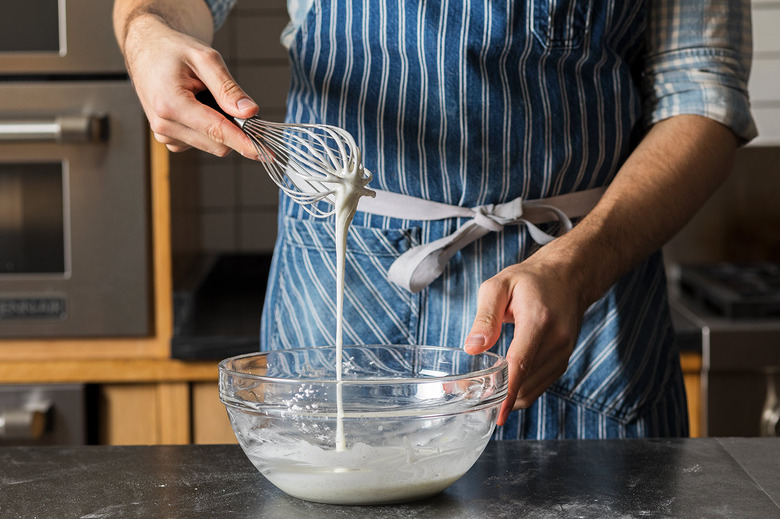
Make sure the glaze is completely smooth, then keep covered with plastic until you're ready to use.
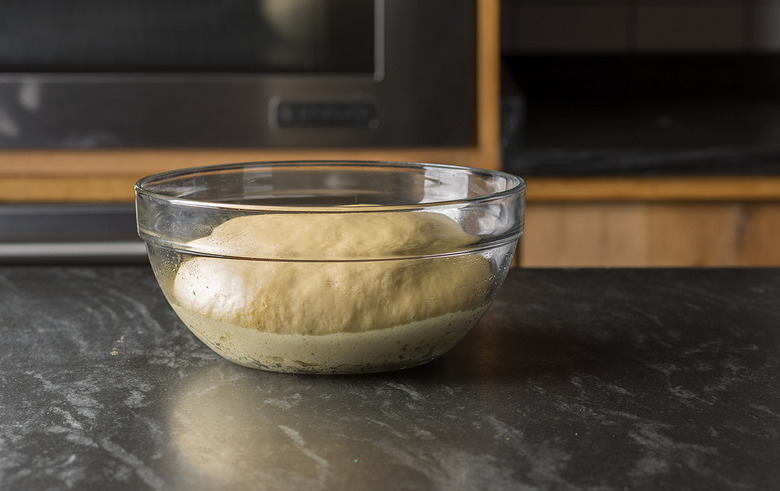
You know your dough is ready when it has doubled in size.
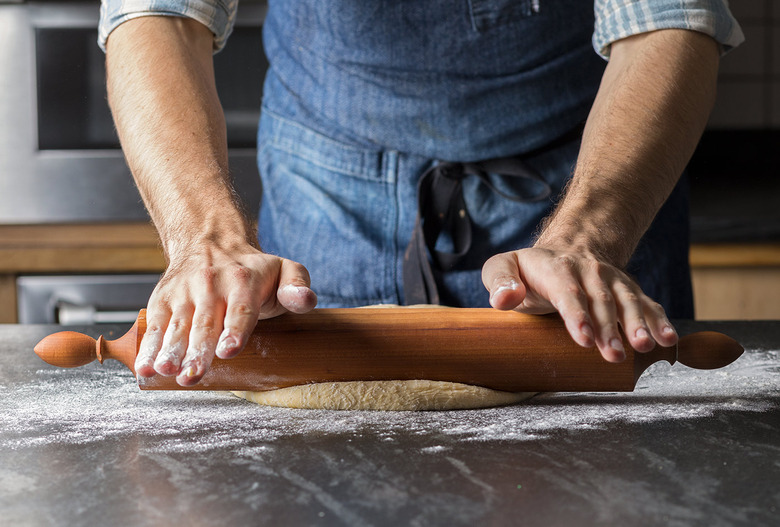
On a floured surface, roll the dough into a ½-inch-thick circle.
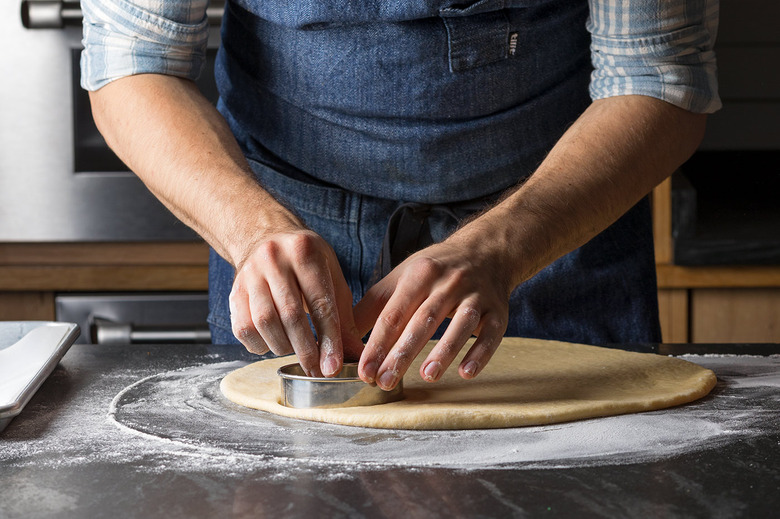
Cut out as many 3½-inch circles as you can.
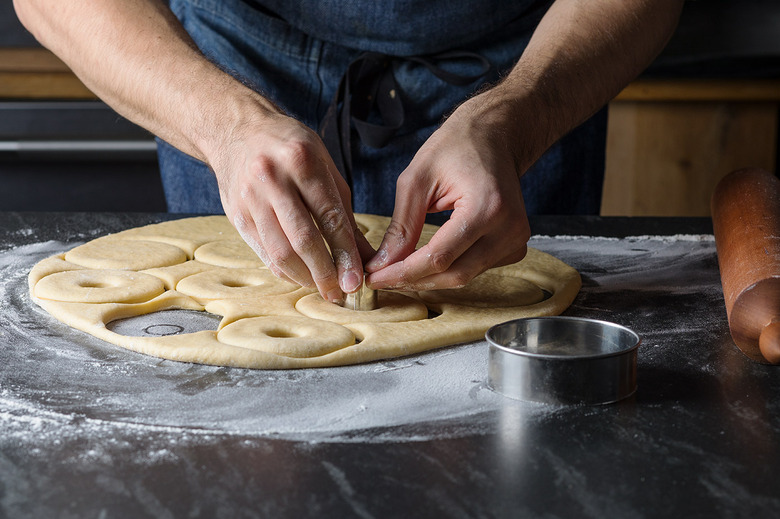
In each of these circles, cut out 1-inch holes in the center, making sure to save them for doughnut holes!
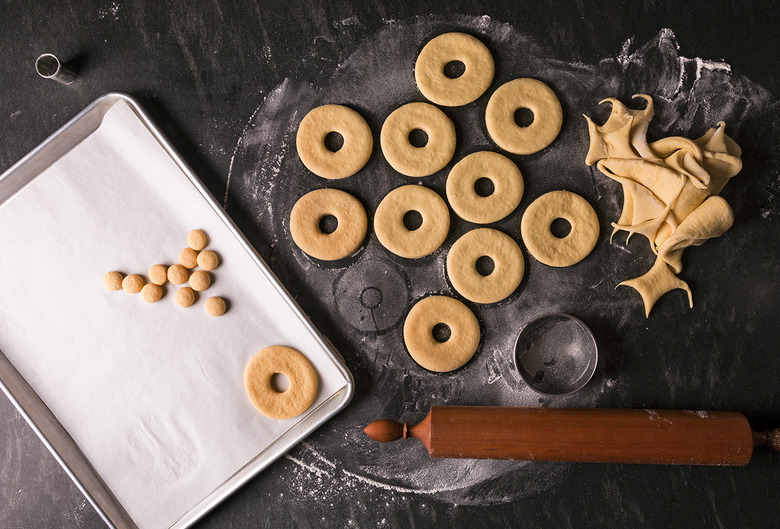
Reroll the scraps until you have 12 doughnuts ready to fry.
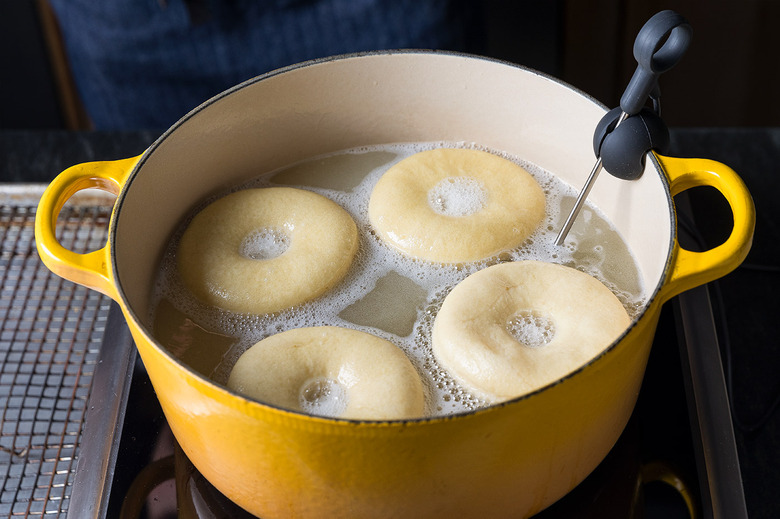
Add your doughnuts to the fryer in batches. They should puff up immediately when they hit the hot oil.
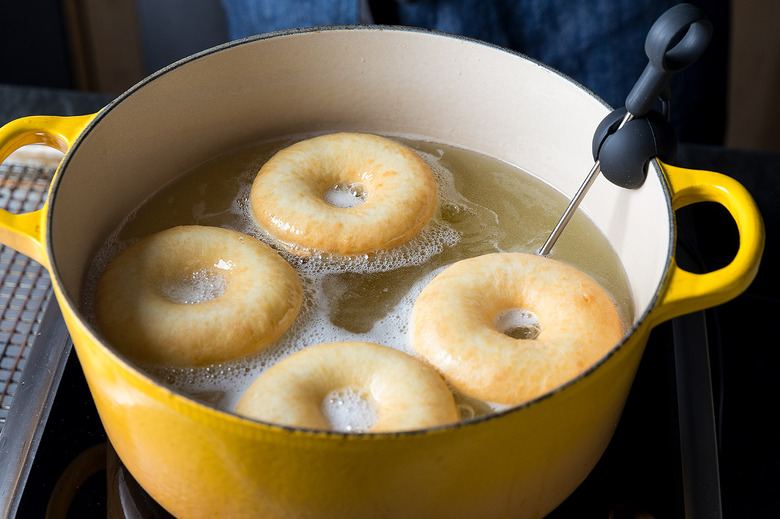
Flip the doughnuts halfway through, frying until golden brown, 1 to 2 minutes per side.
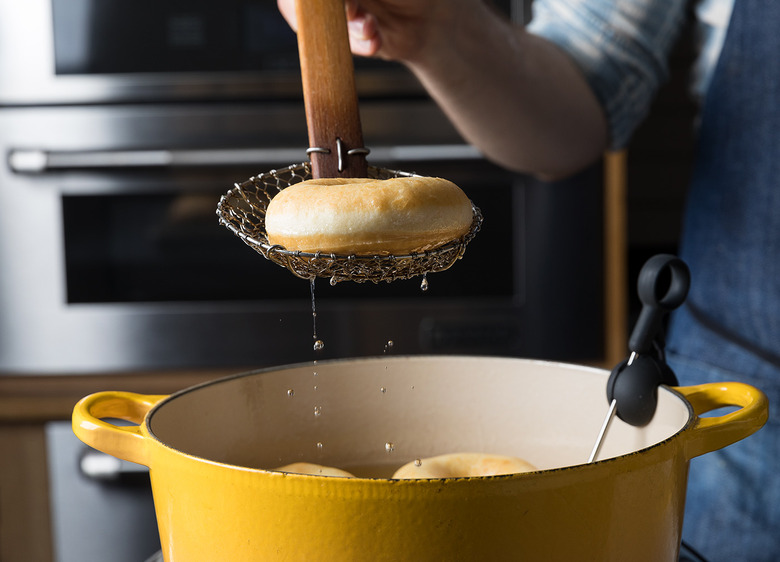
Remove each doughnut from the oil and let drain on a wire rack.
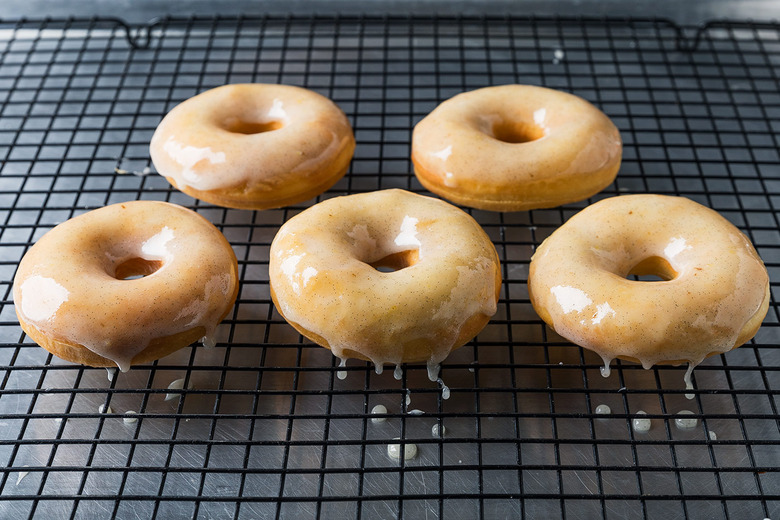
While still warm, glaze each doughnut, letting the glaze set for a few minutes before serving.