15 Absolute Best Tips For Working With Sourdough
Sourdough is the elusive unicorn of the baking world. If you taste a loaf without knowing what the sourdough is, you'll be surprised by the chewy yet crunchy crust, yeasty aroma, and fluffy interior. The unique taste and texture of this bread variety is because of the origin of the yeast. Unlike conventional bread, which uses cultured yeast, sourdough is made by placing a mixture of flour and water out to open it up to a medley of wild yeast and bacteria. After the starter has sat for several days and been fed with fresh flour and water, it can be used in various bread recipes — or even for things other than bread. What's even more interesting is that no sourdough starter is the same; the geographical difference creates variance in bacteria and yeast cultures that make each starter unique.
The history of sourdough likely originated from the Egyptians harvesting wild bacteria and yeast during their early efforts to make leavened bread, which dates as far back as 1500 B.C. Flash forward to the present day and sourdough is still deeply intertwined in the hearts and kitchens of bread aficionados worldwide. Here are some of our best tips for gearing up the perfect sourdough starter and crafting a delicious loaf.
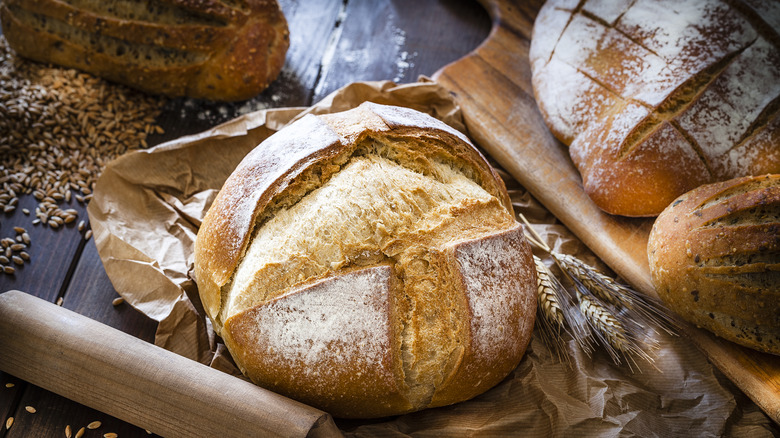
Use more than just white flour
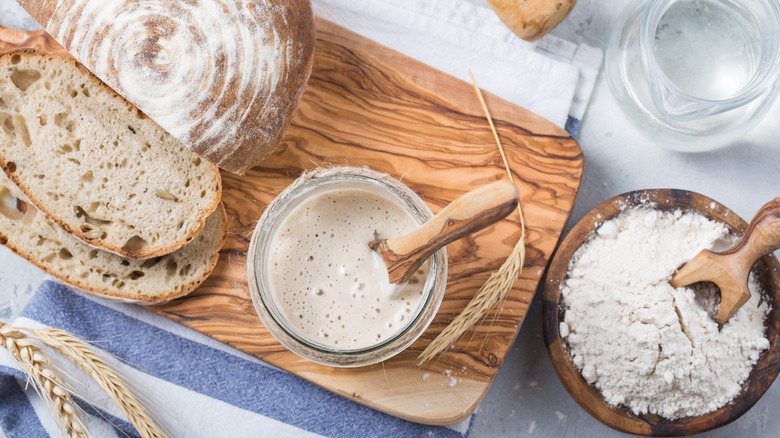
The most common flour to have in your pantry is white flour, but it isn't the only variety you can use to enhance your sourdough starter. Moreover, the type of flour you use in a sourdough starter is important because it can alter the flavor and density of your dough. A starter made with all white flour will be light and comparatively bland to a starter made with whole wheat flour, which has a more malty flavor.
Besides the flavor, adding different types of flour to your starter will also alter its rise. Many bakers will start their starter with whole wheat flour rather than white flour because it has a higher gluten concentration, giving it a bit more rise. Rye flour can also be used to add a complex flavor to your dough but should be blended with another type of flour to give it the proper structure and avoid gumminess.
Keep up with regular sourdough feeding
One of the biggest reasons why people fail at making a sourdough starter is that they don't keep up with the care and regular feedings needed to keep a healthy starter alive and productive. If your sourdough turns out funky and emits an alcoholic, rancid tang — you likely forgot to feed it often enough. This taste is beyond salvageable and is guaranteed to ruin your loaf.
You'll also know your sourdough has been neglected if it starts to develop a thin layer of hooch, a watery line of strange liquid, on the top, middle, or bottom of your starter. At this point, you can get your starter back on track by doubling the rate of feedings, replenishing about half of the volume each time. You'll notice the hooch starting to disappear when you mix the new flour and water with the remaining starter. Soon, you'll be well on your way to a healthy starter and excellent loaves.
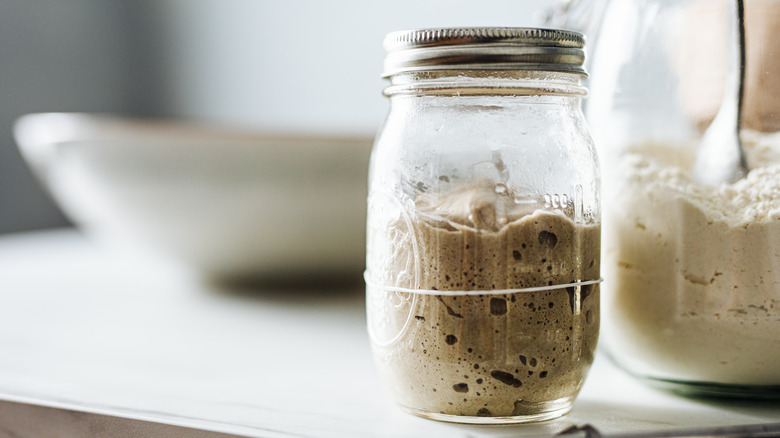
Always store your starter in a glass jar
Not only is the starter stored in a glass jar much prettier to look at, but it also serves numerous benefits for the health of your yeasty mixture. You should store your sourdough starter in a glass jar because it won't leach anything into the starter like a plastic container would. Plus, glass is much easier to clean than plastic making your kitchen job easier.
We recommend storing your starter in a bigger container than you think you'll need. You'll also need to shop for a large-mouthed jar rather than a narrow one. Believe us when we say that it's a pain to fish out your discards when the time comes, and using a narrow-necked jar or having to pour it out only makes it much worse. You should also avoid storing the starter in a metal container since fermentation can cause the metal to corrode.
Be mindful of your water temperature before adding it to your flour
Not only is the type of water you use for your sourdough loaf important but also its temperature. Water temperature is vital to your sourdough recipe because it moderates the rate of yeast proliferation in the mixture. Water that is too cold will not allow for as much yeast activity, so you'll get a better flavor over a longer period of time. Hot water causes the yeast to work and digest the sugars quicker, which will, in turn, cause a faster rise with less flavor.
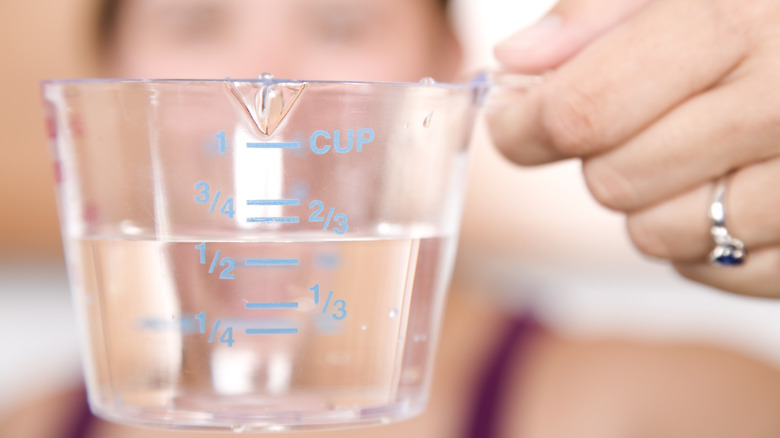
The best of both worlds for water temperature is around 45 F. When the water is mixed in with the dough, it should reach a temperature of about 78 F, which is ideal for yeast activation and flavor development. You can check the temperature of your water with a kitchen thermometer for optimal precision.
Avoid unfiltered water
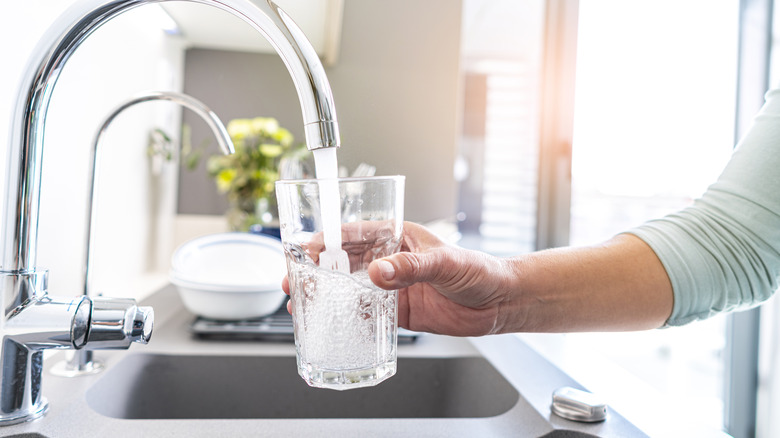
Most people don't think twice about what type of water they use for baking, but the compounds inside of it can play a major role in the flavor and textures of your product. You don't want to use unfiltered water in your sourdough recipe because the chlorine content is bound to kill your starter. The better alternatives include bottled water or cheap, plain tap water. If we're breaking this down to numbers, your water should have between 61 and 120 parts per million (PPM) of minerals like magnesium and calcium, which is rated as "medium-hard" water by the USGS.
If you don't have a water filter, you can also DIY the perfect water for your sourdough by placing a pitcher of water at room temperature for about a day. This will allow the chlorine to off-gas, and then you can pour it into your sourdough starter or the bread recipe itself.
Always preheat your oven before baking

Repeat after us: "I will preheat my oven every single time I bake sourdough." Understand? Neglecting this critical step is the big oven mistake you're making with sourdough. You should start preheating your oven once your loaf is ready for the final proof. Timing this just right will allow your bread to have the proper rise without rendering it too dense and having an oven hot and ready for an awaiting loaf.
The ideal temperature for the final proofing stage is between 68 F and 77 F, with 75% and 85% humidity. While these numbers might seem a bit arbitrary, they are essential for ensuring your yeast stays active and traps the remaining air particles in the bread. If you're baking your bread on a scorching day, where household temps may surge above this threshold, it's best to find an alternative spot to allow your bread to complete the final proof.
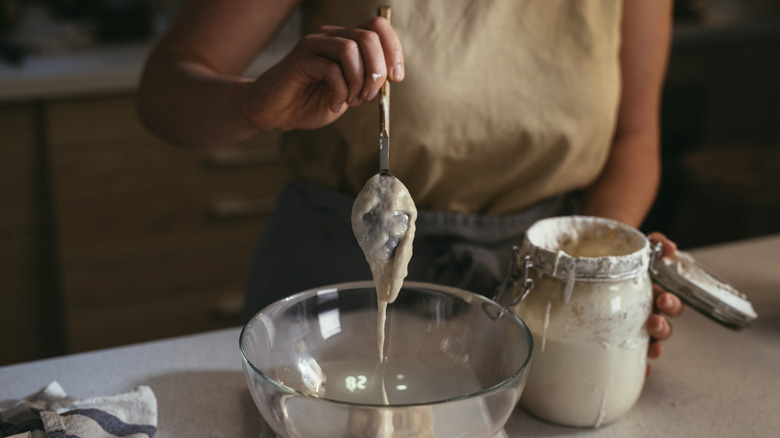
Do a water test to see if your sourdough is ready to bake

Looking at a sourdough starter alone won't clue you into the right time to start baking with it — especially when you haven't completed enough regular maintenance on it to allow it to grow to its fullest potential. As a standard rule of thumb, it's best to use your sourdough only after it's doubled in size and is visually gassy. But this often depends on the ambient temperatures in your kitchen and the time you feed it.
Warm water can help tell if your sourdough starter is ready. Start by filling a bowl or glass with room-temperature water. Take a small sample of the starter and drop it into the water. If it floats, it's ready to add to your recipe. If it sinks, you'll need a bit more time. Try to stick with the same container and the same water for each water experiment to ensure your results are consistent for each time.
Score your loaf to mitigate over-proofing
Overproofing is a mistake bound to happen for baking any type of bread. Proofing is the process that allows the dough to ferment and develop its flavors even more. Plus, it also allows the yeast to produce carbon dioxide and puff back up again. However, when the bread builds up too much carbon dioxide, you'll risk the bread deflating when it hits the oven. You can tell that your bread is over-proofed when it becomes inordinately sticky and stretchy, smells like alcohol, or doesn't bite back when you give it a light poke.
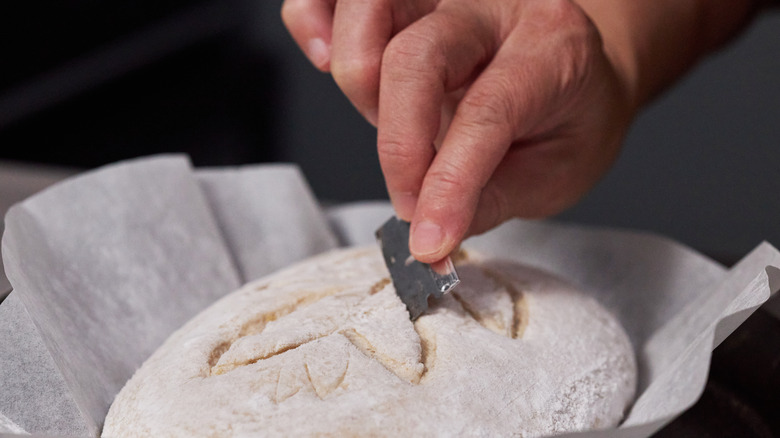
The last-chance method for saving over-proofed sourdough is to score it with a sharp knife. This will allow the carbon dioxide to escape from the loaf without forcing it to collapse in on itself. You can even use your scoring blade to etch interesting designs into your loaf. A sharp paring knife or kitchen shears will suffice for this task, or you can take a page out of the professional bread baker's playbook and use a bread lame.
Add a sprinkle of baking soda to your sourdough
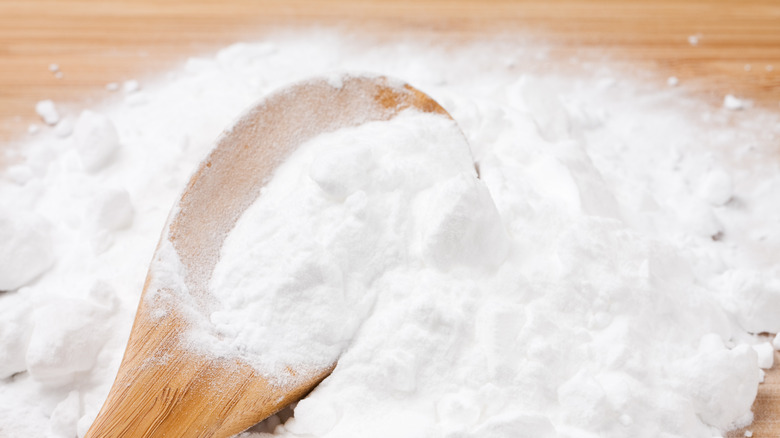
Everyone can use a bit of extra help from time to time. Although it's not a quick bread with a basis of chemical leaveners, sourdough can benefit from a bit of help from another common ingredient in your pantry: baking soda. This powder is especially important because it balances out the acidity in recipes and can make for a more balanced loaf.
You should add baking soda to sourdough because it reacts with the acidic elements of the starter to promote a proper rise. Between a half and a whole teaspoon of baking soda for an entire loaf will do the trick. In addition, the baking soda in the recipe will neutralize some of the tangy flavor from the sourdough (which can admittedly be a little too much at times). It's ideal for when you have a layer of hooch forming after you've neglected your starter.
Store your sourdough in a bag to prevent it from going stale
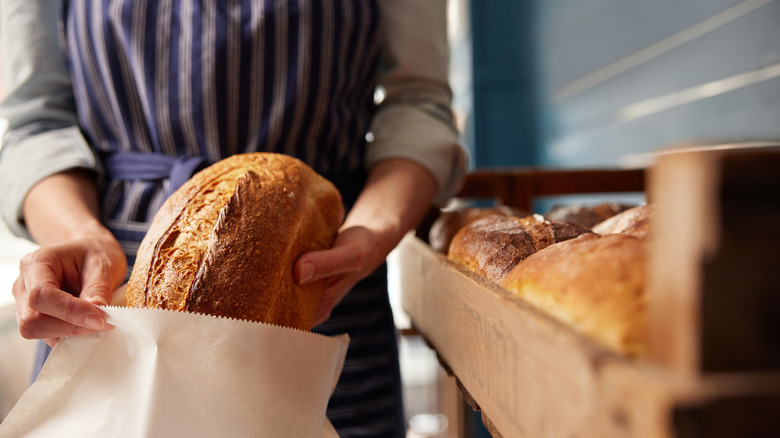
Sourdough is one of the best breads to bake and store. A loaf of sourdough bread can last upwards of five days because of the acids in the starter. But, unless you're making yourself a delicious bread bowl stuffed with broccoli cheddar soup, it's unrealistic to think that you can finish off a whole loaf within this time. Luckily, there are ways you can keep your bread fresh for even longer.
It pays to keep fresh sourdough bread wrapped up because it will help the loaf maintain its soft center and crispy outside. You'll want to wrap it in a beeswax, aluminum foil, bread box, or plastic wrap around the third day. It's important to resist the urge to wrap the bread any sooner because it could release moisture, creating the perfect mold environment.
If the fifth day is approaching, you may want to consider putting the loaf in the freezer. When frozen whole or sliced, you can expect to have "fresh" bread at the ready for between four and six months. Storing your sourdough loaf in the refrigerator is never a good option because it causes the loaf to recrystallize and lose moisture as a result.
Your Dutch oven is your best friend
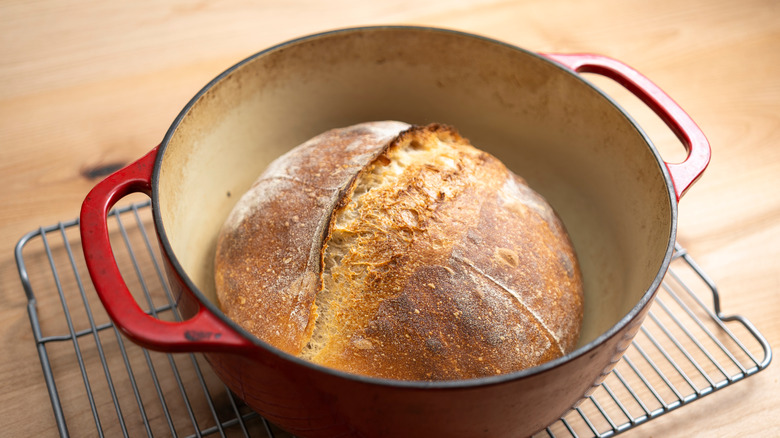
If you scroll through sourdough loaves on your Instagram feed, you'll notice one common theme: the Dutch oven. The enameled pot and sourdough are a match made in heaven because the pot properly cooks the bread every single time. You should bake your sourdough in a Dutch oven because it traps the moisture the bread releases as it bakes, generating a steamy envelope. This steam is important for a crackled exterior and the perfect golden brown color.
You'll need to take some precautions when working with a Dutch oven. These pots are very effective conductors of heat — in fact, too good. To prevent scorching the bottom of your loaf, drop the temperature in the oven by 25 F while you're preheating. You can also add a little bit of cornmeal to the bottom of the Dutch oven to act as a protective coating or use a baking stone on another rack to draw in the residual heat.
Get creative with your discards
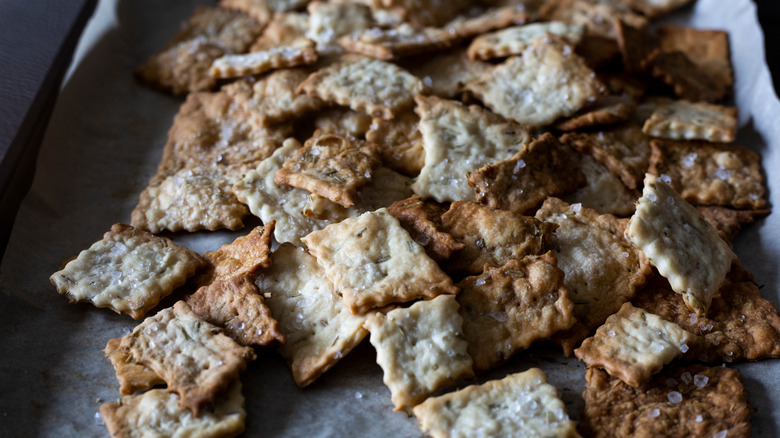
Building up your start can be a time-consuming — and potentially wasteful — process. During each feeding, the individual must remove 113 grams of the existing starter and feed it with 113 grams of flour and 113 grams of water. So then, it bears the question, what do you do with the leftover starter? There are many ways to use your sourdough discards, including enhancing the flavor of your pizza crust and making a batch of snappy crackers seasoned with salt and rosemary.
There are also some more unexpected ways to integrate your sourdough discards into sweet recipes. You can add a bit of tang to your brownies or unique flavor to your layer cake with a little bit of your discards. The acidity of the starter will interact with the leavening agents in the cake and maximize its rise, plus add an element of tang and brightness that will make your baked goods absolutely remarkable.
Use steam to your advantage for a crackled crust
The process of developing that perfectly crisp, crackled sourdough crust will take a little bit of trial and error. If you're cooking with a Dutch oven, you should only plan to cover the bread for the first third of the baking time. This interval will allow the steam from the bread to build in the container, which cooks both the inside and leaves a layer of moisture on the outside of the loaf. Then, you can remove the lid to allow the steam to escape and promote the perfect golden hue on the crust. But to take it a step further, open the door of your oven for the last five to 10 minutes of baking.
Leaving your oven door slightly ajar (with the heat still on) will allow the steam to escape from the oven and promote crispiness. If you maintain an environment that is too moist, you'll risk your bread coming out doughy, bready, and unappetizing. In addition, plan to wait about 15 minutes before slicing your bread after removing it from the oven to allow the crumb to set.
Know when to start fresh with a new starter

Keeping a sourdough starter is kind of like having a kid. You have to feed it and change it — but at least with a starter, you have the option to throw it in the trash when it's just too forgone.
You'll need to feed your sourdough (after you've built a robust colony of yeast) about once a week to keep it active. The trick to reviving a sourdough starter that is on the cusp is to feed it with a fresh starter after bringing it out to room temperature. You'll need to give it about three to four days to come back. But, if you notice a thick layer of mold lingering on the surface of your starter and bread, you'll need to toss the entire starter and start from scratch. You can also tell it's time to toss your starter if you notice it has a pungent, moldy, or musty smell or a strange chunky consistency.
Stick with a high-hydration dough
Sourdough is a high-hydration dough, meaning that it has a high ratio of water compared to flour. Doughs with higher hydration percentages typically have a better dispersal of ingredients than those with a low hydration percentage. In addition, doughs with higher hydration won't need to be mixed as much as one that has a drier texture, which makes it ideal for bakers who tend to overdevelop the gluten in their recipe.
The one tradeoff that a baker will have to make when working with a high-hydration sourdough is the tackiness. If you're starting your sourdough baking experimentation, we recommend starting with 65%. Multiplied by the amount of flour, this will give you the ideal amount of water you should add to your recipe. If you are a little more experienced, you should try and opt for a higher hydration between 75% and 85%. Humidity, altitude, and temperature can alter the consistency and hydration of your dough, so ultimately mixing is a matter of trial and error.