11 Hacks For Making Toast That'll Elevate Each Slice
Even if you're a morning person, your breakfast routine might still feel like a mindless shuffle. You hit the button on your coffee maker, snatch a banana, and pour milk over your cereal without fully registering what you're doing. And don't even get us started on the toaster routine — throw in a couple of bread slices, slam down the lever, and hope for the best. Making toast has become such a mindless part of our mornings that we rarely stop to think if there are ways to enhance it.
But what if we told you there's a whole world of toast-making techniques out there? We're here to shake up your breakfast routine and introduce you to hacks that will revolutionize your toast game. From pan-frying toast to utilizing unconventional appliances like your coffee maker, we'll dive into creative methods to elevate the texture, taste, and overall quality of your morning toast. So, if you're ready to step outside the confines of your toaster and discover all of the toast-making possibilities, then read on to unlock the secrets to perfect toast every time.
Make pan-fried toast instead
Forgive us for being melodramatic, but you've been making toast wrong your whole life. Sorry if that makes you question your very existence (or at least your beloved breakfast routine), but hear us out. When most people crave a slice of toast, they reach for the toaster. It's so logical and routine that none of us has stopped to think about whether or not there's a better way to prepare our breakfast bread. We're here to tell you that there is a better way.
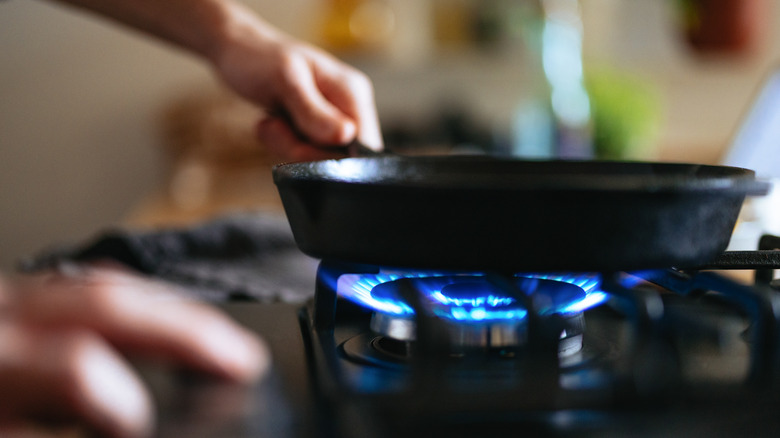
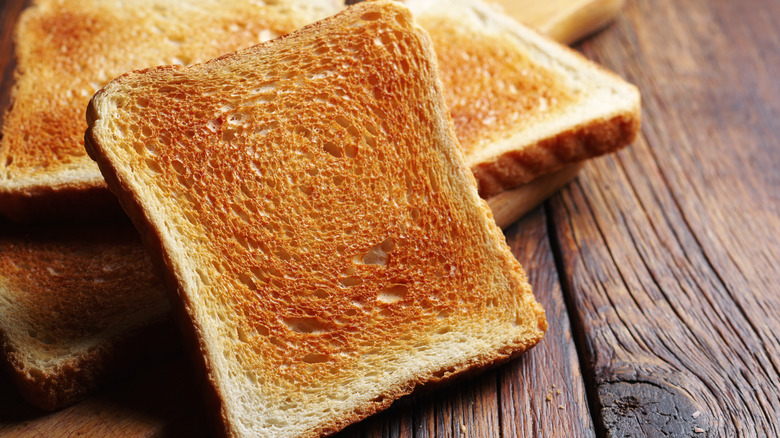
The next time you're craving toast, step away from the toaster and reach for a frying pan instead. That's right, your trusty cookware is the secret to some of the best toast you'll ever make. For this hack, add a tablespoon or 2 of your preferred fat (quality olive oil or butter will do the trick) and heat it over medium until shimmering. From there, toss in the bread, flip once one side is golden, and then allow the other side to brown. Top the toast with jam, fresh fruit, or even last night's leftovers.
Unlike the rocky results you get from the toaster, this technique is almost guaranteed to produce top-quality toast every time. Not only does it create the perfect golden brown shade, but the texture — crispy on the outside, pillowy on the inside — is unbeatable. Plus, the savory notes from the fat add an entirely new dimension of flavor to an otherwise bland comestible.
Put your coffee maker to work
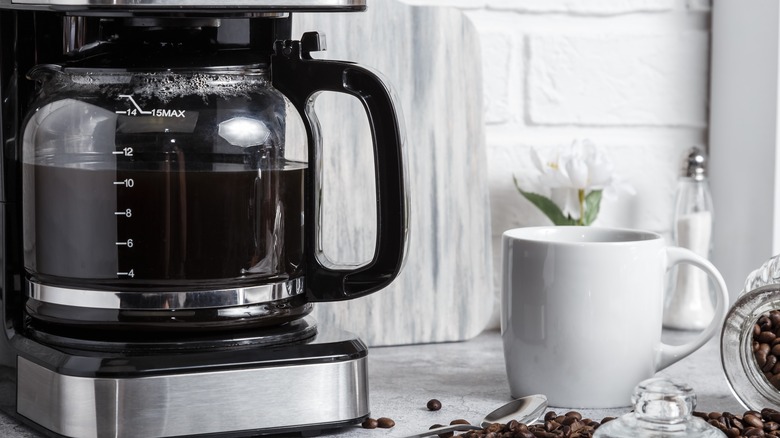
You probably won't have to employ this hack unless you find yourself in a hotel room or poorly-stocked AirBnB, but it's always helpful to have a few MacGyver-worthy tricks up your sleeve should the need arise. Similar to the last tip, this one does away with the toaster oven and substitutes it with a rather unconventional appliance — a drip coffee maker (which is better than a Keurig).
In addition to brewing the perfect cup of Joe, a drip coffee maker doubles as a miniature hot plate in a pinch. To take advantage of this hack, start by laying a piece of bread on the warming plate. Alternatively, you can cover the plate with aluminum foil before placing the bread to prevent sticking, but if you don't have any, you can easily do without. Top the slice with a heavy-ish object such as a piece of fruit or a mug. Similar to a panini press, this helps cook the bread more quickly and thoroughly.
Speaking of time, make sure you have plenty of it when trying out this hack. It'll take about 20 minutes to achieve toasty perfection using the coffee maker method. The lengthy preparation time is one downside to this technique. The slightly smooshed bread from the weighted object is another. And if you go sans foil, be ready to scrape stuck bread pieces from the hot plate. This method is not without its drawbacks, but you never know when it'll come in handy.
Embrace the flip and spin technique for evenly toasted bread
For this tip to make sense, we have to explain a bit about how toasters work. Don't worry, this isn't some boring course about thermodynamics or mechanical engineering. Simply put, every toaster has hot and cool spots. Toasters employ radiant heating to crisp bread, but because they're open appliances, controlling the heat can be a challenge. Given that achieving that perfect golden brown toast relies on the Maillard reaction, which is sensitive to temperature, any fluctuations can hinder your quest for the ideal slice.
Instead of fighting with your appliance or accepting mediocre toast, give the flip-and-spin method a try. As the name suggests, this technique involves rotating the bread while it's toasting. start by toasting the bread on low to medium heat. When it pops up, flip it upside down, and rotate it 180 degrees. Then, toast it again on low to medium heat. By rotating and toasting the bread twice, you'll counter the effects of uneven heating and significantly improve the quality of your toast in the process.
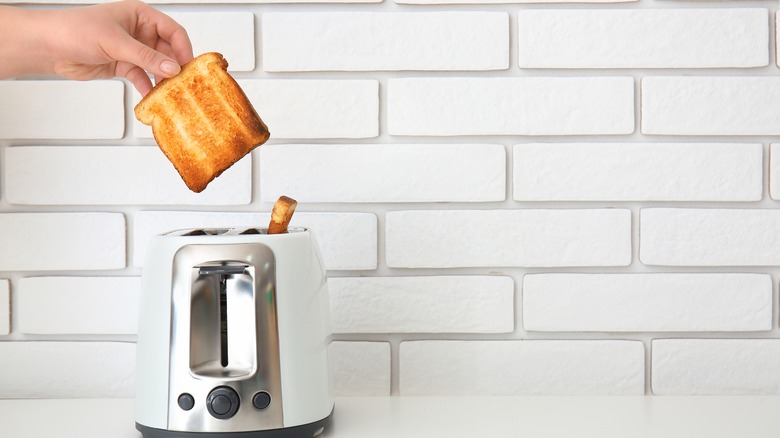
Ignore the dial and use a thermometer and stopwatch
We're just going to come out and say it — your toaster has been lying to you. That dial you use to adjust the toasting time? Turns out, it's hardly accurate when it comes to determining how long your bread stays inside the appliance. For example, on some appliances, the two setting toasts bread for approximately a minute and a half, while the four setting cooks for just two minutes and 53 seconds.
These inconsistencies can be frustrating, especially if you've experienced the disappointment of undercooked or burnt toast. Rather than getting exasperated or endlessly tweaking the settings, consider using a thermometer and stopwatch to track the toasting process. After toasting 2,000 slices, a dedicated bread researcher (yes, that's a real job) determined that 309 F is the optimal toasting temperature. So, grab your thermometer and adjust the heat accordingly. Additionally, it takes roughly 216 seconds for bread to transform from pale white to a perfect golden brown, so keep a close eye on your stopwatch. Armed with this knowledge, you'll never misjudge your toast again.
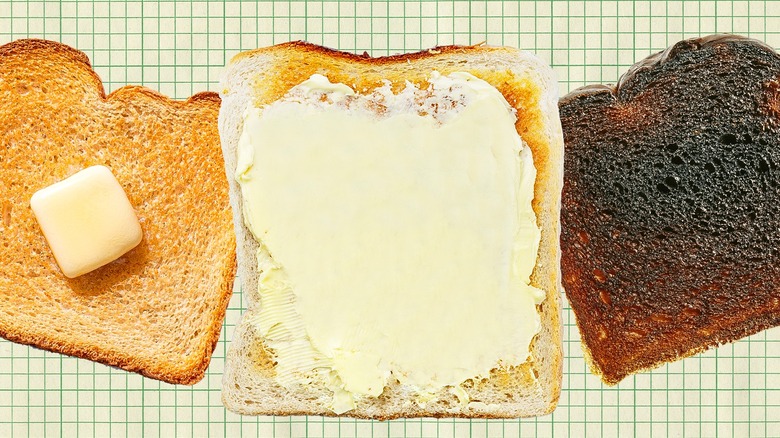
Butter the bread before toasting
Some kitchen practices, like preheating the oven, allowing meat to rest before cutting, and avoiding overcrowded pans, are widely accepted as best practices. But then there are others, like buttering bread after toasting, that seem like gospel but are more flexible than you might think. Believe it or not, there's no strict rule saying you have to wait for bread to become toast before buttering it. You can flip the whole process on its head and butter the bread first.
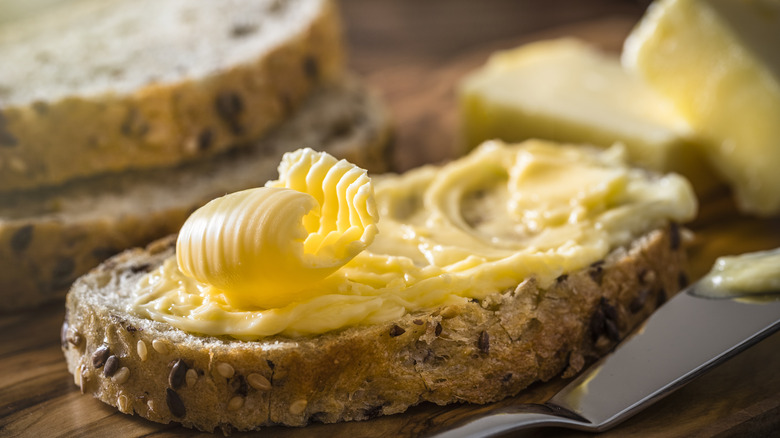
This might sound unconventional, but there are good reasons behind it. When you butter the bread first, the butter melts and seeps into the bread, giving it an irresistibly rich flavor. Not only does pre-buttering enhance the taste, but it also improves the texture, resulting in a toast that's crispy on the outside and fluffy on the inside. Consider the alternative: Adding butter after toasting can actually soften the crispy exterior.
If you're tempted to try this hack, there are a couple of things to remember. First, make sure you're using soft, room-temperature butter. You're spreading it on bread, so you don't want the bread to tear. Second, only use this hack with toaster ovens or oven broilers. Pre-buttered toast will melt, drip, and potentially even start a fire in a pop-up toaster.
Try out different cooling techniques
As tempting as it may be to grab freshly popped toast straight from the toaster, slather it with butter, and take a hearty bite, it's wise to resist the urge for instant gratification. The harsh truth is that this impatience often results in burnt fingers and a scalded tongue. Toasters can reach temperatures ranging from 310 F to 450 F, so it's smart to let toast cool a bit before digging in. That's all well and good, but there's the catch: as toast cools, it gets soggy, something that's guaranteed to ruin your breakfast experience.
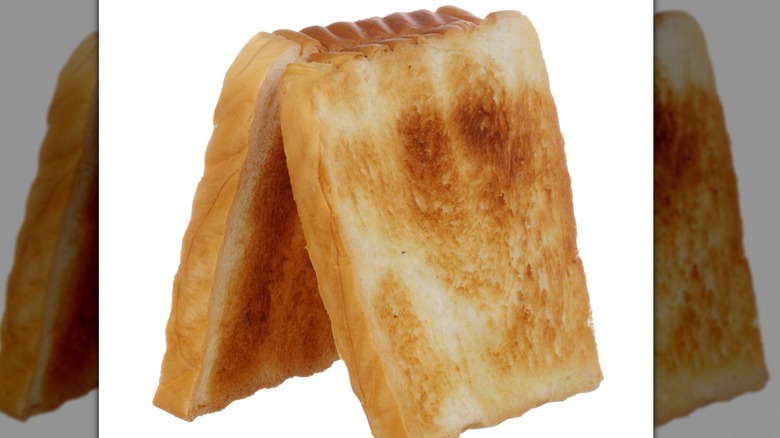
Thankfully, there are some simple techniques to prevent soggy toast. One easy method is to leave the toast in the toaster until you're ready to eat it. This keeps the toast warm (but not too warm) without making it soggy. Alternatively, you can let the toast rest on a wire cooling rack. This allows for airflow, which is essential for both cooling and preventing condensation. Another option is to tent your toast. Simply balance two slices against each other in the shape of a tent. This encourages airflow without trapping heat and causing condensation. And if you're only making one slice, no worries — just cut the toast in half and tent the two halves together.
Spread butter more easily with common kitchen tools

Toast is undeniably delightful, but it comes with its fair share of annoyances. Sharp edges that cut your mouth, bread that cooks unevenly, and crumbs that get everywhere are just a few of the frustrations. Topping the list of irritations is the heartbreak of toasting a picture-perfect golden slice, only to have it demolished by the first swipe of a butter knife. Sure, you could avoid this disaster by letting your butter sit on the counter for 30 to 45 minutes, but honestly, who plans that far ahead? Otherwise, you might try microwaving it, but let's be real — achieving the perfect temperature is a lesson in futility.
Enough with these outdated butter-softening techniques. It's time to make use of the kitchen tools lying around your house to solve the butter issue once and for all. Vegetable peelers are one option. Simply glide the peeler along the surface of cold butter, apply the slices to piping hot toast, and watch as they effortlessly melt. Once softened, a quick swipe of a knife is all it takes to coat every inch of your toast in creamy goodness. Alternatively, a cheese grater is helpful in evenly distributing the butter over toast in small, easily meltable pieces, ensuring a flawless spread every time.
Grab stale bread to make crispy toast
We've all been there: the early morning rush, the hunger pangs, and the hopeful reach for a slice of bread, only to find it transformed into a stiff board overnight. Panic sets in. Do you toss it aside in defeat, or do you embark on a mission to revive it? In the interest of curbing food waste and enhancing your morning toast experience, it's worth giving that stale bread a second chance.
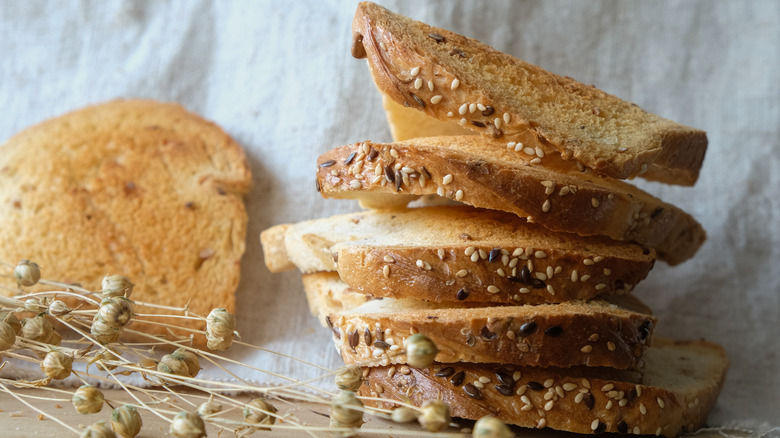
Staleness occurs when water molecules migrate from the gluten to the starch in bread, forming rigid crystalline structures in the process. Fortunately, toaster heat has the power to reverse this process, breaking down those crystalline structures and restoring some of the bread's flexibility. Put simply, toasting stale bread softens its rigidity, resulting in a toast that's crispy yet easy on the teeth. Now, keep in mind that not all stale bread is created equal. If your slices have reached a level of hardness that threatens to defy the blades of a serrated knife, it's time to explore alternative uses. Think croutons, bruschetta, or breadcrumbs for those rock-hard slices.
Keep toast crispy with paper towels
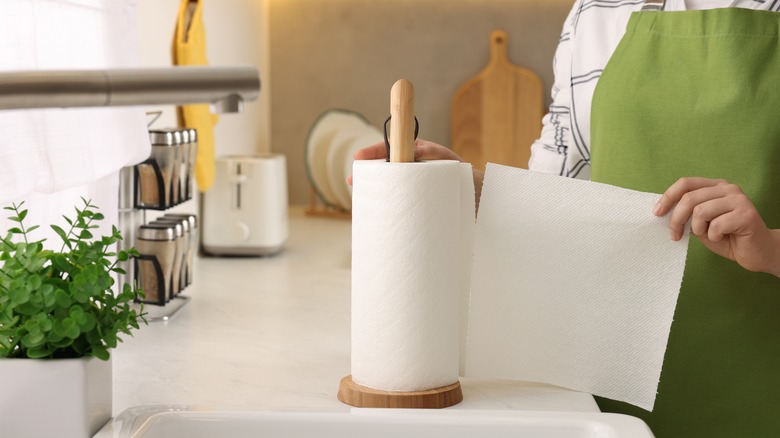
Indulging in a perfectly crispy slice of toast is a morning ritual many of us cherish. But what to do when you're tasked with preparing toast for a group or packing it for later use in a sandwich? The key lies in preserving its crispiness against its arch-nemesis — moisture. Thankfully, there are plenty of tips you can employ to ensure your toast stays delightfully crispy until the moment it meets your mouth.
Start by toasting the bread until it reaches a medium brown color. Any lighter, and the crispiness likely won't hold up. Once toasted, allow the slices to cool in the toaster for a few extra minutes to ensure thorough drying. And definitely avoid laying the toast flat as it cools. Instead, transfer it to a cooling rack to promote airflow and prevent moisture buildup. Now, armed with a perfectly toasted and cooled batch of bread, it's time for the final key step. Snugly wrap each slice in a paper towel before placing them in a plastic bag or ventilated sandwich container. This straightforward yet effective measure helps absorb any excess moisture, safeguarding the toast's crunchiness for minutes, or even hours, until you're ready to enjoy it.
Warm your plate to avoid condensation
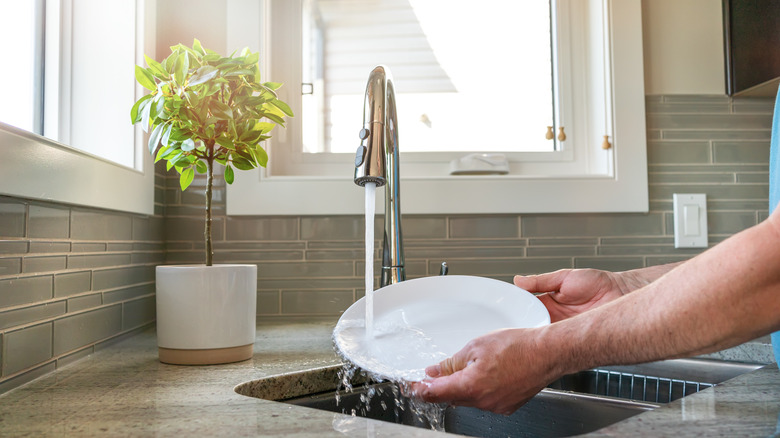
If you've been paying attention, then you've likely grasped the golden rule of crispy toast: keep it moisture-free. Whether it's tenting slices as they cool or wrapping them in paper towels, there's no shortage of methods to outsmart the dreaded beast known as condensation. Another nifty trick to add to your arsenal is to prewarm plates before placing toast on top. By heating the plate to a temperature closer to that of the toast, you significantly diminish the risk of condensation and, thus, soggy bread.
In case you need a refresher on third-grade science, condensation occurs when warm air meets a cold surface. The warm object (aka the toast) cools rapidly, releasing moisture that forms as liquid droplets on the chilly plate. Like a sponge, the toast eagerly absorbs this moisture, resulting in sogginess. If the plate is warm, condensation won't form as readily. It's as simple as that. Warm your plate by running it under hot water, placing it in the oven warming drawer for 15 minutes, or microwaving it alongside a cup of water for two minutes.
Salvage burnt toast with a cheese grater
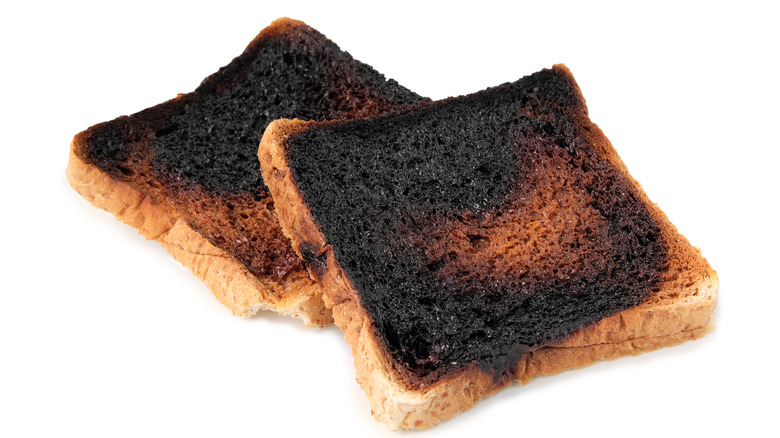
Making toast may seem like a breeze — just pop the slices into the toaster, press the lever, and await the satisfying pop. Yet it's all too easy to miss the mark. Perhaps you've misjudged the toaster settings on an unfamiliar machine, or rogue crumbs have thrown off the toaster's temperature. Whatever the cause, you're left with a piece of toast that's gone beyond golden to charred. It's a disheartening sight, especially in those groggy morning moments, but all is not lost.
You might be tempted to reach for a knife to scrape away the burnt bits, but it's not the most effective tool for the job. Rather, it's the trusty cheese grater that comes in to save the day. With its serrated surface, it's tailor-made for the task at hand. Not only does it tackle the job with ease, but it also treats the toast with a gentler touch, minimizing the risk of accidental punctures. Take advantage of this hack by rubbing the charred toast in circles along the coarse side of the grater, ensuring you do so over a bowl (more on that shortly). Once most of the offending bits are banished, switch to a finer grater for those finishing touches. As for the burnt bits in the bowl? Don't toss them away! Their nutty, smoky flavor lends intriguing notes to ice cream, homemade spice blends, and baked chicken.