The Messy Mistake You're Making With Silicone Molds
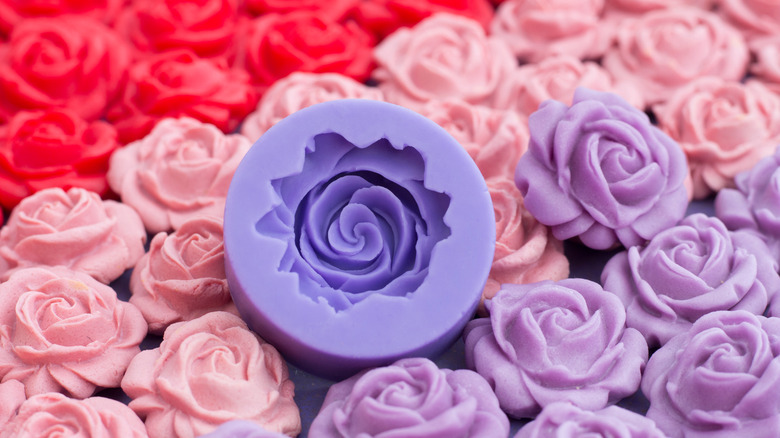
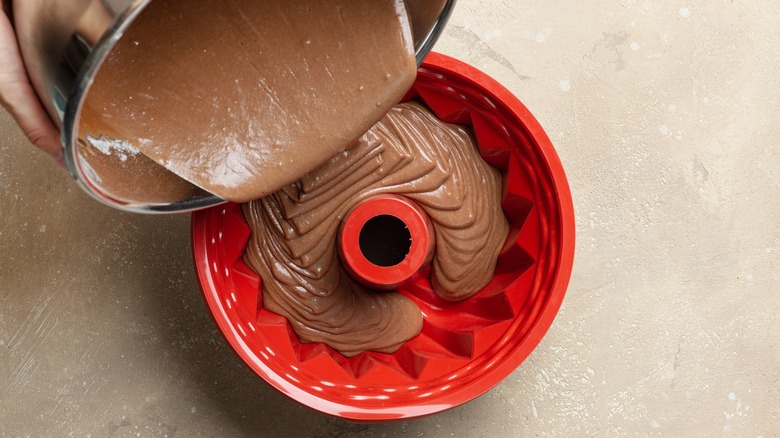
Flexible silicone molds are a baker's best friend for both fast cleanup and easy removal of cakes and pastries in one piece. You'll find everything from simple cake and cupcake pans to very complicated bundt and flower designs available in silicone shapes, but some bakers find cake sticking in the smaller crevices of the most intricate designs. It's tempting to spray those molds with non-stick oil spray, but that's a huge, sticky mistake.
You might have imagined that aerosol cans of oil are simply oil, but that's unfortunately not the case. Non-stick spray is also composed of emulsifiers and preservatives that allow the oil to create tiny drops and stay safe in the can before you use it. There's also a propellent that pushes the oil out of its container. All of these additives can build up on the surface of silicone as it bakes and make the surface sticky instead of providing that easy-release texture you expect.
How to work with silicone molds for the best result
If you anticipate that your silicone mold design will need some help releasing cleanly, you can lightly rub the surface with cooking oil or butter to add some insurance. However, in most cases, this shouldn't be necessary, especially if the mold has not been exposed to spray oils.
If you've already been using sprays on your molds and notice the sticky build-up, there are a few steps you can take to try to remove it, although the damage may be irreversible if the coating is baked on from many cycles through your oven. The first step is to wash with hot, soapy water using a dish soap with grease-cutting ability. If the mold is still sticky, a light scrub with baking soda might dislodge the stuck-on spray. One more tip — if your baked goods are undercooked, they can stick even if the mold is in perfect shape, and allowing your cakes to cool slightly in the mold helps them to pop out effortlessly!

