Isomalt Is The Key To Beautiful, Sugar-Free Creations
We may receive a commission on purchases made from links.
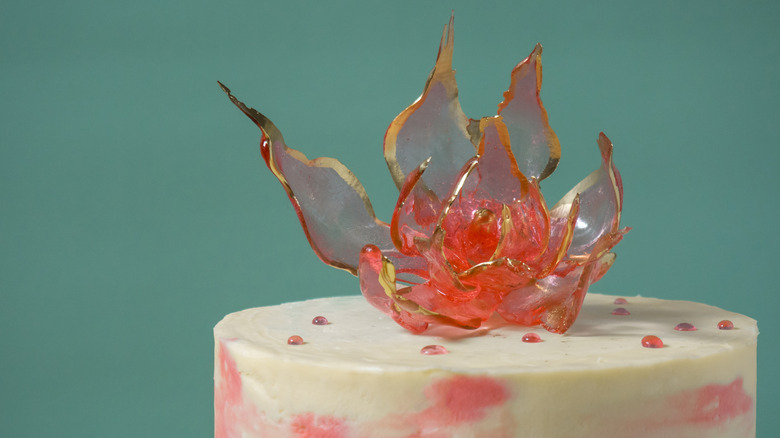
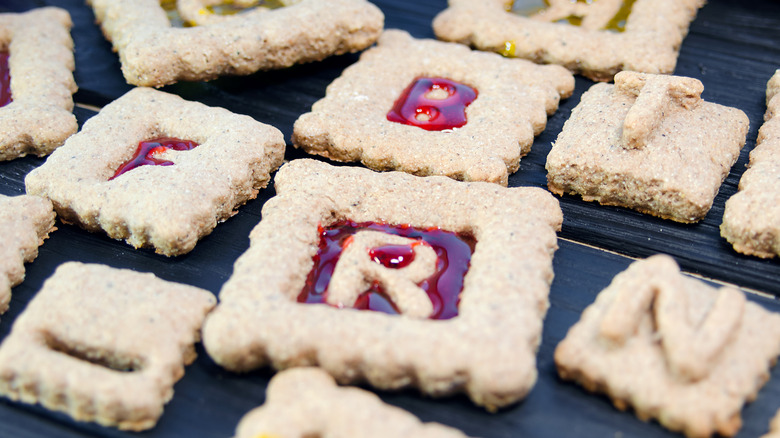
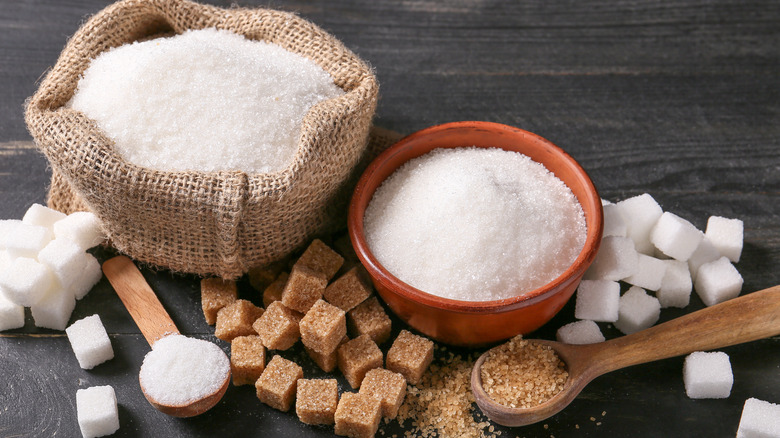
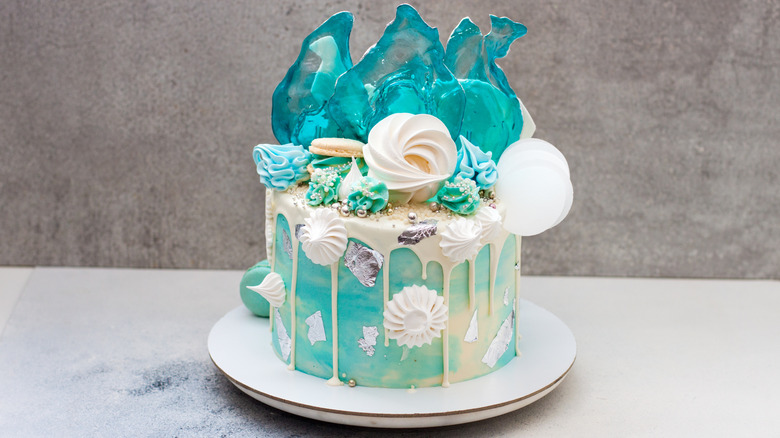
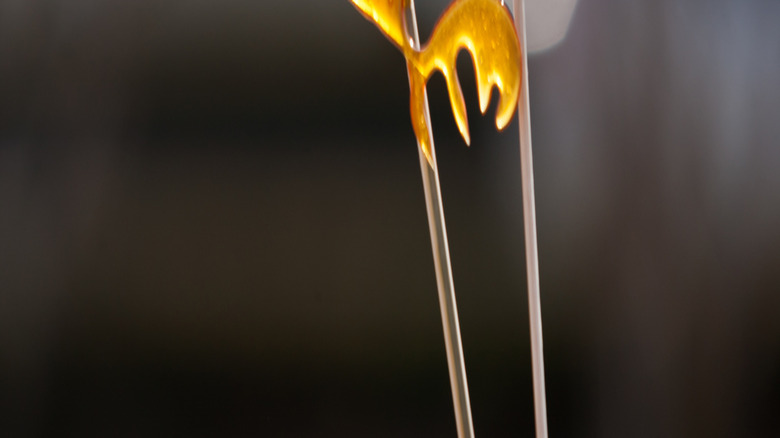
Have you ever seen the jaw-dropping sugar flowers and beautiful fire-like pieces on elaborately decorated cakes? Or perhaps you've pondered about ways to make your gingerbread house windows extra special without just piping on the royal icing. Both of these instances have an ingredient in common, and it may not be as straightforward as the granulated sugar you buy in a 5-pound bag at the grocery store.
Many professional and home bakers prefer to use isomalt for their elaborate decorations over traditional sugar. This synthetic sweetener has changed the game for how confectionery is made because it is less finicky and easier to work with than sugar. This is good news for novice bakers who are looking to make their cakes look better without crying over crystallized sugar. We're here to help you learn the ins and outs of working with isomalt and how to use this ingredient to help take your sweet decorations to the next level.
What is isomalt?
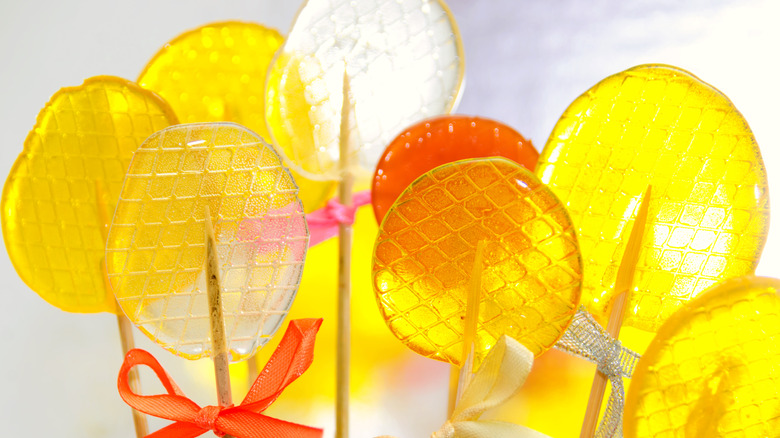
Isomalt is not the same as sugar, although they share some of the same properties. This synthetic ingredient was created in labs back in the 1950s and early 1960s as a replacement for sugar in sugar-free candies and foods. Although it is not widely known among cooks and bakers, the ingredient has made a splash in the world of confectionery because it can easily be melted down into a molten state and used for sugar-free lollipops, cake decorations, and even the windowpanes on your cookies. Modern bakers often use isomalt to create beautiful, translucent sugar work to add depth to their cakes without having to rely on ingredients like fondant and marzipan.
Unlike sugar, isomalt is a sugar alcohol. This means that it has significantly fewer calories per gram than sucrose (sugar) and a less sweet taste that is often bolstered by other artificial sweeteners to give it a sugar-like taste.
How is isomalt made?
Isomalt is derived from beet sugar and undergoes several chemical reactions to get the sugar to its newfound state. First, a bacterial enzyme transforms the beet sugar from sucrose to isomaltulose. Then, the product is hydrogenized to produce the isomalt powder. The resulting powder is odorless and colorless. Chemically speaking, isomalt is comprised of 50% glucose, 25% mannitol, and 25% sorbitol.
Like other polyols (sugar alcohols), including sorbitol and xylitol, isomalt has a significantly lower sweetness compared to table sugar. It's about half as sweet and has many of the same properties as sucrose. However, unlike sugar, it does not contribute to dental cavities, making it a popular addition to sugar-free gums and throat lozenges. Another important property that sets isomalt apart from other sugars and sugar alcohols is that it resists crystallization, which makes it a better option for candy-making than corn syrup or granulated sugar.
Can you add color and flavor to isomalt?
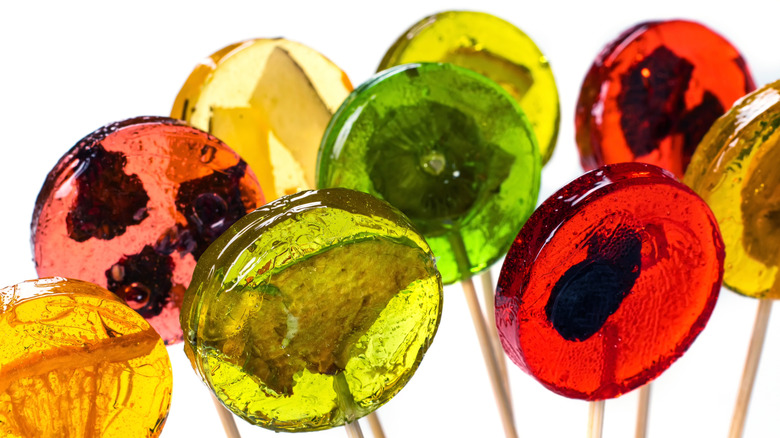
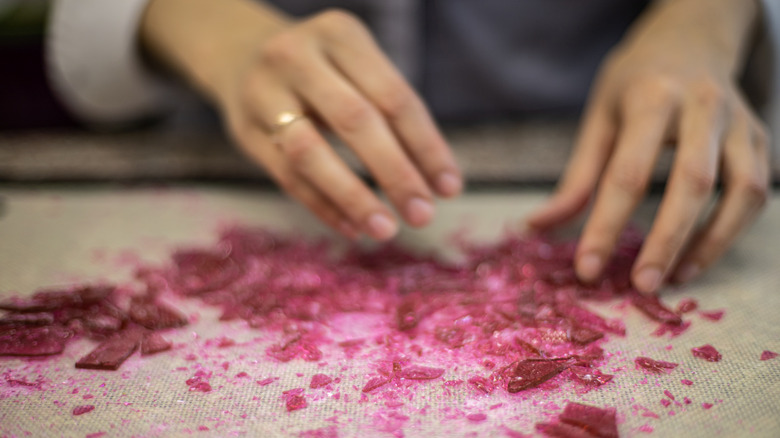
In its original state, isomalt is colorless and odorless. Many confectionery specialists will add flavor and color to their decorations using different dyes and flavor agents. Sugarmakers can apply gel colors, liquid food colors, and powdered food colors to give isomalt a personal touch. These ingredients should all be mixed into the isomalt while it's hot to diffuse the color. Some sugar makers will also add a spritz of glitter spray to the isomalt after it finishes hardening to impart a bright, shiny appearance to it; this ingredient should not be added to the isomalt while it's hot.
Oils and extracts can also change the profile of your isomalt decorations. Oil-based flavors won't evaporate like alcohol-based extracts, making them a more potent addition to your isomalt. You'll only need to add a few drops of this extract to an entire batch of isomalt because it's super potent.
How does isomalt differ from other sugar substitutes?
There are many different sugar options out there, so how do you decide which is best for your creation? Isomalt is a vegan, gluten-free alternative to sugars that contains fewer calories than plain sugar. However, because of the compounds in the isomalt, it is not suitable to make an entire cake or frosting recipe out of it. But you can still use it for small decorations. It doesn't crystallize as much as sugar, resulting in a smooth, translucent candy that doesn't change colors unless heated past 400 F. Alternatively, sugar will undergo the Maillard reaction at high heat, which will cause it to turn brown and into caramel, while isomalt does not.
For sugar sculptures or candy, you can substitute sugar and isomalt easily. But, if you're baking a cake, bread, or dessert, you're best off using plain granulated sugar or a type of artificial sweetener that can be safely consumed in large quantities, like stevia or sucralose (Splenda).
Is isomalt safe to eat?
Isomalt is considered to be a safe ingredient to consume in small quantities. This is because the intestines cannot absorb the sugar alcohols in the isomalt, so the alcohols, in essence, just pass straight through the body. As a result, too much of this sweetener can give you an upset stomach and cause diarrhea.
One of the reasons why isomalt is a popular additive is because it is low on the glycemic index and won't dramatically raise insulin levels. This makes it a safe option (consumed in moderation) for folks who have diabetes or those adhering to a keto diet. It is recommended that folks limit their consumption of sugar alcohols, which includes isomalt and other artificial sweeteners, to around 10 grams to 15 grams per day. Some studies have indicated that consuming 20 grams to 30 grams of isomalt per day can cause gastrointestinal distress and a laxative effect.
What kinds of isomalt can you buy?
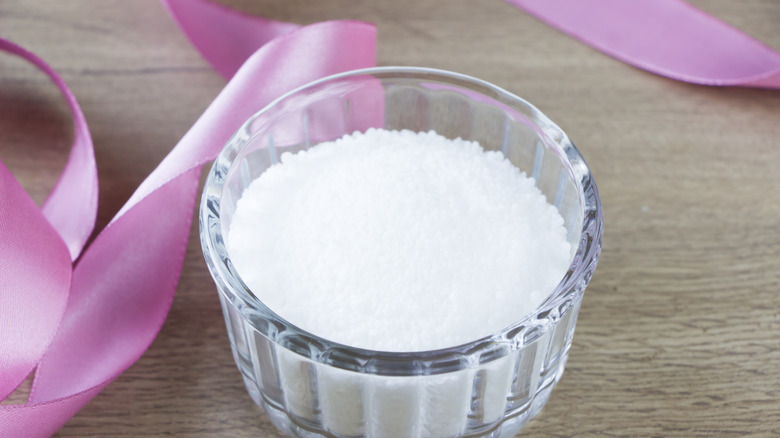
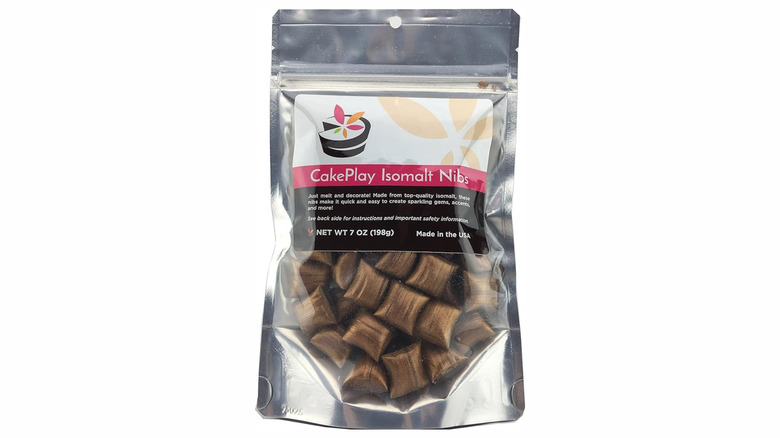
There are three primary types of isomalt that you can purchase from a store: isomalt crystals, isomalt nibs, and isomalt sticks. The nibs and the sticks are sold pre-cooked, while the crystals require cooking before they can be used for sugar work. In addition, the crystals are relatively easy to add color and extracts to, but you can also add coloring agents once you've remelted the other two products. Typically, crystals are cheaper than nibs and sticks, but they require more work to prepare. Plus, once you've cooked down the raw isomalt and popped it into a mold or ice cube tray, you can always heat it up to make it pliable again. Our go-to is the isomalt sticks because they can be easily remelted in a microwave and molded into your desired shape.
Arguably, the most hands-off way to work with isomalt is to purchase the decorations for your cakes or cupcakes pre-made. You can purchase pre-molded isomalt gems from brands like Wilton for an easy decoration for which you don't have to pull out a candy thermometer.
What tools do you need to work with isomalt?
Working with isomalt or sugar work can be a bit intimidating for any baker. But with a clear method and a quick read of the instructions on the back of the packet, you too can make isomalt work in your home kitchen.
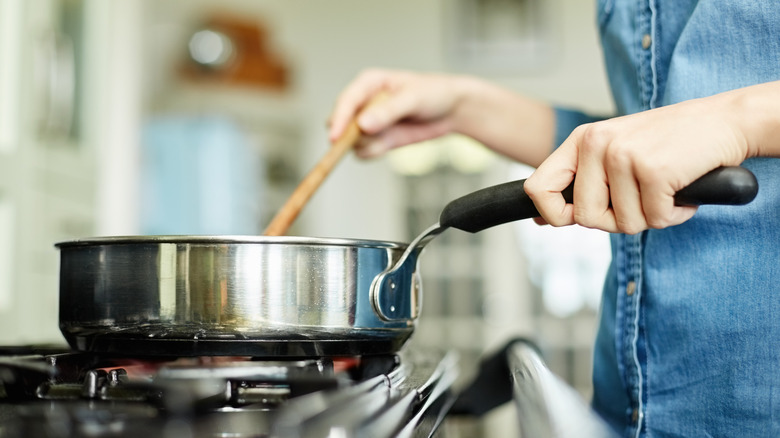
The trick to working with isomalt is to have the supplies you'll need on hand before you even open the bag of crystals. Isomalt is very hot and sticky, so you should always protect your arms from sugar splatter and have a silicon bowl and utensils to prevent the sugar from sticking. You should pick up a pack of nitrile gloves to protect your hands from burns while you're cooking the isomalt and always use a non-stick or stainless steel pan for melting down your isomalt. If you're heating your isomalt on the stove, you should also keep a candy thermometer handy since temperature plays a big role in the structure of your isomalt decorations.
When it comes time to scoop the isomalt into your molds, you can always use a silicon cupcake tin liner to help transfer and pour with precision. You should also use temperature-safe molds to shape your sugar, or if you're freehanding, stick to a silicon mat. Otherwise, you could melt down a plastic mold when you pour your hot isomalt into it.
What can you use instead of isomalt?
Isomalt is one tool in a baker's arsenal. It's odorless, colorless, and easily re-melted to shape different things. Plus, it's also a great pick for candy makers working in humid or moist environments because it won't crystallize like a temperamental granulated sugar would. Additionally, sugar tends to cool relatively quickly, which diminishes the window a sugarmaker has to handle it. Isomalt, on the other hand, cools down slowly so it can be more readily manipulated before it gets too hard.
But there are some benefits to using sugar over isomalt. Sugar tastes, well, like sugar, which makes it ideal for candy-making, where the end goal is to eat the piece, like an old-fashioned ribbon candy. But, if you're making a fantastic display piece in a finicky environment, stick to the isomalt. It's also a bit more friendly for beginners because it won't crystalize as fast. And leave the other artificial sweeteners out of this sugarwork equation because they don't have the same structure as isomalt.
How can you use isomalt to decorate things?
The standard for making an isomalt with raw crystals is to add it to a pan with enough water for the mixture to resemble the consistency of wet sand. Adding too much water will increase the time it takes to cook it off, so it's best to add the water incrementally to get to your perfect consistency. Add your colors to the isomalt while it's cooking, and the temperature is around 120 F, so the water has time to cook off before you start working with it. Once the crystals have dissolved and the mixture's temperature reaches around 350 F, you can let the mixture cool down to about 275 F before adding it to molds or handling it. As always, make sure your hands are covered to prevent any accidental burns.
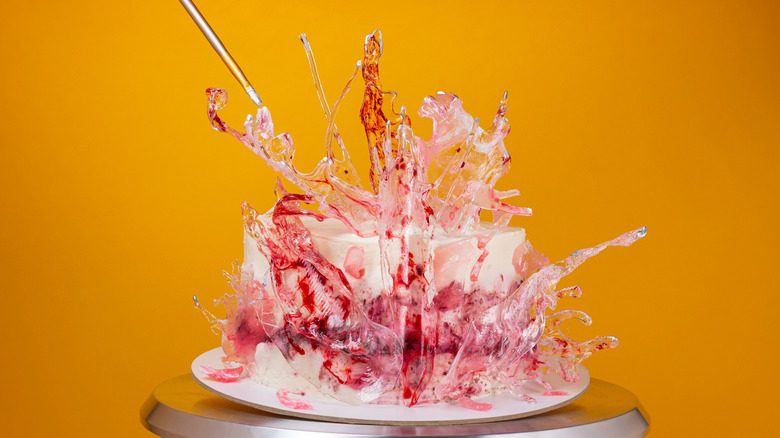
Once you have your mixture cooked down, the options for shaping it are endless. You can make it into a hyperrealistic geode or blown sugar bubbles, or just stick to the gems and molds for an easy decor upgrade.
How do you store isomalt?
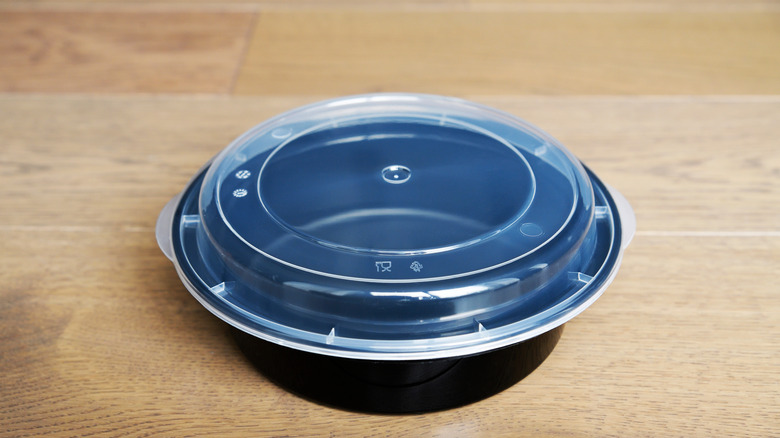
Isomalt must be stored properly to keep it useable for a long time. If you have leftover isomalt, you can put it into a microwave-safe container with a lid or store it in blocks wrapped in plastic wrap. Before storing your isomalt, add a silica packet to soak up any moisture. If you minimize air and moisture encroachment, your cooked isomalt will be safe to use for two years. You should never store your isomalt in the refrigerator or freezer because the humidity and moisture can dissolve the sugar and destroy a beautiful sugar piece.
Raw isomalt should also be kept in a sealed container at room temperature to prevent moisture encroachment. The best way to know if it's time to toss your isomalt is when it gets cloudy. When the sticky exterior dries out, it will resolve and cause the product to lose its shine. This is irreversible and can impact the final appearance of your sugar work if you still try to use it.
What are the most important considerations for working with isomalt?
Isomalt may be an easier alternative to sugar, but that doesn't mean it's an entirely fool-proof tool for sugar work. The ideal conditions for working with isomalt are low humidity; this will encourage your isomalt to set and not to turn sticky. You should also always use a candy thermometer to be sure that your isomalt is completely cooled or set, as an improperly set isomalt may mean that not enough of the water has cooked off for it to harden completely.
You should also monitor the color and consistency of your isomalt as you're cooking it. If any impurities or foam come to the top as you cook it, be sure to skim it off to prevent your isomalt from becoming cloudy. Lastly, be sure you're using non-stick cooking materials, including ditching your trusty wooden spoon for a silicon one.
Where can you buy isomalt?
Isomalt is widely available at many online retailers, like Amazon, and can also be found at food and craft supply shops like Joann's Fabrics and Michael's. Look for the bags with the fondant, food coloring, and other baker's ingredients on store shelves. You can purchase the nibs, crystals, or sticks from most retailers depending on your comfort level, and make it a one-stop shop to pick up your molds and coloring ingredients, too.
In addition, some retailers will also offer kits with all the tools you need to become a sugarwork master. These kits are excellent for those folks just getting started in the isomalt world and looking for a way to upgrade their showstopping desserts.
Purchase Isomalt Crystals (16 ounces) on Amazon for $11.99.
Purchase Fancy Sweets Pre-Cooked Isomalt Cubes (7 ounces) on Amazon for $12.90.
Purchase CakePlay Isomalt Nibs (assorted colors, 7 ounces) on Amazon for $16.90.
You can make gingerbread house windows look cool with isomalt

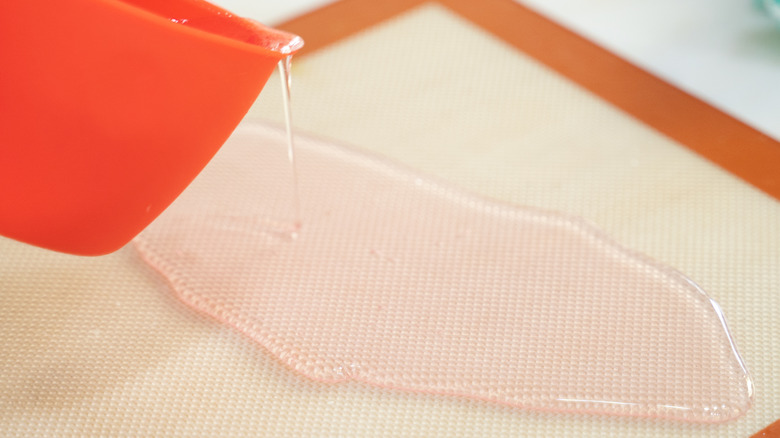
Gingerbread houses are one of the baking pinnacles of the holiday season. Instead of just using plain, white royal icing to add some designs to your special edible abode, you can use isomalt to add a pop of color and a sophisticated element to make your Christmas gingerbread house stand out. Lay your piece of baked gingerbread flat on a greased or silicon-lined sheet. Then, pour the isomalt directly into the windowpane and allocate a few hours for your window panes to set before attaching the side of your house. Get creative and dye your windows festive shades, or stick with the plain transparent shade.
Around the holiday season, you can also use isomalt to make nifty edible glass ornaments. Simply stamp a hole (or use a cookie cutter for a design) in the center of your roll-out sugar cookies. Then, pour in your liquid isomalt and set the cookies aside to allow the glass to harden.
Why your isomalt isn't coming out clear
One of the horrors of working with isomalt is watching it come out cloudy rather than translucent. There are a couple of primary reasons why your isomalt shapes are coming out "dirty" rather than clear, which ultimately comes down to your technique. Always start with high-quality isomalt and note whether it needs to be cooked or not first. Another important change that you can make in your recipe is swapping out tap water for distilled water. It's worth using distilled water because it does not contain as many minerals like magnesium, calcium, and potassium, so it's less likely to cloud up your perfect translucent melt.
Another reason why bubbles might appear in your isomalt is because you did not heat it to the correct temperature or you rushed the process of getting the isomalt into your molds. Both of these can cause bubbles, which lead to impurities in the final appearance of the isomalt. Always take your time and be patient; clear isomalt is always worth the wait.
Use molds for fun, simple isomalt designs
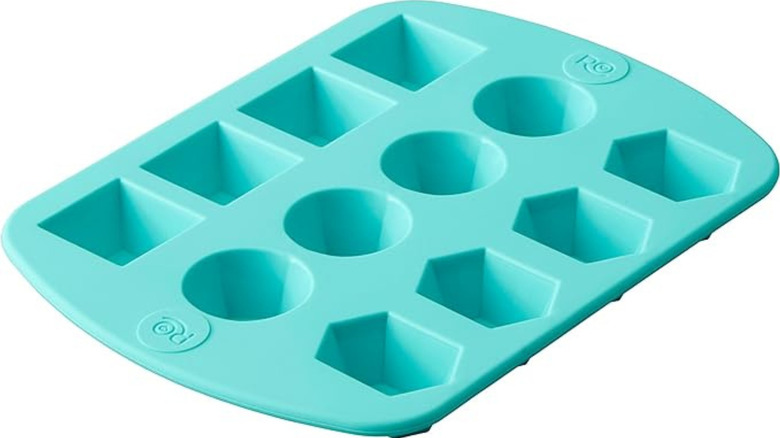
One of the best ways to get into making isomalt pieces for your baked goods is to use silicon molds. These pre-shaped containers take the guesswork out of shaping and crafting the isomalt by hand, thus making it a perfect alternative for people looking for a cool design element without the extra legwork.
When working with molds, it's always essential to grease them before adding in your melted isomalt. It's best to use a small silicon cupcake liner to pour your hot isomalt into since pouring directly from the pan will almost always result in spilling isomalt everywhere. You can use a toothpick to push the isomalt into the nooks and crannies of the mold — and just dispose of the toothpick when you're done. Greasing your molds with a bit of oil will also discourage any sticking. If some of your tools are inadvertently isomalt-ed, you can always soak them in warm water to soften and remove them.