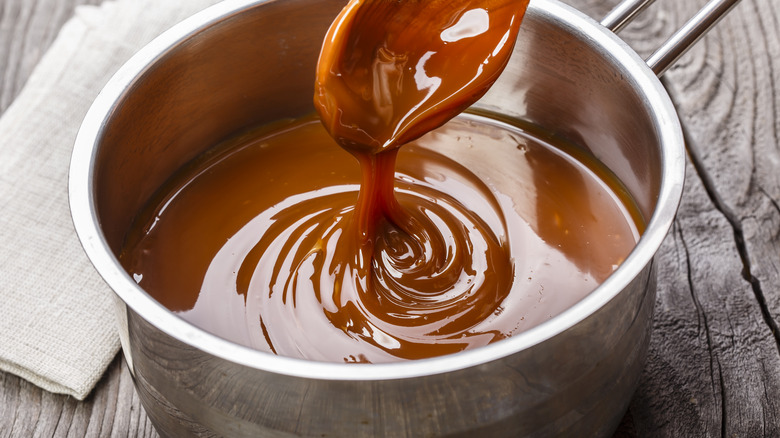
12 Tips You Need To Make The Perfect Caramel Sauce
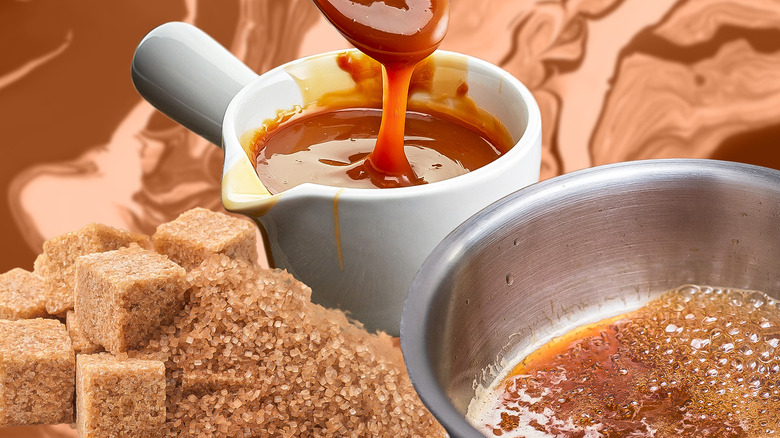
Whether you're an amateur in the kitchen or an experienced home cook, making a flawless caramel sauce is no small feat. Even the best of the best cooks and bakers can struggle with this intimidating treat, as it requires more patience than one might believe. Made of only a few simple ingredients, you might not suspect that this delicious yet delicate sauce can be deceptively difficult to perfect. While caramel is notoriously finicky, there are plenty of insider tips that we've gathered from several well-renowned recipe blogs, as well as expert advice, to ensure that the process goes smoothly. If you're a first-time caramel maker, don't be scared!
From the type of pot you use to the specific ingredients used and the precise temperature of the caramel, there is truly no room for error here. It may seem like a lot of tedious leg work, but the finished result is a delicious sauce that can be used to elevate any number of dessert recipes. This list of tips and tricks may seem granular, but when it comes to caramel, it's attention to the finer details that can make all of the difference in the world. Making this confectionary wrong is just about as big of a pain as getting it stuck in your teeth, so you'll want to put your patience hat on and write these notes down.
Use the right pot
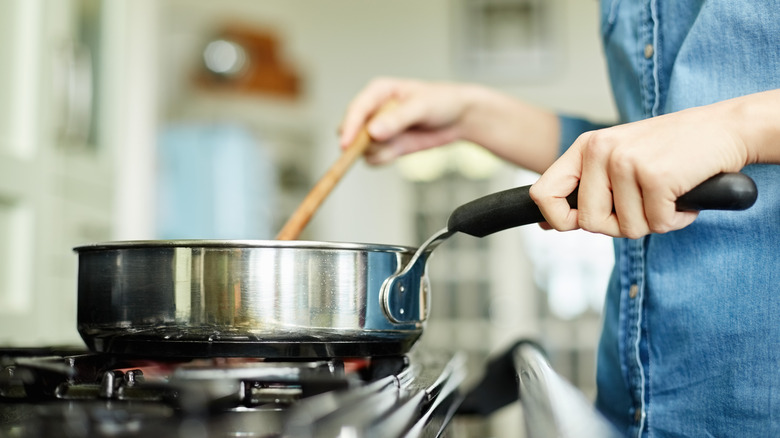
No matter what you're making, having the right tools is always critical for a smooth process. One of the most crucial tips out there for making a successful caramel sauce is to use the right pan. Choosing any old pan from your kitchen is the first way you can go wrong with this delicate sauce. First and foremost, choose a pan that's as heavy-bottomed as possible. A thin pan will cause a loss of control over how quickly the sugar heats, oftentimes resulting in a burned caramel. Meanwhile, a thick bottom holds steady and guarantees that heat is distributed evenly throughout the sugar mixture.
Additionally, make sure that the bottom of your pan is light enough in color that you can visually monitor the changes in your caramel's color. And before you start to heat anything, always make sure your pan is spotlessly clean to prevent any remnants of food from getting mixed into the caramel and potentially ruining the texture.
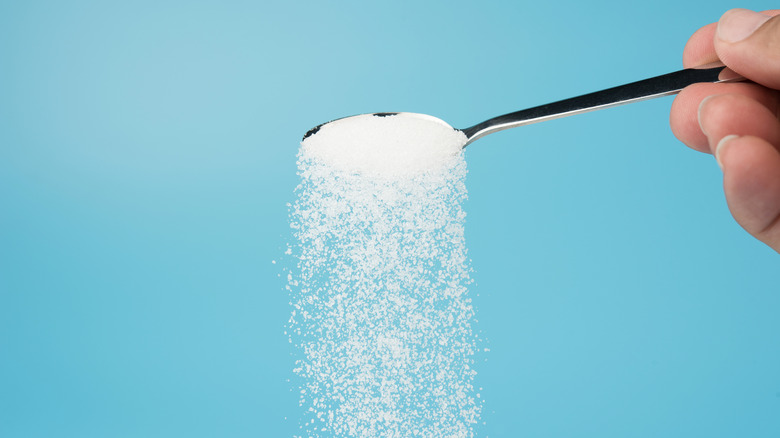
Use granulated sugar
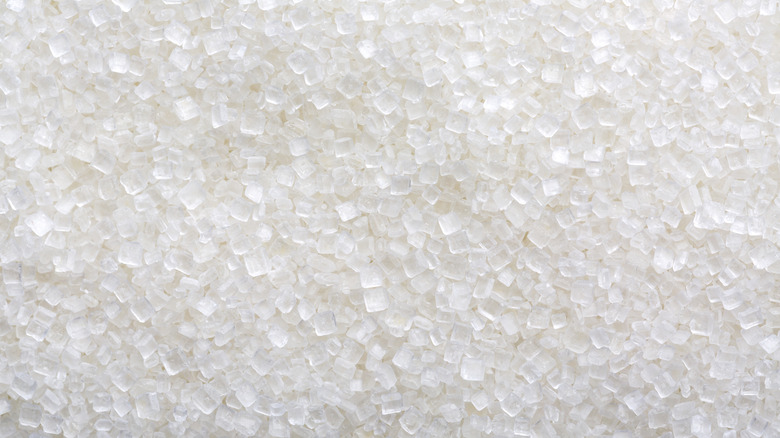
There's no need to get fancy with the type of sugar you use for homemade caramel sauce — using white, granulated sugar is the tried and true way to get the smooth caramel consistency everyone is looking for. There are a lot of different types of sugar out there, but few will help you get the perfect homemade caramel.
White sugar is perfect for caramel because it is completely pure, unlike other sugars that may be coated in other sweeteners. Any impurity in the sugar you use can cause it to burn faster, torching your caramel and leaving you right back where you started. Avoid any sort of brown sugar or sugars that are less granulated. Smooth caramel is the ultimate goal, and while some recipes may use brown sugar, using pure, white cane sugar is the best way to ensure that your caramel heats evenly.
In some instances, inverted sugars like corn syrup or honey can be added as an added measure to prevent crystallization. These simple, liquid sugars are the only exceptions to alternate sugars and are helpful additions to your selected white sugar because they make it more difficult for the molecules in granulated sugars to clump up.
Try the wet sugar cooking method
There are two different ways to make caramel at home: wet and dry. While dry caramel is a notoriously faster method, according to experts, it also requires more skill and is considered to be the more advanced method of the two. For your first time attempting homemade caramel, the wet sugar cooking method is certainly more beginner-friendly.
The main difference between these methods, as you may have guessed, is the addition of water in the wet caramel method. Dry caramel methods add the sugar bit by bit and tend to heat up quicker without the water as an added buffer. This lack of control is why some advise beginners to try their hand at the wet caramel method first.
In the wet caramel method, water is added to the sugar as it dissolves over the heat. Using water aids in a more even distribution of sugar across the pan and ultimately makes the heating process easier. While there are differing expert opinions on the initial heat level, keeping the flame lower allows for a slower crystalization process and helps prevent potential burning on your first attempts.
Avoid stirring while cooking the caramel
This tip applies to the aforementioned wet caramel method. Just keep in mind that you should still approach your caramel with careful consideration and technique regardless of the method. One of the biggest errors that you can make when heating your caramel sauce is stirring it too early (or in some cases at all). Stirring the caramel can cause the caramel to crystallize and might ruin the whole process. Once the caramel crystalizes, you'll be left with a grainy texture — the one thing we're looking to avoid.
Patience is a virtue when it comes to making caramel at home. You may find it tempting to mix the water and sugar during the heating stage, especially if you're concerned with uneven darkening of the latter. But if you're worried about your sugar burning in certain areas, instead of stirring, gently swirl the saucepan to ensure an even distribution of color throughout the sauce.
Actively combat crystallization
Crystallization is the biggest red flag when making a caramel sauce, as the end result is most likely a grainy and unusable caramel. Luckily, there are a couple of handy tricks to combat this. Note that these tips apply to the wet caramel process, which risks crystallization if too much water cooks off. If you notice crystals starting to form in your saucepan, don't panic — there are some things you can try before throwing in the towel and starting over.
The first and most common trick is to use a wet pastry brush and run it along the sides of your saucepan. In the name of not stirring your caramel, this trick is handy if sugar has gotten stuck along the walls of the pan and begun to crystalize. Simply sweep the sugar off the sides and back into the mixture without disturbing the process. Another trick is to cover your caramel for a little bit while it's still heating — the moisture on the bottom of the lid will find its way back into the caramel and give it some liquid.
Finally, another way to prevent crystallization is by adding some form of acid to the sugar and water before heating the mixture. Many recipes include cream of tartar to help break down the sugar further and prevent it from crystallizing. Other acids, like a squeeze of lemon, will do the trick as well.
Pour the sugar slowly
If you haven't caught on to the theme yet, slow and steady wins the race when it comes to making caramel. With this in mind, add your sugar slowly to the saucepan rather than dumping it in all at once. By adding it slowly — one layer at a time — you have more control over liquefaction and can better ensure that it will lay evenly on the bottom of the saucepan, preventing unwanted clumps from forming.
If you add all of the sugar at once, you risk creating clumps that might heat slower than the rest. Some methods even call for multiple layers of sugar — adding in bits by the batch and allowing one to heat evenly before adding the next. Multiple layers of sugar can be a benefit, as the different stages of cooking add more layers and depth to the final flavor.
Use a thermometer
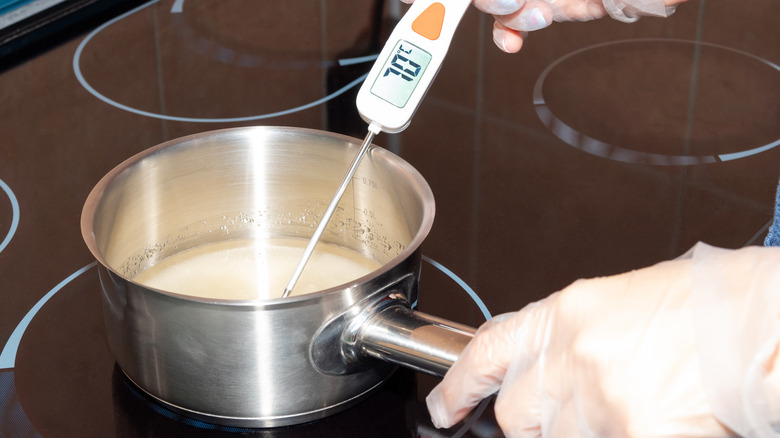
Before you begin, make sure you have a candy thermometer on hand so you can frequently check the temperature of your caramel. Most recipes will give temperature guidelines, and with a thermometer, you'll leave nothing to chance. Even if you're one of the many cooks with a keen intuition, this sticky treat is not something you want to roll the dice on.
You can determine the stage your caramel is in by temperature, though the ideal stage will depend on the consistency of caramel you're going for. Thread, soft-ball, firm-ball, hard-ball, soft crack, and hard crack are all terms for different stages of the caramelization process. In this case, for a sauce, you'll want your caramel to be at the thread stage — meaning you'll heat the mixture to 215 to 230 degrees Fahrenheit. Be careful not to overheat your caramel, as higher temperatures will result in a firmer result and lose the smooth, pourable consistency we're looking for.
If you don't have a thermometer, it's still possible to follow a recipe with timing estimates and have just as good of an outcome. Just closely follow your trusted source and remember that patience is key.
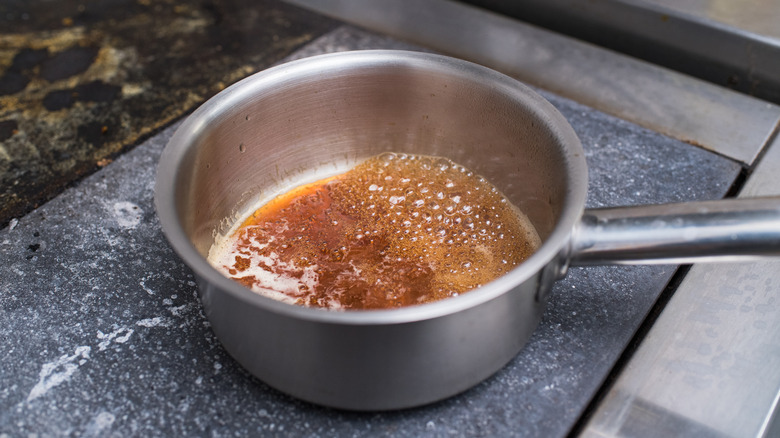
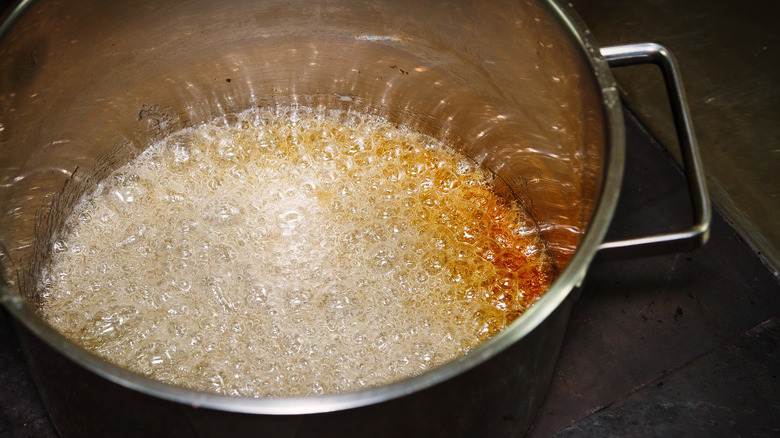
Let your caramel achieve a darker color

While your sugar and water mixture is heating, don't shy away from a darker caramel color. While it's easy to panic at the sight of darkness, this doesn't necessarily mean your caramel has burned. In fact, a darker color is actually indicative of a caramel that will be richer in flavor. Think about how many times you've seen a store-bought or otherwise prepared caramel that was pale in color — probably never.
Dessert expert Claire Saffitz, former contributing editor at Bon Appétit, advises cooks to let the caramel reach a dark amber color. While it's true that caramel can burn in the blink of an eye, it's important not to jump the gun on this critical step. Unlike other foods or baked goods, as soon as caramel is removed from the heat, it will stop darkening. The tip here is to be brave in the name of achieving the most flavorful caramel possible, even if this is your first time trying a caramel sauce at home. If your caramel burns on your first try, don't beat yourself up — this process might take a few tries, and it might not come easily.
Remove it from heat quickly
As soon as you have achieved your desired caramel shade, remove the saucepan from the heat as quickly as possible. If it hasn't been reiterated enough, the line between a successful caramel and a burned one is a fine one. It may seem contradictory to the prior tip of allowing your caramel to darken, but these two steps actually go hand-in-hand. Even though the caramel won't keep darkening after the heat is turned off, you don't want to take your chances — keep the saucepan away from and off the still-warm stove, even once it's been turned off.
Some recipes advise putting the caramel on ice immediately after it's done darkening to help prevent it from cooking past the desired color. Otherwise, keeping the flame low and slow throughout the entire process will help closely monitor the caramel until you pull it from the heat. A burned caramel is more or less unsalvageable, so take any extra precautions you can.
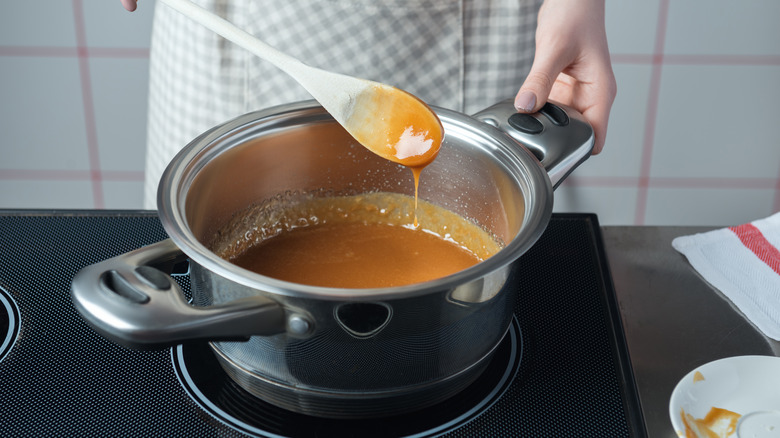
Add heavy cream and butter
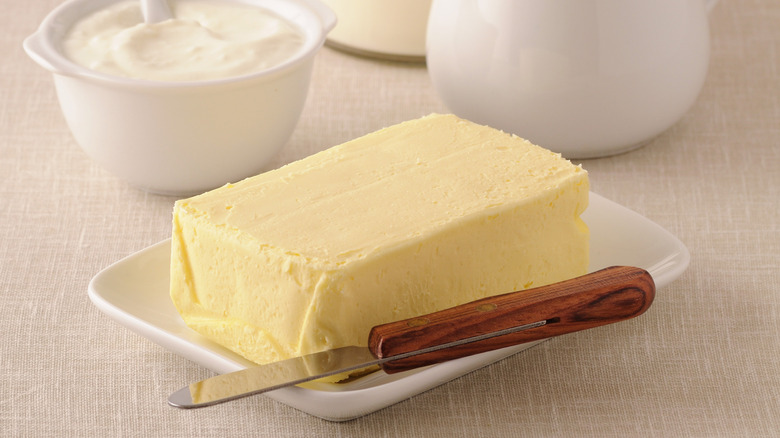
One of the last steps to finish off the perfect caramel sauce is to add a dairy. Most recipes will use either heavy cream or butter — or both! The addition of these ingredients is what gives your sauce the sought-after creamy consistency and rich flavor. Regardless of which dairy you choose, make sure that you wait to stir these finishing touches in after removing your caramel from the heat.
Many recipes warn recommend taking precautions once you're prepared to add the butter and heavy cream to your mixture. After all, it will still be extremely hot upon removing it from the flame. We're all for safety first here, so before pouring more liquids into the hot caramel, cover the saucepan with a splatter guard to avoid any hot sugar splattering onto you and risking a burn.
Use additional flavoring
There are many ways to get creative with adding more flavor and depth to your homemade caramel. Of course, salting caramel is an easy and self-explanatory process — just add a dash of salt to the sauce once it finishes. If you're feeling comfortable with this process and want to be particularly adventurous, don't be afraid to step outside of the box and use some more creative additions.
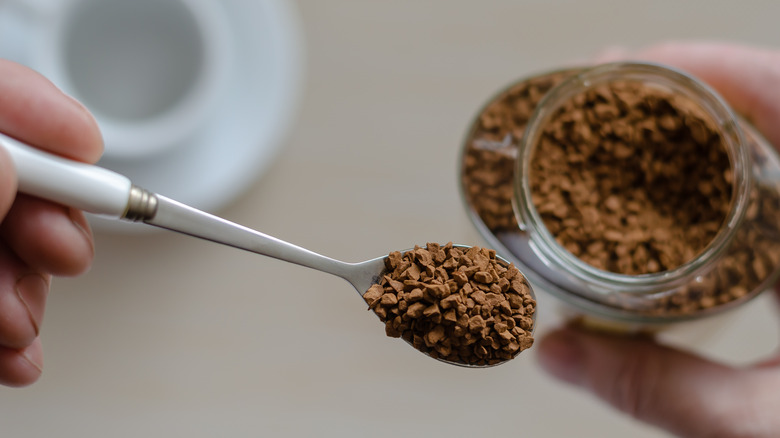
For example, "The Great British Baking Show" winner and dessert expert Nadiya Hussain recommends using instant coffee to add flavor to the caramel. She suggests instant espresso powder, which dissolves relatively quickly and can add an extra layer of depth and flavor to the sauce. Hussain advises adding the powder only after the caramel has finished cooking to prevent any bitter flavors from releasing into the heated mixture. Other ideas include cinnamon for some spice, miso paste, or rum. While the caramel sauce itself is already rich by nature, these additions can really help take it to the next level.
Have a foolproof clean-up plan
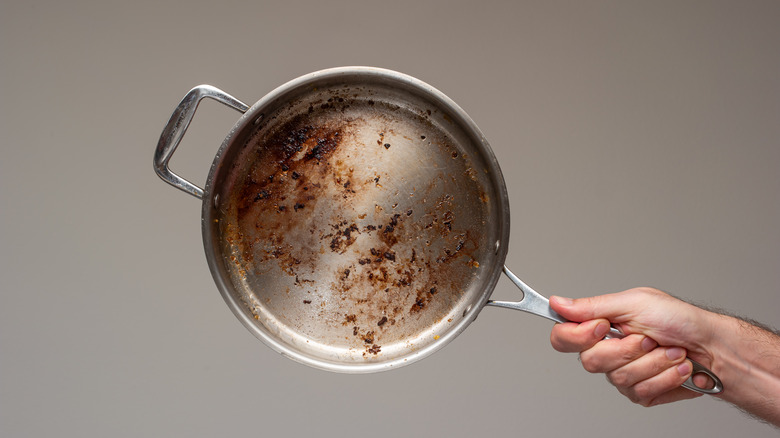
Given the sticky nature of this delectable sauce, one might safely assume that the biggest pain point of the cooking process is the clean-up that follows. Although it isn't the glamorous part of baking, you'll thank us for this final helpful tip after the fact. The first step in the aftermath of cooking caramel is to avoid scraping the bottom parts of the pan for the remaining drops of sauce — let it go, it isn't worth it. This is where crystallized pieces of sugar tend to linger, and scraping those into your finished sauce risks ruining the entire masterpiece.
For a foolproof way to get the lasting bits of sticky caramel sauce off of your pot, immediately fill the saucepan with water. If you don't want to let it soak for hours, heat up the water-filled pan over the stovetop once more until the liquid is brought to a boil. By using this method, you'll spare yourself a torn-up sponge and several hours of waiting time.