Why It's Important For All The Pieces To Touch When Baking Scones
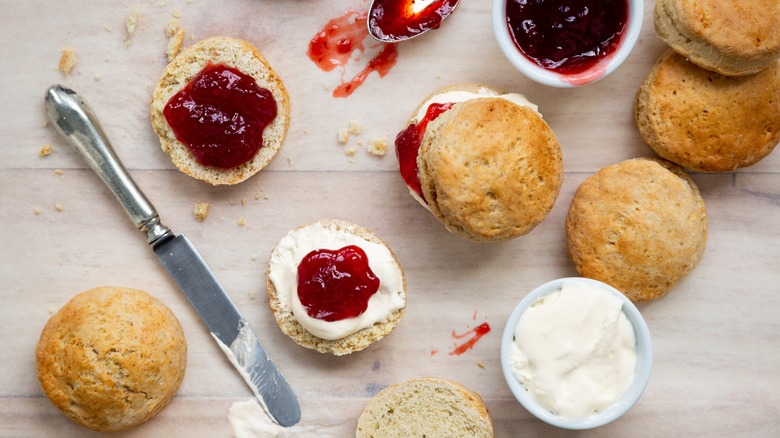
Even the saddest, toughest scone can be rescued with a smear of raspberry jelly and dollop of whipped cream. But if you're a beginner baker who's keen to improve your scone game without turning to the aid of fruity preserves, we've got the ultimate tip: make sure your scones touch in the oven. This winning move results in scones that have soft, fluffy sides, a higher rise, and a more even bake.
If you've ever pulled a dinner roll off a freshly baked dozen, you likely noticed that the sides that touched neighboring rolls were fluffy and tender. This occurs because the closely-spaced balls of bread dough expand in the oven, causing the sides to join up and forcing them to rise upwards. The same phenomenon occurs when you bake scones in close proximity. The result is a tray of buttery goodness that showcases the two characteristics of the perfect scone: a soft, yielding middle and a flavorful golden crown.
The sides that lightly fuse don't color like the tops because they aren't exposed to the oven's heat. Instead, they develop tender interiors, making them perfect for gently splitting open and topping with anything from butter and jam to cream cheese and smoked salmon. This also works well for scones that are cut into triangular wedges, squares, or circles. Simply make sure the pieces touch and you'll be rewarded with the ultimate baked good.
Baking scones closer together helps them rise too
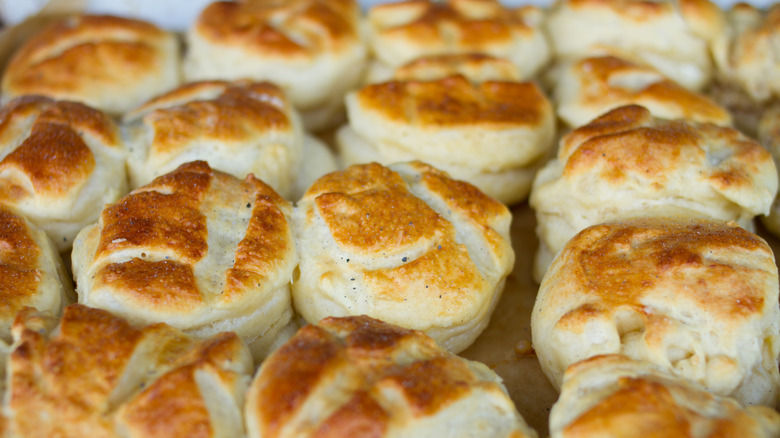
If you place your scones far apart on your baking tray, they'll have more space to spread out as they bake and can result in flat scones. Placing them closer together means they're forced to rise upward instead of out, as surrounding scones provide support. This action also galvanizes an even, lofty bake and encourages an appetizing color to develop on the top of the scones.
Other tips to kick off a bigger rise are to use frozen grated butter and to chill your prepped scones for 15 minutes before baking. This causes the butter to harden up so it doesn't instantly melt as it engages with the heat of the oven.
Also, be sure to cut the scone dough cleanly in one smooth motion (instead of twisting it with your cutter or repeatedly slicing through it with a knife). This will preserve the separate layers of butter and allow for a better rise. Combine all of these handy tips and you'll soon become a specialist at making the most scrumptious scones around.