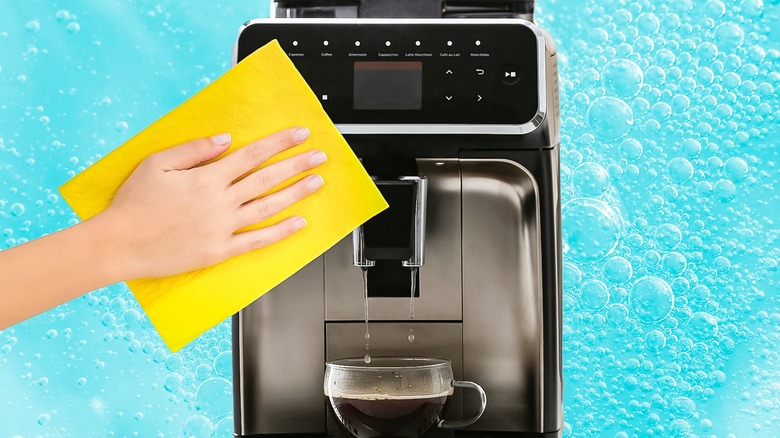
12 Tips To Clean Your Coffee Maker
These days, we're all cutting back on our little pleasures, including the takeout coffee grabbed before work or during lunch hour. With costs skyrocketing, even buying a cappuccino, drip coffee, or latte on the way to your job is a luxury that can't be afforded. Added up, those few dollars every day can make a small dent in a household budget already feeling the strain from mounting electric and gas bills.
Since coffee is non-negotiable to most of us as a necessary jolt of caffeine to get going in the morning, that means you'll be getting more use out of your machine at home, whether you have a French press, drip, espresso, or any of the other types of coffee makers you might own. That also means that you need to think about maintenance for this very important home appliance in order to keep it going as long as possible. It really isn't that hard to keep your coffee maker in tip-top shape. Here are just a few suggestions on how to do so.
Clean your coffee pot daily
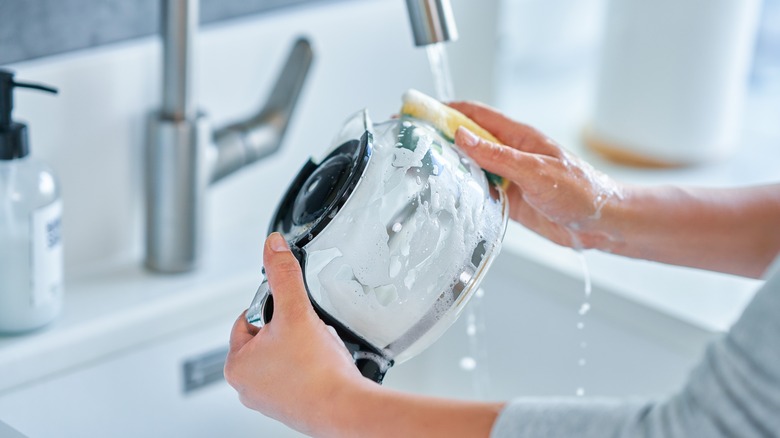
First of all, we need to address the most important question. Should you be cleaning your coffee pot daily? Well, yes and no. The short answer is that you should absolutely be washing your coffee pot in soap and water every time you use it. Not just because it will help you make the best pot of coffee possible, but also to get on top of germs, mold, and scale. So make it a habit of rolling up your sleeves and washing that carafe. Your taste buds will thank you.
Now, do you need to do the same with every portion of the machine, from reservoir to basket, shower head to heating pad? Not on the daily, no, unless you have the time, energy, and wherewithal. You'll still want to give parts a good wipe as you go along, and maybe dip that basket in soap and water as well to take care of loose grinds that have escaped. While essential to brewing, you don't want to be chewing on them, as well.
Make sure you have the right tools

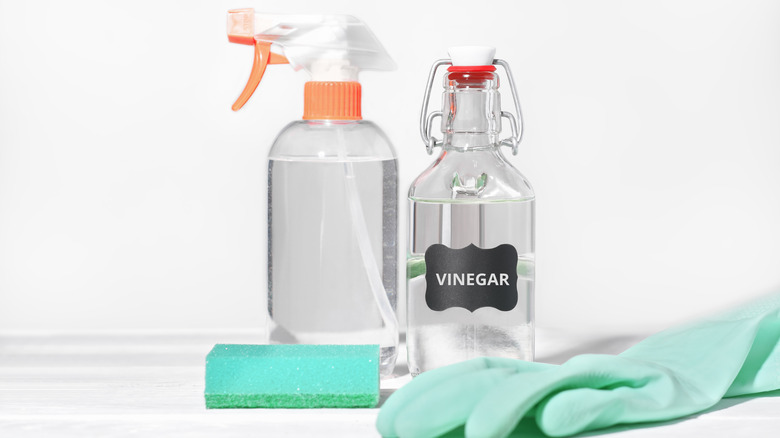
Thankfully, you won't need to invest in any expensive specialty items in order to clean most standard coffee makers; you can use items you can find around the kitchen. These are simple appliances that require little more than what you already have under the sink. Exceptions might be particular brushes or powders for a fancy, high-priced espresso machine, but even those can be ignored for DIY solutions if you use a bit of ingenuity and a few repurposed household items. Otherwise, what you're mostly looking for are cleaning solutions and a sponge or cloth that won't scratch your machine.
Mild dish soap is also a necessity, as well as rubber gloves if you'd like to protect your hands from bacteria. Commercial cleaning solutions are available in a number of brands if you want to go in that direction, but most likely your kitchen will have all of the ingredients you'll need to do the job, like vinegar, lemons or limes, and baking soda. Other items you'll want to put aside for the job include paper towels or tea towels. For the most basic of coffee makers, disassembling and then reassembling for a quick clean will take no time at all, and should be done daily in order to prevent calcium buildup and keep the quality of the brew consistent.
If you have a percolator, buy paper filters for the basket
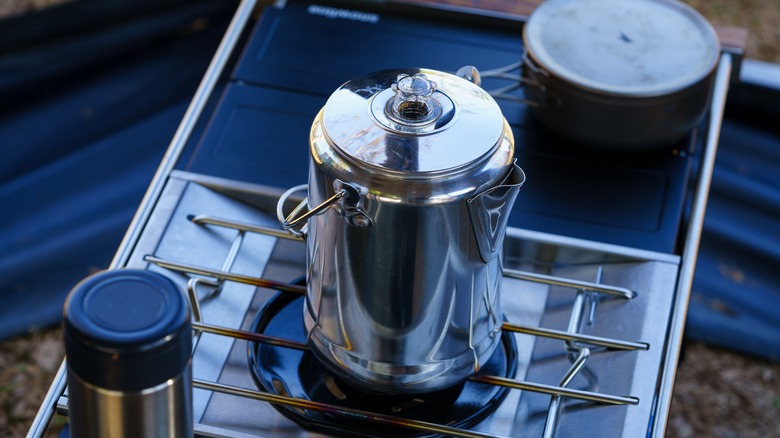
You can file this tip under suggestions on how to make the cleanup as quick and efficient as possible. Percolators aren't quite as popular today compared to many other coffee makers, but they still have their advocates, due to their ability to maintain heat for longer. For others that's a minus, as the coffee ends up too hot for immediate sipping. Since percolators are still around, and, in fact, are making something of a comeback, we need to address the issue of cleaning up the coffee grounds that stick to the metal basket at the end of brewing.
Cleaning a percolator is a bit of a messy chore, but this can be solved with the very same basket-style paper filters that you use in a drip machine, but modified for use in the percolator basket. All you need to do is fetch a pair of scissors and cut a hole in the center of the suction tube so that it will fit properly. Don't worry; this will not affect any of the taste or the strength of the coffee. Actually, it might even make for a smoother brew. What it does do is make the cleanup that much quicker, as all you do is remove the filter with coffee grounds and dispose of them as you wish.
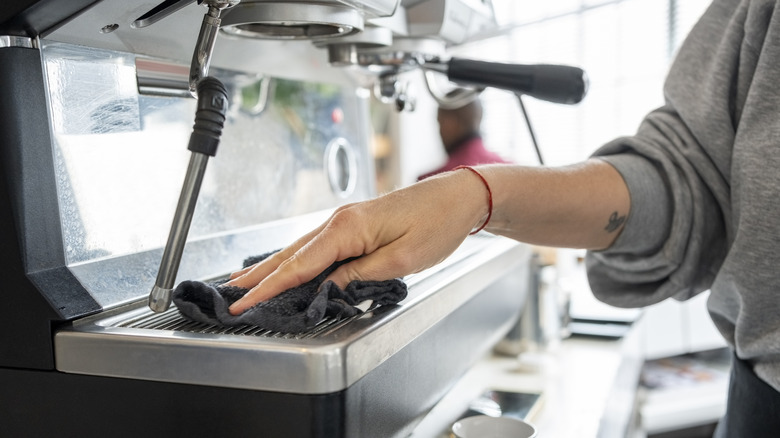
Wash the hot plate
For many people, a quick rinse of the pot is really all they're prepared to do before putting their coffee maker back in its assigned space on or under the counter. But that's not the best plan for keeping your appliance in the best possible shape. It's likely that you've never noticed how much abuse the hot plate takes, and since that's where your carafe sits while filling with coffee you probably should pay a little attention there as well.
That's where you'll find a fair amount of build-up, likely spilled coffee from those bleary mornings when you're just trying to wake up. You don't want to use anything that will scratch the surface of the plate, so find something like a soft old toothbrush to scrub off the accumulated grime. Use a paste made of baking soda and water, or for tougher stains vinegar. A kitchen cloth will complete the necessary tools for cleaning up whatever is left over. Remember that you need to unplug the machine before cleaning.
Don't forget to clean the coffee pot

The coffee pot, or carafe, is the glass vessel that your coffee collects in with your drip machine. Often we find ourselves impatient to get going, so we do a quick rinse of the carafe once we've poured out whatever is left. It happens more often than not, and while it's understandable that you're likely in somewhat of a rush you really should rethink this practice because of the risk of bacteria and coffee mold.
Coffee mold not only causes your brew to taste off, but it also can cause health issues, especially among those who are immunocompromised. In order to avoid this, fill your carafe with warm water and a little dish soap. If you have any around, put in some uncooked rice, and swirl the mixture to loosen any gunk. Needless to say, you'll want to dump this unappealing concoction once done and give the pot a quick rinse. If you've been reading about using crushed ice and salt to solve the stains, think again, though some suggest that adding a bit of lemon water will do the trick.
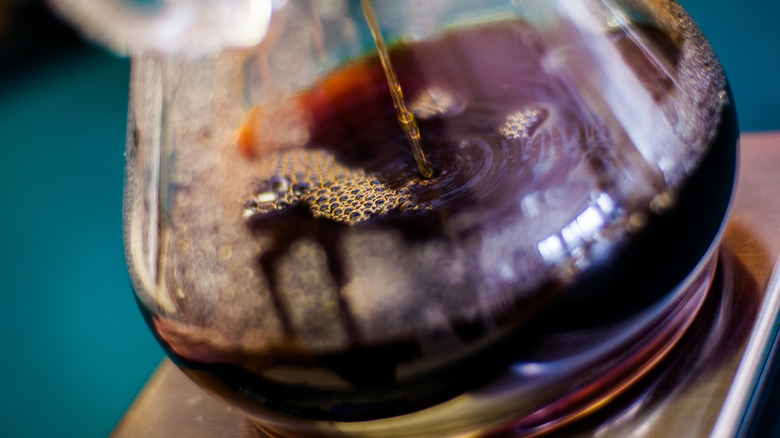
Descale the machine with vinegar
This is where you get a lot more involved in a thorough cleaning. Are you starting to doubt your sense of taste when taking that first sip of coffee in the morning? Does it feel as though it might be a little burned? Questions of roasting aside, it's likely that it's time for you to set aside some time to do a deeper cleaning than normal. There are cleaning solutions you can buy for this task, or you can just use what's in your kitchen and put together one part white vinegar and two parts water and descale your coffee maker.
Cycle this mixture through as though you were making a cup of coffee, and then do it again. Follow that up by running cold water through until the vinegar taste is gone. Don't worry, you're not expected to take an hour out of your day every day for this process, just every one or two months depending on your use of the machine. You'll notice the difference very quickly when you make your next pot of coffee.
Use lemon juice mixed with water
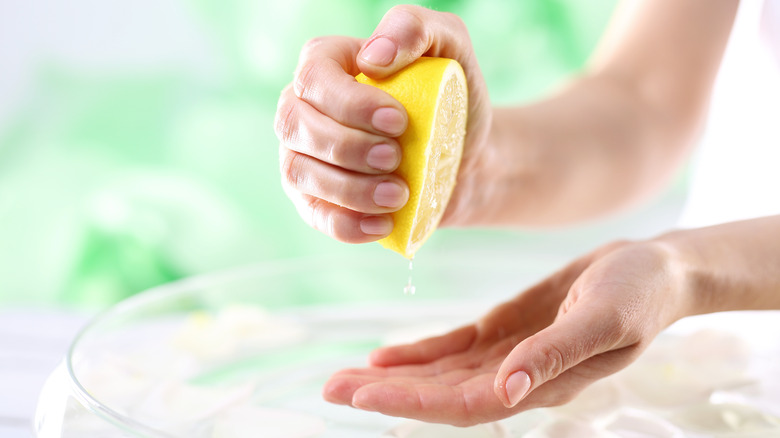
Vinegar being the ultimate DIY cleaning hack that it is, you may find yourself running out more often than not when using it around the kitchen. Rather than running over to the grocery store you can just look into your fridge for other options. Like lemon juice, which is yet another natural way to descale your coffee maker and take care of the buildup that clogs valves and leaves your cup of Joe with a bitter taste. Just mix with water in even proportions and run through the cycle. No need to juice whole lemons for this, just use bottled concentrate.
Alternatively, you can use citric acid, which does the same trick. Look for it in the canning section or in the spice aisle of your local grocery store, where it's sometimes called sour salt. Put 2 tablespoons of citric acid in a full carafe of water, and run through as though you were brewing a pot. Run cold weather through a couple of times afterward, and you're good to go.
Utilize baking soda mixed with water
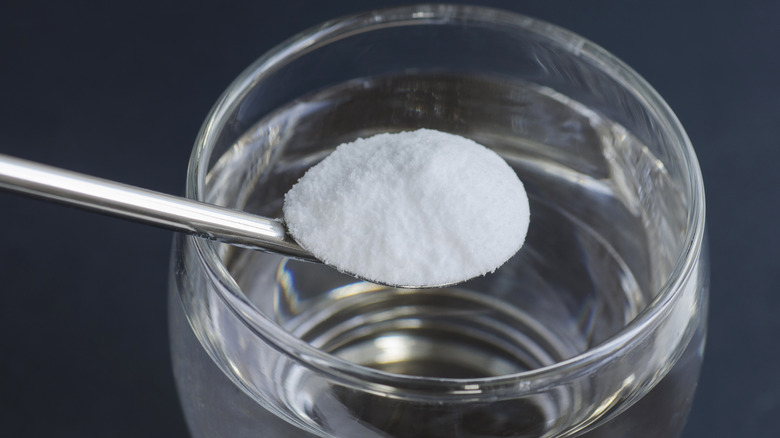
If you've run out of vinegar, and lemon juice or citric acid isn't something that you tend to keep around the larder, there's still one more option for you. Baking soda is also an excellent way to descale your machine, making use of the alkaline white powder's high pH and slight abrasiveness to take care of hard water buildup and residual oil from coffee beans. As a bonus, the same deodorizing properties that make baking soda such a useful product to have in the fridge and kitty litter box will also make your machine odorless in the end.
Another good reason to use baking soda is that it's all-natural and non-toxic. Keep in mind, however, that while baking soda might be a good choice for removing build-up in the coffee maker itself it's not so great as a cleaning agent for the pot. In that case, vinegar is a much better option.
Clean your grinder

We've run down several ways in which you can clean your coffee maker, but it's also important to pay attention to adjacent appliances. For instance, the coffee grinder that allows us to make the freshest and tastiest cup of coffee possible. If we're going to be fussing over the spotlessness of a coffee maker for that reason, we also should be putting time aside for the grinder, which often does double duty in our homes to make spice blends or breadcrumbs.
Because of the electronics involved you'll want to avoid using water to clean it out. Instead, a soft brush or cloth used every time on an unplugged grinder usually does the trick in taking care of build-up. Check the manual for help on any disassembling and do a quick wipe as well. Another option is to use a product like Full Circle Grinder Cleaner or Urnex Grindz. Some people also swear by rice as a good cleaning tool, but be careful to use less starchy types if you do, like quick-cook dry rice. Many manufacturers have it in their warranties that they won't cover damage caused by rice to their coffee grinders.
A French Press requires different methods

Are you a serious coffee fan? As in, so serious that you want the absolute best brew possible every time you grab your coffee cup? Well, then likely you own a French press, also known in some quarters as a cafetière, press pot, or coffee press. Adherents claim that using a French press will give you the most authentic coffee-drinking experience possible, with little to get in between the coffee grounds and water. It's very possible that you'll pay very close attention to cleaning your French press for just those reasons.
Your diligence in choosing just the right kind of beans for roasting will serve you in inspecting the metal mesh filter that's part of the French press handle for coffee grinds. You really don't want your coffee maker to become a breeding ground for bacteria. So, disassemble and then empty the container, using a plastic spatula to loosen the remaining grounds. Then, rinse everything with hot water. Fill the carafe with hot water and dishwashing liquid and gently plunge a few times. Empty, rinse with warm water, and either air dry or use a microfiber towel.
Clean the needle in your Keurig
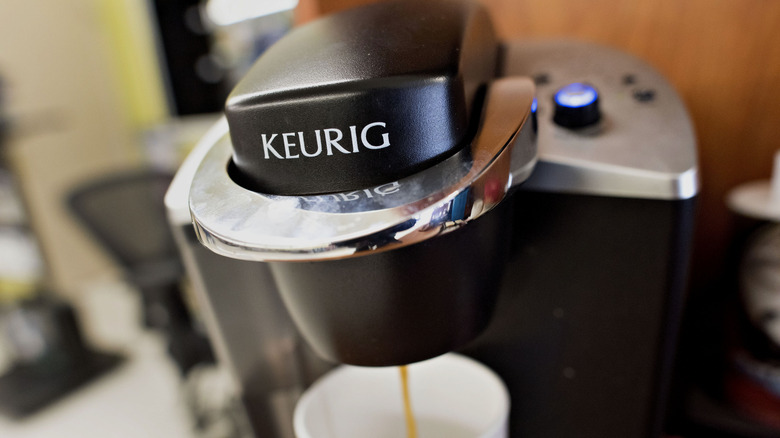
While the drip coffee maker remains the standard for many, the Keurig system is quickly catching up among consumers. It's a very different kind of system that requires different methods of cleaning. In short, a Keurig uses a water and air pump to brew coffee in plastic pods, with a needle piercing the top of the pod, breaking a freshness seal.
For those wanting to cut out extra steps in brewing this works out pretty well, as all you have to do is grab a pod, throw it in the basket, and clamp the top down. The Keurig still requires cleaning, however. The removable parts can be washed in soap and water, and you can descale the machine in exactly the same way as a drip coffee machine, with a vinegar and water solution. There's also a water filter that Keurig recommends swapping out every two months. Pay attention to the exit and the entrance needles; both can be cleaned of debris with a straightened paper clip if you don't happen to have the cleaning tools that Keurig provides.
Preventative measures can help prevent buildup
Keeping your coffee maker functioning and clean can take up a bit of time on a busy day, but there are a few preventative tricks that can be employed to help you keep this task manageable. For instance, if you leave the reservoir lid and filter basket open after washing, the airflow will help prevent bacteria growth caused by trapped moisture. It's a simple thing, but an important step in keeping that brew fresh and tasty.
Another easy way to keep buildup at bay is to use filtered water as opposed to hard water. Filtered water doesn't contain the minerals that cause build-up, and the lack of chlorine means it tastes better. The coffee flavor is extracted more consistently because it doesn't have the impurities that tap water has. And, of course, it will save you money in the long run since you won't have to descale your coffee maker quite as much.