14 Clever Hacks To Clean Your Kitchen Sink

Although it's often the least favorite part of the cooking process, cleanup is one of the most important aspects of health and safety in the kitchen. Turns out there are many parts of your kitchen that need to be cleaned more often than you think — and when it comes to cleaning your kitchen sink, there are several variables to consider. Buildup of dirt, stains, grime, bacteria, mold, odors, and other contaminants have both aesthetic and health-related consequences that all home cooks want to avoid.
Luckily, there are many ways to tackle this tedious chore, and you don't have to go out of your way to buy a laundry list of cleaning supplies. Common household items like vinegar, baking soda, lemons, salt, and more can be used to clean all parts of the sink. Whether you're looking to clean your sink's surface, corners, edges, faucet, drain, or garbage disposal — we've got you covered.
Buy reputable cleaning equipment
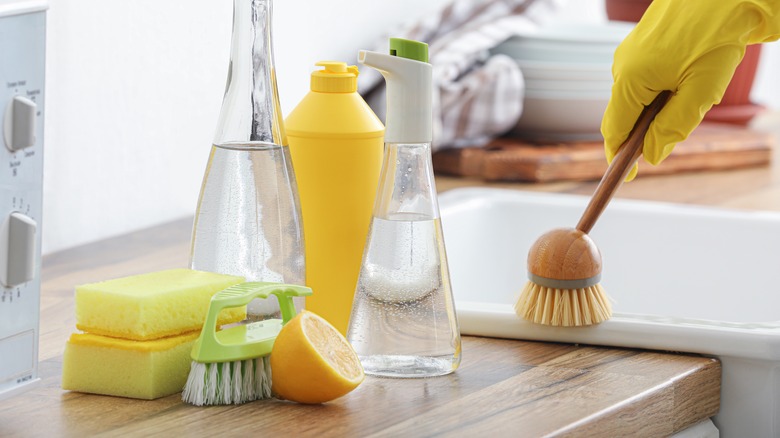
It may seem cliché, but using reputable cleaning equipment really does make all the difference if you want to keep your kitchen sink in good condition. Trustworthy and sturdy equipment also takes some of the hard work of scrubbing off your shoulders — saving you both time and energy when cleaning.
We'd recommend investing in both a brush and sponge for different parts of the cleaning process. When it comes to the brush, make sure it has stiff bristles for scrubbing some of those tougher stains and residues on your sink's surface. You may want to consider keeping a toothbrush on hand as well so you can get into the tighter spots and corners of your sink. Whereas a brush is more for spot treatments, a quality sponge can be used to clean wide swaths of your sink. A two-sided sponge, typically including a softer side and a scrubbing side, is great for cleaning both porcelain and stainless steel sinks.
Don't forget to separate your kitchen-sink cleaning tools from your dishwashing ones. Designating two separate sets of cleaning equipment ensures that germs aren't spread between them. The last thing you want to be doing is eating off of bacteria-coated dishes and silverware. We recommend the same level of hygienic care when it comes to washing your vegetables. Don't soak greens in your kitchen sink — unless you're looking for trouble!
Use high-quality soaps and scrubs
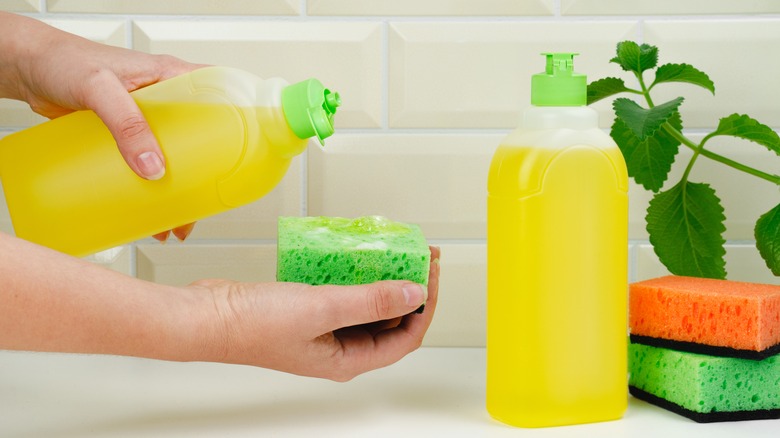
There are so many types of soaps and scrubs available these days, from traditional brand names to newer, more eco-friendly options. The choice is up to you, but it's best to stick with highly rated options. You want to make sure that your soap and scrub both enhance the hygienic state of your kitchen to leave your sink in spotless shape.
If you want to make your own DIY soap scrub, there are plenty of ways to do so. Try mixing a little bit of castile soap with some baking soda until it forms a thick paste. The mixture creates a pretty potent cleaning scrub for those pesky stains and difficult-to-remove grime. Not only does this DIY method provide a more natural scrub solution, but it will likely save you time and money as well.
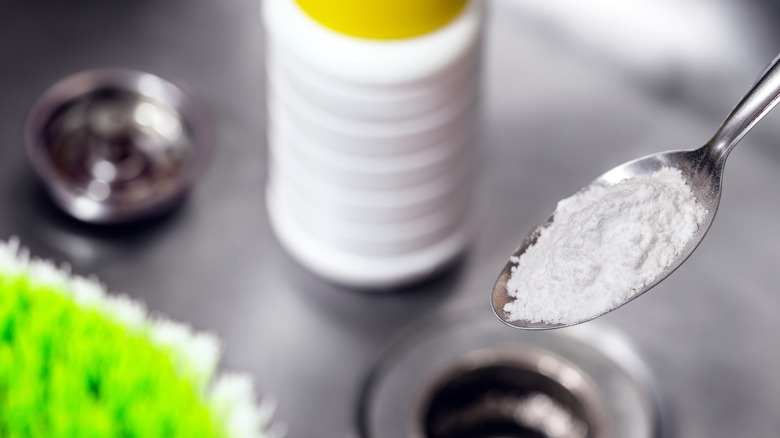
Baking soda is a star ingredient in many cleaning hacks. When mixed with different types of acidic solutions, it can form a very strong disinfectant and act as a multipurpose cleaning solution.
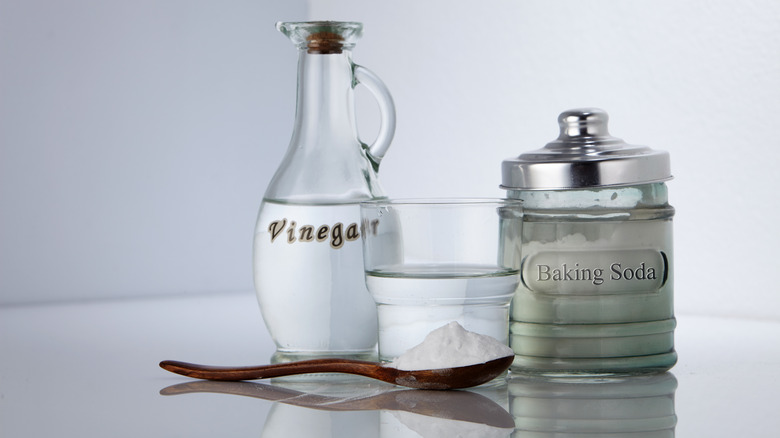
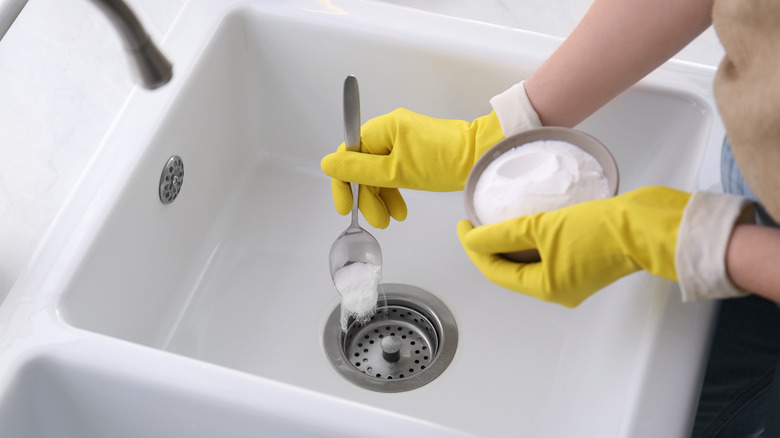
Scrub your sink with baking soda and vinegar
The reaction that occurs by mixing baking soda and vinegar will likely take you back to grade-school science. The same fizzy solution that made your model volcano erupt is also a really powerful cleaning agent.
Although commonly known for its odor-removing qualities, baking soda actually acts as a very mild abrasive. This makes it ideal for removing sink gunk without scratching your sink's surface. On the other hand, vinegar is super acidic and known to dissolve hard-to-remove buildup like grease and mineral deposits. The chemical reaction that occurs between these two common household ingredients forms a foaming, tour de force cleaning solution. It simultaneously dislodges contaminants, effectively sanitizes, and leaves your sink shimmering.
The easiest way to utilize this baking soda and vinegar cleaning hack is to sprinkle some baking soda onto your sink's surface. Do your best to cover the bottom and work your way across. Next, pour some white distilled vinegar on top of the baking soda. Once the foaming settles you can use a quality brush or sponge to wipe down the surface. When you're finished, rinse the sink with warm water.
If you'd rather not delve into do-it-yourself methods, there are drop-in-tablets you can purchase to clean your kitchen sink. The pre-packed tablets also fizz up and clean very similarly. They're great for harder-to-reach spots like your drain and garbage disposal.
Deep clean with hydrogen peroxide
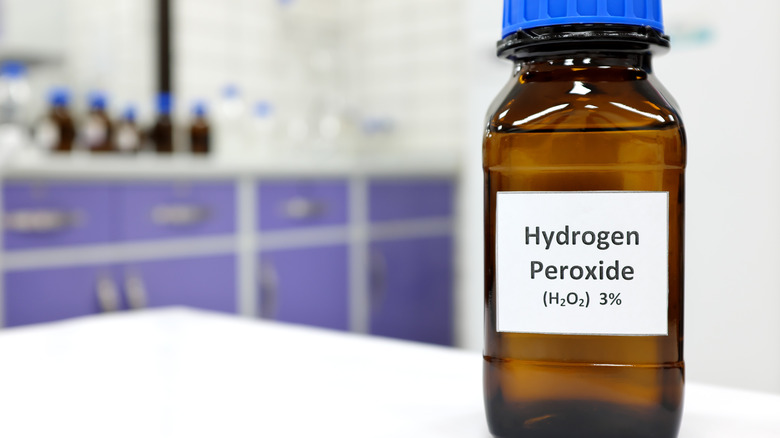
Hydrogen peroxide is probably one of the most potent and powerful disinfectants out there. It was once considered useful to clean open cuts or wounds, but we now know it can damage the skin and may even be counterproductive to the healing process. Needless to say, this stuff is strong. This is due to the fact that hydrogen peroxide is a potent oxidizing agent — meaning it can disinfect surfaces, remove stubborn stains, and break down organic compounds really well.
The easiest way to utilize hydrogen peroxide is to pour some into your sink, making sure the bottom and sides are adequately covered. Next, let the liquid sit in your sink for a few minutes, allowing the hydrogen peroxide to work its magic. Lastly, rinse your sink with warm water. You don't want any hydrogen peroxide remaining in your sink for safety reasons, so make sure to rinse it off thoroughly.
What's great about hydrogen peroxide is its versatility. Like vinegar, you can mix hydrogen peroxide with baking soda to form a fizzing and foaming solution. This powerful cleaning agent is capable of not only sanitizing your sink but also addressing stubborn stains and minor drain clogs. The combination of hydrogen peroxide and baking soda is even used to clean impossible-to-remove stains on sheet pans. Needless to say, we have no doubt that this deep-cleaning solution will keep your sink in the best possible condition.
Create a paste with cream of tartar
Cream of tartar, also known as potassium bitartrate, is a white powder that's actually a byproduct of winemaking. It's often used in cooking to help whip, fluff, and add a touch of zing to certain pastries or baked goods. In the context of cleaning, mix equal parts cream of tartar and vinegar together to make a wonderful cleaning and buffing paste. A couple tablespoons of each will give you plenty of solution to clean your entire sink. All you have to do is apply the paste to the surface of your sink, including the outer edges, and let the paste sit there for a few minutes. Afterward, gently rub the paste with a cloth or sponge in a circular motion. Proceed until you've gone over the entire sink, and once finished, rinse your sink clean with warm water.
The cream of tartar cleaning hack is particularly good for stainless steel sinks. These types of sinks are super durable, but they are also prone to accumulated stains and rust over time. This paste acts as a gentle, eco-friendly cleanser that helps remove residue buildup without using harsh chemicals that may damage your sink's surface. When you're done cleaning, you can opt to pat your sink dry with a clean cloth. Since stainless steel sinks are prone to water-droplet stains, this extra step will leave your sink sparkling.
Use flour to polish stainless steel sinks
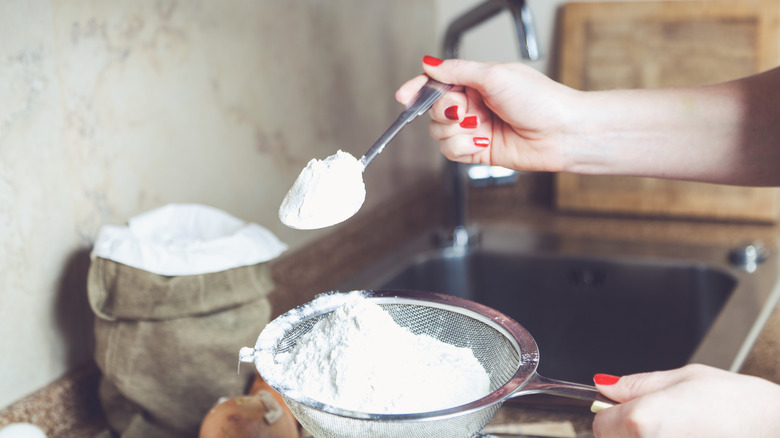
This is perhaps an unexpected choice, but flour can also help clean and polish your sink, particularly when it comes to stainless steel. Flour has extremely fine particles that work together as a super-mild abrasive, slowly removing contaminants like grime and dirt from surfaces without leaving marks or scratches.
To use flour for polishing your stainless steel sink, you should first make sure your sink is dry. Use a clean cloth to collect any water droplets so that the flour doesn't turn into paste when coming into contact with your sink, as this would defeat the purpose of buffing. Afterward, sprinkle a generous amount of flour into the sink, making sure there's an even layer of flour coating your sink's surface. Next, using a dry cloth or paper towel, rub the flour in circular motions and watch as you buff away the buildup. With a bit of time and effort your sink will start sparkling. Lastly, rinse away the flour and then dab your sink dry so that everything looks thoroughly rejuvenated. With the gleam and brightness of your stainless steel sink restored, you'll be very pleased by how much more aesthetically pleasing your sink is after using this hack.
Remove rust stains with salt
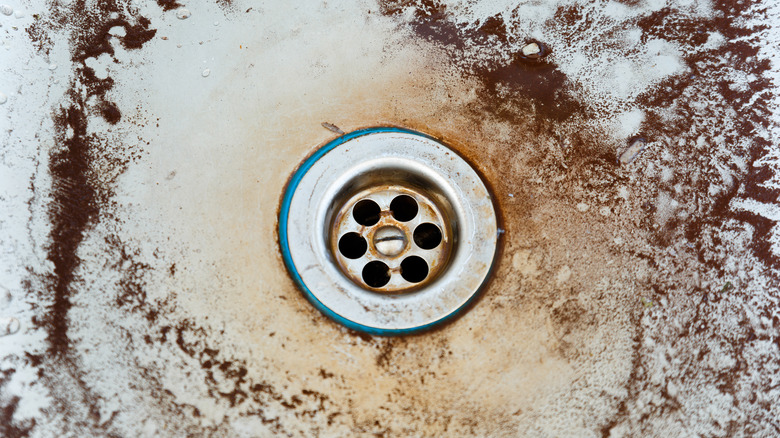
Rust is one of those pesky sink stains that stands out like a sore thumb. It's formed from a number of factors like water quality and metal exposure. Besides being difficult to remove, rust is considered by the U.S. Department of Agriculture as an unsafe material for food handling. Given that your kitchenware and cooking equipment are often in the sink, it's best to take the time to remove rust if you see it appear.
Contrary to what you may believe, you don't have to use harsh cleaners or chemicals to get rid of those challenging yellow-brown spots — you can use salt. Salt, combined with lemon juice, works quite well. All you have to do is sprinkle a base layer of salt in your kitchen sink. Next, squeeze some fresh lemon juice over the salt and let that combination work together for up to two hours. After a couple hours pass, you can grab your brush or sponge and give the sink a deep scrub. Many (if not all) of the rust stains should be much easier to clean now and come off more easily. Since this hack is super budget-friendly and only requires two of the most common household ingredients, it's worth a try.
Buff your sink with a microfiber cloth and olive oil

Microfiber cloths are a great investment for cleaning your kitchen sink. Typically made of polyester and polyamide (nylon), they are fantastic at removing water spots, fingerprints, and other simple spots — particularly on stainless steel sinks. Microfiber cloths will also give your sink that spotless, shiny, inviting finish that will leave you feeling satisfied with the hard work you put into cleaning.
The best way to utilize a microfiber cloth is to first dampen it slightly. Instead of using water, try using a small amount of olive oil. Yes, you read that correctly. Next, using a circular motion, gently buff the sink surface. If there's too much friction, you can add a little more olive oil to the damp microfiber cloth. Olive oil also has some antibacterial properties, so make sure to hit those stubborn areas around the edges of the sink, next to the faucet, and around the drain. Once you feel content with your buffing, use a separate dry cloth to wipe away the excess oil in your sink, and voilà! This easy microfiber-and-olive-oil hack is an effective way to leave your kitchen sink streak-free and glistening.
Bleach your sink with lemons
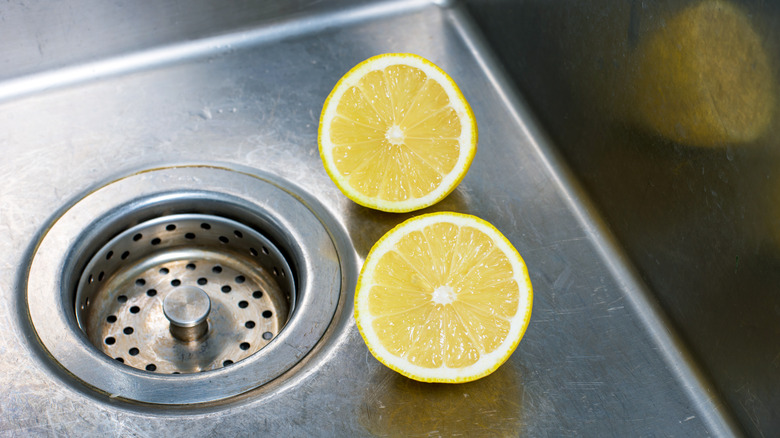
If your sink isn't shiny enough after the deep cleaning and buffing methods mentioned so far, it's time to consider bleaching. Instead of using traditional bleach, which many people are sensitive to because of its harsh chemicals, try using lemons.
All you have to do is cut a few lemons in half or in thick slices. This will depend on how many spots you're trying to bleach. Next, place the lemon slices over the stained spots in your sink and leave them there overnight to allow a gentle whitening effect to occur. Just make sure the sink is dry before placing the lemons down and heading off to bed. In the morning, remove the slices and rinse the sink with water to see your results. You should notice that the stains are gone or lightened, and that your sink is brighter overall. What's great about this trick is that the lemons will also leave your sink smelling of fresh citrus. There truly are so many great lemon hacks to choose from when it comes to cleaning. Try the lemon bleaching method out and see for yourself.
Use vinegar to clean your faucet head
The faucet head is a part of the sink that's often overlooked, but it deserves just as much attention as the other areas, if not more. Faucet heads are consistently left wet or damp — leading to the accumulation of grime, mineral deposits, and different types of unhealthy microbes. Faucet heads are also prone to dust and dirt buildup, leading to slight clogging over time that needs to be addressed.
You don't want to clean your faucet head with harsh or unsafe chemicals, because the water coming out of it is used directly on dishes or hands. Instead, reach for a more natural cleaning and disinfecting agent like vinegar. All that's needed is to get a bowl and fill it with equal parts white vinegar and water. Make sure the bowl is large enough so that the removed faucet head is completely submerged. Next, let your faucet head soak in the solution for at least an hour. Before removing the faucet head from the bowl, turn on your faucet and let the water run for a minute or two to make sure any leftover contaminants are rinsed out. Remove your faucet head from the vinegar-and-water bath, and then thoroughly rinse your faucet head with clean water so that any remnants of vinegar disappear before reattaching it. Now you can enjoy a disinfected, unclogged, steady stream of water.
Make vinegar and lemon ice for your garbage disposal
Sink odors are tough to get rid of. This has a lot to do with crushed food and grime in the drain and garbage disposal. If your sink pipes are clogged — which is not a pretty sight — you've got an even bigger problem.
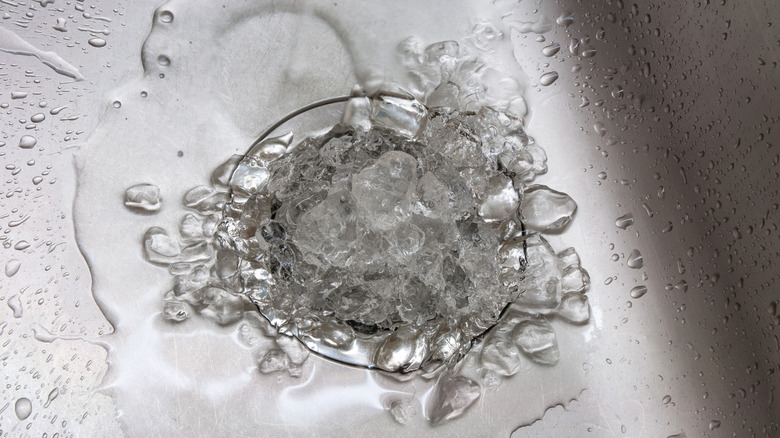
One of the best ways to tackle both clogging and odor issues is to place some vinegar-and-lemon ice cubes down your sink's drain, and then run the garbage disposal. Contrary to what you may think, ice cubes are a highly recommended garbage disposal hack, one that plumbers endorse for cleaning the blades. The hard ice cubes actually work to remove buildup from the blades. The addition of vinegar breaks down some of the clogged material, while the lemon — a great food scrap for removing odors from your garbage disposal — leaves your sink smelling fresh. One note of caution: Avoid pouring boiling water down the drain. It can melt fats or oils that will then re-congeal, causing problems for the disposal's motor and leading to clogging.
To create these vinegar-and-lemon ice cubes, just mix equal parts lemon juice and vinegar together. Next, pour the mixture into an ice cube tray and let it freeze overnight. In the morning, drop a handful of the cubes down the drain, and then run the garbage disposal until the ice is crushed into tiny particles.
Use lemon juice and essential oils for sink odors
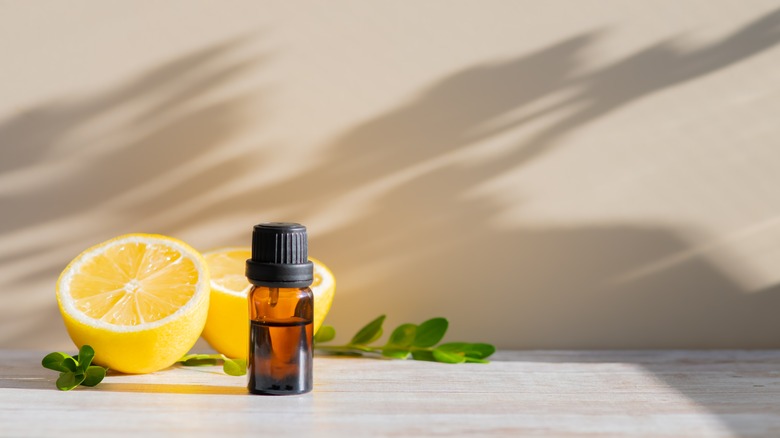
If your sink is a persistent source of smelly odors, it's time to take your aroma game up a notch. Some extra ingredients — including baking soda and a few drops of your favorite essential oil — will go a long way in removing kitchen odors.
We recommend you begin by rinsing your drain with some water. Next, measure out 1 cup of baking soda and 1 cup of lemon juice. Pour the baking soda into the drain first, followed by the lemon juice. This should create a delightfully fizzy chemical reaction that gently cleanses grime and dirt, but mainly helps deodorize the garbage disposal. Once the reaction has calmed down, add several drops of essential oil into the drain. You can choose from a variety of fresh scents like citrus, peppermint, tea tree, eucalyptus, and lavender. The best part about using essential oils is that they will likely make your whole kitchen smell amazing, not just your sink, so pick a scent that you like. Lastly, let the whole mixture sit in your drain for at least 30 minutes. You want to give the ingredients time to work their cleaning and deodorizing magic before washing them away with water.
Develop a routine to clean your sink often
Consistency really is key when it comes to keeping your kitchen sink spotless. Cleaning regularly is the best way to prevent stubborn buildup and stains from accumulating. It's also the best way to keep your sink germ-free, and prioritize the health and safety of everyone in your household.
The easiest way to ensure you're cleaning your sink regularly is to make it a daily or nightly habit. Since you'll be cleaning often this way, it's best to consider using a mild or more natural dish soap to wipe down your sink. Make sure you clean both the sink's surface as well as the outer edges and corners. These tight areas collect dirt and grime over time, so cleaning them often will make sure no contaminants become too deeply ingrained. Additionally, having an easy, recurring cleaning routine is the best way to avoid the need for ultra-deep cleaning sessions — something we'd all like to do less frequently. Still, it's best to pencil in several deep cleans throughout the year to make sure you have your bases covered.
Install a splash guard and sink mat
Last but not least, consider purchasing a quality splash guard and sink mat for your kitchen sink. A splash guard is an accessory that you can attach to the periphery of your sink. It will help keep the surrounding areas water-free, and thus more stain-free and grime-free. On the other hand, a sink mat will serve as a different type of protective barrier. Placed at the bottom of your sink, the mat will prevent scratches from pots, pans, and other kitchenware from accumulating on your sink's surface. A sink mat will also keep your kitchenware from touching the bottom of the sink. As long as you continuously wash your sink mat, your items will likely pick up less germs this way. We recommend both stainless steel and silicone mats.
Both a splash guard and a sink mat will reduce cleaning and buffing needs later on. This will save you time and energy when it comes to maintenance, as well as keep your kitchen sink cleaner, organized, and sparkling.