12 Tips You Need When Cooking Corn
Come summertime, it seems like there's corn around every corner — barbecues, potlucks, family dinners. But there's a reason that we don't get tired of it, and part of that has to do with how incredibly delicious it is. Not only is corn sweet, juicy, soft, and buttery, but it's also fun to eat. In addition, there are endless ways to prepare, season, and enjoy the starchy vegetable. No two ears are created equal, which adds diversity and variance, making corn the perfect side dish that goes with just about anything. And while fresh corn is bursting with flavor and doesn't need much seasoning when cooked properly, there are some tips you need when cooking with corn to ensure that by the time you're done with it, it's the correct texture and mouthfeel. It may seem like a simple task, but it is possible to make major mistakes when cooking this popular veggie.
Ever get a side of bright yellow corn on the cob that's chewy, mushy, and dry? When you grab onto it, your fingers make indents that don't seem to spring back into place. Yes, the salt and butter helps with the flavor, but it just doesn't seem as juicy and sweet. This could be due to a number of factors including how long ago it was picked, how it was stored, and of course, the method that was used to cook it. Let's vow to cook it the right way and get the most out of our ears.
1. Select fresh, ripe corn
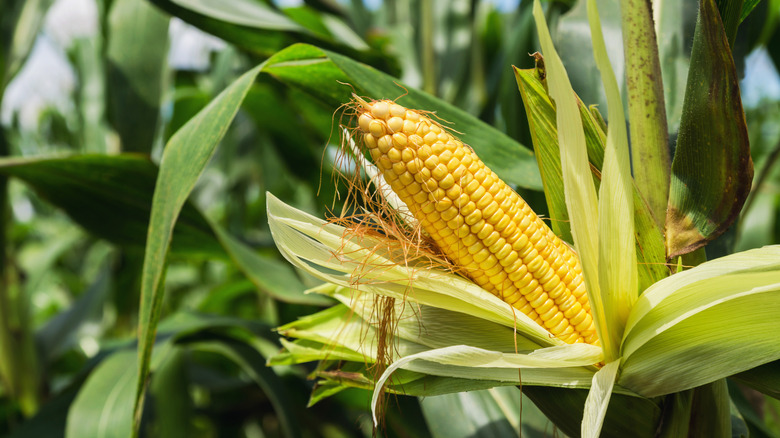
There is a major difference between the flavor of freshly picked corn and corn that's been sitting around for several days waiting to be eaten. Even just one day can make a difference, which is why corn tastes so much better when it's in season locally. It's sweeter, juicier, and more flavorful in general. When possible, buy your corn from a local farm stand or outdoor market. This local corn was likely picked and then stocked rather than having to be transported from a distance. But if you're stuck with choosing an ear from a grocery store without local produce, there are some methods you can use to ensure you're getting the freshest veggies around. First, check the stalk to be sure it's not slimy or mushy. It should be light green, and firm to the touch.
Most of the time, you can tell by looking at the husk and silk how mature an ear is. Corn silk can help you pick out the best ears of corn, and it's not just by looking at its coloring (although that can help). Consider feeling the silk to determine how well-developed the ear is. Although brown and brittle silk may look less appealing, this is actually an indication that the corn is ripe. The riper the corn, the sweeter it is. And once you bring home your loot, don't save it for later. Enjoy it that day if possible.
2. Zap it in the microwave
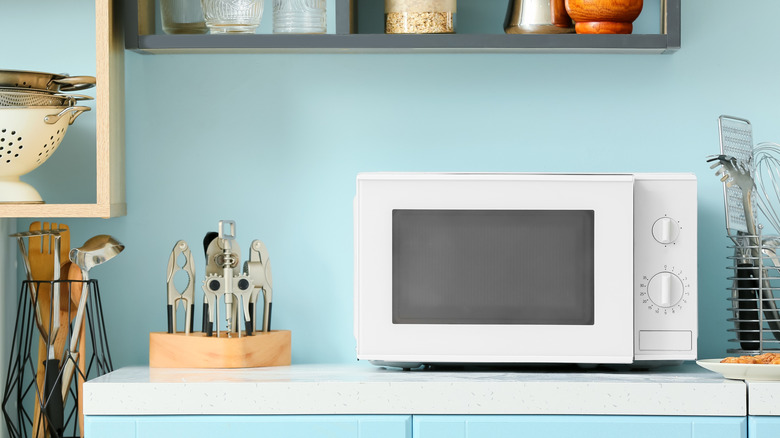
Microwaved vegetables get a bad rap and for a good reason. They always seem to be overcooked, mushy, and flavorless. However, when it comes to corn, the outcome is entirely different. Yes, if you microwave husked ears or frozen corn, they will come out tough and dry, but there is a special technique that results in perfectly cooked corn on the cob every time. For easy, microwaved corn on the cob, simply start by cutting off the large stalk so the corn fits and is able to rotate in the appliance without catching the edges. Be sure to leave the husks on, as this will provide a casing for the kernels to steam.
Next, microwave three ears at a time on high for about five minutes before letting them sit for at least five minutes. The waiting game is essential because not only does it allow the corn to continue steaming, but it also ensures you won't burn your fingers when you try to shuck the husks. Even after the five-minute wait, the corn is likely still very hot, so take caution, or use gloves. From there, season your corn how you typically would. Butter, salt and pepper, chili powder, mayonnaise, and olive oil are all great options. However, this type of steamed corn, if made with a fresh ear, can be incredibly flavorful all on its own. It doesn't get much easier than that.
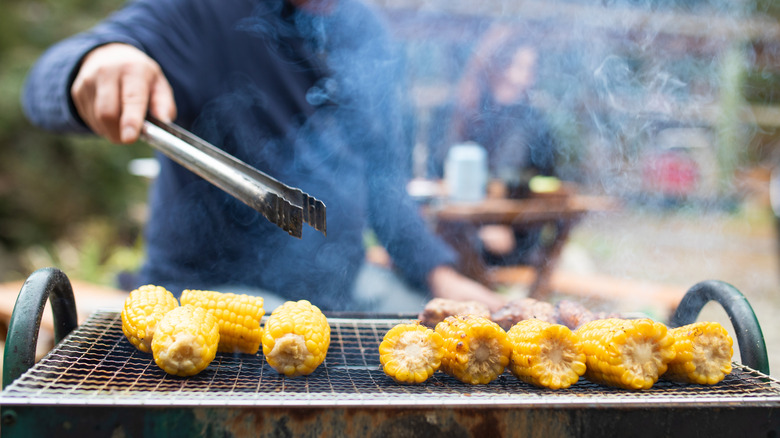
3. Flat grill it off the cob
Flat-top grills are all the rage, and we can see why. They are what happens when a grill master meets a teppanyaki chef, and outdoor cooking has never been this fun or easy. It's essentially a fire-powered griddle. They function just like a grill, but you don't have to worry about anything falling through those grates, which makes it the perfect surface to cook corn off the cob.
Start by using a sharp serrated knife to safely remove the kernels from the cob. The best way to cut corn off the cob is by using an inverted bowl inside of a larger bowl. Prop the cob with its flattest surface against the back of the smaller bowl, and the larger bowl will catch all the flyaway kernels as you slice. Then take your corn and toss it on your preheated and oiled flat-top grill, add your sauces, herbs, and spices, and go hibachi wild. There are endless ways to season corn, so take advantage of all those loose kernels and allow them to soak up the juices. Be sure to use a little oil or butter, and to let the corn rest against the hot flat-top until it begins to brown before moving it around again. Although the process is a little more involved for the cook, your guests will thank you for the easy-to-eat, mess-free side dish.
4. Soak in brine before grilling
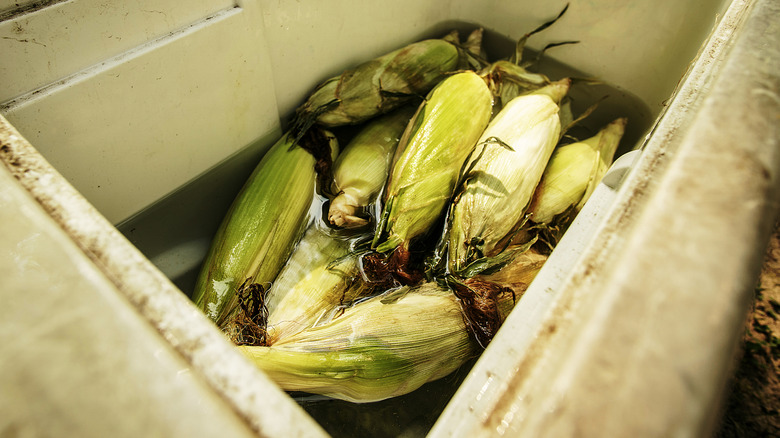
Although we conjure up images of grilled corn on the cob as having those famous charred grill lines, there are other ways to approach cooking the veggie over an open flame. This technique results in tender corn every time, but takes a little longer to cook, and is more of a guessing game as to when the corn will be ready. This is because you'll want to leave the husk on for this method. Start by soaking your ears, in their husks in a large pot of cool salted water. Soak them for at least 15 minutes, if not a few hours if you have the time.
It would be a mistake to prep corn on the cob by always removing the husk, as the husk itself acts as a steamer bag, especially when the inside is saturated with water. Place the full husks on the grill and let them steam. The water not only flavors the corn and promotes steaming from within, but also helps the husks from catching fire. However, they may still char, and that's okay because they will be completely removed before consumption. Grill the corn for about 15 minutes, rotating each ear every once and a while to keep the heat evenly distributed. After the corn comes off the grill, let it sit for at least five minutes before attempting to shuck it. Beware, it will still be very hot to the touch, and steam burns are no joke.
5. Reheat it in the oven

After your barbecue guests finally disperse for the night, don't you dare think about tossing those extra ears of cooked corn that weren't eaten. Just because we know corn is delectable when enjoyed fresh doesn't mean we can't reheat it and enjoy it again. The absolute best way to reheat corn on the cob is in the oven, but there's a particular technique that works best. You'll want to avoid it drying out, so before you even think about reheating it, be sure to wrap it up tight when storing it in your refrigerator.
In addition, it's important to add butter, olive oil, or milk to your corn before reintroducing it to heat. This will ensure that it stays plump with moisture and won't dry out. Preheat your oven to 350 degrees Fahrenheit and place your corn on parchment paper or aluminum foil to catch the drippings. Bake for a maximum of seven minutes, although five may do the trick. Enjoy the corn right away while it's hot. If possible, try to enjoy leftover corn the day after it's originally cooked. The longer it sits, the more flavor it loses and the tougher it gets.
6. Grill it without the husk
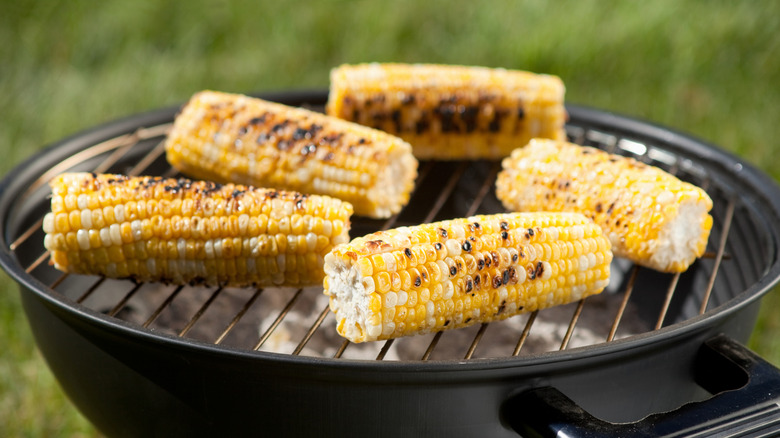
Although it's fun to steam corn right in the husk, which results in tender and juicy kernels, it's also nice to toss it right on those grates, naked and ready to sizzle. This way you can achieve those famous grill lines and crispy blackened skin found on elote, also known as grilled Mexican street corn. Start by shucking your corn on the cob, and be sure to compost those husks. Dip your corn in a salty brine and toss it right onto the grill. Cook over high heat, and as soon as it starts to blacken, turn it so that it's cooked evenly. Because corn doesn't need to cook down to the cob and there is no husk blocking the kernels from the flame, it shouldn't take too long for the corn to finish cooking.
Corn on the cob grilled over an open flame is a classic. If you don't have any corn holders at home, consider leaving the husk attached to the base. Peel it back like a banana and use it as a handle for easy noshing. Just be sure the husk is over the edge of the grill so it doesn't catch fire or heat up to the point where it can be handled. Consider dipping your corn in the brine when it's done cooking for an extra juicy ear loaded with flavor. It's an easy way to add saltiness without having to douse it in messy butter.
7. Use a steamer basket
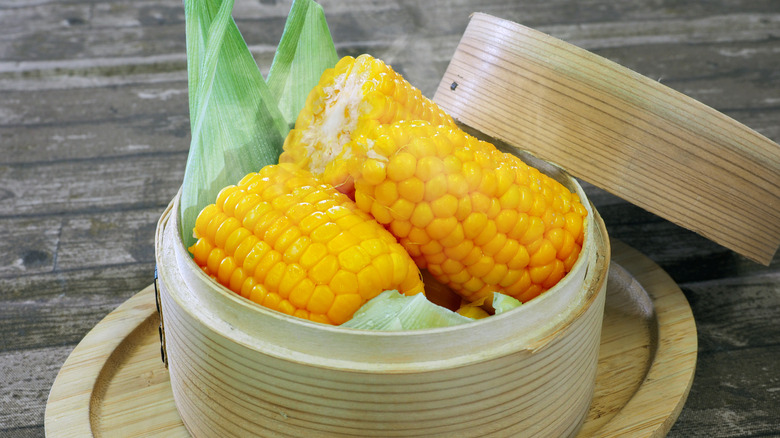
Just because it's corn season doesn't mean that the weather is cooperative for a cookout. Sometimes it's nice to just cook your corn inside and not have to worry about the weather, bugs, or getting the grill going. Instead, use your stovetop to make succulent, juicy, tender corn on the cob. If you have a steamer basket, this is a great way to use it. Place it at the bottom of a pot and fill it up with enough water to just barely touch the steamer. Then place your shucked corn in the basket and crank up the heat. Be sure to use a lid to trap all of that steam inside the pot. You will only need to steam your cobs for about four or five minutes, so keep a close eye on them. You can often tell that corn is ready because it begins to deepen in color.
Steamed corn is slightly more nutritious than other types of corn because steaming is the best cooking method to preserve nutrients, per the Journal of Zhejiang University. So not only does it produce incredibly delectable and flavorful corn, but you don't have to miss out on the health benefits that corn offers. Enjoy the best of both worlds.
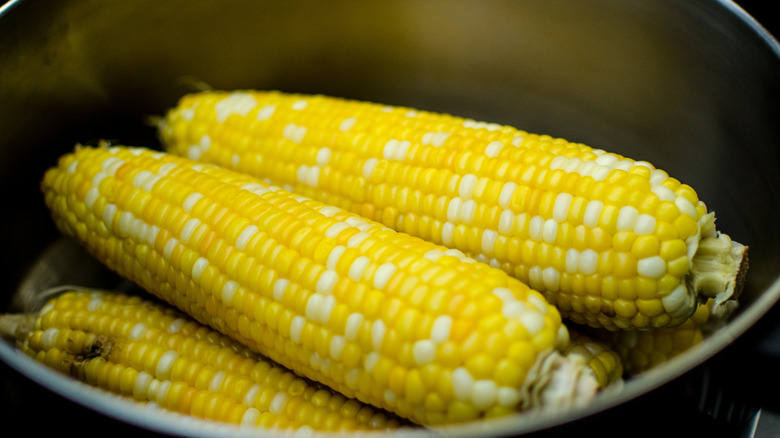
8. Boil it in a butter bath
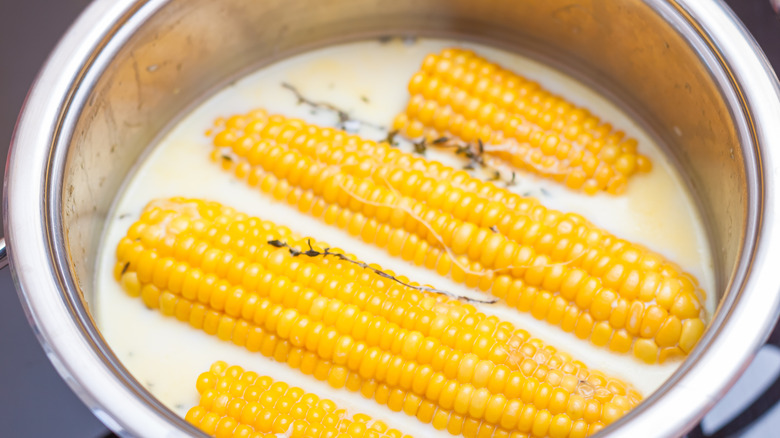
Although we don't recommend boiling most vegetables, there is an exception. Corn on the cob can be boiled, but don't boil it in plain water. Instead, boil it in a butter bath.
If you're new to the world of butter baths, this doesn't mean that we are boiling ears of corn in a vat of melted butter (though we're sure that would be incredibly delicious, if wasteful). It simply means adding some butter to your water, along with milk if you desire. In addition, you can choose to add other herbs and spices or even honey for additional sweetness. For six ears of corn, use about a quart of water, a stick of butter, one cup of milk, and a dash of salt. This ratio ensures that all of those nooks and crannies are filled and coated with creamy fat. A tip for cooking with butter is to default to salted butter unless told otherwise. Often unsalted butter is used for baking and salted butter for cooking.
Boil your corn in this bath of fat and salt for about five to eight minutes. Use tongs to remove the corn, and take caution as it will be very slippery. If you're having trouble getting a grip, place food-grade rubber bands on your tongs. And as with other forms of corn, enjoy your butter bath corn right away.
9. Sous vide it
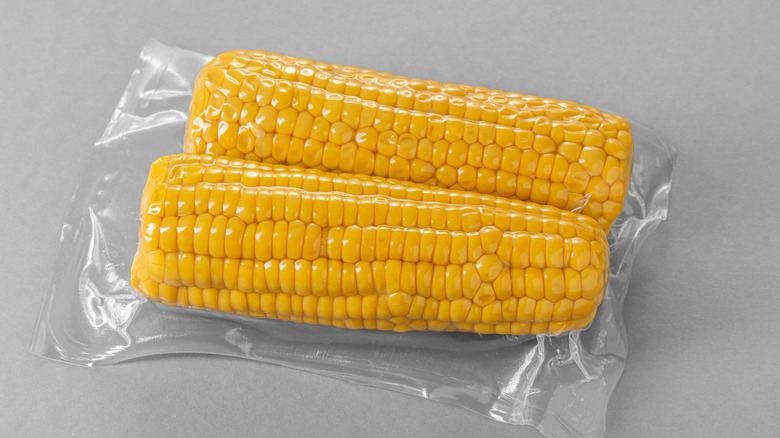
This technique works well for those who like to have things measured and calculated. And although it might be more common to find sous vide meats than vegetables, the concept is pretty similar. However, you will need the right tools in order to sous vide your corn, but if you're ready to go this can be an incredibly flavorful method to use. Sous vide is a French method where you vacuum seal an item in a bag, and then cook it in a temperature-regulated water bath for a specific amount of time. This works well for marinated meats and vegetables because all of that flavor gets trapped in there with whatever is cooking, with no escape to the pan or through the grill grates. It's the corn cooking method that can seriously deliver flavor.
Seal your shucked corn on the cob with butter, oil, herbs, aromatics, or just as is. Although corn is absolutely delicious without any flavoring, this is a great method to use if you do, in fact, want to infuse additional flavors into your corn. Add the vacuum-sealed corn and flavorings in a bath of around 185 Fahrenheit, and cook for about half an hour. You may want to clip the bag to the edge of the pan to ensure it doesn't sink to the bottom and overheat.
10. Break out your Instant Pot
There are two kinds of home cooks in the world: those with Instant Pots and those without. Those with tend to be a little obsessed with the appliance, and for good reason. They work magic and save quite a bit of time in the kitchen. And although they may be intimidating from the outside, they are actually quite simple to use. If you're an instant pot king or queen, then you must try instant pot corn on the cob.
Shuck your corn, and cut off the stalk. Place the corn in your instant pot over the steamer basket attachment. Add your water, and then set it for two minutes. That's right — it really is instant! This should produce corn similar to that which has been steamed on the stovetop: nice and tender, sweet, and delicious. Remove with tongs to ensure your safety and season however you please. Serve as soon as the corn comes out of the instant pot for the best results.
11. Wrap it in foil
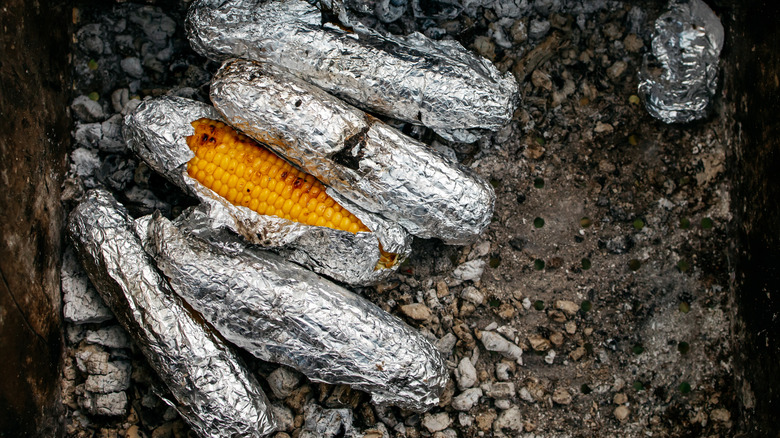
Similar to the grill-in-husk method, you can opt to cook your corn over an open flame using indirect heat. This will prevent charring, but still give your vegetable that nice smokey flavor, and allows you to enjoy the joys of outdoor cooking. If you're a fan of butter, then this method just might be for you. Pre-season your shucked corn with butter, sugar, pepper, salt, and whatever other flavorings you typically use. Next, tightly roll each ear in its own aluminum foil casing before placing it over a hot grill, open flame, or even campfire coals — which is why we call it campfire corn on the cob.
The foil will ensure that the butter and seasonings cook right into the corn, and it also creates a barrier from any coals if you've chosen the campfire hot-coal method. Let each ear cook for about four or five minutes on each side before removing them using tongs. Be sure that the corn has a chance to cool before peeling open the aluminum foil, and enjoying piping hot corn on the cob.
12. Avoid overcooking frozen corn
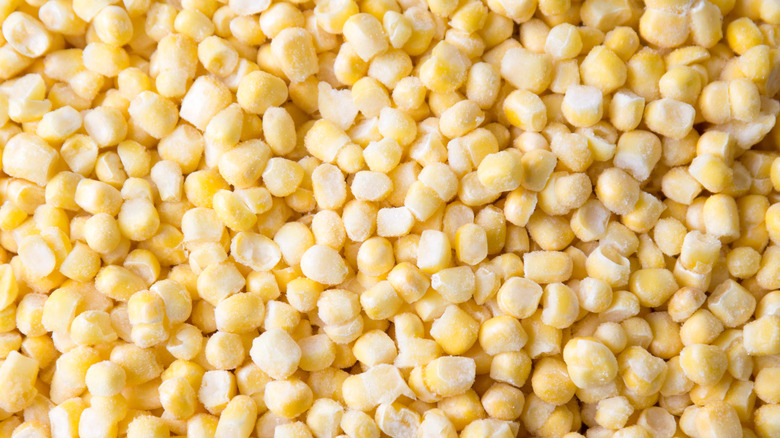
Did you know that you do not need to cook frozen vegetables? That's right — most vegetables are slightly pre-cooked before they are frozen to help preserve their texture. This is why when you try to reheat frozen peas or corn you may notice that they dry out fairly easily. You can simply defrost corn and enjoy it, or heat it up the right way to ensure it remains a tender and desirable texture.
The best way to reheat frozen corn is by lightly sautéing it in a pan with a little fat. Consider using butter or olive oil, along with salt and pepper. The fat will help to preserve the corn's moisture content and will create a pleasing mouthfeel. If you're going to load corn up with spices, frozen corn is the best kind to do this with because although it's quite delicious, it doesn't hold a candle to fresh corn on the cob. A little extra boost in flavor could do it some good, and you don't risk masking that fresh off-the-farm flavor.
You may have purchased a steam-in-the-bag option, which tends to work nicely as well. That said, once it's been steamed, don't try to toss it on the stovetop for additional cooking with butter and spices. Simply follow the steaming instructions and mix in your butter after the fact.