The Clever Tip For Melting Cheese When Making Stovetop Burgers
If you are cooking a cheeseburger (or a few) at home on your stovetop, you know how quickly and easily this cooking method gets your burgers on the table. But when it's time to melt the cheese, well, that's when things can get messy.
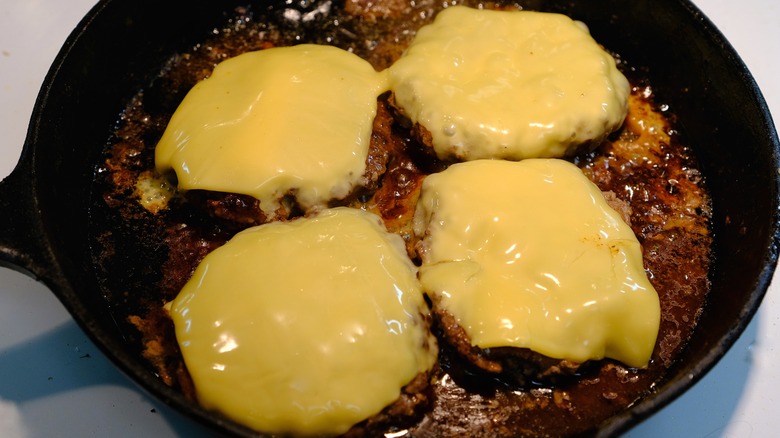
We've all had those instances when the cheese melts onto the pan and starts to harden before your burger is plated. While you're eating, the mess will become harder to clean up. That's because excessive heat removes the water from the cheese, leaving the dairy inside the cheese to harden and stick to the bottom of your pan. What might be even worse is topping your burger with cheese with your other toppings because you'll end up with a bite of cold, hard cheese instead of melted yumminess.
So how do you melt the cheese without having it stick to the bottom of your pan? That's when a metal bowl, or metal lid, comes into play.
Melting cheese without the mess
To avoid the mess, your cheese should not hit the burger while it's in the pan. Instead, once your burgers are cooked to your liking, remove them from the pan, add the cheese on top, and then place a metal bowl or lid on top. At this point, your burgers are still piping hot and the bowl will catch the steam and melt the cheese perfectly over them.
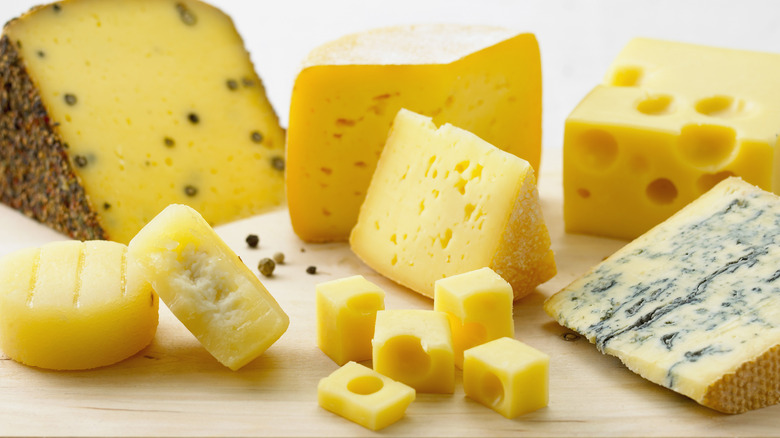
It should only take one to two minutes to melt the cheese, so you won't have to wait long for a juicy bite. Keep in mind that different cheeses have different melting points. American, cheddar, and Gruyère cheeses are known to have lower melting points, so you only need to keep your burgers covered for 30 seconds to one minute. If you're using cheese with a high melt point, like goat cheese, it will take longer because the salts preserve the cheese, making it harder to melt. Thicker slices of cheese also take longer to melt. In this case, use thinly-sliced cheese or you'll need to keep the burgers covered a bit longer, but it still shouldn't take more than a couple of minutes.