16 Tips You Need For Roasting Marshmallows This Summer

We may receive a commission on purchases made from links.
As the final school bell rings and the palpable anticipation of summer vacations fills the air, children aren't the only ones with vivid images of freedom dancing in their minds. Summer is a season that paints images of family outings, backyard campfires, and starlit gatherings that bring everyone together. Some of us spend hours trading ghost stories and memories, with the flickering light of a campfire as the only light. Invariably, there are marshmallows to be roasted and s'mores to be assembled.
The harmonious blend of graham crackers, chocolate, and marshmallow forms an ageless combination that unites everyone around the fire, adding a touch of sweetness to their shared memories. Yet, there's an art to perfecting the roast of a marshmallow, one that can transform this simple act into a cherished summer ritual.
Armed with a selection of clever tips and tricks, your upcoming season of campfires promises many perfectly toasted marshmallows. Amidst the laughter and heartwarming family conversations, each s'more becomes more than a treat. It becomes a memory, a shared experience that binds everyone closer, creating a canvas of unforgettable moments that truly encapsulates the magic of summer. These tips will help make those moments as beautiful and delicious as possible.
Choose flavored marshmallows
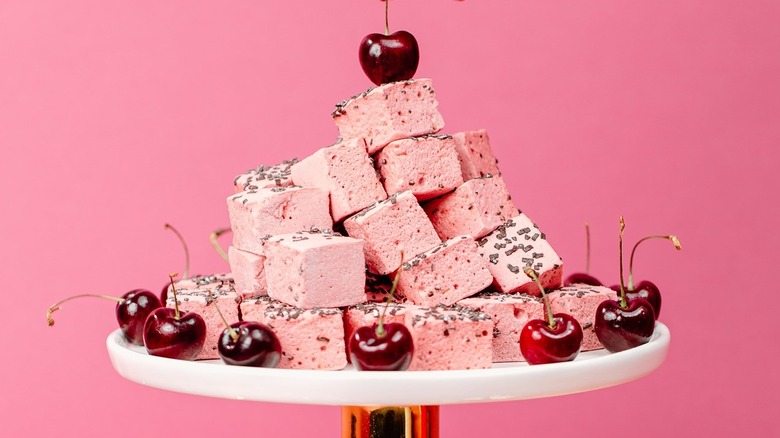
Dare to experiment with the classic s'more recipe by incorporating flavored marshmallows. An exciting development in the world of sweets, many companies are now offering these puffed sugar treats with a twist. One such company is XO Marshmallow, renowned for its innovative flavors like salted caramel, Nutella, and even caffeine-infused marshmallows. Not only do they add an unexpected element to your treat, but these gourmet marshmallows also serve as a taste adventure on their own.
Moreover, XO Marshmallow caters to various gathering sizes by retailing s'mores kits tailored for both intimate duos and larger groups. The opportunity to personalize this traditional campfire treat is what makes this s'more variation so appealing. Swapping out the conventional marshmallow transforms the overall flavor profile, thereby catering to an assortment of tastes and preferences.
And the applications for these flavored marshmallows extend beyond s'mores. Their irresistible taste and unique flavor profiles make them a delightful addition to other recipes that call for puffed sugar treats. Imagine, for instance, salted caramel or Nutella-flavored rice crispy treats. With these new flavors, you're sure to be the new favorite house on the block.
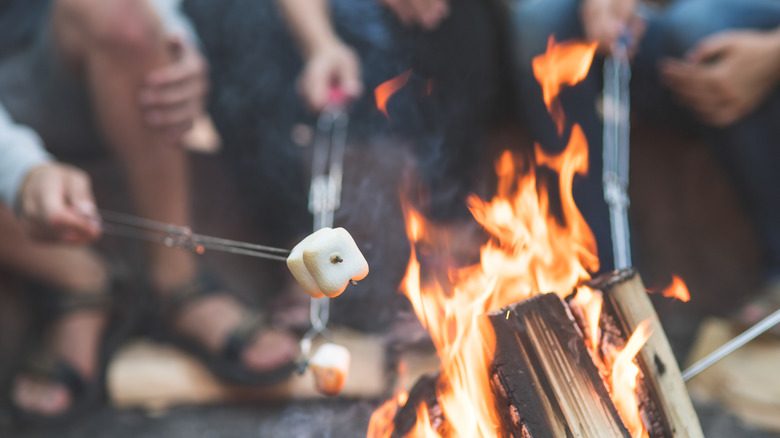
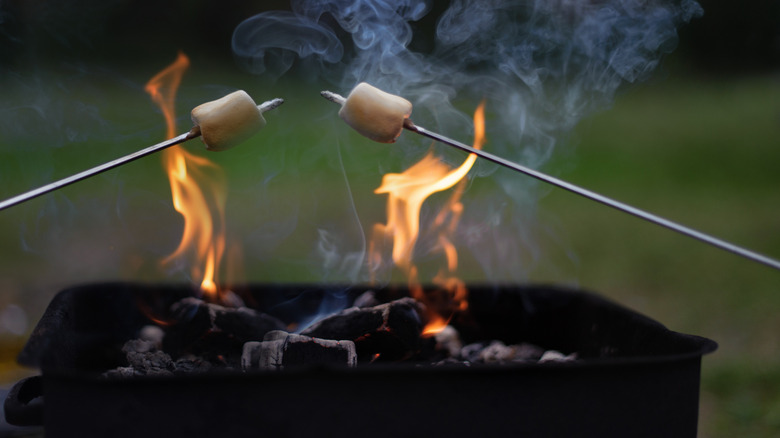
Keep them moving
In the realm of toasting marshmallows, the art of achieving the perfect golden-brown puff is often overlooked. It's an intriguing oversight, considering how many of us spend considerable time learning to master other recipes before attempting them. We believe it's high time marshmallows receive the same degree of culinary respect.
Once you've carefully skewered your marshmallow onto your preferred stick, the key is to maintain constant motion. By using a rotisserie-like technique, you can significantly reduce the amount of char on your marshmallow, even if you enjoy it on the well-done side. By continuously rotating the marshmallow, you'll achieve an evenly browned treat, beautifully golden throughout. This method is equally effective for both homemade and store-bought marshmallows and is arguably the most crucial trick to perfectly roasted marshmallows fit for s'mores.
However, this approach does require patience. So, when you're huddled around the family campfire, be sure you're prepared for a slow, deliberate process. Crafting a perfectly roasted marshmallow can take around five minutes, but the reward is well worth the wait. So, don your patient pants and embrace the process because a flawless, golden marshmallow is the result of careful attention and time.
Find the embers
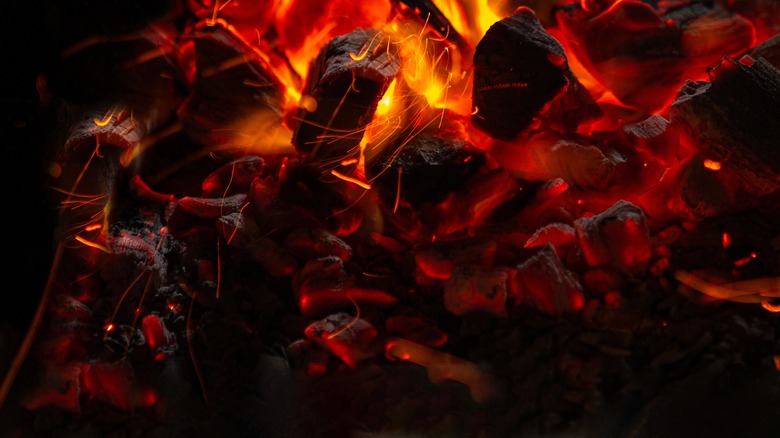
Once you've become adept at the constant rotation of your marshmallow, it's time to enhance your skills by mastering the optimal location to roast it. While the natural inclination might be to thrust the marshmallow directly into the flame, a superior method exists that promises a more evenly browned result. However, similar to the continuous rotation technique, this approach demands a fair share of patience, as it involves waiting for embers to form at the base of your fire.
Rather than thrusting your marshmallow into the heart of the flames, wait for hot coals to accumulate at the bottom of your fire pit because this will be the best spot for roasting marshmallows. One strategy to achieve this is by allowing the fire to die down significantly before initiating the toasting process. The beauty of this approach is its convenient timing; let the fire blaze while you prepare and enjoy your main course. After dinner, as you engage in fireside conversations, the dying embers become the perfect toasting ground for your marshmallows.
Moreover, while these coals are extremely hot, they don't pose the same level of perceived danger as sparking flames. This makes the task of marshmallow roasting safer and more accessible for children, under careful supervision, of course.
Look for a hot box
If your patience wears thin when waiting for the fire to die down to embers, there's another technique that involves a unique feature within your fire, often referred to as a hot box. This naturally occurring phenomenon is akin to a miniature oven within your fire. It's typically found between two heated logs, serving as a radiant source of heat from the embers below.
While it's true that the presence of hot embers remains crucial, this hot box technique doesn't demand the fire has burned down entirely. Instead, it allows for a more timely continuation of the marshmallow roasting process while still delivering a perfectly golden marshmallow.
The key to leveraging this method is identifying the hot box within your fire. Once you locate this area, be sure to keep that marshmallow rotating. The heat within this space can be surprisingly intense, even in the absence of direct flames.
Use your oven
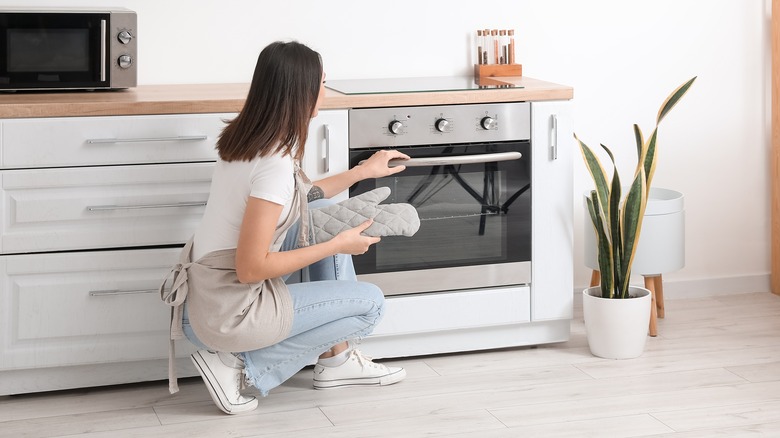
Even without a campfire, numerous methods exist to toast your marshmallows, and using an oven is one of our favorites. For this technique, all you need is a baking sheet and a bag of marshmallows. Start by arranging your marshmallows on the baking sheet, keeping in mind that they will expand as they heat up. Therefore, allocate approximately an inch of space between each marshmallow to prevent them from melding together as they puff up.
Next, place the marshmallows in the oven and switch on the broiler. As the heat intensifies from above, monitor them closely to avoid overheating. The visual cue to look for is a change in color; you're aiming for a perfect golden hue. Once one side of the marshmallows achieves this, remove the baking sheet from the oven and carefully flip them over. Then, repeat the process for the other side.
By turning the marshmallows midway through, you're ensuring an even toasting on both sides. This way, you avoid a marshmallow that's molten on one side and seemingly undercooked on the other. Following this method makes roasting marshmallows even easier than you might expect and guarantees a perfectly roasted treat with a thorough, even roast, all from the comfort of your kitchen.
Roast over your gas stove
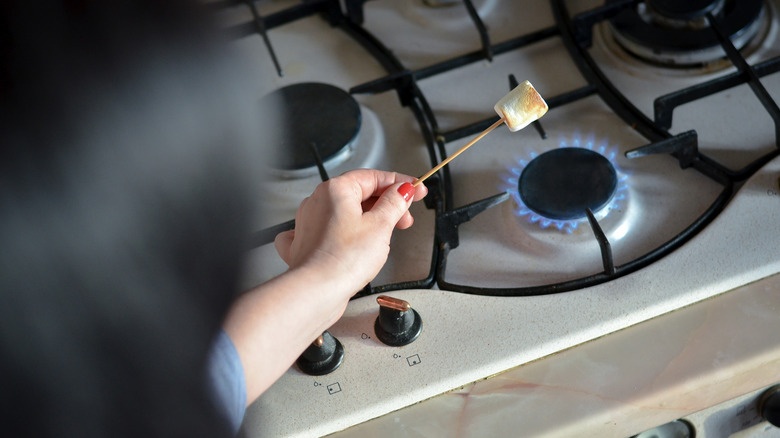
If you'd still like to experience the thrill of roasting marshmallows over a fire but lack access to a campfire, fear not. If you have a gas stove at your disposal, the top burners can replicate a similar effect, providing a bit of that traditional campfire charm in the comfort of your kitchen.
We recommend using bamboo chopsticks or even a metal skewer for this indoor roasting adventure. Set your burner to medium-high heat, and continue employing the same rotation technique as you would at an actual campfire. In this scenario, though, it's wise to angle your skewer downward slightly to prevent the marshmallow from sliding off and falling into the open flame.
Do note that you'll be roasting over an open flame without the possibility of using embers, so your marshmallow has a higher risk of catching fire. Therefore, it's crucial to maintain a vigilant watch during the process, especially if children are participating in the roasting process.
Makes s'more in the air fryer

Air fryers have become a popular kitchen appliance due to their versatility and convenience in cooking various foods. However, you might not have considered their potential for preparing a classic campfire treat: s'mores. If you have an air fryer handy, consider trying this method next time the craving for this delightful snack strikes.
The process is straightforward and easy. First, preheat your air fryer to 390 degrees Fahrenheit. Then, place a graham cracker inside, topped with a marshmallow. Keep the chocolate and second graham cracker aside for now; they'll come into play once the marshmallow is perfectly toasted.
If you want to ensure your marshmallow stays in place during the cooking process, you can cut off a small portion from the bottom and use it to stick the marshmallow onto the graham cracker. Then, let your s'more roast in the air fryer for about seven minutes. However, we recommend checking on your treat halfway through to prevent overcooking.
Break out your grill
Camping is intrinsically linked with certain cooking methods. Without them, it's difficult to envision a satisfying camping weekend. While s'mores are undeniably one of these quintessential camping treats, the joy of grilling food outdoors also contributes significantly to the overall camping experience.
If your campsite comes equipped with a grill, and you're already planning on sparking it up for a meal, consider leaving the embers glowing for a post-meal treat. Why not use them to toast up your s'mores? There's no strict requirement that s'mores have to be made over a campfire, especially if you don't intend to spend time huddled around one. Let's face it; in the peak of summer, sitting around a fire in the evening can be oppressively hot.
Alternatively, if you find yourself at home and not at a campsite, but still plan to grill for dinner, consider using that same grill to prepare dessert. The absence of camping shouldn't deprive you of the joy of s'more making. By using the residual heat from your grill, you can bring a bit of the camping spirit to your backyard or even your kitchen, creating a delicious ending to your meal, regardless of your location.
Pocky makes a great stick
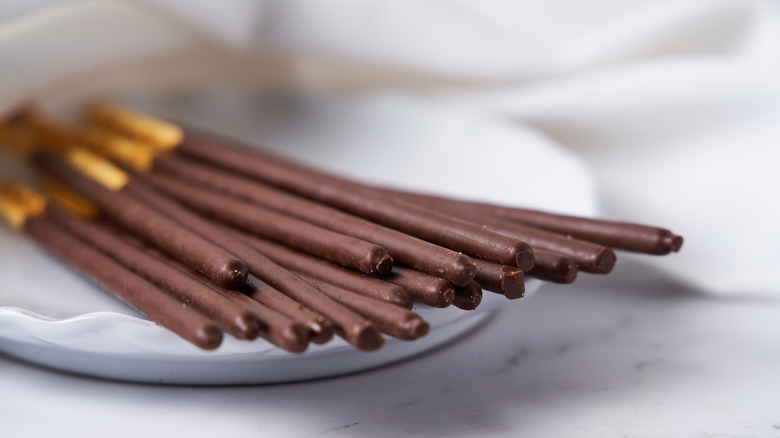
While numerous creative hacks exist for roasting s'mores and optimizing the heat from your fire, options can seem limited when it comes to the implement used to hold your marshmallow over the flames. The classic marshmallow stick is a go-to choice, especially in a wooded campground. However, we have an innovative and tasty alternative to suggest: Pocky.
This hack you need to know the next time you make s'mores uses those slim, stick-shaped Japanese biscuits that are delicious in their own right. Dipped in an assortment of delightful flavors, they're a treat by themselves. But when paired with the classic components of a s'more, Pocky takes on an entirely new role. The best part about a Pocky stick is that it's entirely edible. This means the tool you use for roasting becomes a crunchy addition to your already delectable treat.
However, it's important to note that Pocky sticks are not particularly long. So, when using them for roasting marshmallows, ensure you're not too close to the fire. Given their length, they're better suited for roasting over embers rather than an open flame.
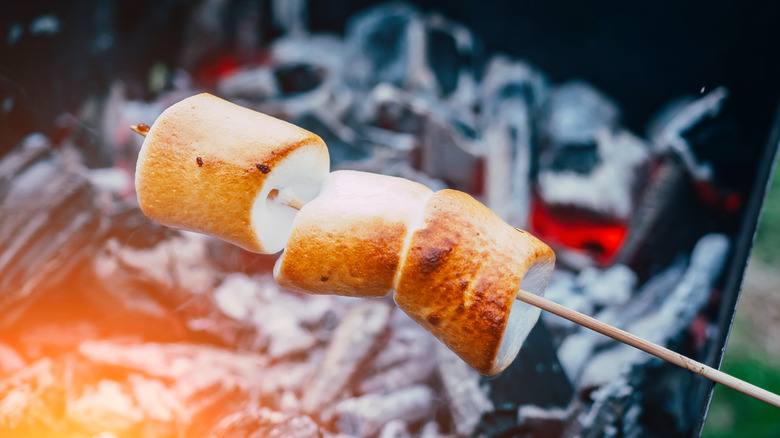
Watch for a color change
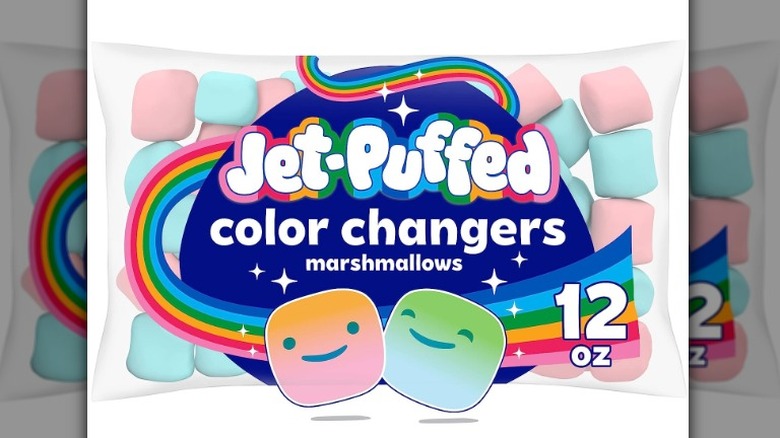
One of the most reliable indicators of a perfectly roasted marshmallow is observing its color transformation. The shift from a pristine white to a golden brown hue is a clear sign that your marshmallow is ready for s'more assembly. And, once it moves past that golden brown point a sure indicator that either the stick holder prefers marshmallows the color of coals or they have simply burnt that marshmallow to a crisp. However, if you're open to a unique, playful spin on this color-changing process, consider trying out Jet-Puffed's innovative new line of color-changing marshmallows.
These intriguing varieties change their color when exposed to heat. While the color changes might not be a definitive guide to a perfectly roasted marshmallow for a s'more, they undoubtedly infuse an element of surprise and whimsy into the s'more-making experience. This unexpected color transformation is an entertaining deviation from the classic golden-brown finish we're accustomed to witnessing in the traditional s'more roasting process.
Use a s'mores maker
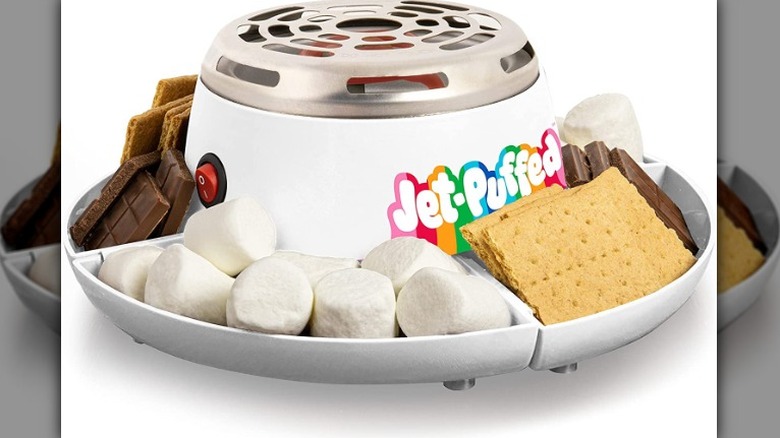
If you're planning on making s'mores in a more controlled setting, consider a tabletop indoor electric s'mores maker. This modern solution comes with convenient trays for all your s'mores ingredients and a small, controlled fire source where you, your family, and friends can use sticks or even Pocky to roast marshmallows. Similar to roasting over a gas stove or a grill, you'll be exposing your marshmallows directly to the flame, so exercise caution as there is a heightened chance of your marshmallows catching fire compared to roasting over embers.
The real charm of a device like this lies in its versatility. You can use it any time of the year, in nearly any space where there's a table — indoors or outdoors. It also serves as an engaging centerpiece for diverse celebrations. Whether you're hosting a birthday party, a garden picnic, a Halloween party, or a cozy winter gathering, the electric s'mores maker adds a unique interactive component to the occasion.
Bake your own marshmallows
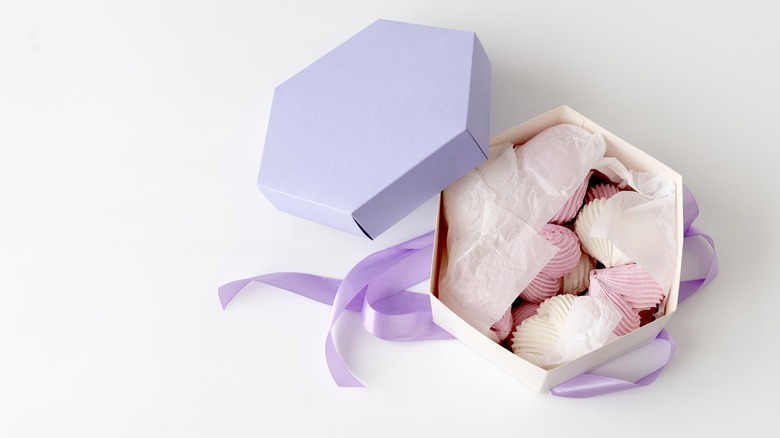
For a truly immersive culinary journey with s'mores, you might want to delve into making your own marshmallows to roast. The basic recipe is surprisingly straightforward, bearing some similarity to the process of preparing jello, And that's what makes marshmallows a great project for beginner pastry chefs. Patience is key here as you'll need to allow the mixture to cool down before cutting it into your desired shapes. The beauty of homemade marshmallows lies in the freedom it gives you to create unique shapes, adding an extra dimension of personalization to your s'mores platters or preparation trays.
In keeping with the trend of flavored marshmallows that many companies are now offering, making your own marshmallows also allows for a world of flavor experimentation. You could infuse them with fruit flavors, or create intriguing liquor combinations for a grown-up twist. Imagine marshmallows with the rich flavor of your favorite desserts like chocolate mousse, crème brûlée, or lemon tart. These possibilities can truly elevate your s'mores-making activities, turning them from a traditional treat into a gourmet experience that far surpasses expectations.
Be creative with roasting surfaces
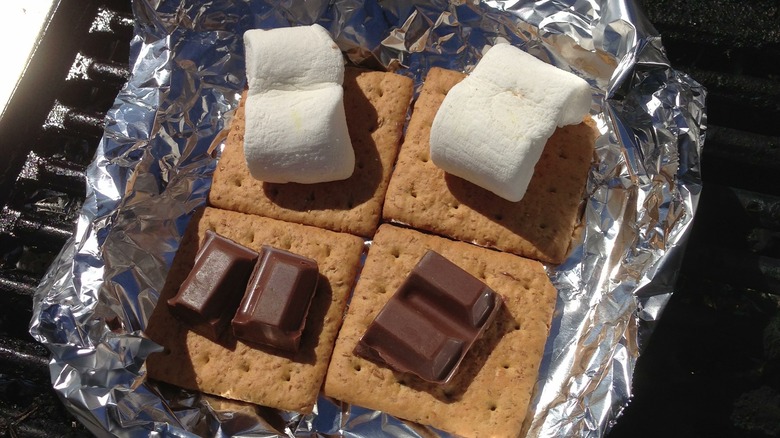
If you're planning a s'mores session with children or simply wish to remove the hazard of using skewers, there are plenty of alternatives that don't require piercing a marshmallow. If your fire setup includes a grill grate, you could use a layer of tin foil to create a makeshift roasting platform. Simply assemble your s'mores and place them on this foil tray. Allow them some time over the fire, and before you know it, you'll have perfectly melted s'mores as soon as the marshmallows start to soften and melt.
Another option, especially if you're an avid camper who's packed a cast-iron pan in your gear, is to use the pan as a roasting surface. Our recommended approach here is to take a full graham cracker, split it in half, and roast chocolate on one side and a marshmallow on the other. Once they've both turned delightfully gooey and slightly caramelized, you can press the two halves together. This method not only ensures evenly melted components but also adds a deliciously smoky, campfire flavor to your s'mores.
Allow it to cool down

When it comes to roasting marshmallows, the anticipation of that warm, gooey sweetness can be incredibly tempting, luring you into grabbing the marshmallow straight off your skewer as soon as it leaves the fire. However, it's essential to resist this urge. The freshly roasted marshmallow will still be significantly hot, posing a risk of scalding your mouth, which could cause discomfort lasting several days.
Furthermore, it's crucial to set a good example, especially if children are participating in marshmallow roasting. Kids tend to mimic adults' actions, so hastily munching on a too-hot marshmallow may lead them to do the same, risking burns. Therefore, always ensure you allow your marshmallow adequate cooling time post-roasting. You'll not only safeguard everyone's well-being, but it'll also heighten the suspense and satisfaction when you finally get to enjoy your perfect, golden-brown marshmallow. Patience, in more than one way, is truly a virtue when it comes to the art of marshmallow roasting.
Carefulness is key
One of the paramount considerations when roasting marshmallows is safety, given the high-temperature conditions you're dealing with. Whether you're roasting your marshmallows over an open fire or waiting for them to die down to embers for an easier roasting experience, you're still handling potentially dangerous heat sources. They can cause severe burns, so it's crucial to exercise extreme caution, especially when these activities often coincide with other adult pastimes, such as enjoying alcoholic beverages and letting loose around the enchanting glow of the campfire.
Furthermore, darkness can pose additional challenges, making it difficult to see where everyone is maneuvering their roasting sticks. For this reason, we highly recommend taking time before the roasting begins to discuss and emphasize the importance of careful handling of the skewers. It may seem like an overcautious step, but it could prevent an unfortunate accident and potentially save you a stressful trip to the emergency room.