Norwegian Krumkake Recipe
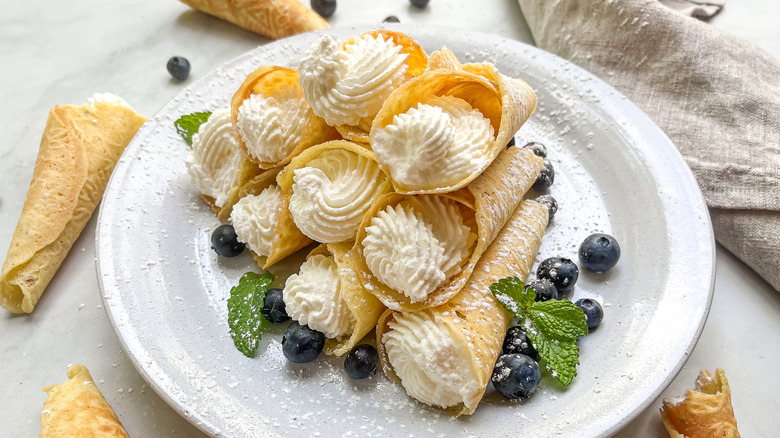
If you've never had a krumkake before, then picture (or rather, imagine the sweet taste of) a cookie-waffle hybrid that's rolled up and filled with whipped cream — and voila, you have a krumkake. Somewhat similar to Italian pizzelles, "Krumkaker are traditional Norwegian cookies, often served at Christmas," as recipe developer Jess Case describes. The "crispy, delicate golden wafer cookies are rolled into a traditional cone shape, somewhat similar to cannoli," as Case goes on, and they pack a perfectly sweet punch.
Unlike round types of cookies like chocolate chip or snickerdoodle, krumaker require some baking gear that's a little more advanced than a simple baking sheet. "Having the right tools is key for this recipe, especially a krumkake iron and a wooden or metal cone for rolling," Case advises. If you've got the right tools and are in the mood for a festive treat (regardless of the season — cream-filled cookies are delicious year-round!), then this traditional recipe will walk you through the steps with surprising ease.
Gather the ingredients for Norwegian krumkake
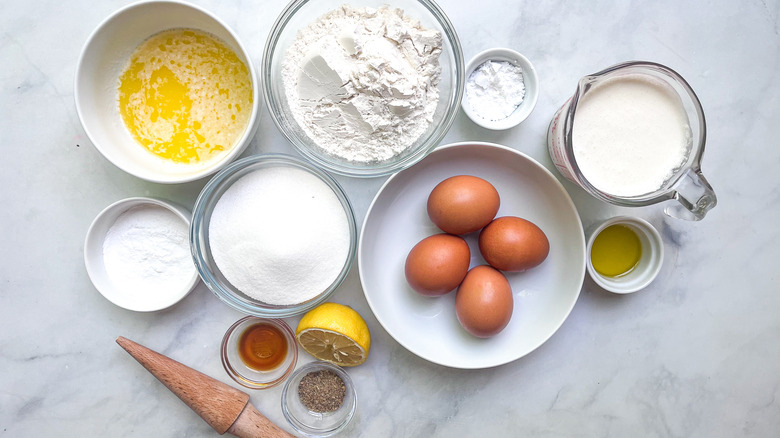
The krumkake cookies themselves consist of melted butter, eggs, granulated sugar, vanilla extract, cardamom, flour, and baking powder. As for the whipped cream filling, you'll simply need heavy whipping cream, powdered sugar, and lemon zest. You'll also need a bit of vegetable oil for greasing your krumkake iron.
"Filling these cookies with lemon whipped cream makes an excellent flavor combination with the cardamom," Case says. However, she does encourage creativity when it comes to flavoring these classic confections. "These cookies can be made with many different flavors if you'd like to experiment beyond the traditional," she adds.
Preheat the iron and make the krumkake batter
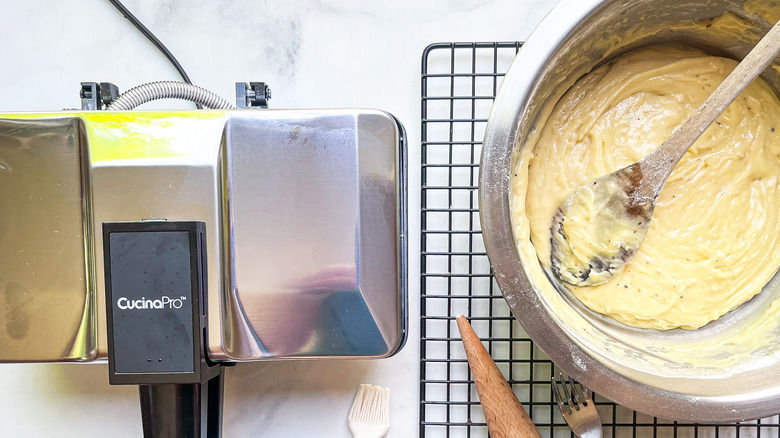
Get started by preheating your krumkake iron and setting up a wire cooling rack beside it. Grease both the iron and rack with vegetable oil.
Next up, focus on making the cookie batter. In a medium-sized bowl, whisk together the melted butter, eggs, granulated sugar, and vanilla extract. Add in the cardamom, flour, and baking powder, then use a spoon to mix it all together until you have a cohesive and fairly runny batter.
Bake the cookies in the krumkake iron and form the cones
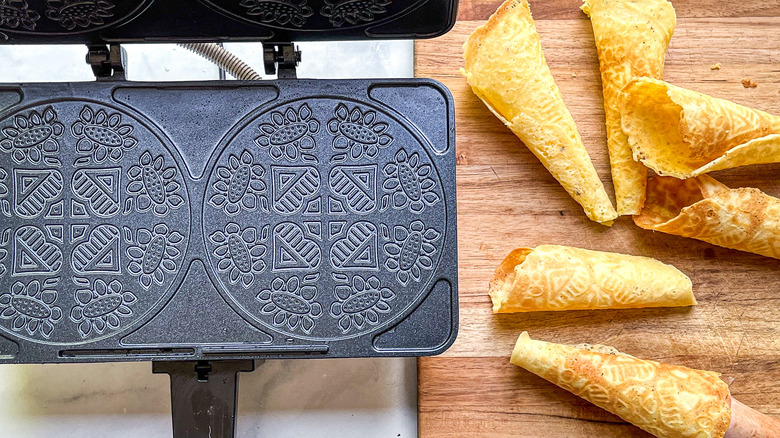
With the batter ready to go and the iron heated up, go ahead and spoon about 2 teaspoons of the batter into the iron, and close the lid. Depending on what type of iron you have, you may be able to cook 2 cookies at a time. Allow them to heat for 45-50 seconds — Case notes that you'll know they're ready once they are golden brown.
The cookies will only be warm and pliable when they first come out of the iron, so you'll have to work somewhat quickly to shape them. While it still has some flexibility, wrap a fresh cookie around your wooden or metal cone tool, gently pressing the cookie in to form that classic shape. Place the coned cookie onto the prepared wire rack and allow it to cool while still wrapped around the cone, about 1 minute. Repeat the cooking and coning process with all of the cookies — this recipe yields 30.
Make the whipped cream filling

To make the whipped cream filling, add the heavy whipping cream, powdered sugar, and lemon zest to the bowl of a stand mixer fitted with a whisk attachment (or use a hand mixer or simple whisk). Beat the ingredients together until fully combined and stiff peaks form, then transfer the whipped cream into a piping bag. Pipe the whipped cream into the cookies, making sure to get as much filling in each cookie as possible without overstuffing them.
Enjoy your traditional Norwegian krumkaker
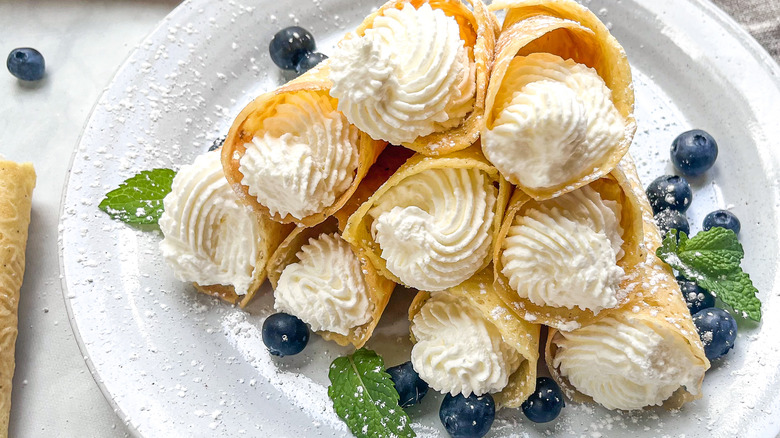
After garnishing your krumkaker with a sprinkling of powdered sugar, you're ready to enjoy the traditional treats. Like most cookies, krumkaker are best enjoyed fresh, and you'll notice that the light lemon flavor of the whipped cream filling pairs oh-so-well with the warm cardamom notes in the cookies themselves. While krumkaker may be more popular around the holidays, once you've enjoyed a fresh batch of the creamy and crispy stuffed cookies, there's no doubt that you'll want to make them year round.
Norwegian Krumkake Recipe
Crispy, creamy, and perfectly sweet, these Norwegian cone-shaped cookies are filled with lemony whipped cream and perfect for a party.

Ingredients
- Vegetable oil, for greasing
- ½ cup (1 stick) butter, melted
- 4 eggs
- 1 cup granulated sugar
- 1 teaspoon vanilla extract
- ¾ teaspoon ground cardamom
- 1½ cups flour
- 2 tablespoons baking powder
- 1 cup heavy whipping cream
- 1 tablespoon powdered sugar, plus more for dusting
- 1 tablespoon lemon zest
Directions
- Preheat the krumkake iron. Lightly grease both the iron and a cooling rack with oil.
- In a medium bowl, whisk together the melted butter, eggs, granulated sugar, and vanilla extract until smooth.
- Add the cardamom, flour, and baking powder and mix with a wooden spoon until well combined.
- Add about 2 teaspoons of batter to each cookie section of the krumkake iron. Close the iron and cook for about 45-50 seconds; the cookies are ready when they are very light golden brown.
- Use a fork to remove the cookie from the iron and, while it is still pliable, quickly roll it around a wooden or stainless steel cone to form. Let it cool on the cone for at least 1 minute before removing and setting aside on a wire rack. Repeat with the remaining cookies.
- Make the filling by using a beater with a whisk attachment. Beat the cream, powdered sugar, and lemon zest until stiff peaks form.
- Fill a piping bag with the whipped cream and squeeze it into the cookies.
- Dust the krumkake with additional powdered sugar, and enjoy.
Nutrition
| Calories per Serving | 117 |
| Total Fat | 7.0 g |
| Saturated Fat | 4.0 g |
| Trans Fat | 0.1 g |
| Cholesterol | 38.4 mg |
| Total Carbohydrates | 12.3 g |
| Dietary Fiber | 0.2 g |
| Total Sugars | 7.2 g |
| Sodium | 83.5 mg |
| Protein | 1.6 g |