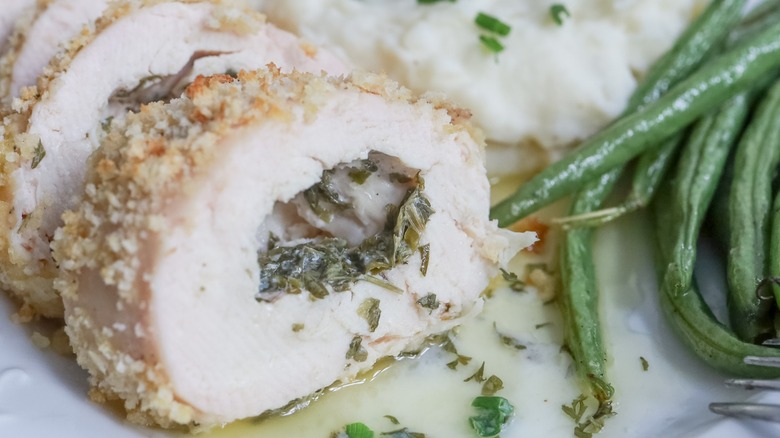
Oven-Baked Chicken Kiev Recipe
Some recipes have been around so long, people aren't quite sure how they originated. Chicken Kiev is one such dish. The herb-y, buttery creation came into existence in either the 19th or 20th century, and has its roots in either Russia or Ukraine. However, when it's dinnertime and you're hungry, these details probably aren't at the forefront of your mind.
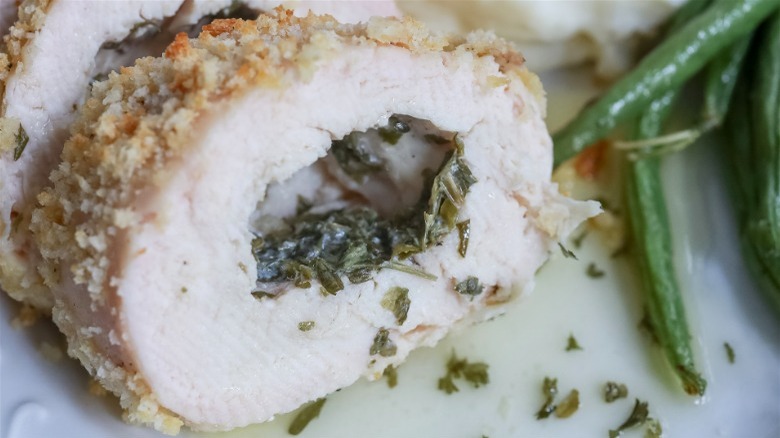
"Anyone who has had chicken Kiev knows that the best part about it is the delicious melted butter inside the chicken," Jessica Morone says, wisely stating the rich entree's enduring appeal. She's developed a recipe for the classic poultry dish that's a bit more convenient without sacrificing flavor: "Most chicken Kiev recipes involve frying the chicken, even if you are just frying it for a couple of minutes before baking it. In this recipe the chicken is completely baked, which makes it a lot easier," she says. It also makes it a bit healthier, but don't worry, it still tastes delicious. Here's how to make it.
Assemble your baked chicken Kiev ingredients
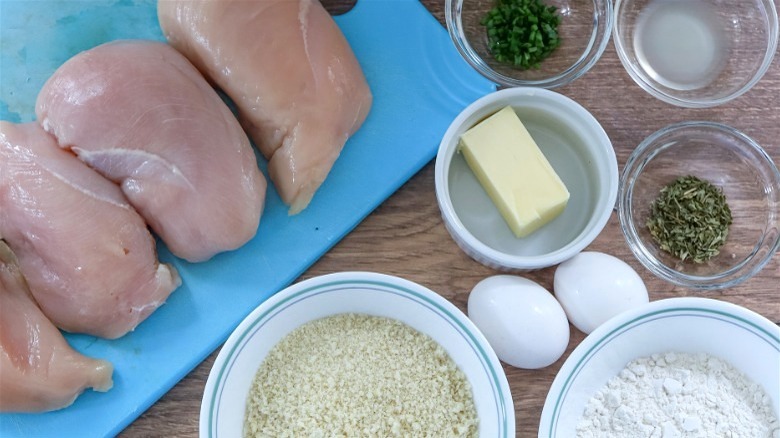
Chicken Kiev starts with chicken breasts (boneless and skinless, to be exact), but you also need salted butter, breadcrumbs, flour, eggs, chives, parsley, and lemon juice. You probably have most of those ingredients in your kitchen already!
Make the butter and pound the chicken breasts
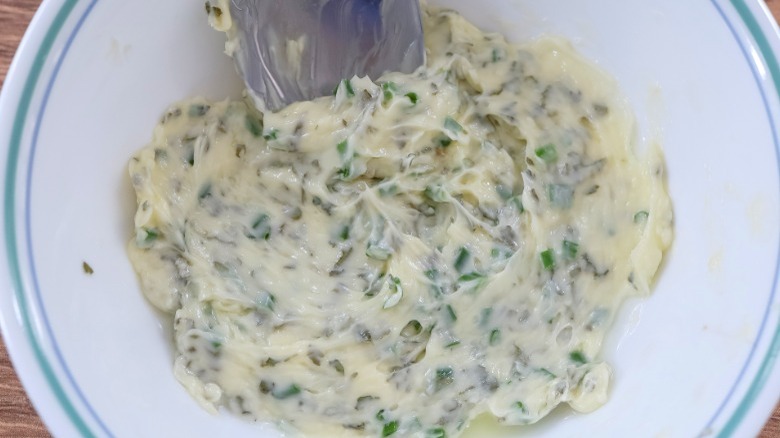
This process begins with butter. Place softened butter in a bowl and stir in the parsley, chives, and lemon juice. Once it's thoroughly combined, shape it into a log and wrap it in plastic. Keep it in the fridge until you're ready to use it. "You can make the butter mixture up to three days ahead of time," Morone says, in case you like to plan in advance.
Meanwhile, place the chicken breasts in plastic bags (or plastic wrap) and pound them until they're thin and uniform.
Combine butter and chicken
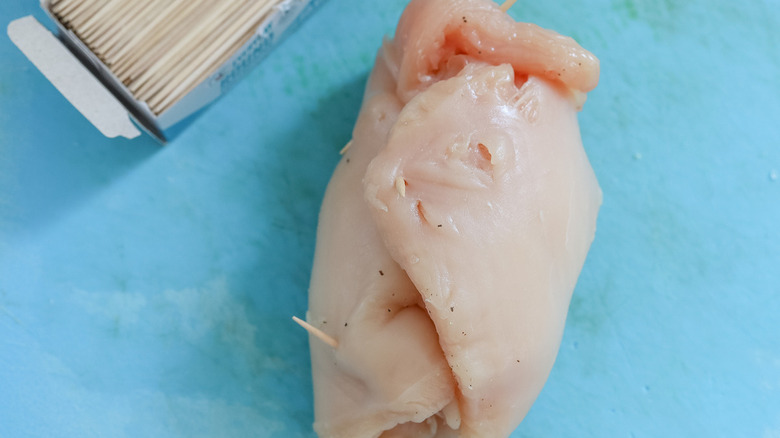
Now, butter and chicken become one. Divide your compound butter into four equal chunks and place each one in the center of every chicken breast. Bring the sides of each chicken breast piece up around the butter (similar to a ravioli or dumpling) and secure it with toothpicks.
Bread (and chill) your meat
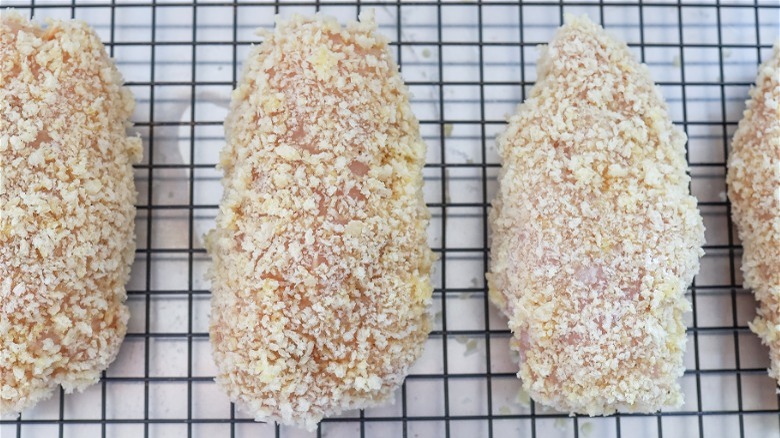
You're almost done! Take your butter-stuffed chicken and coat it in flour, then dip it in beaten eggs, then finally cover it in breadcrumbs. Once you've done that, they need to go in the fridge or freezer for a bit of time. "Chilling the chicken before cooking it helps to seal the butter in and makes it less likely that the butter will leak out when you cook it," Morone notes.
Bake and serve this healthier chicken kiev
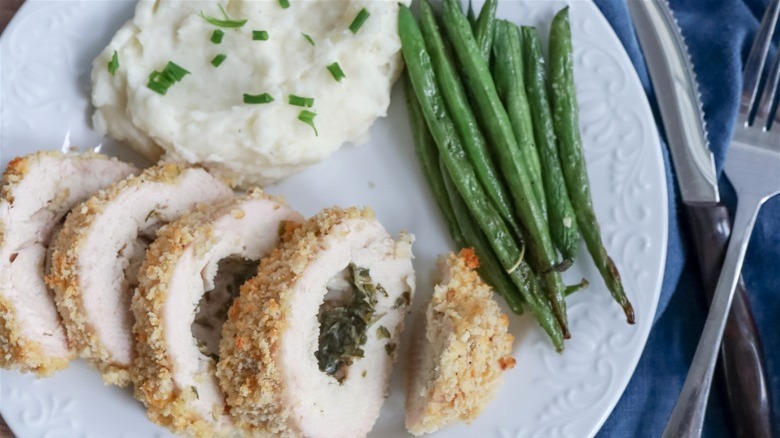
Pop your chicken in the oven until each piece is golden, crunchy, and perfectly cooked. All that's left is to serve it up and enjoy — just make sure you take out the toothpicks first. "I like serving chicken Kiev with mashed potatoes, but you can put whatever your favorite side dish is with this. It works with any kind of potato, pasta, rice, or veggie," Morone says.
Chicken Kiev isn't necessarily the greatest contender for leftovers night, but you can certainly still dig in the day after you cook. "This is best served right after you bake it, since when it is refrigerated the breadcrumb exterior will start getting soggy, but you can store leftovers in an airtight container in the fridge for 2 to 3 days and reheat leftovers in the oven at 350 F for about 10 minutes until hot," she notes.
Oven-Baked Chicken Kiev Recipe
Learn how to make classic chicken Kiev with this easy recipe that bakes the dish in the oven without frying first.
Ingredients
- ¼ cup salted butter, softened
- 1 teaspoon parsley (chopped if fresh)
- ½ tablespoon chopped fresh chives
- ½ tablespoon lemon juice
- 4 boneless skinless chicken breasts
- 2 eggs, lightly beaten
- ½ cup all-purpose flour
- ⅔ cup dry bread crumbs
- Salt and pepper to taste
Directions
- In a small bowl combine the softened butter, parsley, chives, and lemon juice. Transfer the butter mixture to a small piece of plastic wrap, form it into a log, wrap it up tightly and refrigerate or freeze until very firm.
- Place each chicken breast into a ziplock bag (or between 2 pieces of plastic wrap) and pound chicken until it is about 1/4" thick. Remove the chicken breasts from plastic and season with salt and pepper to taste.
- Remove the butter mixture from the fridge/freezer and divide it into 4 equal portions. Place one portion in the center of each chicken breast. Fold the short edges of the breasts into the center, then roll the chicken until the butter is covered by the meat. Secure with wooden toothpicks.
- Dip the chicken into the flour to coat, then dip the chicken into the egg, then dip the chicken into the breadcrumbs to coat well.
- Chill the chicken breasts, either in the fridge for an hour or in the freezer for a half hour.
- Preheat the oven to 425 F. Place a wire rack on top of a rimmed baking sheet. Place chicken onto the wire rack. Bake, uncovered, for 30 to 35 minutes, or until the internal temperature of the chicken reaches 165 F.
- Remove the toothpicks and serve hot.
Nutrition
| Calories per Serving | 590 |
| Total Fat | 21.8 g |
| Saturated Fat | 9.8 g |
| Trans Fat | 0.5 g |
| Cholesterol | 309.0 mg |
| Total Carbohydrates | 25.9 g |
| Dietary Fiber | 1.5 g |
| Total Sugars | 1.3 g |
| Sodium | 802.1 mg |
| Protein | 68.2 g |