Refrigerator Dilly Beans Recipe
If you're looking for a crunchy and flavorful snack that's perfect for munching on straight from the fridge, you're in the right place. This easy refrigerator dilly beans recipe features fresh green beans that are pickled in a tangy and garlicky brine with plenty of dill for extra flavor. Not only do these dilly beans taste delicious on their own, but they also make a great addition to salads, sandwiches, and cheese platters. Plus, they're a great way to take advantage of fresh green beans when they are in season.
Wellness coach and recipe developer Miriam Hahn brings us this recipe and says, "I've always been a huge fan of anything fermented or pickled. I love the briny kick it adds to foods, and I also love that when you make a batch it lasts over a month in the fridge. This recipe is super easy even for the beginner in the kitchen and can even be a fun project to do with the kids."
Gather the ingredients for refrigerator dilly beans
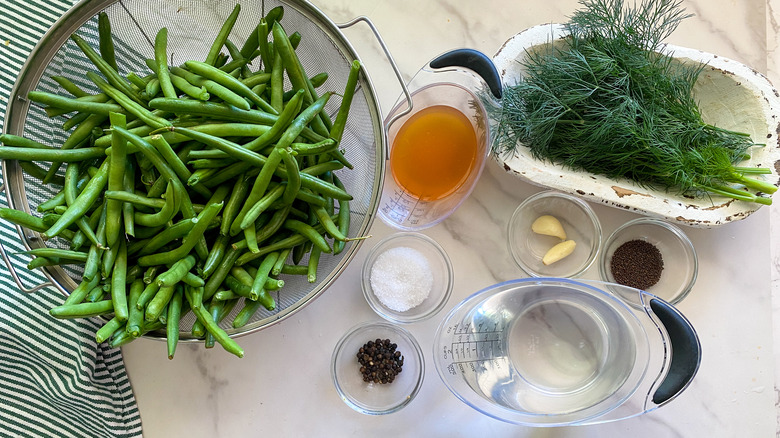
To make this recipe we'll need some green beans. "You can buy these usually in a 2-pound bag, or you can hand select them," Hahn shares. While you are in the produce aisle, pick up some garlic and fresh dill. Then some pantry basics like water, apple cider vinegar, salt, mustard seeds, and peppercorns. "You can swap the apple cider vinegar for white vinegar if you prefer and these dilly beans will have the same great taste," Hahn remarks.
Prep the veggies and make the brine
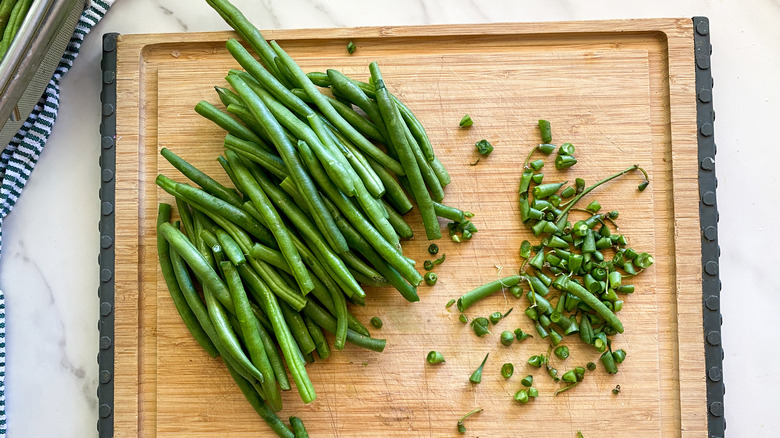
After you wash the green beans, you can snip off both ends and while you have the knife out, go ahead and mince the garlic. Then to make the brine, grab a medium pot and add the water, vinegar, and salt. Bring the mixture to a boil and let it cook for 5 minutes stirring frequently. This will quickly dissolve the salt and get our brine ready for pickling. Remove the pan from heat and set aside.
Load up the jars
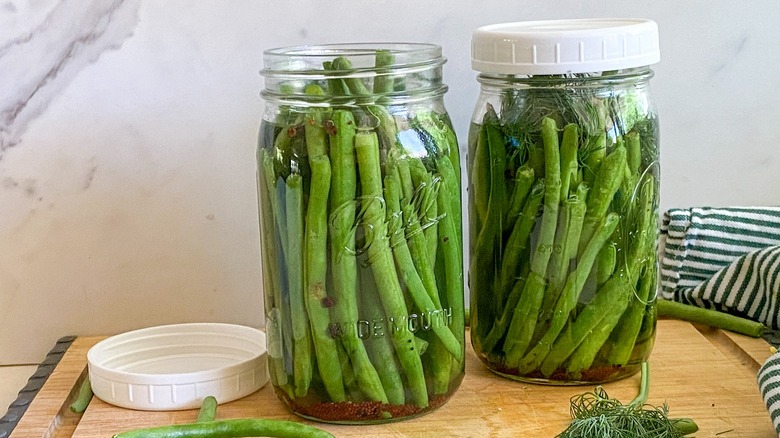
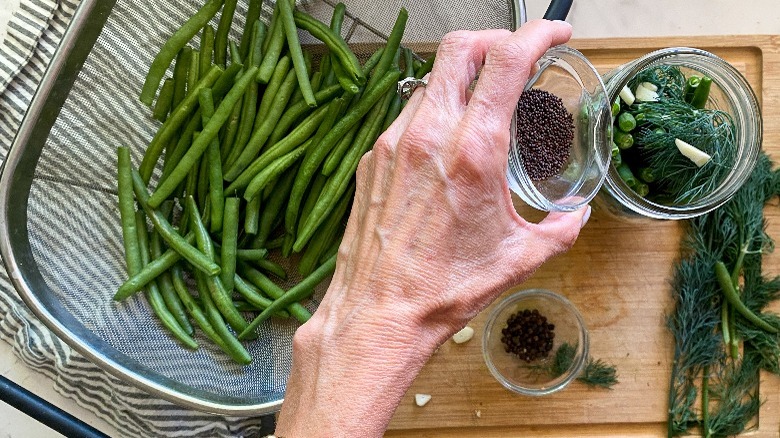
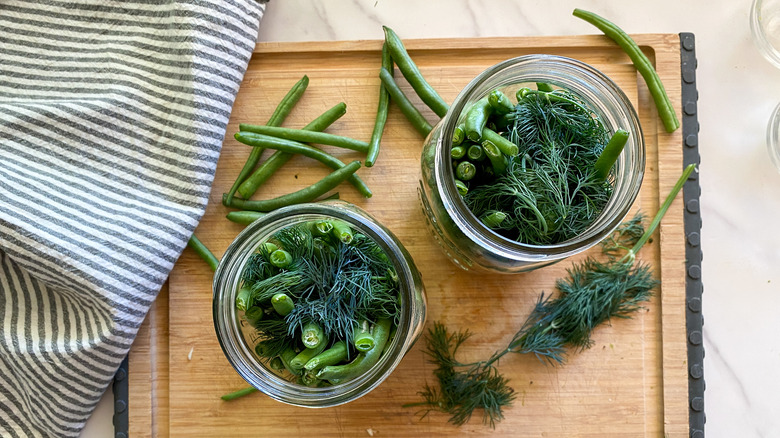
Now we'll want to fill up our containers so we can pour the brine over to start the pickling process. "I like to use wide mouth mason jars for all of my pickling endeavors. The 32-ounce size is perfect for this because even extra long beans will fit. You can use the metal canning lids that the jars come with, but I always swap those out for the plastic lids that are just easier to get in and out of. Those can be purchased separately," Hahn explains. Add the beans vertically to the jars and then distribute the minced garlic, mustard seeds, peppercorns, and dill sprigs into the jars.
Pour the brine in and refrigerate
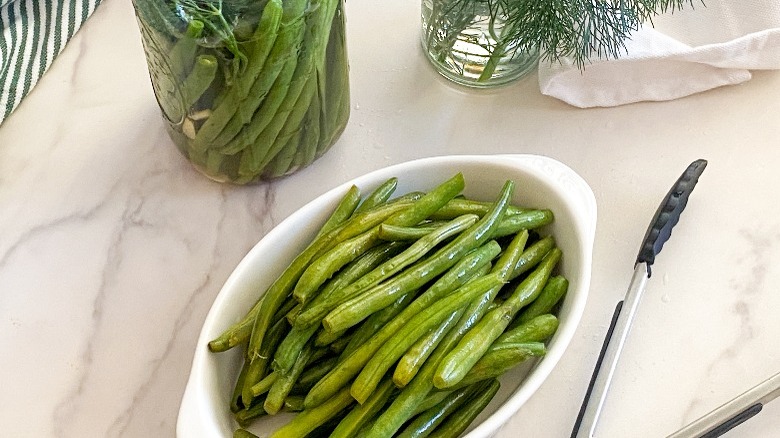
Our heavy lifting is done. Just pour the vinegar mixture into each jar and seal them up. Place the jars into the refrigerator for a minimum of 2 days before you begin enjoying them. The dilly beans will last up to 2 months in the fridge. You might want to show off your dilly beans by throwing together a charcuterie board and a bloody mary bar. The crunchy possibilities are endless!
- 2 pounds fresh green beans
- 3 cups water
- 1 cup apple cider vinegar
- 2 cloves garlic
- 1 ½ tablespoons salt
- 1 teaspoon mustard seeds
- 1 teaspoon peppercorns
- 6 sprigs of fresh dill
- Trim the ends off of the green beans and mince the garlic.
- In a medium pot, combine the water, vinegar, and salt. Bring to a boil and boil for 5 minutes, stirring frequently. Then remove from heat.
- Add the beans vertically to one or two jars. (Two 32-ounce wide mouth jars work well) Distribute the minced garlic, mustard seeds, peppercorns, and dill sprigs into the jars.
- Pour the vinegar mixture into each jar. Seal with lids and refrigerate for 2 days. The beans are ready to eat.
| Calories per Serving | 30 |
| Total Fat | 0.2 g |
| Saturated Fat | 0.0 g |
| Trans Fat | 0.0 g |
| Cholesterol | 0.0 mg |
| Total Carbohydrates | 5.8 g |
| Dietary Fiber | 2.1 g |
| Total Sugars | 2.6 g |
| Sodium | 362.0 mg |
| Protein | 1.5 g |
