18 Tips For Making The Absolute Best Muffins
Muffins are a perfect on-the-go breakfast food for the morning — and they are the more socially acceptable way of eating cake before noon. These sweet, domed treats can be flavored with your favorite ingredients, including the classic blueberry muffin, mixed berry, confectionary chocolate chip, or decadent coffee cake streusel. And once you have a perfect base batter down, you can allow your creativity to thrive and bake almost any type of muffin you dream of.
But, like with all baking, some learning curves prevent you from turning out the perfect muffins every time. The key to baking perfect muffins is to, of course, start with a well-regarded recipe and bake according to the science. We've outlined some of our best tips for making cafe-worthy muffins at home, along with some troubleshooting hints that will allow you to listen to your bake and take more proactive measures to correct the next batch.
Warm up your ingredients before baking
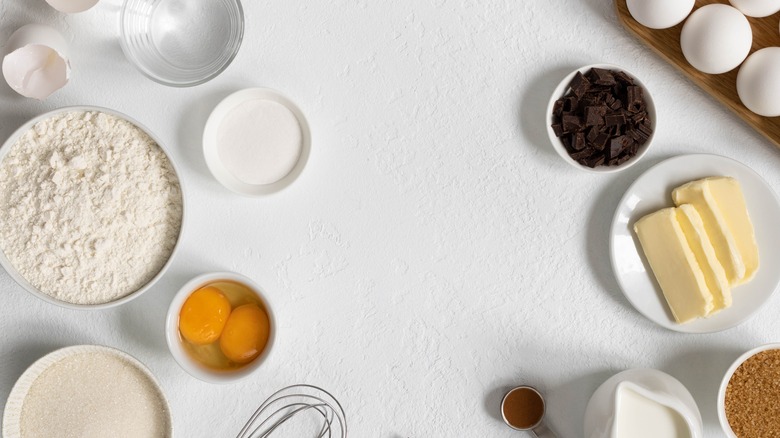
Have you ever tried to cream butter straight from the fridge? We'll tell you this — it's not fun. One of the biggest mistakes you're making with muffins is not bringing the ingredients up to temperature before you start baking. While the temperature is a null factor for some ingredients (like flour and salt), others need to be kept at room temperature to incorporate well into the batter. Butter is the most obvious example, but eggs are another critical muffin ingredient that also needs to be kept warm. Warm eggs are thinner than cold ones, thus mix more seamlessly with the batter and result in a better rise than cold eggs.
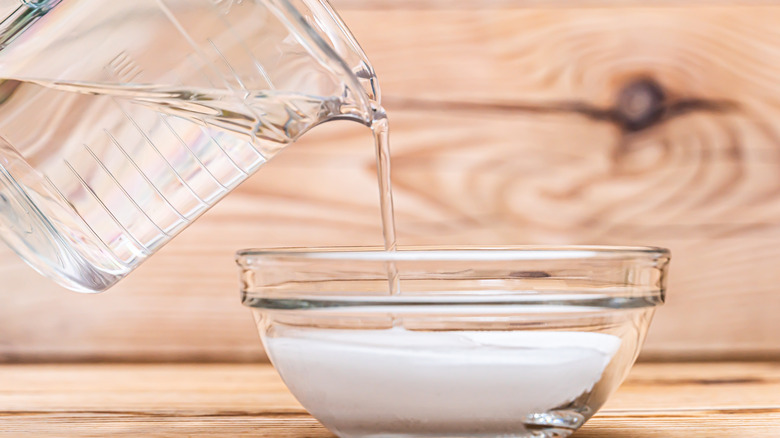
To warm up your eggs, you'll want to leave them in a bowl of warm water for a few minutes. Butter should be left on the counter for about an hour before baking. If you forget to set it out beforehand, you can soften butter quickly by cutting it into small cubes.
Always test your leavening agents
Muffins rise with the power of leavening agents like baking soda and baking powder rather than yeast. When baking soda comes into contact with an acid or baking powder with a liquid, the mixture produces carbon dioxide to promote the lift. However, there might be several reasons why your muffins are not rising as much as they should be.
One of the most common reasons why muffins (or any sort of quick bread) won't rise is because you're not using fresh leavening agents. Baking powder and baking soda become less potent six months after opening. Mark the date you open your leavening agents on the container and throw it out after that date. You can also test your baking powder before using it by combing 1 teaspoon with ½ cup of warm water. If it bubbles, you should be good to go. Test baking soda by combining it with a few drops of vinegar or lemon juice.
Pull out your scale to weigh ingredients
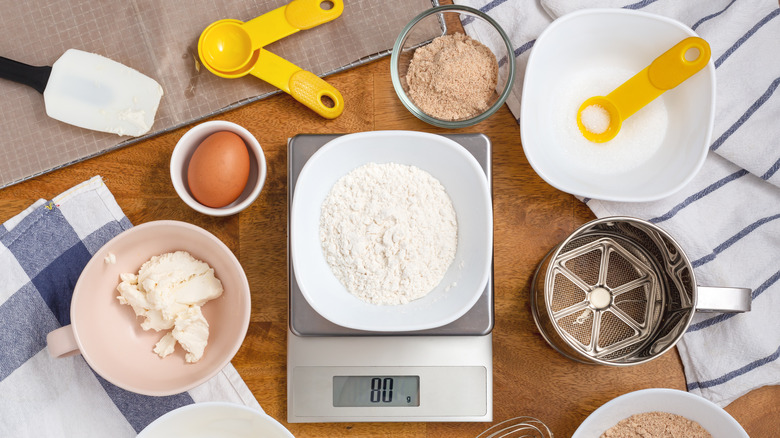
Baking is undoubtedly a science — and what's science without precision? You should always bake with a scale to ensure you get these precise, consistent measurements from bake to bake. Measuring cups and spoons might be somewhat close to measuring the ingredients you need, but it will never be entirely spot-on. How you scoop, pack, or sift your ingredients means that your idea of a cup looks very different from someone else's definition of a cup. You can't debate the numbers on a scale.
A scale also makes measuring your ingredients easier. Everyone has second-guessed themselves on if they added two or three scoops of an ingredient. With a scale, the math is always right before you. And the best part? You will use fewer dishes.
Avoid over-mixing your batter
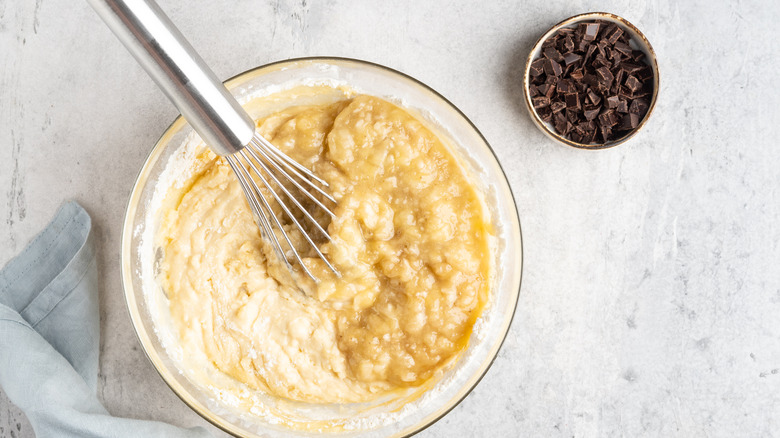
Mixing is a crucial step in making your muffins because it ensures all of the ingredients are incorporated with one another. However, mixing at the wrong time or over-mixing muffin batter can cause some issues with the texture of your muffin. You'll always want to keep dry and wet ingredients separate until the end of the preparation process; this will ensure that the leavening agents don't activate prematurely and fizzle out before your muffins hit the oven.
When you're mixing your muffin batter, you'll want to be sure only to mix enough so that all of the dry ingredient particles are distributed. Otherwise, over-mixing can beat the air particles out of the batter, which causes a dense texture rather than a light one, and develop the gluten strands that cause chewiness and toughness. Folding in the flour, rather than stirring furiously, can also help prevent an undesirable texture.
Add mayo to the batter for more moisture
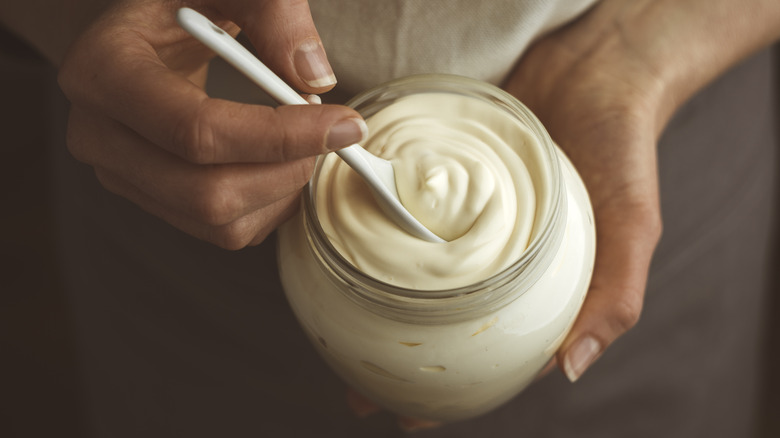
We love looking for weird and wonky ingredients to add to our recipes. While you might cringe at the thought of adding mayonnaise to your batter (don't worry, we did too at first), you might not think the same when you consider what mayonnaise is made of eggs, oil, and vinegar. You should consider using mayo in your next batch of muffins because these ingredients provide a boost of moisture and fat. The acidic component is also helpful in baking because it can promote a better rise when combined with baking soda and helps the proteins in the flour to set. If you have an open jar of mayonnaise handy, you'll want to substitute 3 tablespoons for each egg.
Use both butter and oil in your muffin recipe
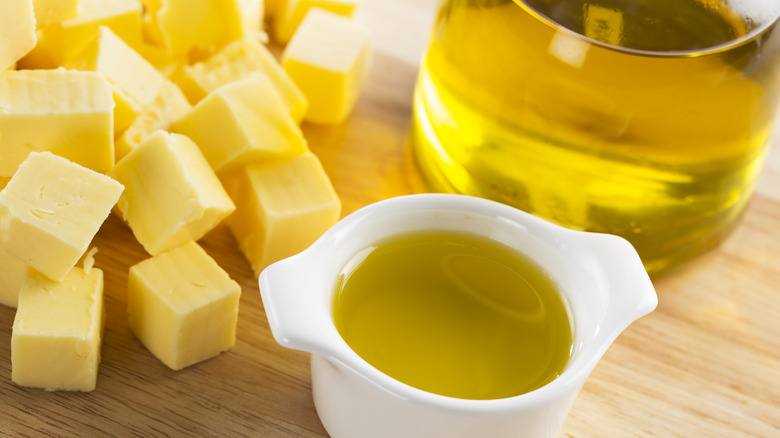
Fat is a crucial component of baking anything. And while you might be inclined to do a "healthy substitute" and use applesauce or mashed banana in your muffin recipe, you won't get the same texture or decadence then if you use an actual fat — like oil or butter. This is because the oil slows the hydration of the proteins in the muffin, in turn causing them to cook slower and peak on the top. Oil also prevents gluten from forming in the batter, thus resulting in a muffin that is more tender and soft.
Then the question becomes, should you use oil or butter for a muffin recipe? Butter will result in a significantly better flavor than oil, but since it is not made of 100% fat, it will produce a slightly denser muffin. Oil muffins will also not go stale as quickly. So the logical answer here is to use a little bit of both oil and butter for the best muffin.
Let your muffin batter rest
After you've worked to make your perfect muffin batter, you may rush to get it in the oven to bake as quickly as possible. But not so fast. The common mistake you're probably making with your muffin batter is not letting it rest before baking. Many home and professional bakers alike allow their muffin batter to rest overnight for the best rise and texture from the batter. Allowing the muffin batter to rest allows the batter to hydrate better, which in turn thickens it.
Resting the batter can also counteract some of the gluten formation built during the mixing process since the strands can relax and be supple. Even if you can't allow a whole night for your batter to rest, you can give it at least an hour on the counter before you transfer it to your tins.
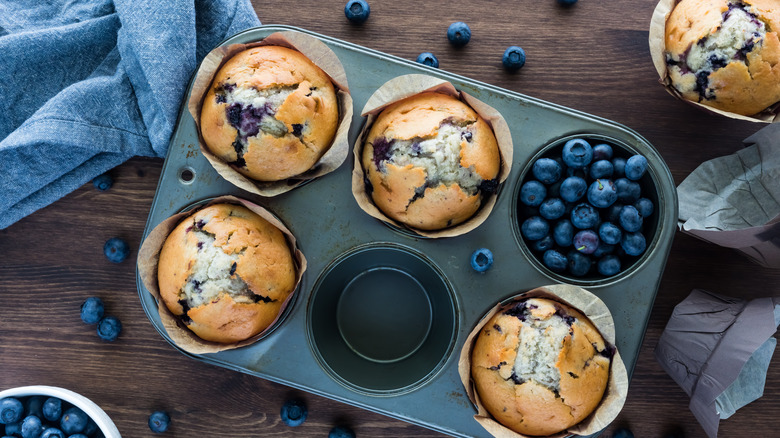
Rinse your fruit to prevent coloring your batter
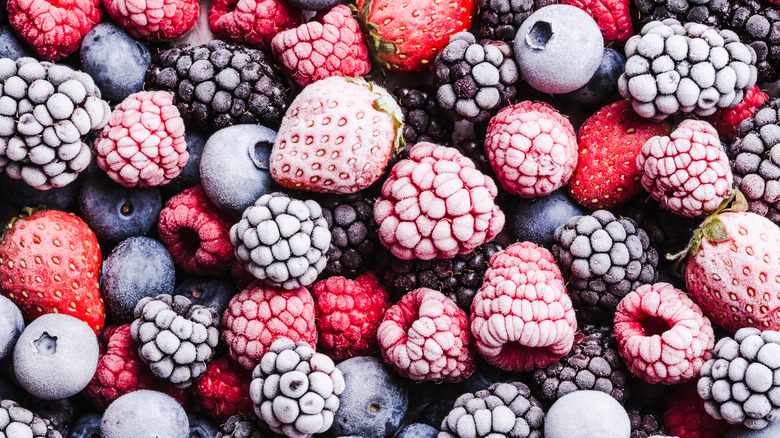
Everyone has had to contend with streaky blue batter in their blueberry muffins before. This phenomenon is especially present with frozen blueberries but can also be a problem for other fruity muffins. To avoid streaky muffins, you'll want to rinse your frozen fruit before adding it to your muffin batter. This extra step may take a couple of iterations; you'll notice the color of the water getting progressively less purple each time.
Once your water runs off clean, it's time to dry the fruit well with a paper towel (careful not to squish any of the juice out) and add it to your muffin batter. Mixing your fruit gently and adding your fruit as the final step in the preparation process will also help reduce the risk of bleeding into your batter.
Choose the right kind of liner for your tin
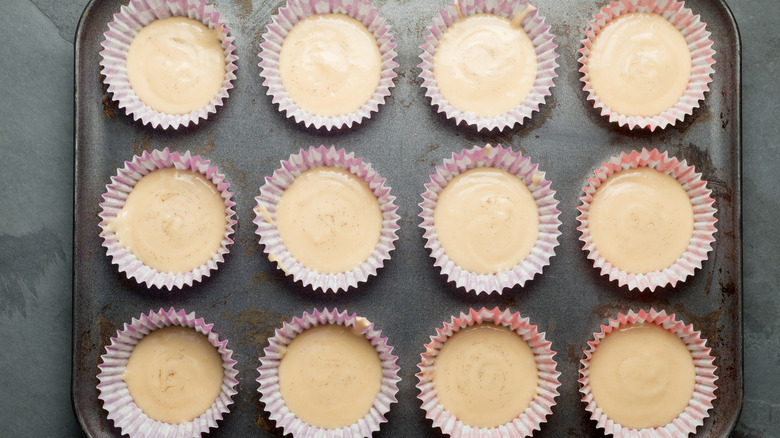
There are several different options for liners on the market — or you can ditch the liners when baking muffins entirely. If you go without a liner, you can expect your muffins to come out more stout and dense than if you used a liner — just make sure to grease the pan adequately. We advocate using tin liners because it makes the cleanup process a bit easier, and the muffins have a barrier between the batter and the hot metal tin. Paper liners are relatively inexpensive and come in varying thicknesses but can burn at high temperatures. Aluminum liners are a bit more hearty than paper and do not react to high heat.
Glassine liners are our favorites for baking because they have a glossy coating that eliminates the need for extra greasing. However, if you're looking for a reusable option, we recommend purchasing silicon liners; they're non-stick and don't require grease before use.
Try rice for more even cooking

Have you ever pulled muffins out of a baking tray and noticed the bottom is especially greasy? To help you make the fluffiest muffins, you should add a tablespoon of dry white rice underneath the muffin liners in your pan. The rice grains will absorb the residual moisture and oil from your muffin batter, improving the batter's brownness and producing a more consistent color on all sides of the muffin.
We can't definitively say if adding the rice to the bottom of the muffin tin improves the texture or flavor of the muffin, but it will leave your hands slightly less messy. This trick is handy if you're working with decorative baking tins — where greasy streaks may disrupt the aesthetics of your muffins.
Use an ice cream scoop to fill your muffin tin
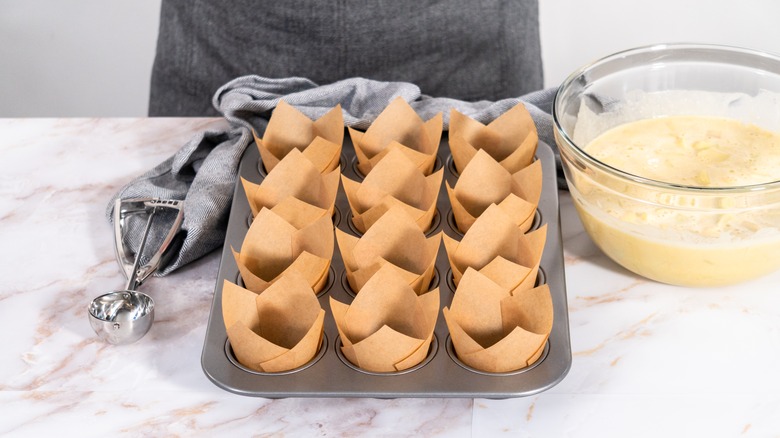
There are some tools you need to have in the kitchen to improve your baking experience. Some of them include a good mixing bowl, spatulas, and a trusty wooden spoon. We think that adding an ice cream (or in some cases, a cookie scoop) to your list of baking essentials is a good idea because it will help you accurately transfer the batter from the bowl to the muffin tin. You can scrape the top of the scoop off to ensure that you are getting precisely the same amount of batter in each tin — and it will likely be less messy than precariously holding the bowl and hoping the batter is going in the tin rather than on the top of the tray.
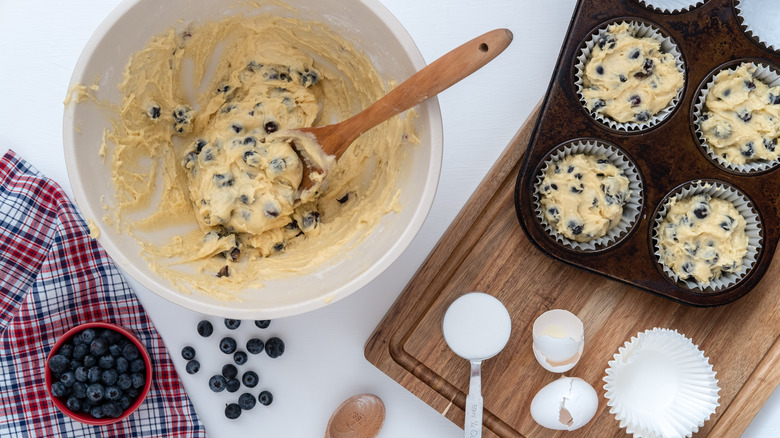
Use a layering technique to keep your fruit from sinking to the bottom

Science can either work with or against you when you're baking. And when it comes to muffins, it's usually against you. Since the blueberries, or whatever add-ins you include in your batter, are heavy, they tend to sink down in the tin and collect at the bottom. The age-old trick to prevent this is to toss the ingredients in flour before mixing them in, but this means you'll bite into a flour-covered ingredient after your muffins are done baking.
The better batter trick for unbeatably juicy blueberry muffins is to start by layering plain batter in the bottom of the tin, then fill the rest of it with the blueberry batter. The base layer will prevent the blueberries from falling, resulting in a more evenly-distributed muffin.
Add more batter than you think you need to the wells of the muffin tin
How much batter should you add to each of your muffin tins? Alton Brown gets larger muffin tops by adding more batter to the muffin tin. Instead of using the dainty ½ cup of the batter that many recipes call for, Brown pours closer to a full cup of batter into each muffin well. This portion gives you a more proportional muffin, with increased emphasis on the best part of the baked good — the top.
We won't judge you if you like muffin bottoms. In fact, filling your muffin tins no more than ¾ or ⅔ of the way can accommodate the batter's expansion in the oven. It also means you won't have to worry about the muffin sticking to the hot metal pan. It all depends on what the ideal muffin is to you.
Use raw sugar for a crunchy topping
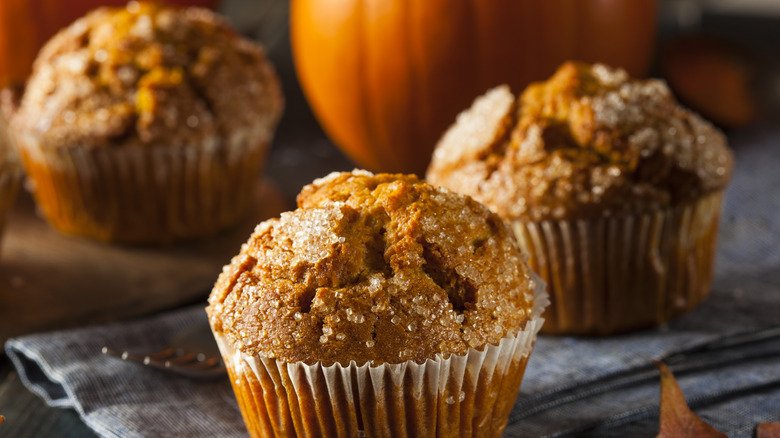
The arguably best part about any type of muffin is the crunchy sugar crystal topping that you get to bite into. This sugar is not the standard granulated sugar you just added to the muffin batter, though — it's raw sugar. Raw sugar, like Turbinado or Demerara, has a significantly larger granule size than standard white sugar. It also does not clump together like brown sugar because it does not contain enough molasses.
Raw sugars do not melt when placed on top of scones, quick bread, or muffins before baking. Instead, you'll have a crunchy texture and slightly caramelized flavor that elevates your muffin experience. Add a sprinkle before placing your muffins in the oven and see what the magic of raw sugar is all about.
Don't neglect to preheat your oven
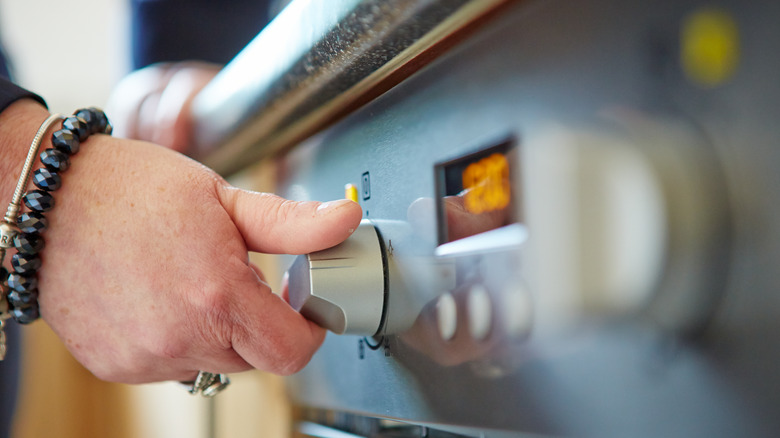
One of the worst mistakes you can make when baking anything — whether it's cookies, cakes, or muffins — is neglecting to preheat your oven first. Preheating is a vital cooking step because it promotes a more even rise in your muffins. You'll also have to cook your muffins longer than listed on your recipe, which can cause further textural issues. First, preheat your oven to about 75 degrees Fahrenheit more than your recipe suggests. This will accommodate you opening and closing the door of your oven. Then, once you're ready to put your muffins in, dial the temperature back down to the listed temperature.
It is equally as crucial as preheating your oven to keep it at a sustained temperature for the duration of the bake. Avoid the urge to constantly open your oven and readjust — unless you're checking for doneness or rotating your muffin tin to accommodate hot spots.
Make some small changes in your loaf pan recipe to convert it to muffins
A muffin recipe is essential for a quick-bread recipe. You're using the same leavening agents and cooking the same batter, but you must take a few critical steps to convert your quick bread recipe into a muffin one. One standard loaf pan (9-inch by 5-inch) makes about 12 muffins.
Most muffin recipes must be baked at a higher temperature for less time than a loaf pan. So if you're converting a loaf recipe to a muffin one, plan on cranking up your oven's temperature 25 to 50 degrees Fahrenheit higher than the listed loaf pan temperature. Since loaves are much thicker than muffins, you can safely estimate that your loaf recipe will be finished baking within 45 to 60 minutes, compared to the less than 30 minutes it takes for muffins.
Always test for doneness rather than assuming it
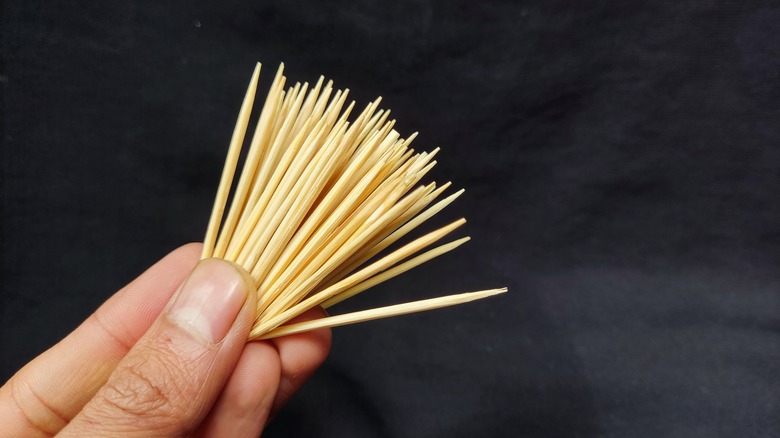
The key to a good muffin is balancing your bake time for the perfect soft, plush texture. Many cues indicate muffins are finished baking, including a golden brown color and firm texture. But you can't truly see if your muffins are finished baking without doing a poke test on the inside. To do this, stick the center of a muffin with a wooden toothpick or a chopstick. Metal cake testers aren't always useful because the stainless steel material prevents anything from sticking; wood is more porous and is thus a more accurate material. If the stick comes out clean, the muffins can be removed from the oven.
If you notice crumbs or wetness on the stick, it indicates that you'll need to continue baking the muffins for a little bit longer. Muffins that are finished cooking will also have a springy texture; if you touch them and leave an indent, keep baking.
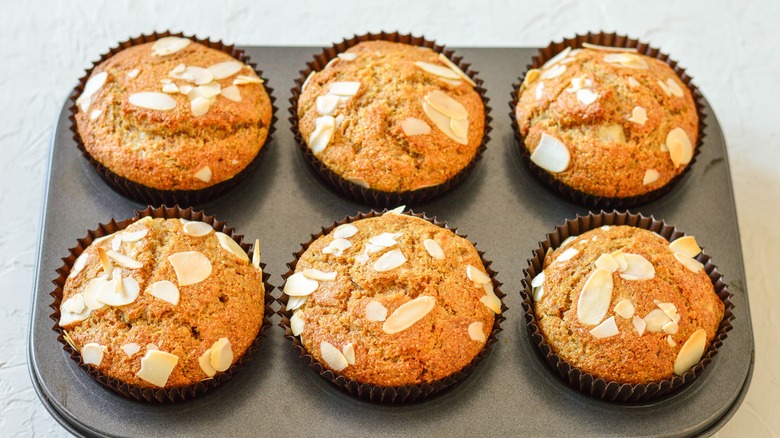
Pull your muffins out of the tin so they can adequately cool
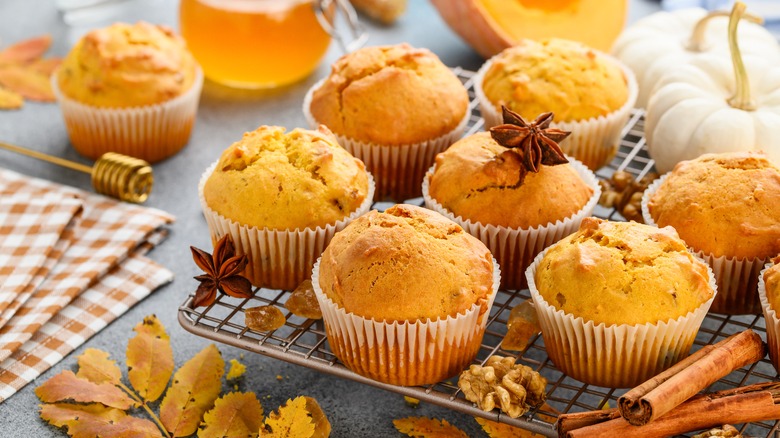
The cooling step of baking is just as important as preparation and baking. For several reasons, you should never leave your muffins to cool in the muffin tin. The first is that the muffin tin is hot (it just came out of the oven, as you know), and it will continue to cook your muffins even if the ambient heat is turned off. This can lead to overcooked and stodgy muffins. When the muffins sit in the tray, the moisture in the tin will also condense and cause the bottoms of your muffins to get soggy.
The maximum amount of time your muffins should be allowed to sit in the tray is around five minutes. Instead, transfer your muffins to a cooling rack, allowing better airflow underneath the muffins to keep them cool, fresh, and delicious.
Static Media owns and operates Tasting Table, Mashed, and The Daily Meal.