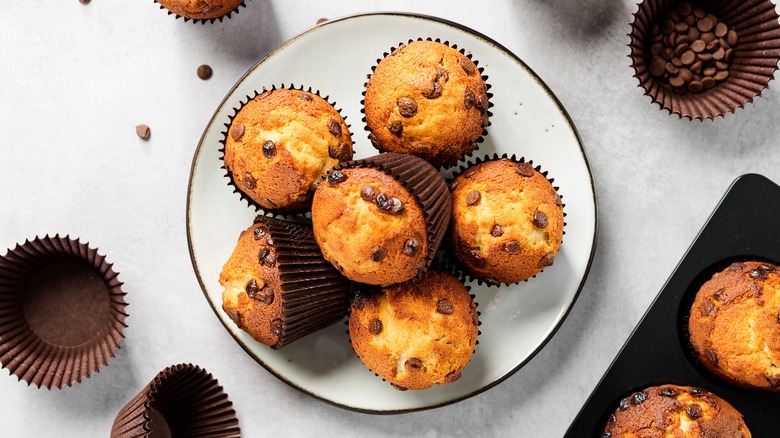
16 Mistakes You're Making With Muffins
We may receive a commission on purchases made from links.
Whether your favorite muffin is filled with chocolate chips or fresh blueberries, we can all agree that these baked goods are a quintessential breakfast component. The small, cup-shaped quick bread originated in America in the mid-19th century — which coincided with the proto-leavening agent known as pearlash. The first muffins contained similar ingredients to the flavors we see today, like fresh fruit, nuts, and seeds. The first muffin mix was created in the 1920s, while store-bought varieties emerged in the 1950s with the expansion of preservatives that could keep baked goods from going stale (via The Warren County Post). Today's most popular muffin flavors include bran, banana nut, blueberry, corn, and poppyseed.
Muffins are deceptively easy baked goods that we take for granted. Here are some ways you might be missing the mark on your homemade treat and what you can do to help you make a better batch next time.
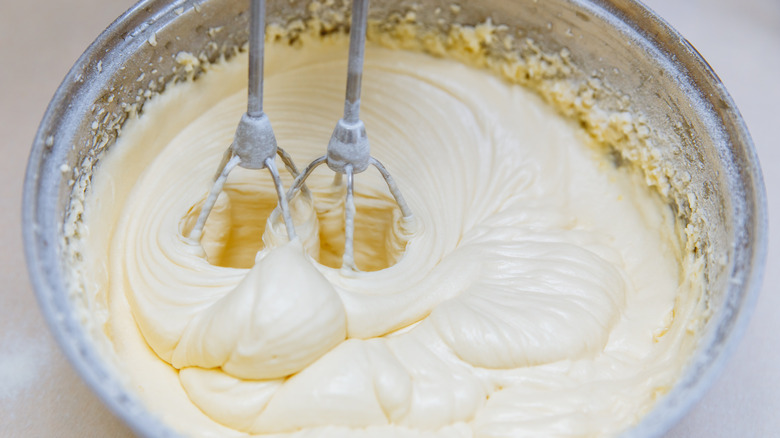
Working with cold butter
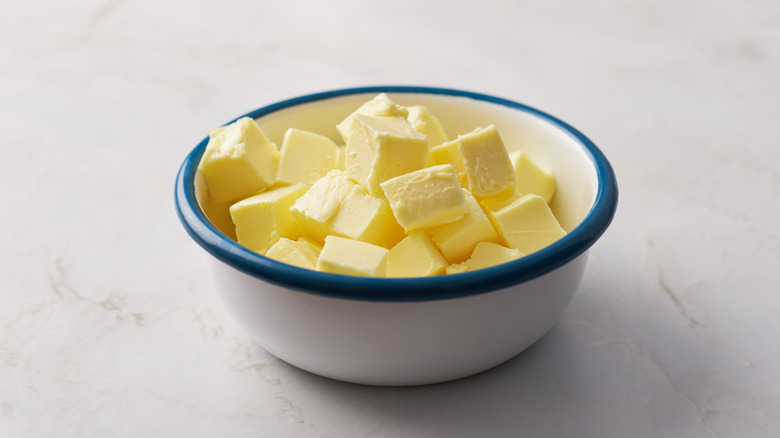
One of the biggest mistakes people make with muffins — and baked goods as a whole — is using ingredients that are too cold. If you use butter that is too cold, you'll find the batter is harder to work with and has pockets of unevenness throughout. To make the best muffins at home, you should use the ingredient at room temperature instead.
The most obvious way to soften butter is to leave it at room temperature for at least an hour before baking to allow the ambient temperature to warm it up. However, you can expedite this process by cubing the butter into small pieces, so it has a greater surface area exposed to the air. This method takes about 15 minutes. You can also grate your cold butter using a box grater to make it into even smaller pieces; this will bring your butter to room temperature in an astonishing five minutes.
Discounting the power of mayonnaise in your muffins
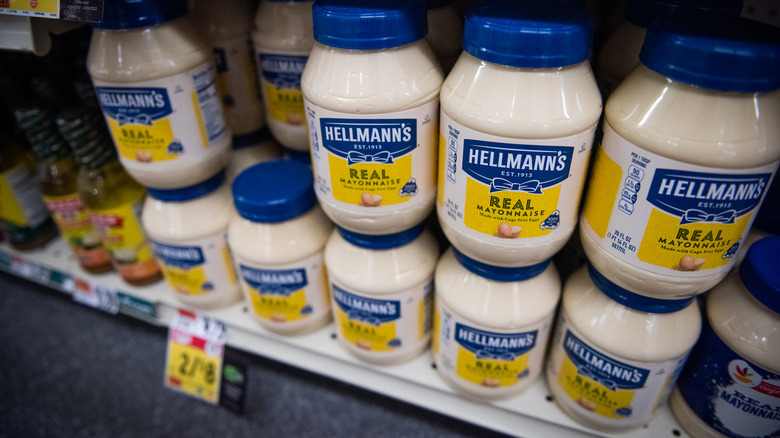
You should consider adding a couple of tablespoons of mayo to your next batch of muffins to help improve the texture and moisture of the batter. Although you might think of mayonnaise as only useful for sandwiches, the condiment has a surprising utility when it comes to baked goods. Since it is made of a base of eggs and oil, it can replace these ingredients in a muffin mix — which most recipes include anyways. If you want to make this swap, you should plan to use three tablespoons of mayonnaise for each egg the recipe calls for. You'll find the resulting muffins to be much softer and moister.
The acid in the condiment, which is usually lemon juice or vinegar, can help add a flavorful tang to your baked goods and help loosen the protein structure in the flour as well. The acidity causes a softer crumb structure in the muffin, which we think provides a bit more satisfying structure than a standard mayo-less muffin.
Over-mixing your muffin batter
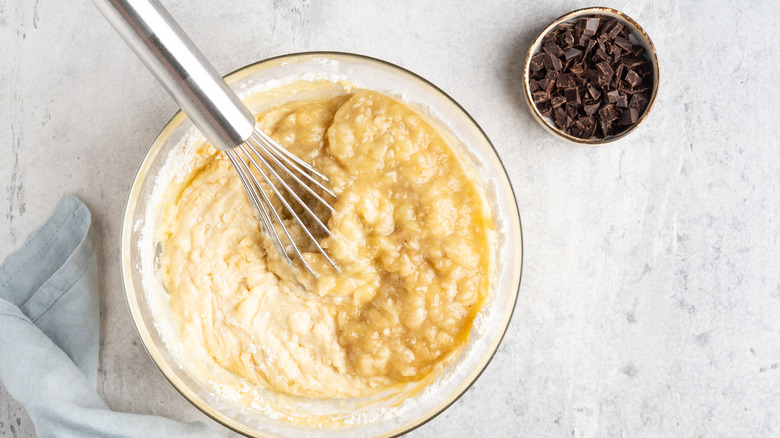
If you're making a standard muffin batter with regular wheat flour, you can attribute a lot of your muffin's structure to gluten. Once you combine the liquid and the dry ingredients in your blend, the gluten activation process begins. Mixing and handling the gluten too much can cause the muffin batter to lose its soft qualities and be rendered tough and chewy instead. Overmixing your ingredients also means beating too much air out of your batter. For the best structure, beat air into the oil, sugar, and egg combination before folding it into the dry ingredients. This method preserves the air bubbles in the dough and provides the scaffold for a proper rise in the oven.
To avoid overmixing your muffin batter, you should use slow, gentle strokes and only blend until there are no pockets of flour left. A few lumps here and there are permissible.
Letting your muffin batter splatter everywhere
Muffin batter is notoriously liquid-like. The second you introduce a fast-speed hand mixer or stand mixer, you'll find that it always seems to make its way out of the bowl and onto the walls and countertops of your kitchen.
One clever trick to prevent your muffin batter from splattering from your electric hand mixer requires only one tool: a paper plate. Cut two tiny holes into it and stick the beaters through. You should use the pointy end of the beaters to make the holes; this ensures that they are a perfect size so that the plate doesn't fall off the mixer and into the ingredients. You'll also see the best results if the bowl is smaller than the plate. Either way, you'll cut down on the muffin splatter that you have to clean up after you're finished — and avoid wasting precious batter.
Forgetting to check the freshness of your leavening agents

Muffins are made from quick bread batter, meaning the baked good rises from a series of leavening agents like baking soda and baking powder rather than yeast. If your muffins aren't rising to the occasion, it might be because your leavening agents aren't fresh. You can test baking powder by combining ½ cup of water with one teaspoon of baking powder. Since the baking powder already contains the acid and the base needed to produce carbon dioxide, the mixture should foam if it's still viable. However, the ingredient should typically be thrown out after the six-month mark, so checking the date on the container may be a preliminary indicator as to whether your leavening agent is still fresh.
Baking soda is made of sodium bicarbonate, so it should be tested with acid, like vinegar or lemon juice, rather than just water. If you notice a steady foam from your solution, you should be good to use it in your muffin recipe.
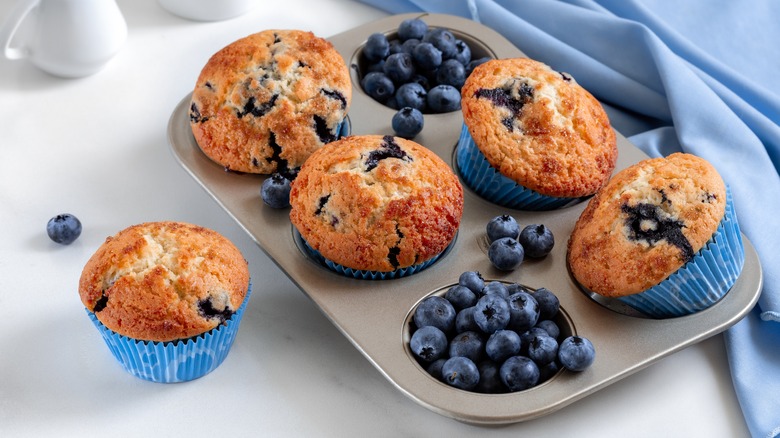
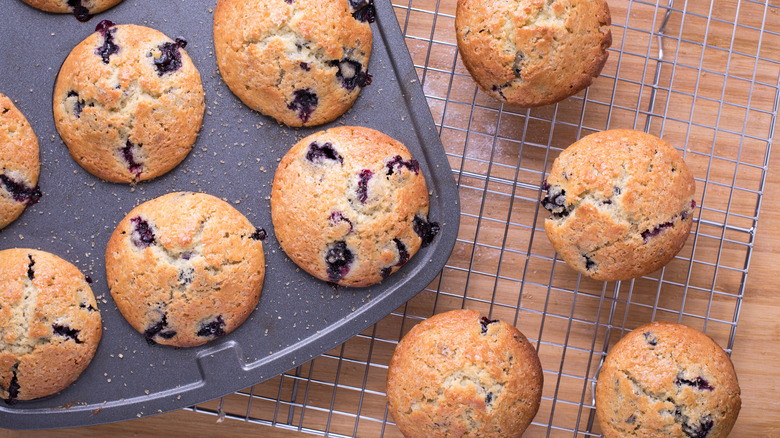
Dumping in frozen berries as-is
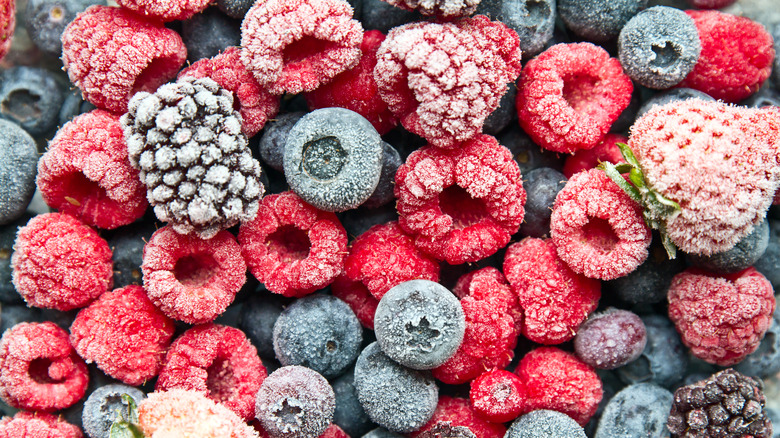
Frozen berries can be an inexpensive way to improve flavor and provide novel textures to your favorite muffin recipes. However, the major problem in using them is that the colors in your fruit tend to leave a colorful hue of blue, red, or purple throughout the entire baked good.
If you want to avoid dyeing your entire muffin, King Arthur Baking Company recommends rinsing your frozen berries several times in cold water to remove the juice. You'll notice a color change in the water from dark to light. Once the water stops getting any lighter, place the berries in a paper towel and gently dry them — avoid squishing them to let out any more juices. Then, you can stir your fruit into the batter. The movement of the mixture may cause some mild bleeding, but not nearly as much as if you were to add the frozen berries directly from the bag.
Allowing your ingredients to sink to the bottom of your muffin
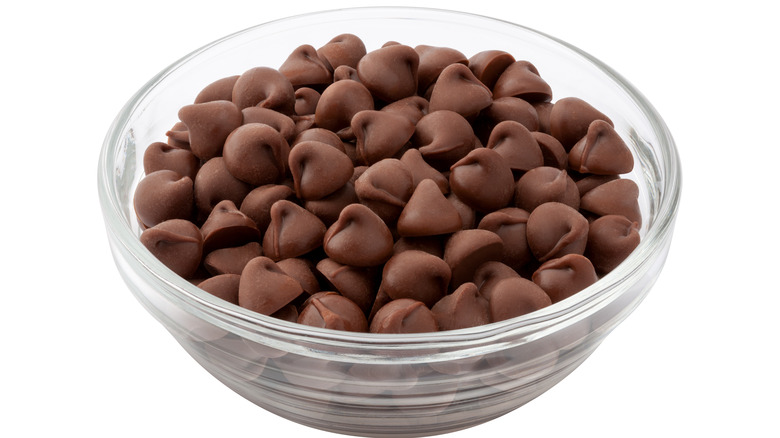
If you've ever unwrapped a muffin after baking and noticed all of the add-ins fell to the bottom, you might think you did something wrong in the recipe. In reality, your chocolate chips, berries, or nuts sink because the ingredients are heavier than the batter around them. Little Rae's Bakery notes that sinking is especially prominent in runny muffin mixes.
The website recommends counteracting the sinking by coating heavy ingredients — like berries, chocolate chips, nuts, or crystalized ginger chunks — in a tablespoon or two of flour before adding them to the batter. The flour on the exterior of the add-ins helps lock them into place and minimizes the dreaded drop to the bottom. To prevent the ingredients from sinking, you should also add a bit of topping-free batter to the muffin tin before the rest of the mixture.
If you're using a thin batter, you should also be prepared to chop your add-ins into smaller pieces. If this is not an option, you can play with your ingredients to help maintain flavor while minimizing sinkage. Using a lighter dried blueberry instead of a fresh one, for example, can counteract the weight of the fruit without removing the iconic blueberry flavor.
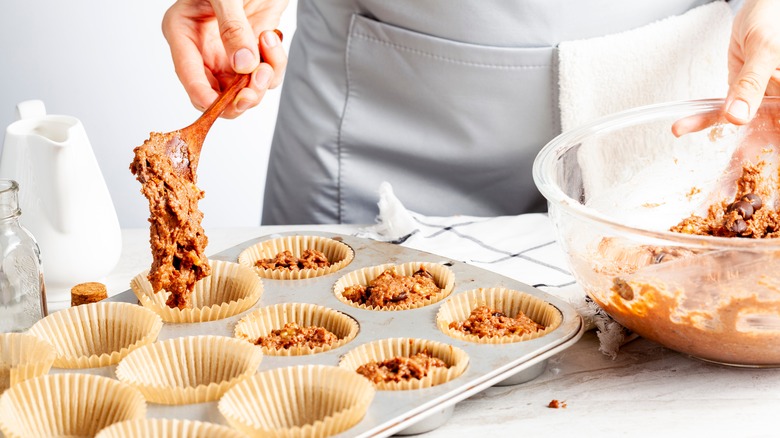
Scooping the batter directly into baking tins after mixing
If you're making a fresh batch of muffins in a hurry, you might be inclined to scoop the batter right from the bowl, add it to the tins, and bake immediately. However, baking your mixture right away can do more harm than good. Most professional bakeries allow their muffin batter to rest overnight before scooping and baking it in the morning. When the blend is sitting, the dough's starches slowly hydrate, resulting in a thicker, more unctuous mixture. The rest time also allows the gluten in the flour to slack — which prevents the baked goods from becoming too chewy.
While an overnight rest is recommended for the optimal muffin height, giving your batter even an hour to rest on the counter while you're preheating your oven and preparing the rest of your meal is enough time for sky-high, soft baked goods.
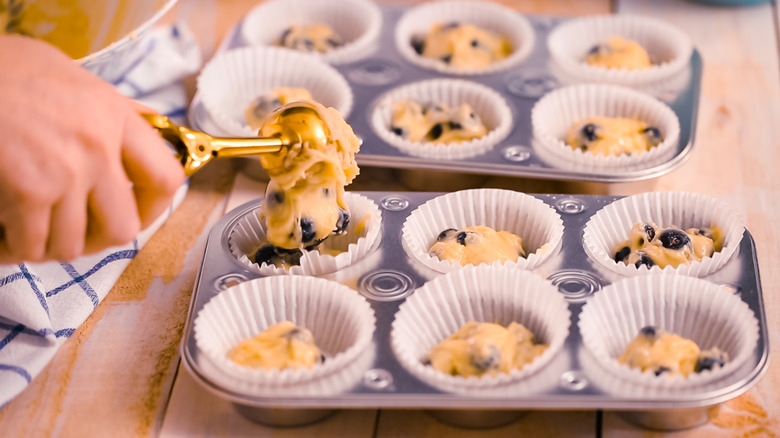
Eyeballing the amount of batter in your tin
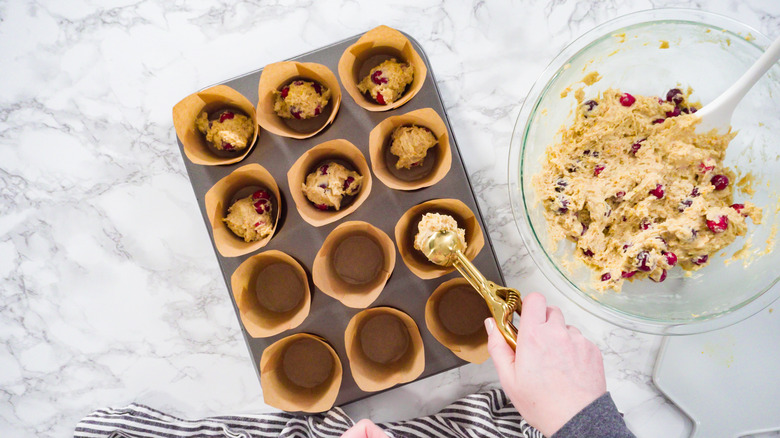
If you are making muffins at home, you may be tempted to eyeball how much batter you add to each well of the muffin tin. This will inevitably lead to someone getting the smallest one of the batch or you chomping down on the tiny one while saving all of the normal-sized muffins for your guests.
You can use several measurement tools to ensure your batter is equally sized across the board. The first is the cookie scoop; it's one of our essential tools for all home cooks. You can purchase them in several sizes, including one-tablespoon, two-tablespoon, and three-tablespoon sizes. These handheld tools are easy to clean and store in your kitchen — plus, you can use them for ice cream, cookies, and almost any kind of batter imaginable. The other option is to use a standard measuring cup — you might just have to clean up the dribble from the scoop every time.
Under-filling your muffin tin
Do you prefer muffin tops or bottoms? If you're failing to achieve the highest possible rise from your muffins — since who doesn't love a baked good that looks like it came straight from a bakery — it might be because you're under-filling your muffin tin. Chef Alton Brown recommends filling the muffin tins more than just the standard recommended "halfway." The Los Angeles Times recommends instead filling the cups between ⅔ and ¾ of the way to the top. This figure will give you enough space for the muffins to form a crisp muffin top over the tin without spilling over into the other wells.
The Los Angeles Times also notes that if you have empty wells in your pan, you should fill them with a few tablespoons of water each. This will prevent the tin from warping as the filled cups are baked and promote a more even bake across your muffins.
Forgetting to spray your muffin liners
Everyone knows the feeling of taking off the paper from a muffin and finding that most of the baked good has stuck to the wrapper. To avoid making this mistake, you should take a couple of seconds to spray the inside of your baking liners with cooking spray to prevent the mixture from sticking. If you don't have this item handy, you can use melted butter with a pastry brush; just make sure you get into all the folds to prevent any sticky spots.
Since liners can be such a pain to work with, you may think about forgoing them and adding your batter to the pan naked. While you certainly can omit the liners, you may find that the muffins don't hold their shape as well, and the mixture is more inclined to stick to the pan. To counteract this, use the cooking spray to generously coat the inside of your baking tin before you pour in the batter.
Forgetting the sugar on top of your muffins
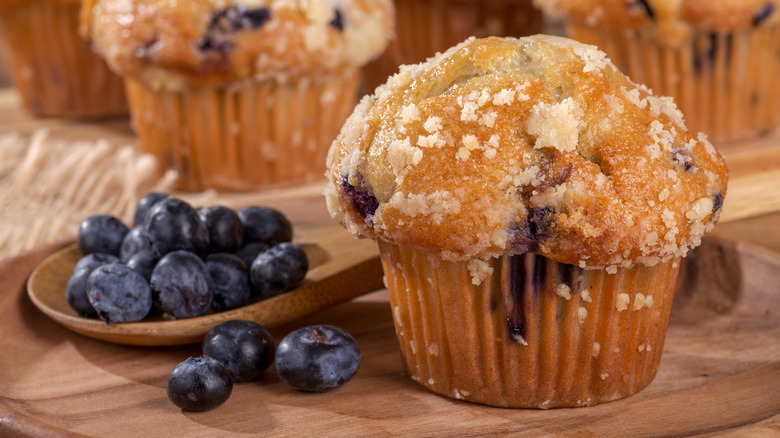
There's a reason why muffins are often coated in sugar. Kitchen Serf notes that many have turbinado or coarse sugar (also known as "sanding sugar") added as a garnish before baking. It provides a bit of texture and shines on the top of the muffin. Plus, the baking process allows the sugar to stick to the pastry without disintegrating into a smooth, sticky syrup. For maximum adherence, brush a little bit of melted butter on top of the muffins before adding the garnish. When you bite into a pastry sprinkled with sugar, you'll find a terrific contrasting crunch to the softness of the baked good.
While you may think to add a bit of granulated sugar instead, we should note the standard white sugar you bake with is a little too fine to make a difference in the muffin's final texture. Brown sugar would not work either because it contains molasses which becomes sticky when heated.
Not turning your muffin tin around during baking
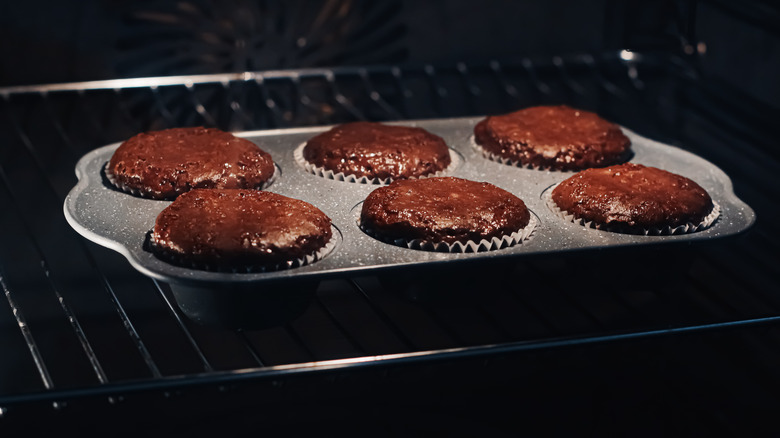
For optimal muffin baking, Quaker recommends cooking your muffins on the middle rack of your oven at between 375 and 425 degrees, depending on the recipe. If you're converting a quick bread recipe to muffins, you should decrease the time they are in the oven and increase the temperature at which you would normally bake a loaf (via Bake or Break).
If you are baking more than one tray of muffins, you should try to leave ample space between your trays and the sides of your oven so the hot air can circulate. To counteract some of the hotspots in the appliance, you can quickly rotate the tins once during baking; just be sure not to leave the oven open too long so the heat doesn't escape. According to Cook's Illustrated, there can be up to a 50-degree temperature difference between the hot and cool spots; rotating the trays about halfway through the cooking time can encourage more of an even bake across your muffins.
Not checking if the muffins are done or not

There are numerous ways to assess if your muffins are finished baking — some of which have more credence than others. The best way to test for a fully-baked pastry is to use a cake tester or a skewer. Place the metal in the center of the muffin. If the batter clings to it on the way out, they need a bit more time. If the metal comes out clean or with a few crumbs, your muffins are finished baking (via Cook's Illustrated). Another simple test you can do to see if your pastries are finished baking is to poke them with your finger. Properly cooked muffins will spring back, while underdone ones will maintain the imprint of your finger.
Other tests for doneness, like color, are unreliable when it comes to baking these treats. If you use a thinner batter, you'll find that the color of the muffin is less golden brown than a thicker mixture. Dark ingredients like bran and cocoa powder can also alter the color of your pastry.
Cooling your muffins in a tin
One of the biggest baking no-nos is leaving your pastries in the pan for too long after you've removed them from the oven. The metal tin is still cooking them after you pull the tray out because the material conducts and holds heat. Leaving your muffins in the pan means that you can overcook them.
If you leave the pastries in the tin for more than a few minutes, you'll also find the bottom of the muffin to be super soggy. This is because the hot steam from the baked good condenses on the pan (via Foodal). Placing your pastries on a rack as soon as you pull them from the oven will diminish the risk of a soggy bottom because the air can circulate underneath and on all sides of the tin — it also cools your muffins faster than leaving them in the tray and walking away.
Only sticking to sweet muffins

The world of muffins is much wider than you'd think it is. While most people associate the baked good with the sweetened berry or decadent coffee cake variety, you can switch things up by instead making savory muffins. You can make a bacon and cheddar pastry that is perfect for enjoying with lunch — or stick to breakfast sausage instead. If you want to be more creative and hybridize your favorite foods, you can make pizza muffins with a standard muffin base, pizza sauce, and flecks of mozzarella and pepperoni sprinkled throughout.
Fresh herbs are an easy way to balance out the sweetness of your baked good. If you're cooking with goat or cheddar cheese, consider adding some fresh sprigs of rosemary or oregano for a stronger organic flavor. If you already have a muffin tin, you might consider deviating from the traditional muffin batter and instead using the tray to make portable egg white breakfast cups with cheese and veggies.