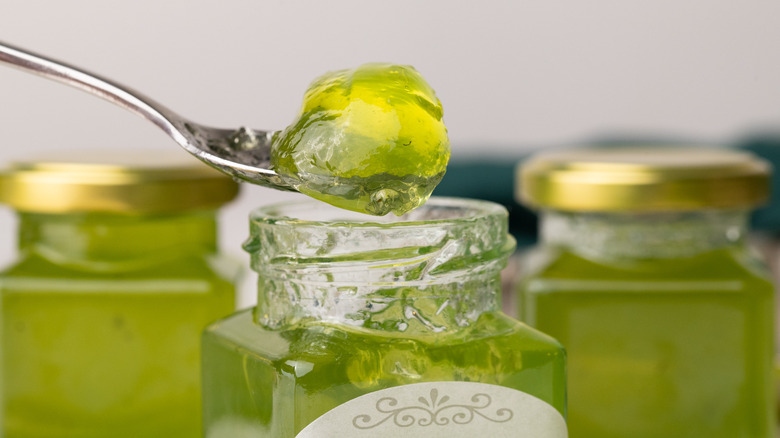
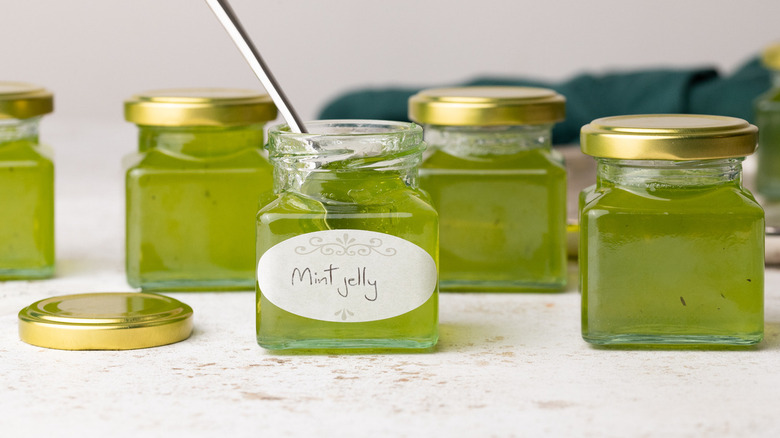
Classic Mint Jelly Recipe
We may receive a commission on purchases made from links.
Mint jelly is a classic condiment for lamb recipes, but if you've only ever had the commercially available kind, you might not be such a fan. That stuff's a bright, scary-looking green and tastes a bit like toothpaste. This homemade mint jelly, however, isn't like that at all. As recipe developer Jennine Rye tells us, "Store-bought mint jelly is nothing compared to fresh, homemade mint jelly — it's so delicious." While she acknowledges that many people may be intimidated by the idea of making their own jams and jellies, this simple recipe "is a great introduction to how fun they can be," she says.
Since it's homemade, this mint jelly doesn't last quite as long as the store-bought kind. It will need to be kept cold, and Rye says an opened jar of homemade mint jelly will only last for a few weeks in the refrigerator as opposed to the 6 months for the commercially produced kind. What you can do, however, is to store it in multiple small jars. Not only will a small jar of jelly keep for up to a year in the pantry, but as Rye says, "It makes a great homemade Easter gift."
Gather the ingredients for this mint jelly recipe
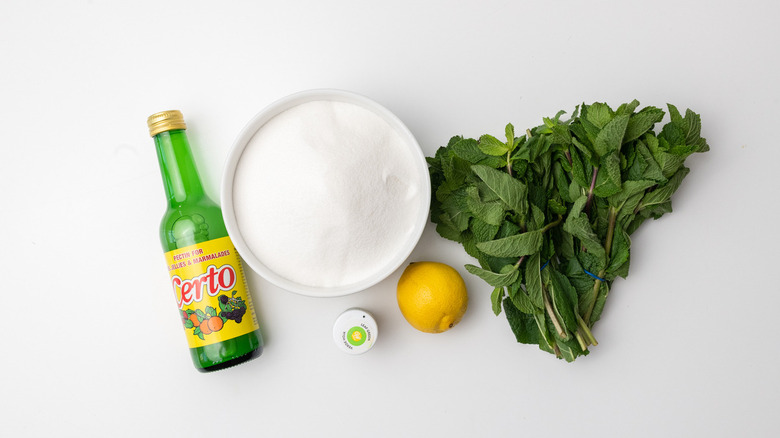
You only need five ingredients to make this homemade jelly, starting with fresh mint leaves. Don't toss the mint stems, though, since these can be uses in other recipes. The remaining ingredients are water, sugar, lemon juice, and liquid pectin. If you want it to have a bright green color, you can optionally add a drop or two of green food coloring.
Steep the mint
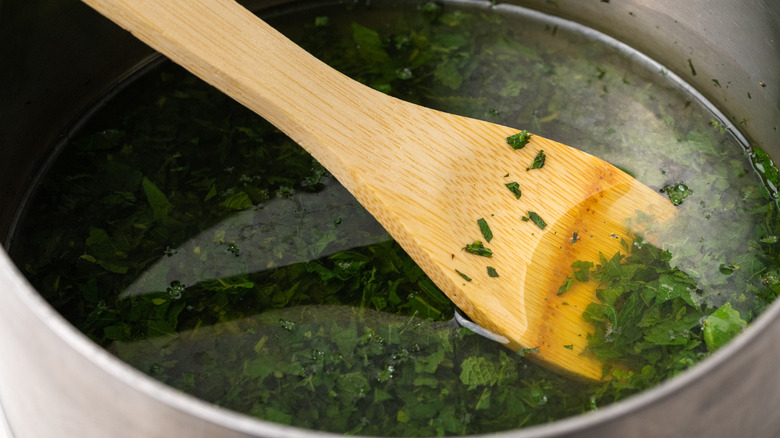
Chop up the mint leaves, then put them in a pot with the water. Crank up the heat until the water is boiling, then turn off the heat. Let the mint steep in the water for 20 minutes, then strain out the leaves and discard (or compost) them.
Combine the water, lemon, and sugar to make the mint jelly
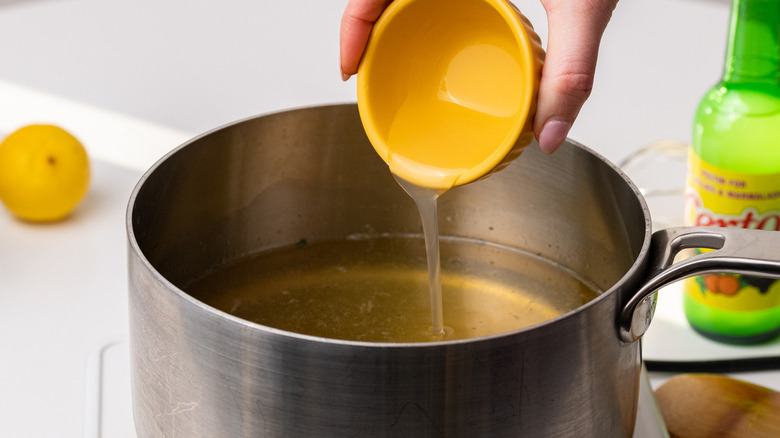
Measure 3 cups of mint-infused water and pour it back into the pot. Add the lemon juice and sugar, and once again, bring the water to a boil. Once it's boiling, stir it to make sure all of the sugar dissolves, then turn off the heat. Stir in the pectin immediately, add a drop or two of food coloring, if desired, then pour the jelly into sterilized jars.
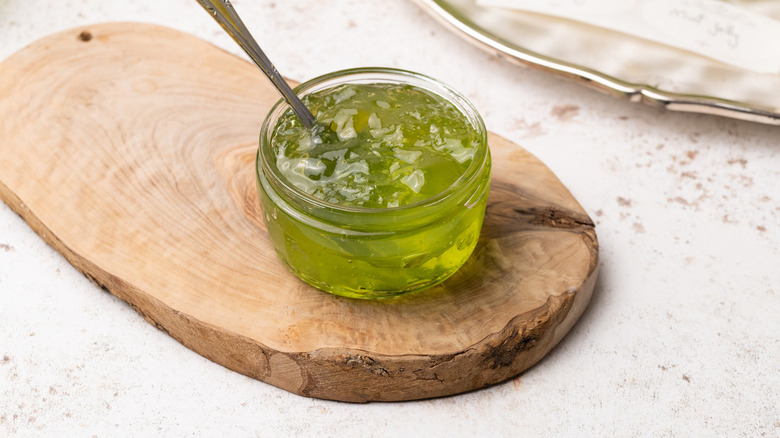
Use the mint jelly as desired
Once you have your jelly, you'll need to decide what to do with it. While Rye notes that "Mint and lamb are a classic pairing that is hard to beat," there are other ways to put this jelly to use. She suggests using it with Middle Eastern or Greek dishes and says that it would go well with eggplant or peas. It could also work as a barbecue glaze, perhaps with grilled chicken or pork chops.
Another idea is to lean into the mint jelly's sweet side by using it in desserts. Rye feels mint-filled thumbprint cookies might be nice, and the jelly could be a topping for pancakes or ice cream. Or, spread it between the layers of a lemon cake.
Dishes that taste great with mint jelly
Classic Mint Jelly Recipe
This classic mint jelly is perfect for not only lamb dishes, but also in baked goods and topped on pancakes.
Ingredients
- 2 cups mint leaves, tightly packed
- 3 ½ cups water
- 3 ½ cups sugar
- 3 tablespoons lemon juice
- 2 ounces pectin (liquid)
Optional Ingredients
- green food coloring
Directions
- Roughly chop the mint leaves, and add them to a pot with the water.
- Bring the water to a boil, then turn off the heat. Let the mint steep for 20 minutes.
- Strain out the mint leaves, then measure out 3 cups of mint-infused water, and pour it back into the pot.
- Add the lemon juice and sugar to the water, and bring it to a boil.
- When all of the sugar has dissolved, turn off the heat and immediately stir in the pectin.
- Add a drop or 2 of food coloring, if desired, then pour the jelly into sterilized jars and use as desired.
Nutrition
| Calories per Serving | 373 |
| Total Fat | 0.2 g |
| Saturated Fat | 0.0 g |
| Trans Fat | 0.0 g |
| Cholesterol | 0.0 mg |
| Total Carbohydrates | 96.2 g |
| Dietary Fiber | 2.2 g |
| Total Sugars | 87.5 g |
| Sodium | 26.1 mg |
| Protein | 0.8 g |
How can you sterilize jars for canning?
When you can jelly (or any kind of preserved food, such as pickles or relishes), you need to ensure that your jars are completely sterilized before you add your ingredients. A dirty jar will bring bacteria into your jelly, and it could slowly grow into a more serious problem as the mixture sits.
The most common method for jar sterilization is to use a boiling water bath with a rack in the pot. There are dedicated boiling water canners for this, but you can also accomplish it with a large pot and a trivet that sits snugly inside it. You'll want to fit the jars into the rack (so that they don't jostle around and break during the boil) and cover them with water before heating the pot. After the water comes to a boil, boil the jars for 10 minutes if you're at sea level; increase the time by 1 minute for every 1,000 feet above sea level your kitchen sits.