15 Ways You're Ruining Steamed Milk

Learning how to steam milk correctly is one of the fundamental building blocks of becoming the ultimate home barista. Steamed milk is the prerequisite to many delicious coffee beverages, including lattes and cappuccinos, as well as the base for warm winter beverages like hot chocolate. Unfortunately, although this skill is one of the most important for any home or professional barista to know how to do, it is also very easy to mess up. The consequences of poorly steamed milk can make your coffee beverage go downhill quickly and leave you wanting to go to the nearest coffee shop to have someone else do it for you.
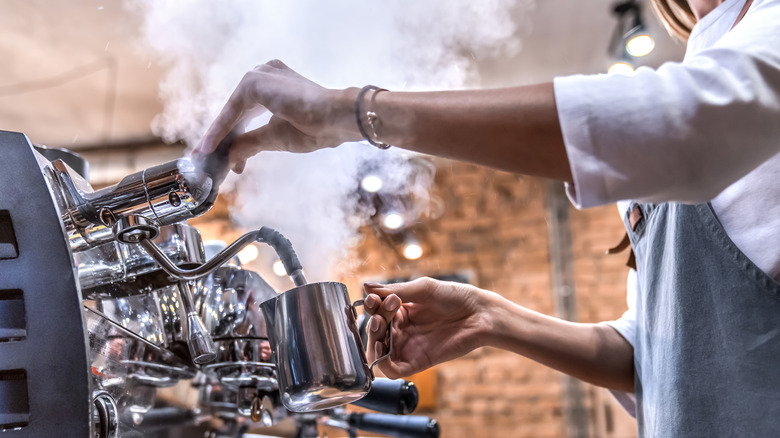
You'll need a few tools to start steaming your milk the conventional way, including a metal milk pitcher and an espresso machine equipped with a steam wand. Once you set up your station, you can put your barista hat on and start steaming. Here are some of the mistakes you need to avoid when steaming milk.
Confusing steaming and frothing
One of the biggest mistakes in the coffee vernacular is confusing steaming with frothing. Steaming milk is the process of exposing milk to hot steam, which produces a more watery, yet warm, result. The steaming process can also make a thin layer of foam called "micro-foam," which differs from the giant bubbles produced for the top of a cappuccino made via frothing. To froth milk, a barista will expose it to air, producing a more creamy and drier result.
Both steaming and frothing can be done on a home espresso machine but are usually done with separate pitchers to make assembling the beverage easier. Another critical difference between frothing and steaming is that frothing does not have to be done with steamed (or even warmed milk); it can be frothed by shaking it in a jar or using a handheld milk frother to create characteristic bubbles. Some beverages include steamed milk, like lattes, mochas, and café au laits, while drinks like cappuccinos use steamed and frothed milk.
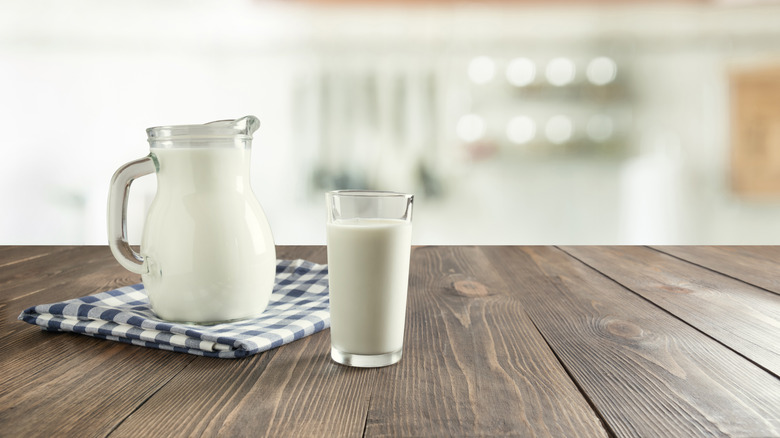
Not using the freshest milk possible
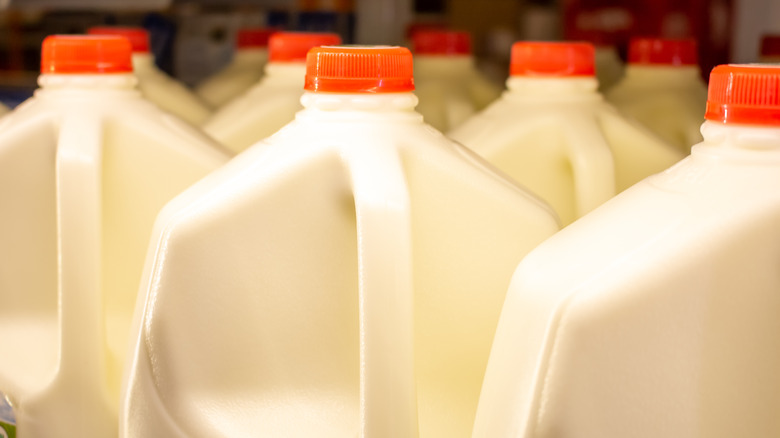
The quality of your milk matters when making coffee drinks because older milk won't froth as well as fresh milk. Fresh milk is the key to getting a good foam; milk that has been in the fridge for more than a couple of weeks may not even produce a foam. Older milk may also cause the foam to develop but not hold its shape for long enough for you to drink it.
The main culprit for this phenomenon is something called glycerol, an alcohol that breaks down the protein structure that causes the milk to foam. As the milk ages, the amount of glycerol present within it increases substantially. Therefore, fresher milk will produce a much frothier foam than older milk because it contains less glycerol.
If you're steaming your milk at home, you should always try to purchase milk within a few days of using it. However, if you don't live in a household that goes through an entire gallon in a week, try purchasing small pints or quarts to keep cycling it through your fridge.
Thinking that all milks steam the same
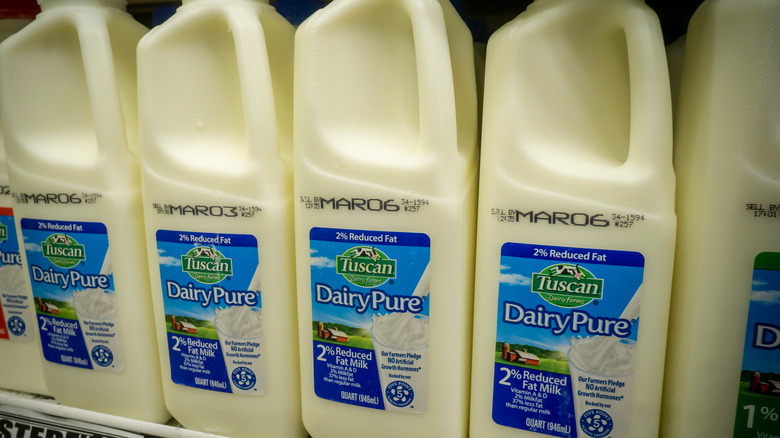
You may assume that whole-fat milk is the best kind of milk for frothing and steaming because it has the most unctuous flavor and fatty composition. But these characteristics actually make frothing whole milk much more difficult than reduced fat or skim milk. Since whole milk contains the highest glycerol concentration, it is difficult to learn how to froth and for the foam to maintain its shape. Skim and non-dairy milks are the easiest to froth because they contain minimal (or no) glycerol.
We're not saying it's impossible to steam whole milk, but it might take a couple more tries and some added expertise compared to lower-fat varieties. If you're not too particular about how much froth you want on your cappuccino, you can substitute your milk with a splash of cream or half-and-half for a smoother texture. However, you should avoid frothing creamers because these products contain oils and emulsifiers that don't lend well to steaming.
Choosing the wrong plant plant-based milk to steam
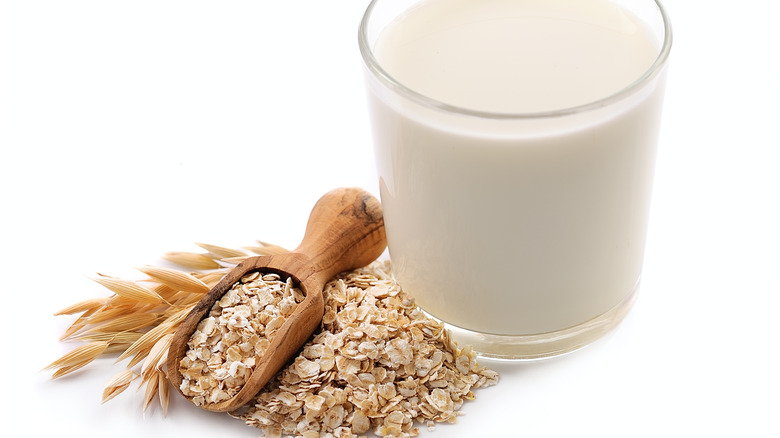
You can still enjoy your favorite frothy milk beverages if you're vegan or lactose intolerant. However, it's important to remember that not all dairy-free milk will froth the same as regular dairy-based ones, mostly because dairy-free products don't contain glycerol or milk fat. Oat milk is the best alternative to dairy-based milk for steaming and frothing because it produces a rich, delectable, and sweet foam. Almond milk is the runner-up for non-dairy options because it has a slightly higher fat content than the other types of dairy-free milk; this alternative froths the best when at room temperature. Finally, you should go with soy milk if you want stable foam. However, it has an acquired taste, and the bubbles are often tricky to pour.
Regardless of the milk you choose, you need to pay attention to its texture and the temperature at which it steams. For example, dairy milk steams at 150 degrees Fahrenheit, soy at around 140 degrees Fahrenheit, and almond milk at 130 degrees Fahrenheit. Overheating your milk can cause it to scald and impart a bitter flavor to your beverage.
Not trying to steam your milk in the microwave

Espresso machines are a significant investment if you want the occasional hot chocolate made with steamed milk. The easiest way to froth milk at home, without using an espresso machine, is to add your desired amount of milk to a mason jar. If you measure for a coffee beverage, we recommend pouring the milk into your drinking vessel first, then pouring it back into the jar to minimize waste. Then, cover the jar and vigorously shake it until the milk gets bubbly. Follow this by removing the cover from the jar and placing it into the microwave for about thirty seconds. Once this step is completed, you'll have cappuccino-worthy foam ready to go in less than a minute.
It's important to drink your beverage after you've done your foaming or steaming. Gravity will ultimately pull the foam down into the drink, so if you want to get the best experience from this hack, you should try to use the foam within a few minutes of preparing it.
Not adding enough milk to your jug
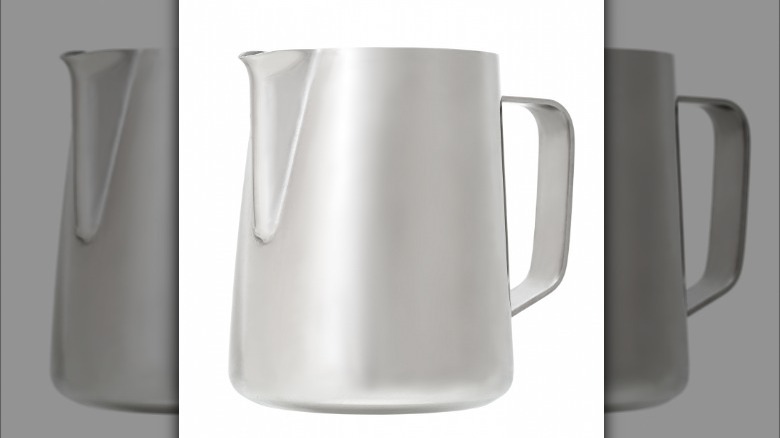
The first step in preparing steamed milk is to add the milk to the steaming vessel: the pitcher. These pitchers, or jugs, are usually made of metal, a perfect conductor of heat, with a stainless steel handle that prevents burns. They also have a spout for easy pouring and will not leave a strange aftertaste on the milk.
How do you decide what sized pitcher to use and how much milk to add? If you don't use enough milk, your beverage won't have the proper ratio of components. Underfilling the pitcher will also result in too much spinning action or the milk heating up faster than you can froth it.
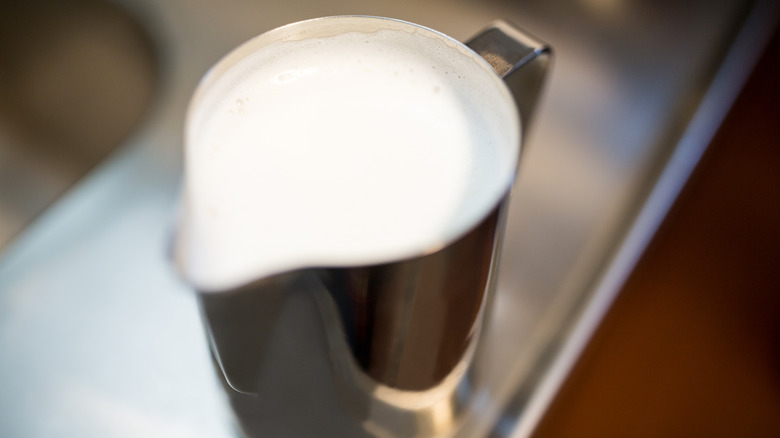
One of the biggest mistakes when steaming milk for coffee is adding too much milk to the pitcher; you should never add more milk than up to the spout line because steaming the milk will cause it to take up more space and potentially overflow. The ideal amount to fill your pitcher is no less than one centimeter from the bottom of the spout.
Not angling the steam wand correctly
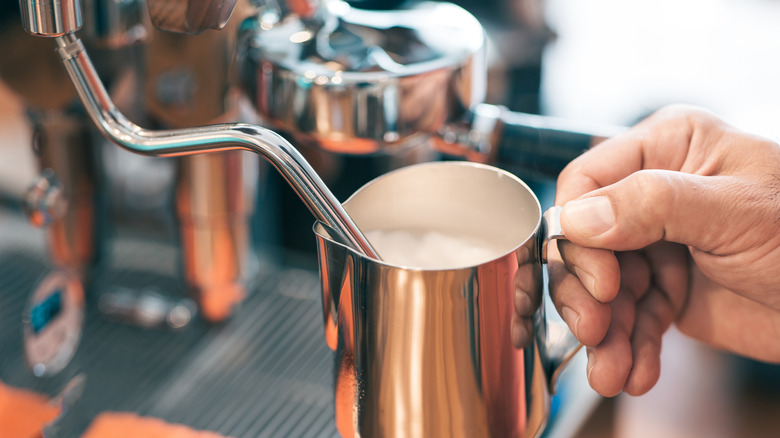
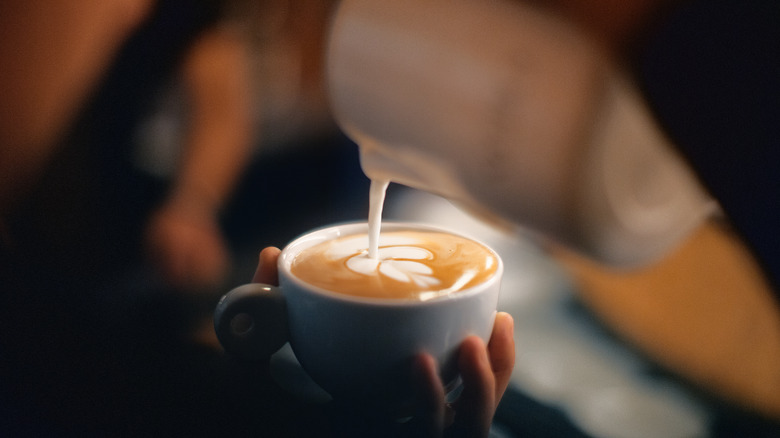
Like selfies, steaming milk is all about the angle. Angles are especially important for steaming milk because you want to inject bubbles into it to make it frothy. A well-angled steam wand means that the tip of the steam wand will rest on the surface of the milk. The air and pressure from the wand will blow onto the surface and create this desired effect. After you have been able to blow those bubbles, the motion of the steaming wand will break the bubbles down and form a thin layer of micro-foam on your milk.
You should first start by angling your steam wand in the nook of your milk jug. Then, rotate the jug about 20 degrees to the left or the right depending on your setup; this will make it easier to blow air into the milk and perpetuate the "whirlpool" effect that breaks down the bubbles into a thinner micro-foam.
Moving the jug too much while steaming the milk
One of the common misconceptions about making steamed milk is that you have to do a lot of twisting, moving, and manual work to get the perfect foam. Realistically, you should only move the jug around a little while you're steaming the milk. Not only will motion change the depth of the spout of the wand, but it will also upset the perfect balance of bubbles that you worked so hard to create. The whirlpool effect should begin on its own immediately, or at least within the first five seconds that you start steaming — provided that you have a good angle and the right depth.
Before you even start the whirlpool stage, you'll need to ensure you spend enough time getting air into the milk. The stretching step lets the micro-foam into the milk by pushing air bubbles into it. The amount of time spent before you set up your whirlpooling motion depends on the beverage you're making. For example, you'll spend more time foaming milk for a cappuccino than you will a latte.
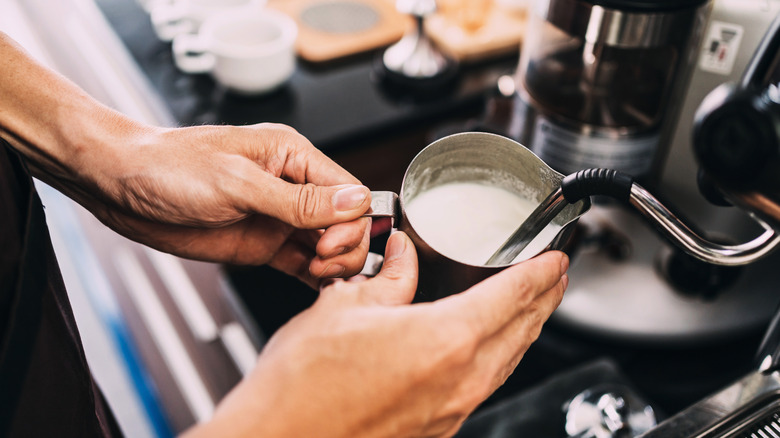
Placing the steam wand too shallow or too deep
Have you ever made steamed milk and heard a screeching sound that kind of sounds like nails on a chalkboard? This indicates that your steam wand was not in the proper position. High-pitched noises mean that the tip is not far enough into the milk; the steam is hitting the air bubbles but not the actual surface of the milk. You won't get the bubbly texture and decent micro-foam if your steam wand is too low.
The ideal distance to place your steam wand is about just slightly below the milk's surface. You should go no deeper than the joint line on the wand — or as shallow as you could get without skimming the milk. Starting your machine while your wand is just under the surface of the milk is also important because it will prevent the milk from splattering everywhere when you hit the on-switch.
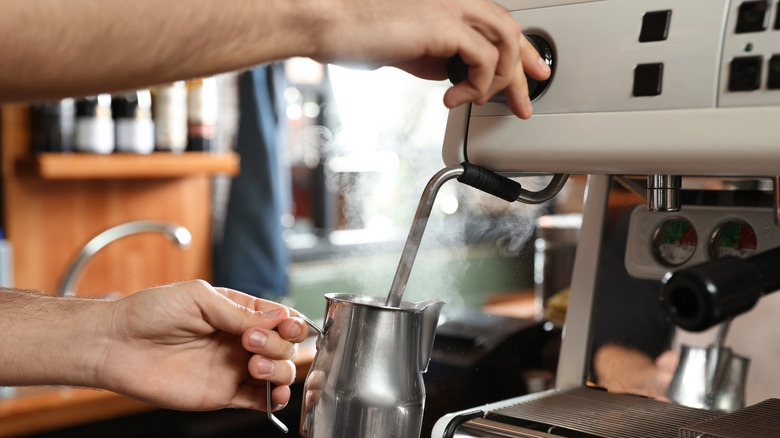
The pressure on the machine is off

Espresso machines work by heating up and extracting pressure from a boiler inside of the machines. The exact metrics of your machine will limit how fast you can spin the milk and the pressure and power limitations your machine can reach. Single boiler machines, which require you to make the espresso and heat up the milk separately, and double boiler machines are most common for home barista setups.
The number of steam holes in the wand's tip will also impact much pressure that can be applied. Standard espresso machines come with between one and four steam holes. Three and four steam holes produce the most vivacious spin but require more consistent pressure to be released simultaneously. As a result, many home machines have a one- or two-hole design, which will take more time to heat up and spin. The perfect pressure to steam milk is around 1.2 bars, which is compatible with most home espresso machines.
Re-using steamed milk
You should never re-steam milk, for both safety and texture reasons. When you steam milk, you bring it out of the temperature danger zone to a little over 140 degrees Fahrenheit. This is fine for immediate consumption but can harbor pathogens if the temperature remains at that point for an extended period — it's the same reason you shouldn't drink a day-old latte that sat on your counter overnight.
If you reheat steamed milk, you will get a different taste and texture than fresh milk. Steaming milk causes its protein structure to harden and trap air bubbles, meaning re-steaming it would only denature the proteins even more. As a result, reheating milk even once can cause it to develop a rough, grainy texture. In addition, your milk will taste more bitter with every reheat as the beverage loses its sweetness and becomes more burnt in flavor.
Forgetting to purge the wand after each steam

Purging your espresso machine is a part of regular machine maintenance. Failing to do this can result in a poor flavor in future beverages and a greater opportunity for mechanical issues down the line.
You should purge your steam wand before and after use. Steam wands have some water in them that runs from the boiler, so allowing the water to drain into the drip tray or a separate heat-proof container will keep your lines fresh and stop your beverage from becoming watered down when you go to steam them. After you finish steaming, shut the steam off with the wand still in the jug. Then, allow the piece to cool for a few minutes while you make your beverage. Lastly, purge the machine again to remove any milk sucked in the spout. You should also run a damp rag across the wand and the spout to remove any milk residue.
The steam is too hot

Temperature is absolutely critical when you're making steamed milk. The ideal temperature for steamed milk is between 140 and 150 degrees Fahrenheit or up to 160 degrees Fahrenheit for an "extra hot" beverage. Beverages that are too hot and have been steamed for too long risk the milk proteins denaturing, which can make the milk gritty.
You won't always need a thermometer to determine when to shut your steam wand off; you can instead use the feel of your hand on the steel jug. Always use the side of the pitcher for the feel test rather than the bottom; this will give you a more accurate estimate of temperature. If you have to pull your hand off the jug in less than three seconds, your espresso may be too hot already. If you want extra hot milk, you can wait a few additional seconds, but not too long afterward. If you want to be more precise, you can use a clip-on thermometer to gauge the temperature of the milk.
Using a poor spinning technique
After you have completed the stretching stage of letting air into the milk, you are ready to move on to making your whirlpool motion. The spinning phase first involves submerging the steam wand an extra half-centimeter into the milk, maintaining the 20-degree tilt, and allowing the milk to move around the wand in a circle. You shouldn't hear a consistent hissing sound; if you do, this can indicate that your wand is not submerged far enough down.
If you want the perfect whirlpool, you should try to keep the jug tilted and place the wand right between the wall of the jug and the center of it. Once the jug becomes too hot to hold, you can shut off the steam. Lastly, tap the bottom of the pitcher against the counter once, and start to swirl the milk to help dissipate any remaining bubbles. Swirling the milk is considered the "polishing" step, which combines the micro-foam and the milk together in one. Once you're finished with your milk, it should have the appearance of wet paint.
Using warm milk
Most dairy-based and non-dairy milk steam better from cold rather than room temperature. Starting with cold milk will give you more time to steam it before it reaches 140 degrees Fahrenheit.
From a scientific angle, cold milk is more advantageous for a few reasons. The milk proteins are in tightly coiled bundles when cold. As the temperature of the milk warms up, the proteins uncoil and start to trap nearby air bubbles, which gives the milk its volume. The hydrophobic part of the milk protein will cling to the bubbles, while the hydrophilic side will create a layer close to the rest of the milk. If you start with warm milk, you won't get the same frothy effect because the milk proteins won't have enough time to coil around the air bubbles and create the micro-foam that makes our lattes oh-so dreamy.
Static Media owns and operates Tasting Table and Mashed.