18 Tips You Need For Making Donuts At Home
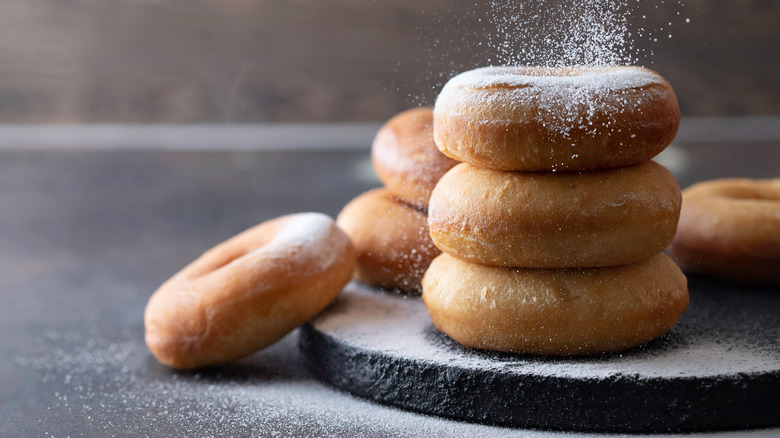
Donuts are a nostalgic childhood treat that can easily excite any eater. These fried treats, usually eaten for breakfast, come in two styles. Yeasted donuts are made with a rising agent and have a soft, fluffy texture. These donuts are typically decorated with elaborate glazes and sprinkles, but some varieties can also be rolled in sugar or cinnamon. Yeasted donuts can also be filled with jams and custards. On the other hand, cake donuts have a more dense texture and use baking soda or baking powder; these donuts can come in numerous flavors like apple cider, chocolate, or old-fashioned vanilla. Cake donuts are perfect for dipping in coffee or tea and can be baked or fried.
Donuts are easy to buy from stores like Dunkin Donuts or Krispy Kreme, but are guaranteed to be more satisfying and tasty if you make them yourself. Here are our best tips for baking novice-friendly donuts in your home kitchen.
Use fresh leavening agents
Leavening is a critical part of baking any dough. If you don't use fresh leavening agents in your donuts, you won't get a significant enough rise to produce a soft, plush donut. Instead, you'll be left with a sad, stodgy, and oily brick.
If you're making a cake donut, you can test your baking soda or baking powder by adding an activator. Add some lemon juice or vinegar for the baking soda and water for the baking powder. If the substance fizzes within a few seconds, you should be good to use it for your donut recipe.
If you're making a yeast donut, you can check the yeast first by adding a few tablespoons to a glass of warm water. Then, stir the mixture together with a bit of granulated sugar to speed up the reaction. In a few minutes, your yeast should have a thin layer of bubbles on top and a robust yeasty aroma.
Follow the directions for proofing yeasted donuts
It's natural for cooks to get a little loose regarding recipes and directions, but yeast is not something you can put your creative spin on. In addition, not allowing your dough to be proofed for long enough can cause numerous issues later in the baking process.
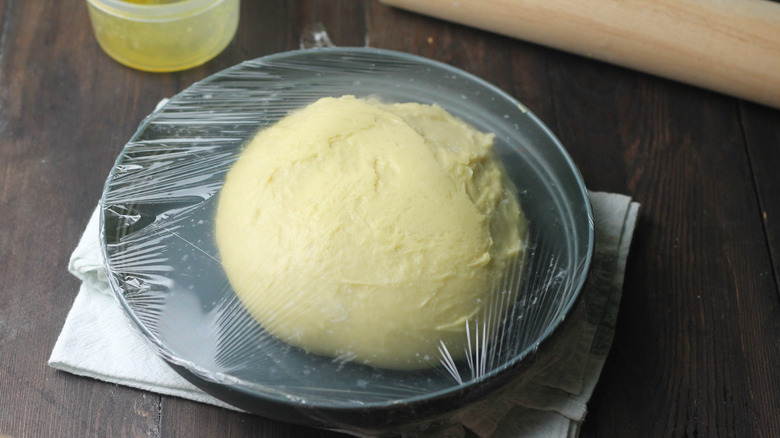
After mixing your ingredients, you should proof your dough until it doubles or triples in size. At room temperature, this can take anywhere from one to two hours. To improve your proofing, always cover your donuts with plastic wrap to prevent the dough from crusting. You can also perform a poke test to check and see if your donuts are ready; when a small amount of pressure is applied to the dough, it should dimple slightly.
If your recipe requires a second proof after cutting and shaping the donuts, you should avoid skipping it. This period allows the flavor of the dough to come together and can add some extra volume right before frying. It would be best to leave the plastic wrap on the donuts for the first part of the proof, but remove it for the last 10 to 15 minutes to allow the outside of the dough to dry and crust. This protective layer is much more forgiving when you place the donuts into the fryer.
Avoid over-mixing your dough
Both yeasted and cake donuts are made from glutenous flour. When you stir the gluten, it will activate and build strong protein strands in the dough. While some gluten development is good (it adds structure to the donut), too much gluten development may cause the dough to come out stodgy.
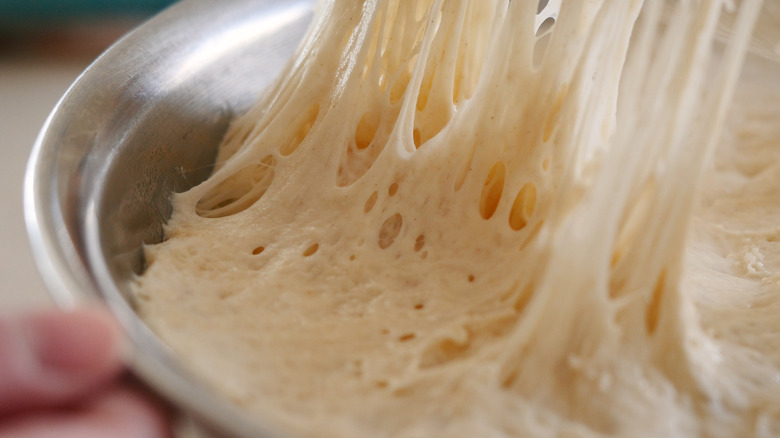
If you're making cake donuts, you should only mix the dough enough so that all the ingredients are combined; there shouldn't be any dry spots of flour. The properly-mixed yeasted dough will start to pull away from the sides of the bowl when it's ready – similar to bread or bagel dough.
One of the ways that will keep you from overmixing your dough is to use the lowest setting on your stand mixer, or even your hands instead. While it may be easy for you to flip the switch to the highest mixing speed and let the motor do the work, you can lose touch with the texture of the dough and overmix it much more easily.
Don't forget to let your cake donuts rest
The hydration step is critical for many types of baked goods. During this resting period, the starches in the flour absorb the liquid in the recipe. As the water is absorbed, the batter becomes thicker and increases in volume. This short period also slackens the gluten, resulting in a softer and more plush donut. Cake donuts, like delicate crepes or popovers, need a short period for the gluten to rest and hydrate before moving to the next step.
For cake donuts, you should have a 10 to 15-minute window to rest between shaping and frying. This time allows the dough to hydrate properly and improves the overall volume of the donut. You can allow your dough to rest for a maximum of about half an hour, but waiting too long may cause the leavening agents to be less effective.
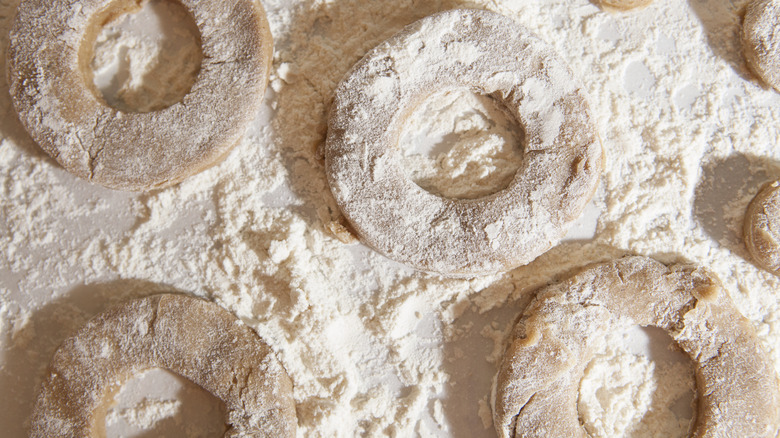
Cut with a sharp instrument
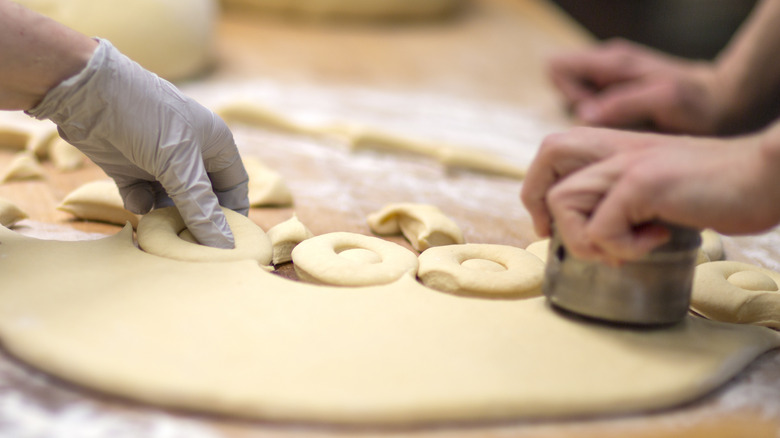
When it comes to cutting out your donuts, you should always aim for precision. If you don't use a sharp enough cutter, the dough won't rise as well when immersed in the hot oil. You can purchase donut-specific cutters or use two biscuit cutters to cut out the circular shape of the donut. Just be sure to press down firmly so that the blade cuts through the dough rather than just making an imprint on it.
You should only re-roll your dough once after you've made your first pass at the dough. This will ensure that your donuts all have similar textures. You should also rest the dough scraps in your fridge for at least an hour before re-rolling to allow the gluten in the dough to slack. If you don't want to go through the arduous process of working with stiff dough, you can use the leftover dough to punch out and roll donut holes instead.
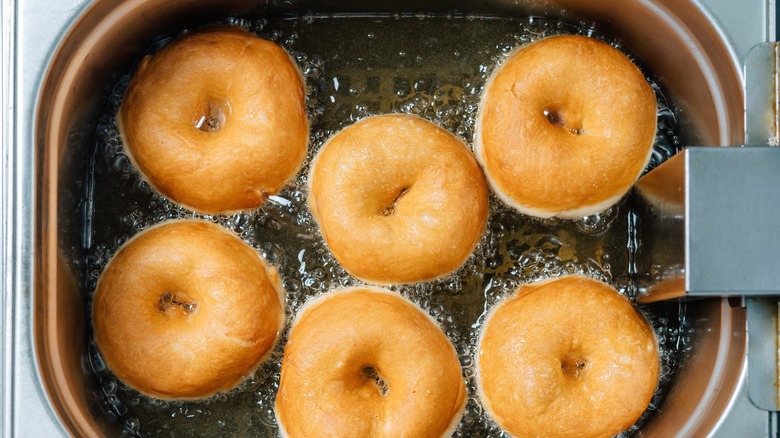
Fry your donuts in a big pot
One of the biggest mistakes when frying donuts is starting with a small pan. The donuts will expand in size and height as you're frying them, so starting with a small pan will always run the risk of overcrowding — which can stifle the growth of the donuts.
If you only plan to fry a few donuts at a time — and don't mind standing over them for a while — you can use a small countertop deep fryer for cooking your donuts. If you don't consider yourself an avid fryer, you can also use a Dutch oven as the frying vessel. Standard-sized Dutch ovens can hold a couple of quarts worth of oil, which is perfect for frying fluffy foods like donuts. Plus, the ceramic material of the vessel is ideal for holding the heat of the hot oil and preventing splash outs on the sides.
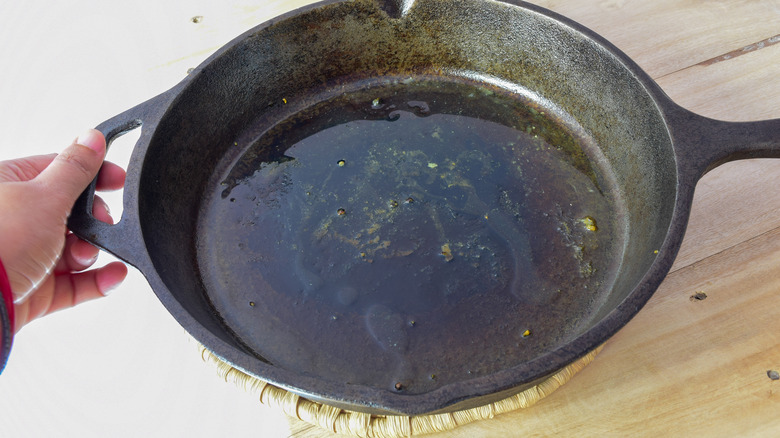
Always use fresh oil
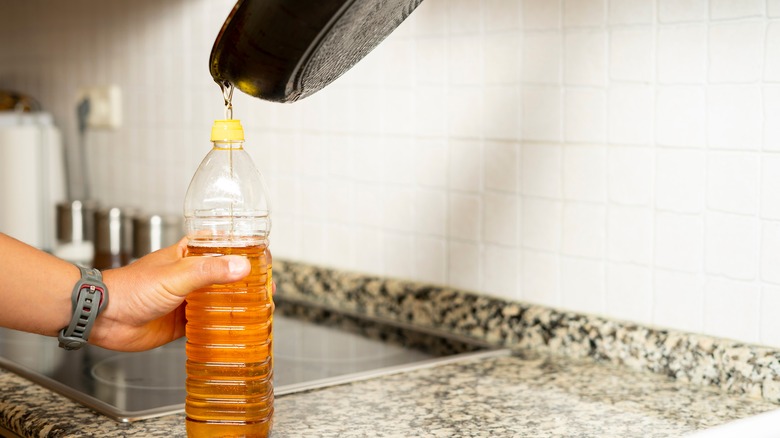
The oil you fry your donuts in plays a more prominent role in their flavor than you'd expect. Therefore, you should always use fresh oil to fry your donuts for the best flavor.
You can use many different oils and shortenings for frying your donuts. The best oil type is a neutral flavor variety, like vegetable or canola. These oils also have a high smoke point at more than 400 degrees Fahrenheit, which is safe for frying donuts. Using oil with too low of a smoke point will cause unsavory flavors to shine through and may even make your donuts toxic. We also recommend using canola or vegetable oil for frying because they are both light in color (which won't make your donuts too dark) and light on your wallet — meaning that you won't have to spend a ton of money to throw the oil out at the end of the cooking process.
Constantly check your frying temperature
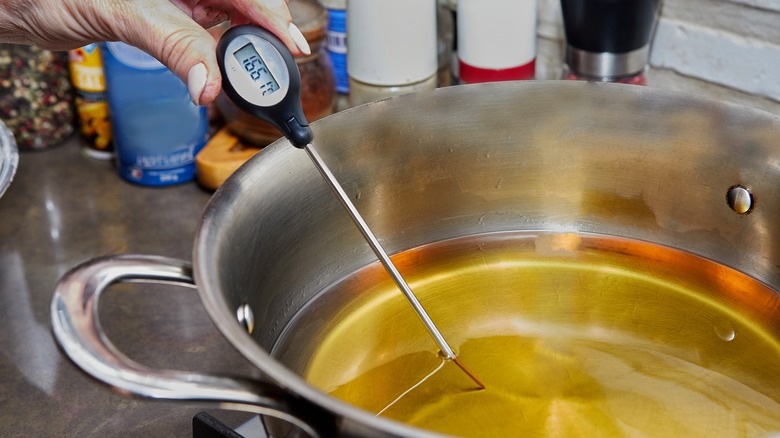
One essential tool for frying donuts is a candy or instant-read thermometer. If you often fry doughnuts, we recommend purchasing a ChefAlarm thermometer; you can set the upper limit at 375 degrees Fahrenheit and your lower alarm at 350 degrees Fahrenheit. The ideal cooking time for your donuts at this temperature is one to two minutes on each side. When the donuts are finished cooking, you should get an internal temperature reading between 185 and 190 degrees Fahrenheit.
You should be aware that adding too many donuts to the pan at once can cause overcrowding and drop the temperature of your oil too much. Once you remove all the donuts from the pan, let the temperature rise within range before adding more donuts to the cooking vessel. Cooking at too low a temperature will result in greasy, soggy donuts, while cooking too hot will cause scalding.
Use the correct utensils to flip and remove your donuts
The last thing you want to do when you're frying your donuts is to get burned. You'll need the right equipment ready to send off, flip, and retrieve your donuts from the vat of hot oil.
We recommend purchasing a stainless steel spider skimmer to place and retrieve your donuts from the oil. The skimmer is made of metal, so it's resistant to high heat and has a long enough handle to avoid splashing when you put the donuts in the oil. You can also use this tool to drain the oil off your donut after cooking. Then, when it comes time to fry, always release the donuts away from you to prevent splatter.
We recommend using a pair of chopsticks to flip your donuts while they're cooking. You can also use the chopsticks to help you flip the donuts in the glaze once you're ready to move on to the decorating step.
Let the oil drain off from your donut
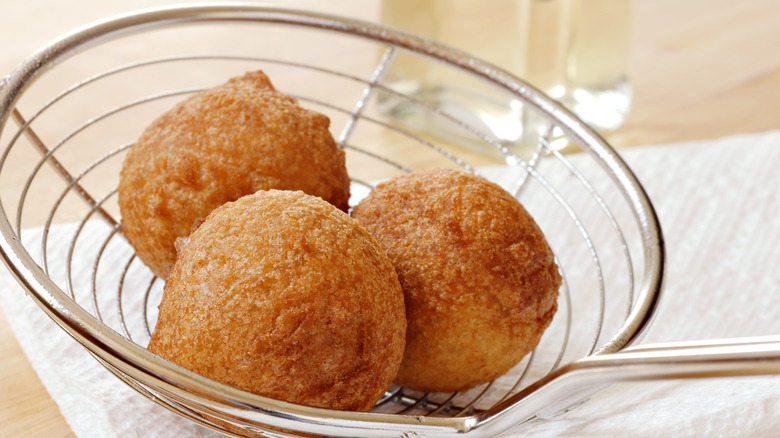
A little grease never hurt anybody, but a lot of grease undoubtedly led to an unsavory donut.
You'll need to drain your donuts after you're finished frying them. Start by shaking the donuts in the skimmer for about ten seconds to remove the excess oil. Then, transfer the donuts to a paper towel to allow them to drain off the extra oil. If you want to keep your kitchen clean, always put down a few more layers of paper towels than you think you'll need.
You should avoid putting your donuts directly on a cooling rack because the rack can cause the oil to pool at the bottom of the donut — meaning that you'll get bits of very oily and very dry in the same bite.
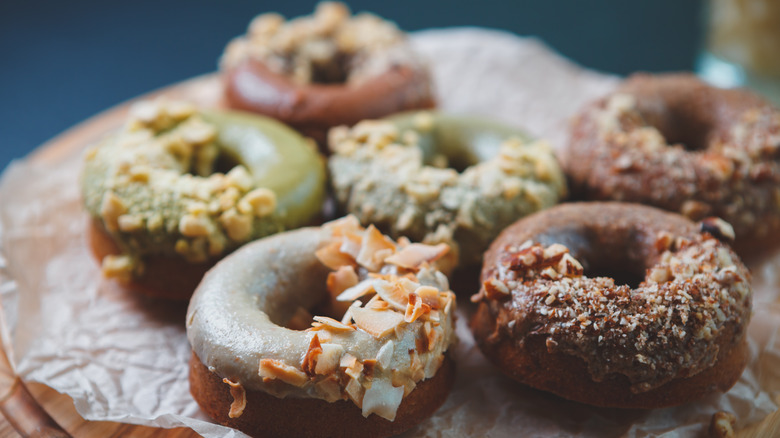
If you're making sugar donuts, add it right after frying
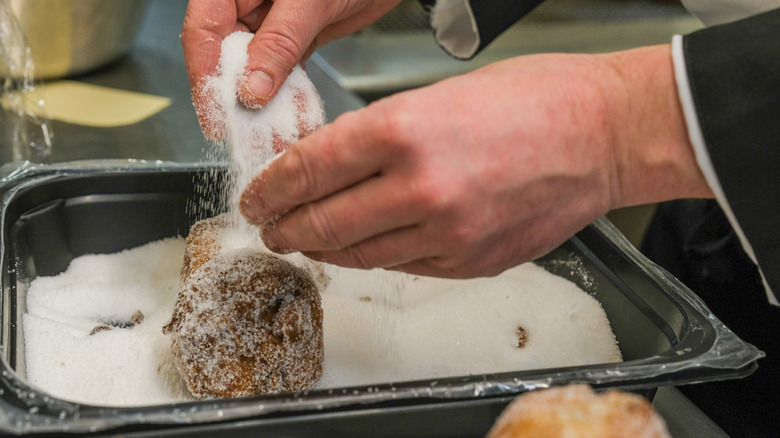
Some of the most popular cake donuts, including apple cider and powdered sugar donuts, have a thin layer of sugar and spices on their exterior. The seasoning provides a bit of texture to the donut and boosts flavor on your palate when you first bite into the donut. If you plan to add sugar to your donuts, don't let your donuts cool too long. During the cooling period, the oil (which helps stick the sugar to the donut) seeps back into the donut rather than staying on the surface.
If you're baking your donuts in molds rather than frying, you should coat the donuts in melted butter after baking. This promotes the sugar and spices to stick to the donut and provides a more complex flavor.
Glaze the donuts while they're warm, but not piping hot
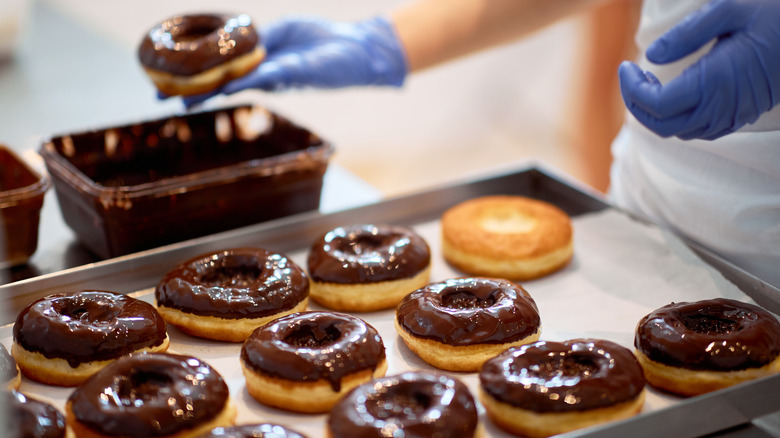
Glaze can be a finicky donut component. If you glaze your donuts too soon after you pull them out of the fryer, the glaze won't adhere to the donut and will slide right off in a slump. Likewise, the glaze won't adhere to the donut if you cool your donuts too long. The best time to apply your glaze is when your donuts are warm to the touch but cool enough to be handled.
One of the common pitfalls in donut-making is a weepy glaze. Glazes weep for several reasons, including too much water in the glaze and under-frying of the donuts themselves. Instead, follow the directions for frying precisely so that your donuts are golden brown in color and firm to the touch; this will allow the glaze to sit on top of the donut rather than seep into it.
Use powdered egg whites for the perfect shiny glaze
You can glaze your donuts in many different ways after they come out of the fryer. For example, you can make a traditional translucent donut glaze with corn syrup, powdered sugar, and vanilla. Or, you can make a frost just the top of your donut by adding butter to the glaze mixture. Another ingredient you should consider adding to your frosting? Dried egg whites.
Dried egg whites are made from pasteurized egg whites, meaning they are safe to eat without cooking. The protein structure of the egg white creates a texture similar to that of royal icing, which can easily create a tooth-sinkable crunch when you bite into the frosted donut. The egg whites can also produce a unique shine that will make your donuts look spectacular.
If you're a novice, start with a more forgiving donut type

Donuts are one of the more challenging types of treats a baker can make. If you're making donuts for the first time, we recommend starting out with a more forgiving type of donut — like an old-fashioned. These donuts are easier to fry at home than other types of donuts because the shape of the donut doesn't need to be perfectly even. The ridges of the donut are used to catch the liquid the donut is dipped into, which is perfect for coffee lovers and for bakers who can't always get a smooth surface on their baked goods.
Old-fashioned donuts fry at a lower temperature than other donut varieties — at around 340 degrees Fahrenheit — and can be cooked in just a few inches of oil.
Get creative with the dough you use
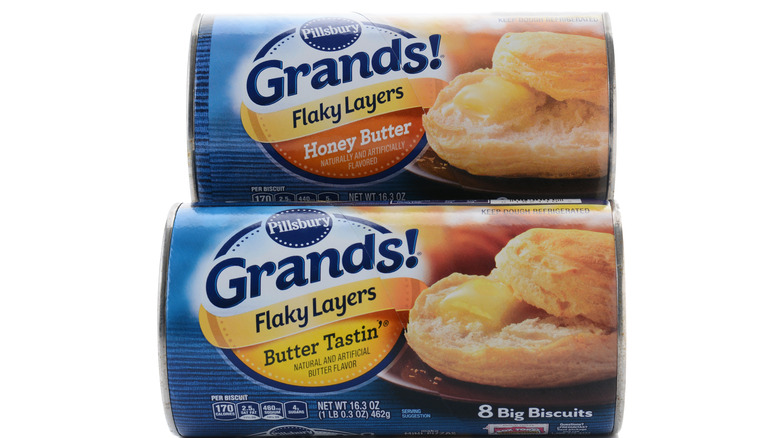
Working with donut dough is no easy feat. Alton Brown recommends skipping the process and using canned biscuit dough instead for flaky, layered donuts. His "bonuts" follow traditional donut-making steps, including shaping, cutting, frying, and glazing. Since these biscuits have so many buttery layers, the resulting bonut has a unique texture not akin to any other type of donut.
While these donuts can be deep-fried, we recommend making them in your air fryer. Once you've cut the biscuits, spray them with oil and cook them in the air fryer at 350 degrees Fahrenheit for about seven minutes. From there, you can decorate your donuts and serve them with a fresh cup of coffee.
Upgrade the flavor of your donuts with brown butter
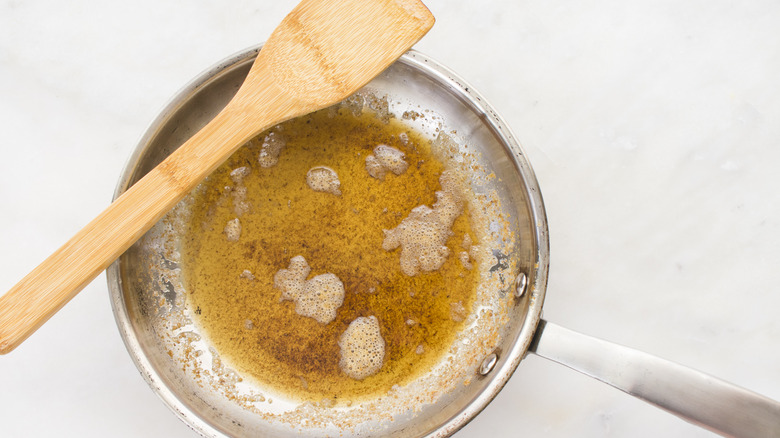
One of the easiest ways to improve the flavors in your cookie, muffin, or cake recipe is to use brown butter instead of regular butter. For example, adding brown butter to your apple cider donuts can help improve the complexity of the donut's flavor and highlight warm caramel and hazelnut flavor notes.
To make brown butter at home, toss butter pats in a saucepan over medium-low heat until tiny brown specks appear. The butter will also release a nutty aroma; this is your cue to remove it from the heat before it starts to burn. If you're substituting brown butter for regular butter in a recipe, you should begin by browning half of the butter required to prevent offsetting the flavor too much.
Use a donut syringe for perfect donut filling
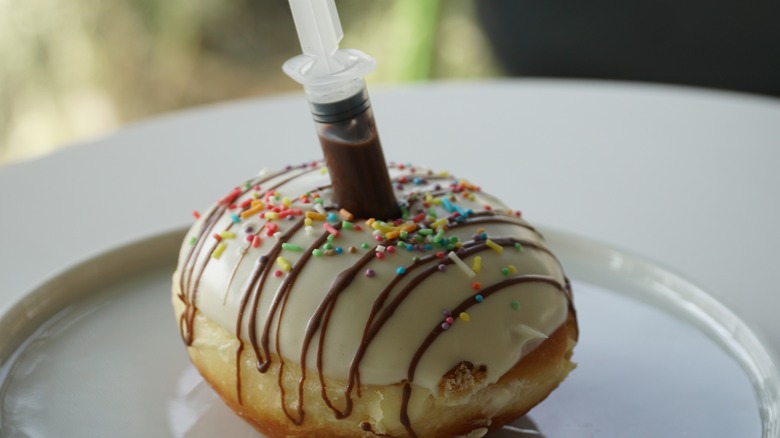
Filled donuts are an experience — both to eat and to make. If you're struggling to keep the amount of filling you add to your donut the same across your batch, you should invest in a donut syringe. This kitchen tool comes with several tips for piping — including one long enough to stick into the middle of your donut and fill it.
If you don't make enough donuts to justify purchasing a donut syringe, you can always use the piping or resealable bag trick to fill your donuts. Start by using a wooden dowel or chopstick to poke a hole from the side of the donut into the middle of it. Then, stick the open end of the piping bag or corner of the resealable bag into the donut and squeeze until the filling starts to spill out.
Add mashed potatoes to your cake donuts for more moisture

Mashed potatoes are the starchy goodness your donuts didn't know they needed. "Spudnuts" contain mashed potatoes for added moisture and tenderness.
In fact, the original Krispy Kreme donuts may have been made with mashed potatoes. The company's founder, Vernon Rudolph, purchased the recipe in 1937 from a chef in New Orleans. With the help of a historian, his son found that the original recipe was "a cream of fluffed egg whites, mashed potatoes, sugar, shortening, and skim milk that was chilled and mixed with flour and then fried and covered in glaze" (via The Chronicle). It is unknown if this recipe was scaled to fit the growing demand for Krispy Kreme donuts, but it shows that not all things change with time.