Everything You Need To Know About Proofing Baskets
Over the past several years, the widespread discovery of and fascination with sourdough bread has been nothing short of a phenomenon. According to CNBC, as of 2019, this particular baked good is included on over 14% of all restaurant menus. Additionally, its market value grew from $298 million to $2.4 billion between 2014 and 2018. This massive and sudden growth comes despite concerns with the number of additives consumers find in some manufactured bread. It turns out, however, that the best loaves do not include anything other than flour, water, salt, and yeast, and you most certainly do not have to go to a bakery or restaurant to enjoy some. In fact, preparing artisan-style sourdough bread is far more accessible to home bakers than one might think.
However, there is a variety of tools needed to not only make the best loaf possible but also make the entire process easier. In addition to a healthy sourdough starter and accurate scale, proofing baskets, or bannetons, are maybe the most important kitchen tools required to bake great bread. These inexpensive items serve multiple functions, from stability to creating an ideal rising environment. However, there is more to proofing baskets than simply plopping your dough inside and returning later. So, here is everything you need to know about one of the most important baking tools that are a must-have in any kitchen.
What are proofing baskets?
Proofing baskets serve one of the most vital roles in bread baking. They come into play toward the back end of the baking process, after the dough has been mixed and fermented. For most recipes, after fermentation, the bread mixture is ready to be shaped before the final proofing stage, which usually occurs inside a banneton.
Essentially, proofing baskets create an ideal rising environment for the dough. Though sourdough is the most common type of bread used with the tool, other varieties, such as those made with yeast or high-hydration combinations, can also benefit from its use. Without it, the dough could quickly flatten out; the walls of the banneton help it retain its shape and rise upward instead of outward. Proofing baskets also make it easier to transport the rounded mix and simplify the process of handling wetter dough before baking. Bannetons generally remove some of the more temperamental variables of baking bread.
Types of proofing baskets

When shopping for a banneton, you will come across different kinds. It's important to remember that these styles are not universal; each comes with pros and cons and may better fit certain bread recipes.
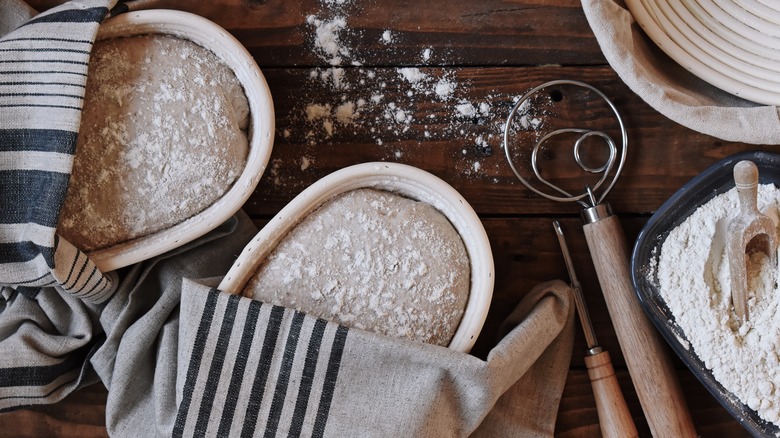
The most common type of proofing vessel is a wicker basket. The small gaps between the woven material allow for ventilation, so the dough can continue to breathe; this also helps excess moisture escape at a more regulated pace, which results in a crispier exterior once it's baked. Wood pulp bannetons are popular in Europe. Although they don't have the gaps like those in baskets for circulation, the material's porous nature is great for evenly extracting excess moisture from the bread mix. Not only does this make the dough less sticky and easier to handle, but it also results in a nice, crisp crust when baked.
Another type of proofing basket you will see often is lined with a linen cloth. The benefit of this is that the material separates the dough from directly contacting the vessel's interior to avoid sticking. As a result, the exterior of the final loaf is smoother and does not have any indentations left behind from the structure of the banneton.
There are also plastic proofing baskets. They are usually not the best option due to their lack of air circulation, which limits how much of a rise you can achieve with your dough. However, they are much more convenient to clean than other options.
Shapes and sizes of proofing baskets

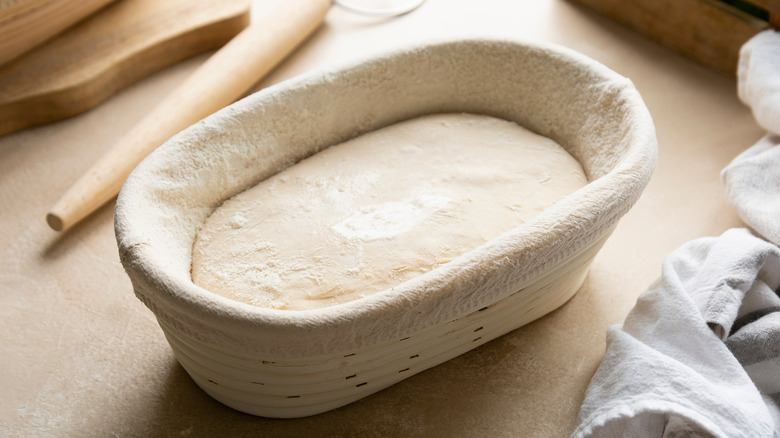
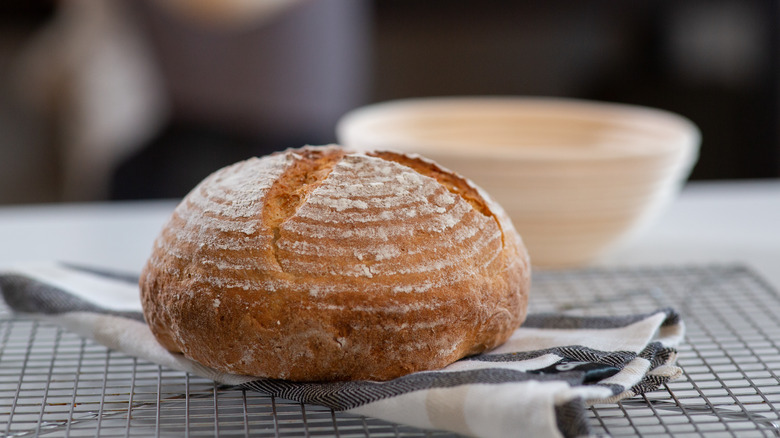
Once you've established which type of proofing basket is best for your bread mix, you must then consider its shape and size. The form of the banneton will determine the shape of your baked loaf. For example, oval proofing baskets will yield oval-shaped loaves, and circular ones will result in round loaves. There are also less common shapes of bannetons, including long, slender ones used for baguettes, triangles, squares, and minis, to name a few. The size of your proofing basket must be determined based on the weight of the dough. For example, if the bread mix is between 350 and 400 grams, a round banneton should be around seven inches in diameter (via The Pantry Mama). This will allow the dough enough room to rise upward without surpassing the surface and keep it from spreading outward entirely.
Additionally, the proofing basket you choose should also be chosen in relation to the Dutch oven you are using to bake the loaf; ideally, the banneton should be no bigger than the oven. However, you do not have to worry about this if you plan on baking the bread in a standard stove.
How to use them
Using a proofing basket is straightforward, but there are certain things to remember to ensure the process is as easy as possible. The first and most important thing you'll need to do is prevent the dough from sticking to the sides of the banneton. Luckily, this is really as simple as thoroughly coating the basket with flour, but some varieties of the ingredient are actually more prone to sticking than others. Rice flour is the most stick-resistant option, so we recommend using it to get the job done. Other kinds will work too, but a thorough dusting is always key, no matter which one you opt for; there are few things more frustrating than going through the entire bread-baking process and then having your dough end up deflating and becoming misshapen when you try to turn it out of the banneton. So, being generous with the flour is always better than skimping.
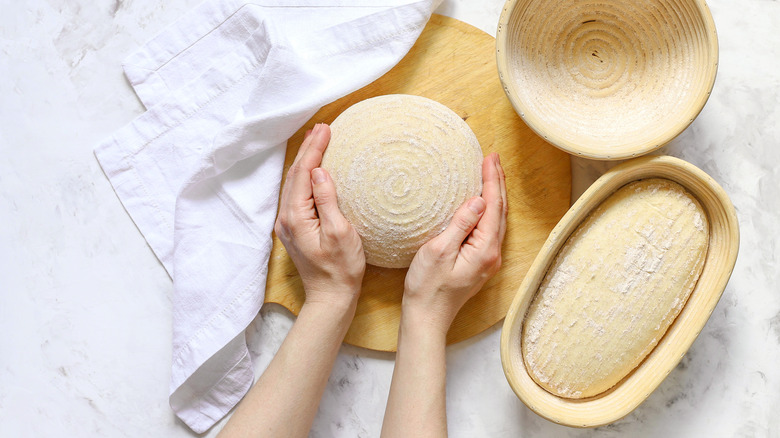
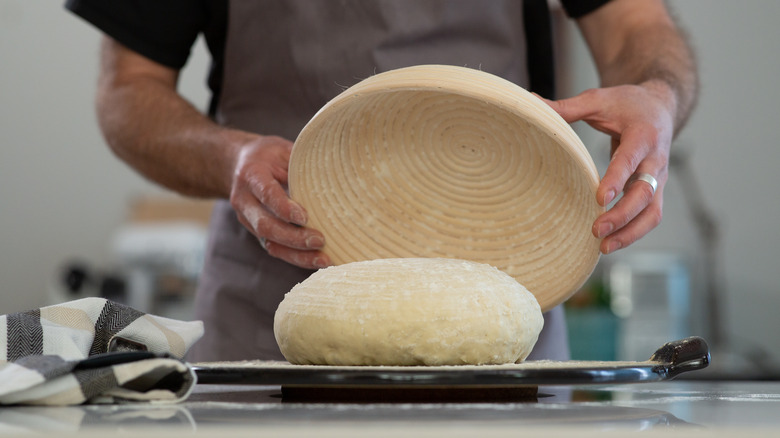
Another important thing to consider is how you place the dough inside the banneton. The side of the bread mix facing up when inside the proofing basket will end up being the bottom when turned out onto the baking surface. If you're rough with the dough and just plop it into the vessel, the top may end up with dents or imperfections that aren't easily smoothed out.
Covering the proofing basket
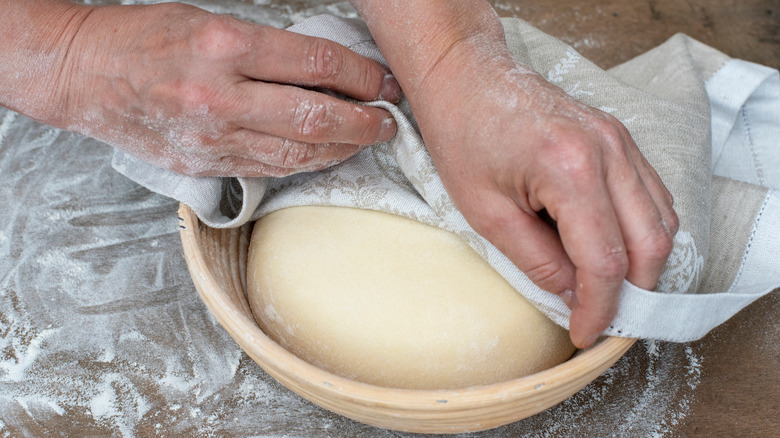
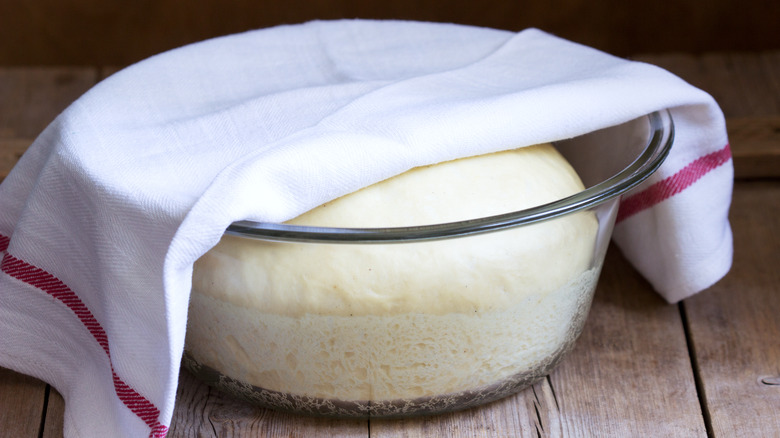
What you use to cover your dough once it is shaped and placed inside your proofing basket to rise really depends on whether or not you should do so at all. There are actually benefits to leaving high-hydration bread mixes uncovered, as doing so allows excess moisture to escape. As for low-hydration dough, you will want to have something over the proofing basket; doing so accomplishes the opposite of leaving it uncovered, that is, retaining as much moisture as possible so the bread does not dry out.
How you cover the banneton is an important choice as well. The most common way to do so is with plastic wrap, but it's prone to sticking; if you do not wrap the basket very tightly, the material can fall onto the surface of the dough; this will impede its rise and be a pain to remove later on. A more effective and lower maintenance method is using a kitchen towel. This will allow for some air ventilation during the final proof in addition to being a light, flexible material that will not stop the dough from rising. One great, lesser-known method for covering a banneton is with a shower cap; it's cheap, easy to clean, super elastic, and can act the same way a proofing bag would, trapping the air inside.
Cleaning and maintenance
Just like most kitchen tools, cleaning and maintaining your proofing baskets properly is necessary. Not only will taking care of them help them be more effective, but it will also extend their lifespan so you can use them to prepare quality bread for as long as possible.
If you're using a wicker banneton or basket with a porous material, the flour you dust it with will accumulate in the tiny nooks. This, in addition to the moisture that is present in the dough itself, can lead to mold if not removed thoroughly. It is not completely mandatory that you clean your proofing basket every time you use it, but knocking out the excess flour, rinsing it with water, and wiping it clean with a kitchen towel, at the very least, should be done after every so often.
If you have a plastic banneton, cleaning is even easier. Unlike wicker or wood pulp proofing baskets, plastic varieties can be soaked overnight or scrubbed with soap and water like any other hard plastic dish. However, as mentioned earlier, these bannetons are less effective than wicker or wood ones, so there is a trade-off of functionality for convenience.
Overall, regardless of the type of basket you have, cleaning it is super easy and should never be neglected. The last thing you want is mold to grow and be forced to completely replace your banneton when maintaining it is so simple.
Proofing basket substitutes
If you have never baked a loaf of bread at home before and want to try your hand at it without investing too much money on specialty kitchen tools, there are several alternatives to proofing baskets that should accomplish the same result.
The first and most readily available substitute for a banneton is a regular bowl. It can be made of glass, stainless steel, ceramic, plastic, or any other material. Line it with a kitchen towel or linen cloth and thoroughly coat it with flour, and it'll be just like a standard banneton. Another handy alternative is a decorative wicker basket. As long as it is in the shape you need your loaf to be, all you need to do is line it with a cloth, and it will essentially be the same thing as a banneton, coming with all the ventilation benefits as a real proofing basket.
A basic colander is another ventilated banneton alternative, as the drainage holes can help the excess moisture escape as a regular basket does. And if you're out of options, even a kitchen towel or tea cloth works; as long as it's sturdy enough and not too flimsy, use it to form the dough into the shape you want, wrap, then use plastic wrap on the exterior to hold it all together.
Do you have to use a proofing basket?
Baking bread at home can definitely be a frustrating venture. There are countless variables at play, all of which can be quite temperamental and hard to troubleshoot until it is too late. However, one thing you can control is your dough's rise and shape, which is easy to achieve when you use a banneton.
It is certainly possible to bake quality bread at home without using proofing baskets. However, given their very accessible price point, long-lasting durability, and effectiveness, getting your hands on one and using it really is a no-brainer. Even if you don't own one, there are several substitutes that you can use, most of which can be found in many home kitchens.
Successfully making your own loaf is one of the most fundamental triumphs of a home baker, and learning how to do it is much easier than one might assume. With a little practice and the right tools, you can have freshly baked, soft, crunchy, delicious bread regularly, and proofing baskets can only help you accomplish that.