The Easy Trick To Assembling A Flawless Checkerboard Cake
With holiday season in full swing, there's no better time to plan some exciting new baking projects and try some new baking techniques. Whether you're baking for gifts or celebratory dinners, it's a fun time to wow your friends, family, or guests with creative, special desserts that you wouldn't normally bake at other times of the year. The classics are classic for a reason — and there's nothing wrong with a perfectly baked pie or Christmas cookies, especially if you're not a regular baker. However, festive baking is a great opportunity to stretch your skills and expand your baking experience.
Not all baking projects are inherently difficult — some just appear that way. Oftentimes, when a tricky-looking baking project is actually broken down into simple steps, it's easier than you'd imagine. Good baking requires time, patience, and the right tools. Why not try something spectacular this holiday season and bake a show-stopping checkerboard cake?
Checkerboard cake requires concentric round cutters
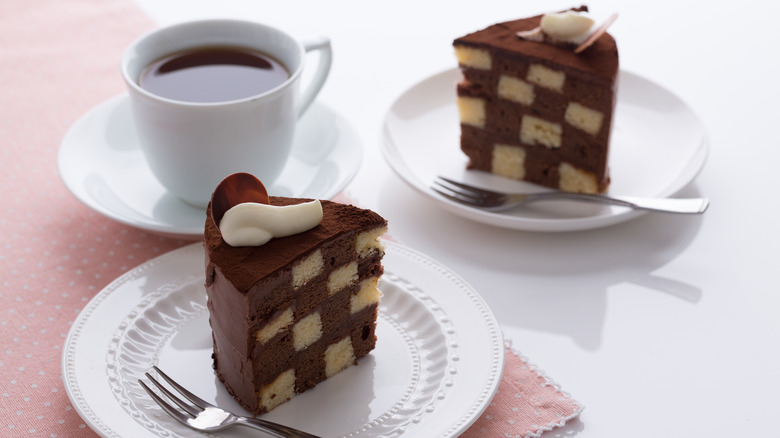
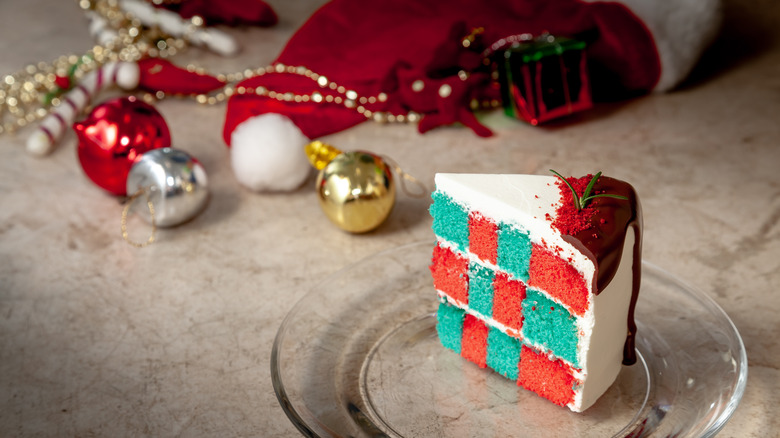
If you've ever seen someone slice into a checkerboard cake, the results can look like nothing short of pure baking magic. These cakes are built from at least two differently colored cakes: You can use either two different cake flavors all together (as long as they taste good together), or the same flavor but colored differently with food coloring. It's a beautiful technique that looks quite complicated. But in actuality, checkerboard cakes aren't that difficult, especially if you have the right tool.
While Taste of Home acknowledges you can make a checkerboard cake without any special pans, King Arthur suggests using concentric round cutters to cut each cake into three different-sized circles. You'll then have six circles of cake: two mini cake centers, two middle rings, and two outer rings. To create the alternating color pattern, you basically just swap out the middle rings of each cake, making sure you frost around the outer edges of the mini centers and the middle rings so the newly constructed layers will stick together when the cake is sliced.
Frost and stack each layer, and voila. You made a beautiful, impressive-looking checkerboard cake!